If you live in a country that has lots of rain and cold winters like the UK then underbody and chassis rust is a problem that is likely to occur to your prized campervan or motorhome at some time in its life.
Most campervan owners take pride in their vehicles and attend to any problems as they arise. However, the underbody of a motorhome is an area that is rarely accessed so any rust and associated problems are likely to go unnoticed unless they are spotted on the yearly MOT.
In the manufacturing process the light commercial vehicles that most motorhomes and campervans are based on do have a level of rust protection, but after a relatively small amount of time and usage rust can start forming and if unnoticed is likely to cost a lot to rectify.
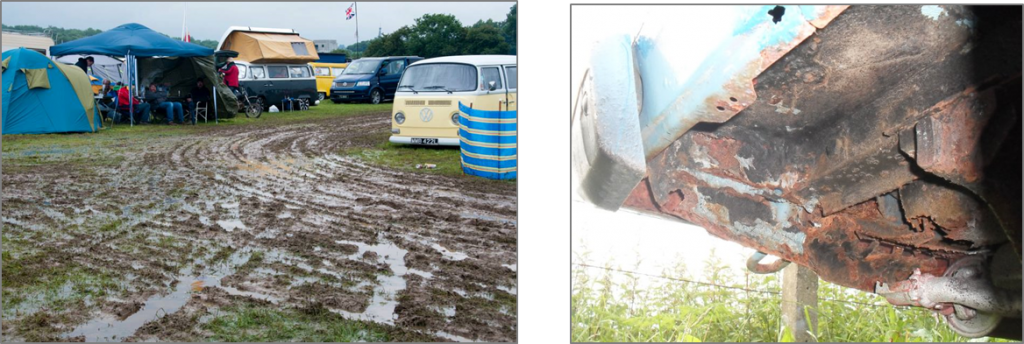
The underbody components are usually galvanised which is the process where a protective layer of zinc is applied. However, rust can form when this protective layer is chipped when hit from stones on the road or any scuffs or scrapes. The general conditions whilst camping i.e. parking on wet fields and having mud deposited on the underside of your vehicle can speed up the oxidation (rust) process.
The Preparation and Rustproofing Process
There are a number of proprietary products available on the market for rustproofing campervans with ‘Waxoyl’being popular with professionals in the trade.
The full rustproofing process requires a lot of work and can be very time consuming. The typical stages of rustproofing a motorhome using Waxoyl are as follows:
- Full inspection to identify any areas or components that may require repair before the rustproofing can commence
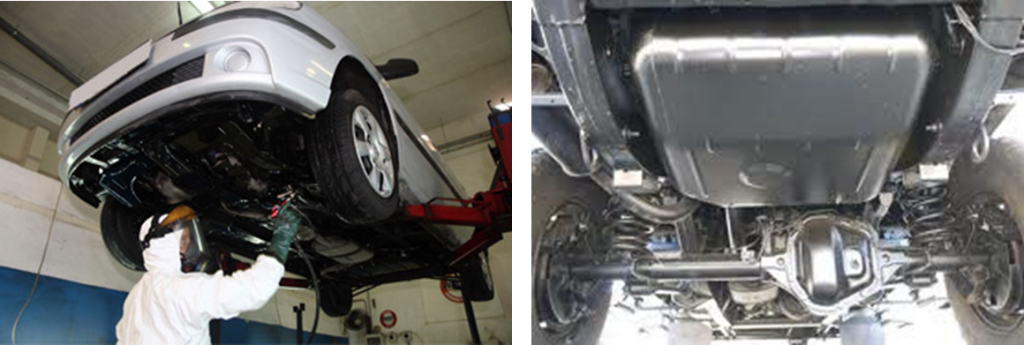
- Next any vulnerable areas need to be covered prior to the cleaning and rustproofing process. Wheel arches are masked off, any duct holes are covered and any sensitive mechanical and electrical components are protected.
- The next stage is the cleaning process to remove dirt, accumulated deposits of mud, grease and flaking paint etc. A high pressure air hose blasts off dirt and flaking paint to provide a clean surface for the rust treatment. Some professionals do not recommend using a high pressure jetwash as the water can push the dirt to form mud deposits in hard to reach places.
- There are different types of Waxoyl treatment that are used in the different areas of your vehicle. Clear Waxoyl is applied to wheel arches, door sills and the engine bay etc. For cavities an atomisation spray is used that mixes cavity wax with air at high pressure to fully access the cavity and provide a thorough coating. The chassis and full undercarriage is then treated with the thick black Waxoyl treatment to provide a long lasting durable layer of protection that will last for years.
DIY or Professional
If you are on a budget there are a number of kits available for you to have a go yourself. However, it is unlikely that your efforts will provide any level of rust protection that a professional can offer. If attempting this yourself you will not have access to the specialist tools like the air hose and atomization spray that a professional has. It is also a dirty and potentially hazardous job to complete.
Cost/Benefit
For a medium sized coachbuilt motorhome expect to pay in the region of around £700 for a full clean and rustproofing application. Smaller campervans will be slightly cheaper but not much as the work is very time-consuming.
The benefits of having this work done really outweigh the costs involved. Costs to repair chassis members or rusted through panels could easily come to more than the rustproofing treatment itself.
If you want peace of mind for the foreseeable future we would highly recommend having this work done.
Prior booking in your campervan or motorhome with one of the rustproofing professionals be sure to check what is included as some of the service levels differ and you would of course like to get the most for your hard earned cash.
If you plan to do this work yourself make sure you have safe access to the underneath of your motorhome and allow plenty of time. Always read the product information for usage and safety instructions.
Written by Glenn Adama
www.buildacampercan.com
