Fitting Campervan Windows
So you have decided on your chosen panel van and now it is time to change the perception of your motorhome from van to camper conversion by the addition of some windows.
This section looks at:
- Planning your windows
- Bonded windows
- Acrylic windows
- Cutting the holes
- Preparing the holes
- Fitting the windows
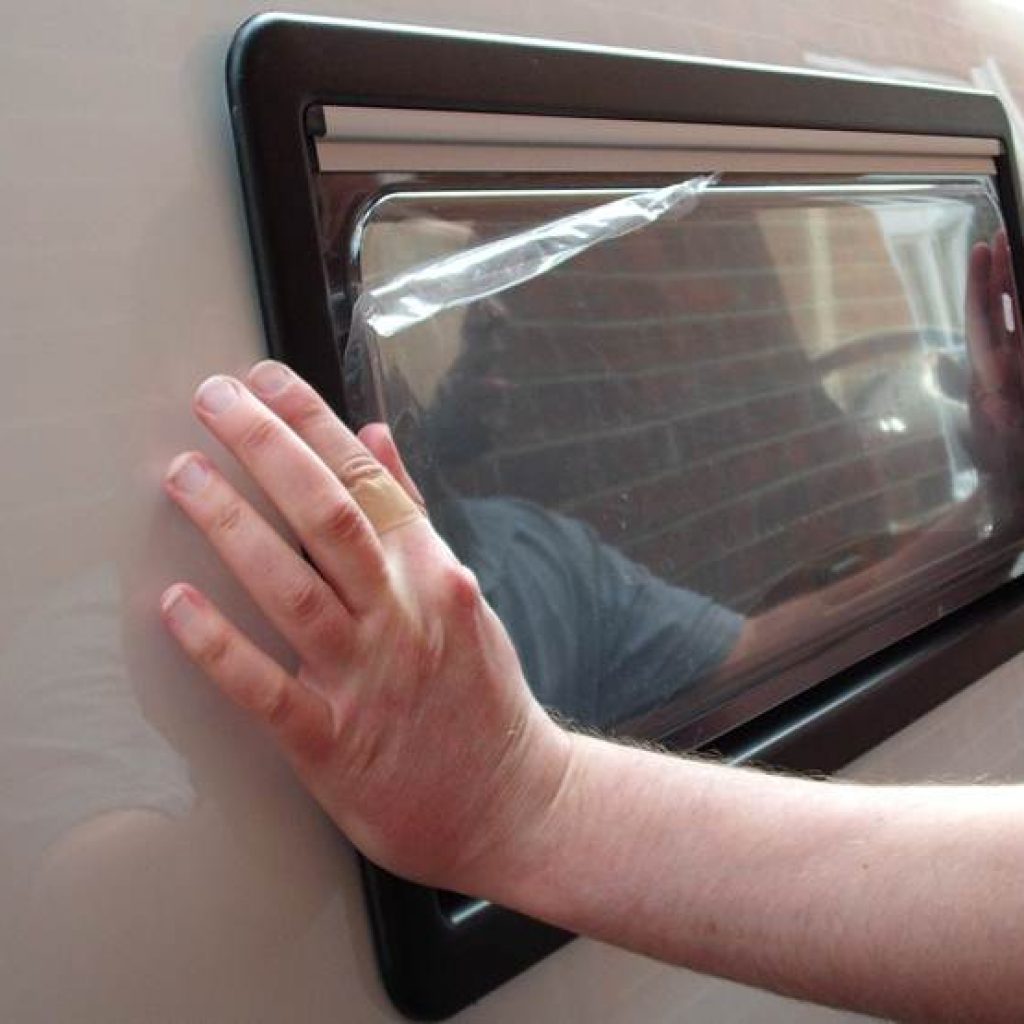
Planning your windows
The first decisions to make are where you want the windows, what size you want and what style. The main point in installing windows in your campervan is to add light internally and create an outward view from inside out.
Too small and the windows won’t let in enough light, too big the potential to let cold air in and loose space internally for installing storage areas increases.
The acrylic windows come in all shapes and sizes, and offer something different, however if you just want a fitted window then bonded safety glass windows might be the way to go. There are benefits of both bonded windows and acrylic windows. Lets take a book at both.
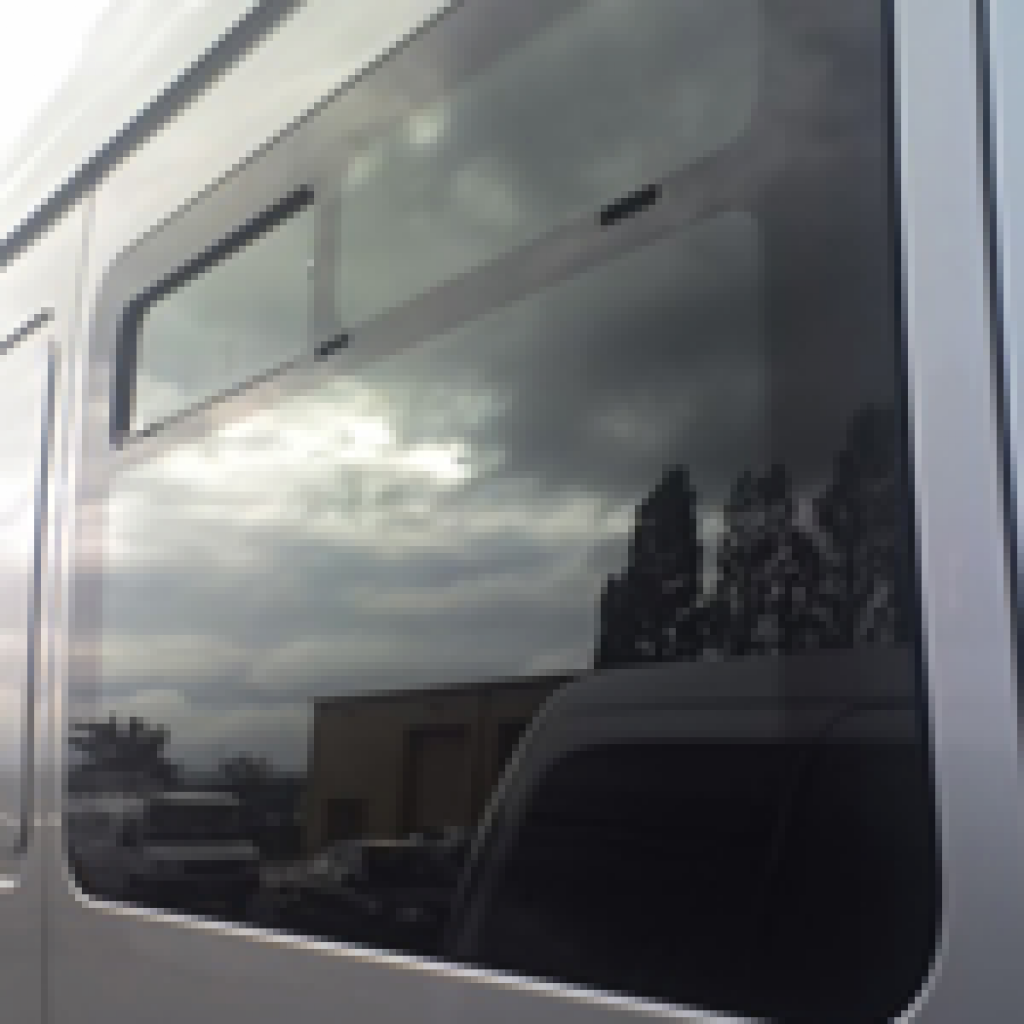
Bonded Windows
Bonded or fitted windows are often single glazed units and are fitted directly into the hole cut into the panel and are bonded (glued) in place. This can cause some challenges to get the window in and if there is a slight misjudgement of the window size the seal can leak. Not want you want.
In most cases to ensure your don’t get leaky windows we suggest getting a professional to fit bonded windows.
There are a variety of bonded window styles available and can look very slick and stylish which is just want you want for your new campervan.
Bonded windows are single pane and are more likely to attract condensate. See our Insulation Page for more on this subject.
Acrylic Windows
The leading brand for Acrylic windows are Seitz. These windows are excellent for campervans as they have a build in fly screen and blind. The windows have an opening mechanism to allow ventilation and the built in blinds mean you don’t need to fit curtains in your campervan.
These windows have an external and internal frame and on installation they firmly grip together making a good seal on the panel of the van. If fitted correctly and sealant is used these are very unlikely to leak.
With a variety of shapes an sizes you can make your campervan very unique. Plus one of our preferences of these windows is you don’t need to make curtains!
Cutting the Holes
When it comes to cutting a hole in the side of your panel van STOP! Firstly:
- Make sure you have measured and measured again
- Make sure you have parked your van on level ground if you are using a spirit level to ensure level windows
- Use a template to make sure the size reflects your window
- Do Not cut the window the size of the window – cut it the size the instructions recommend
For bonded windows the hole will be very similar in size to the glass, however for the Seitz windows the inner and outer mount with in the whole so the actual acrylic window will be smaller than the hole. This is worth realising when you are choosing the size of your windows.
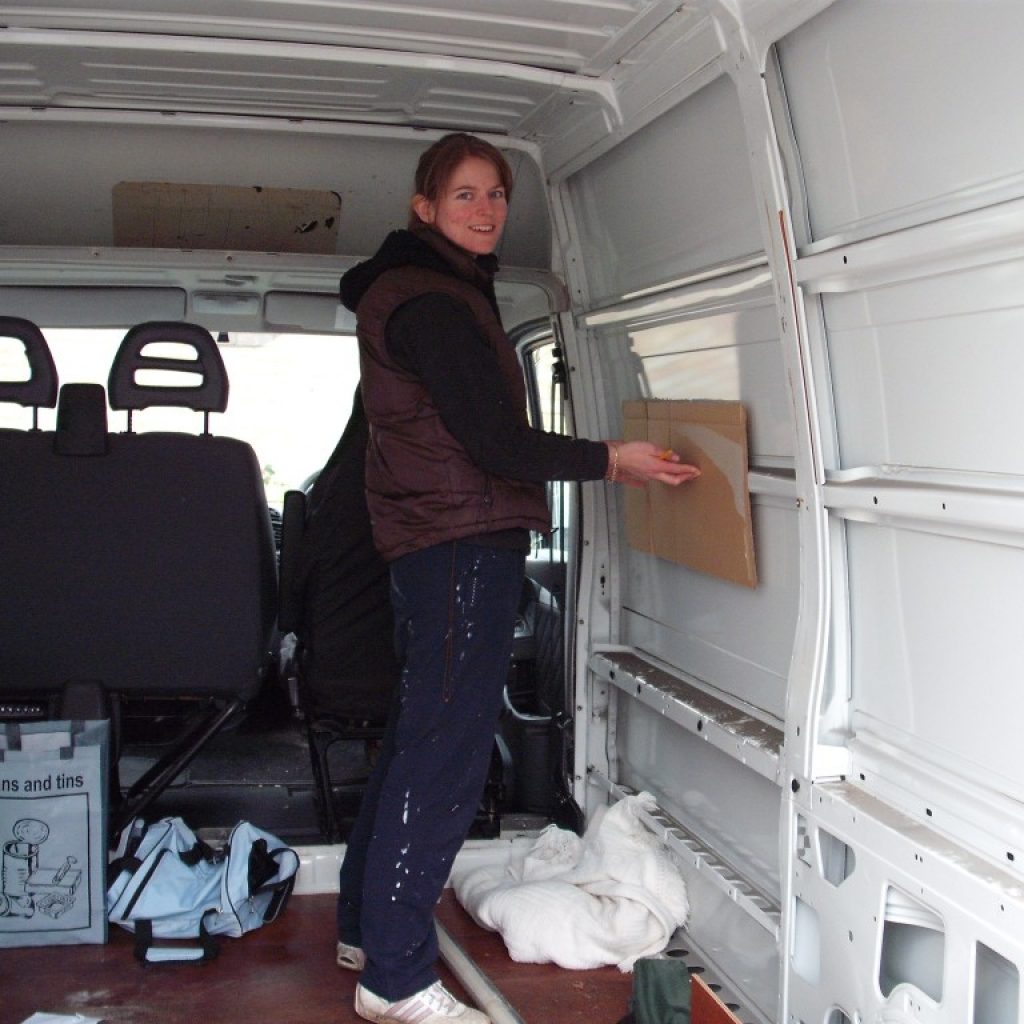
Preparing Your Windows
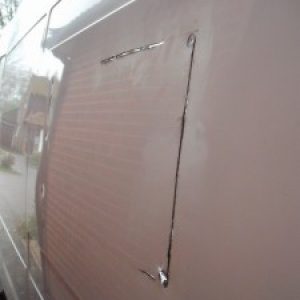
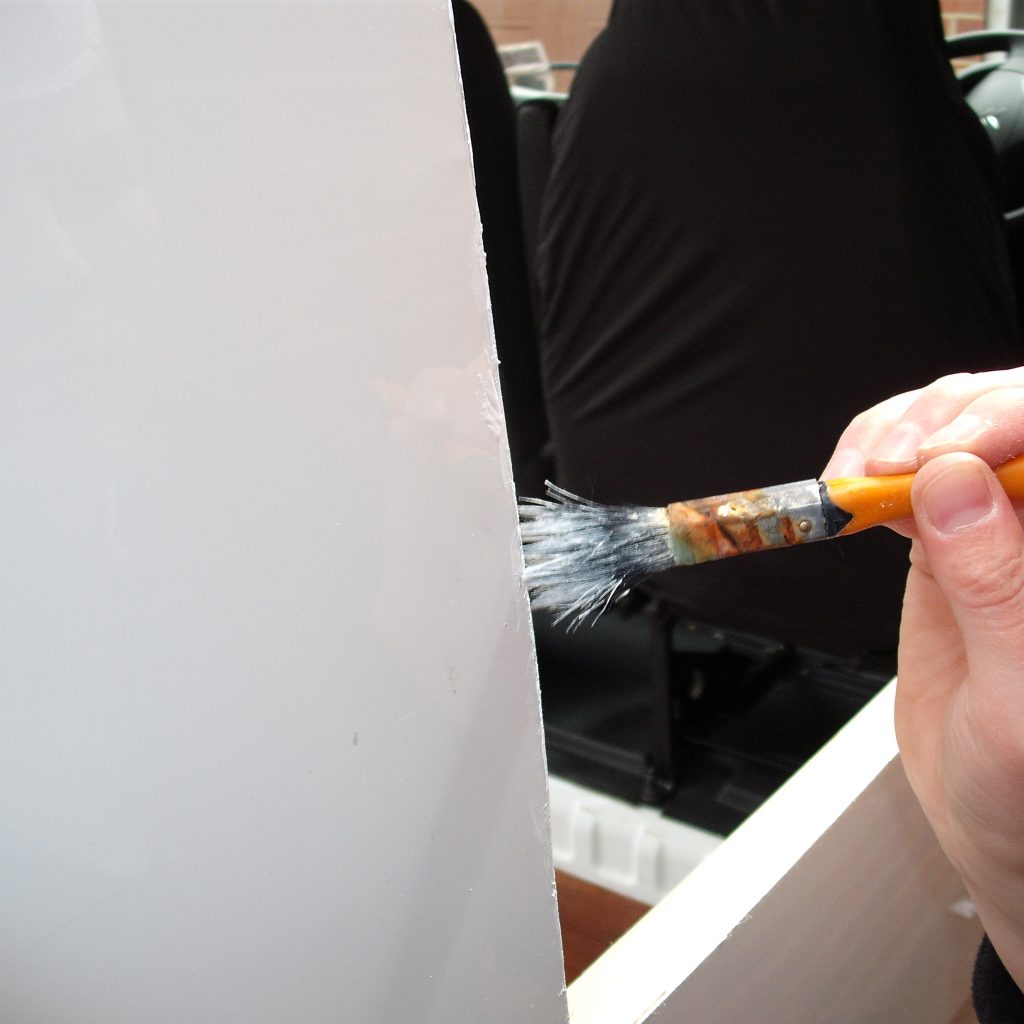
- Once you have bravely cut the holes, you need to treat the metal to prevent any rust after the window is fitted.
- File down any sharp edges with a metal file.
- Use a rust treatment and simply apply with a brush to the cut edge of the metal.
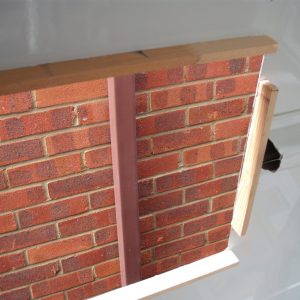
- If you are fitting Seitz windows you will need to use baton as a bridge for the width of the panel.
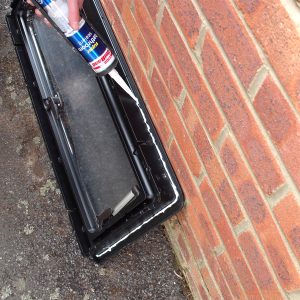
- It is also recommended to apply silicone sealant to the inside of the external frame to prevent any leaks and also creating a firm seal onto the panel.
Fitting the windows
So you have cut the holes, prepared and treated the metal and you are ready to fit your campervan windows.
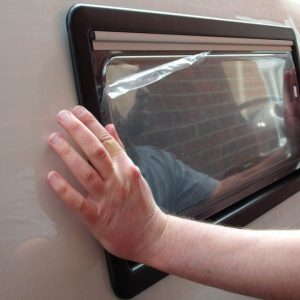
First offer them up, it is likely you will need two people for this, one inside and one outside. The fixings need to be screwed from the inside so push the outside frame on firmly once the sealant is applied. Then push the inside frame together with the external and screw firmly in place.
Finally use the screw hole covers to finish the look – you are then ready to go.
