This is a key part of your camper design and if carried out correctly it will provide your camper with a comfortable living environment for you to enjoy year after year.
A stuffy van with condensate on windows and lingering cooking smells is not something that you would want in your house let alone in your prized campervan! Thus you must consider all the components of this subject very carefully and the result will be very much worthwhile.
-
Condensation
Warmer air is able to hold onto more water vapour then cooler air. When warm air comes into contact with cooler air, or a cool surface then the air temperature drops and the vapour condenses and forms water droplets. Not good in any campervan
-
Insulation
Reduces heat loss and keeps the interior of the camper cool when the temperature is hot outside
-
Ventilation
Removes excess water vapour (leading to condensation) and also removes pollutants, cooking odour and exhaled C02 from your campervan
-
Barrier
A vapour barrier installed over the insulation is a good design feature to stop vapour-laden air seeping through interior panelling and onto cold metal surfaces where condensation is likely to form and possibly create rust or saturate insulation materials
-
Cold Bridging
Is the process whereby the colder outside temperature is conducted to the interior via an unbroken structure or component. A thermal break or other measures are required to prevent heat loss and cold spots
Types of Insulation Material
There are many types of insulation available to use all with different properties and construct. You may opt for one material or a selection of two so that you can insulate the whole vehicle. Rigid panels are great for large flat areas but for the small hard to get at places quilt type insulation will be more suitable. If you want to use your camper in winter then we would advise opting for a material with very good thermal performance. You may also want to consider acoustic insulation if you like playing your music aloud!
Rigid Panels
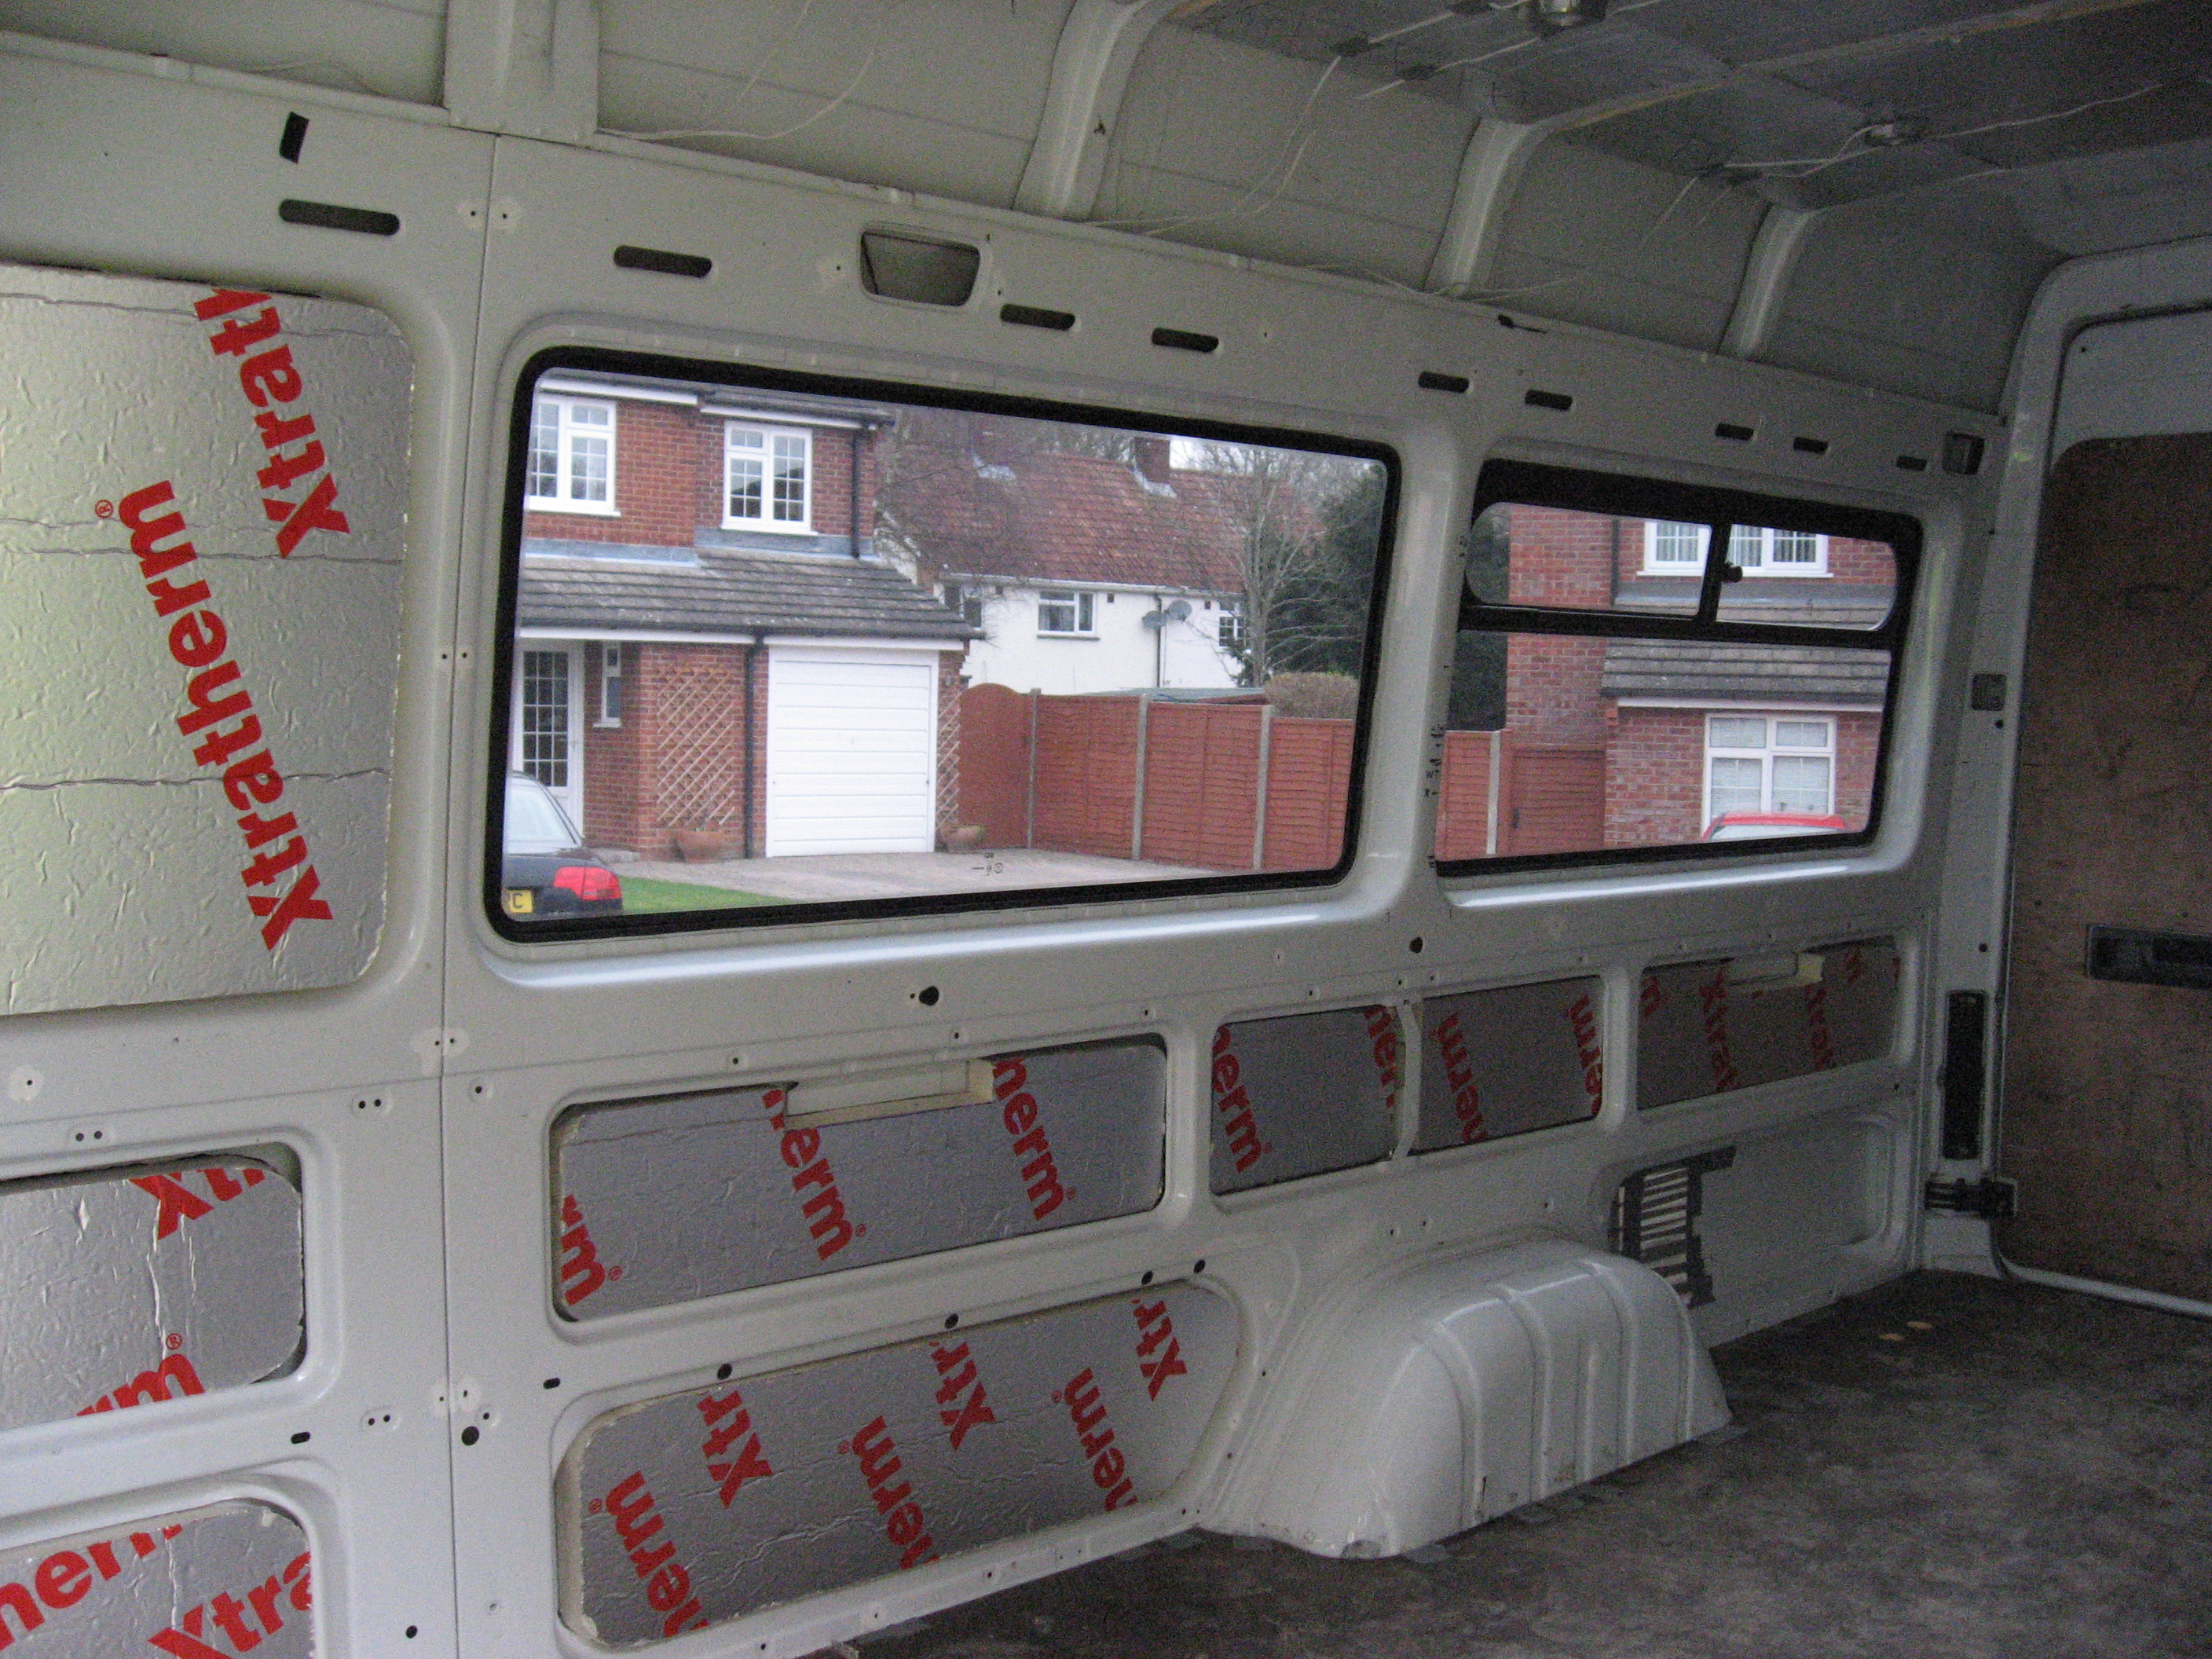
Expanded polystyrene and Styrofoam have been used by many camper converters for years. 35mm Styrofoam for floors and 25mm polystyrene for walls is the traditional approach that many conversion companies use. These products are cheap and easy to fix on flat surfaces. On the downside these products are relatively thick and can cause a squeak if not fitted correctly.
There are many other types of rigid insulation offered at the various builders merchants all with different costs and properties. Some of these are foil faced which add to the thermal characteristics and some have fire protection properties.
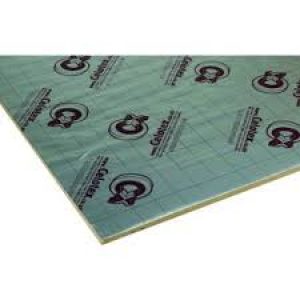
Flexible Loft Type Blanket Insulation
It will be likely that you will need to use some of this material to achieve insulation in some of the small hard to get at gaps that will be in your van. We don’t recommend using fibre glass insulation as it can cause irritation when handling. The recycled plastic type is very affordable.
Composite Materials
3M’s Thinsulate is a popular product these days used by many a campervan builder. It is a lightweight polyester/polypropylene blended non-woven material which has very good sound absorbing properties. Also due to its hydrophobic nature it is good for use in humid and moist applications. This material is easy to cut and fix using a spray adhesive.
Another popular material we have found is thermal double foil bubble super foil. One campervan builder we know swears by this stuff.
Fixing the Insulation
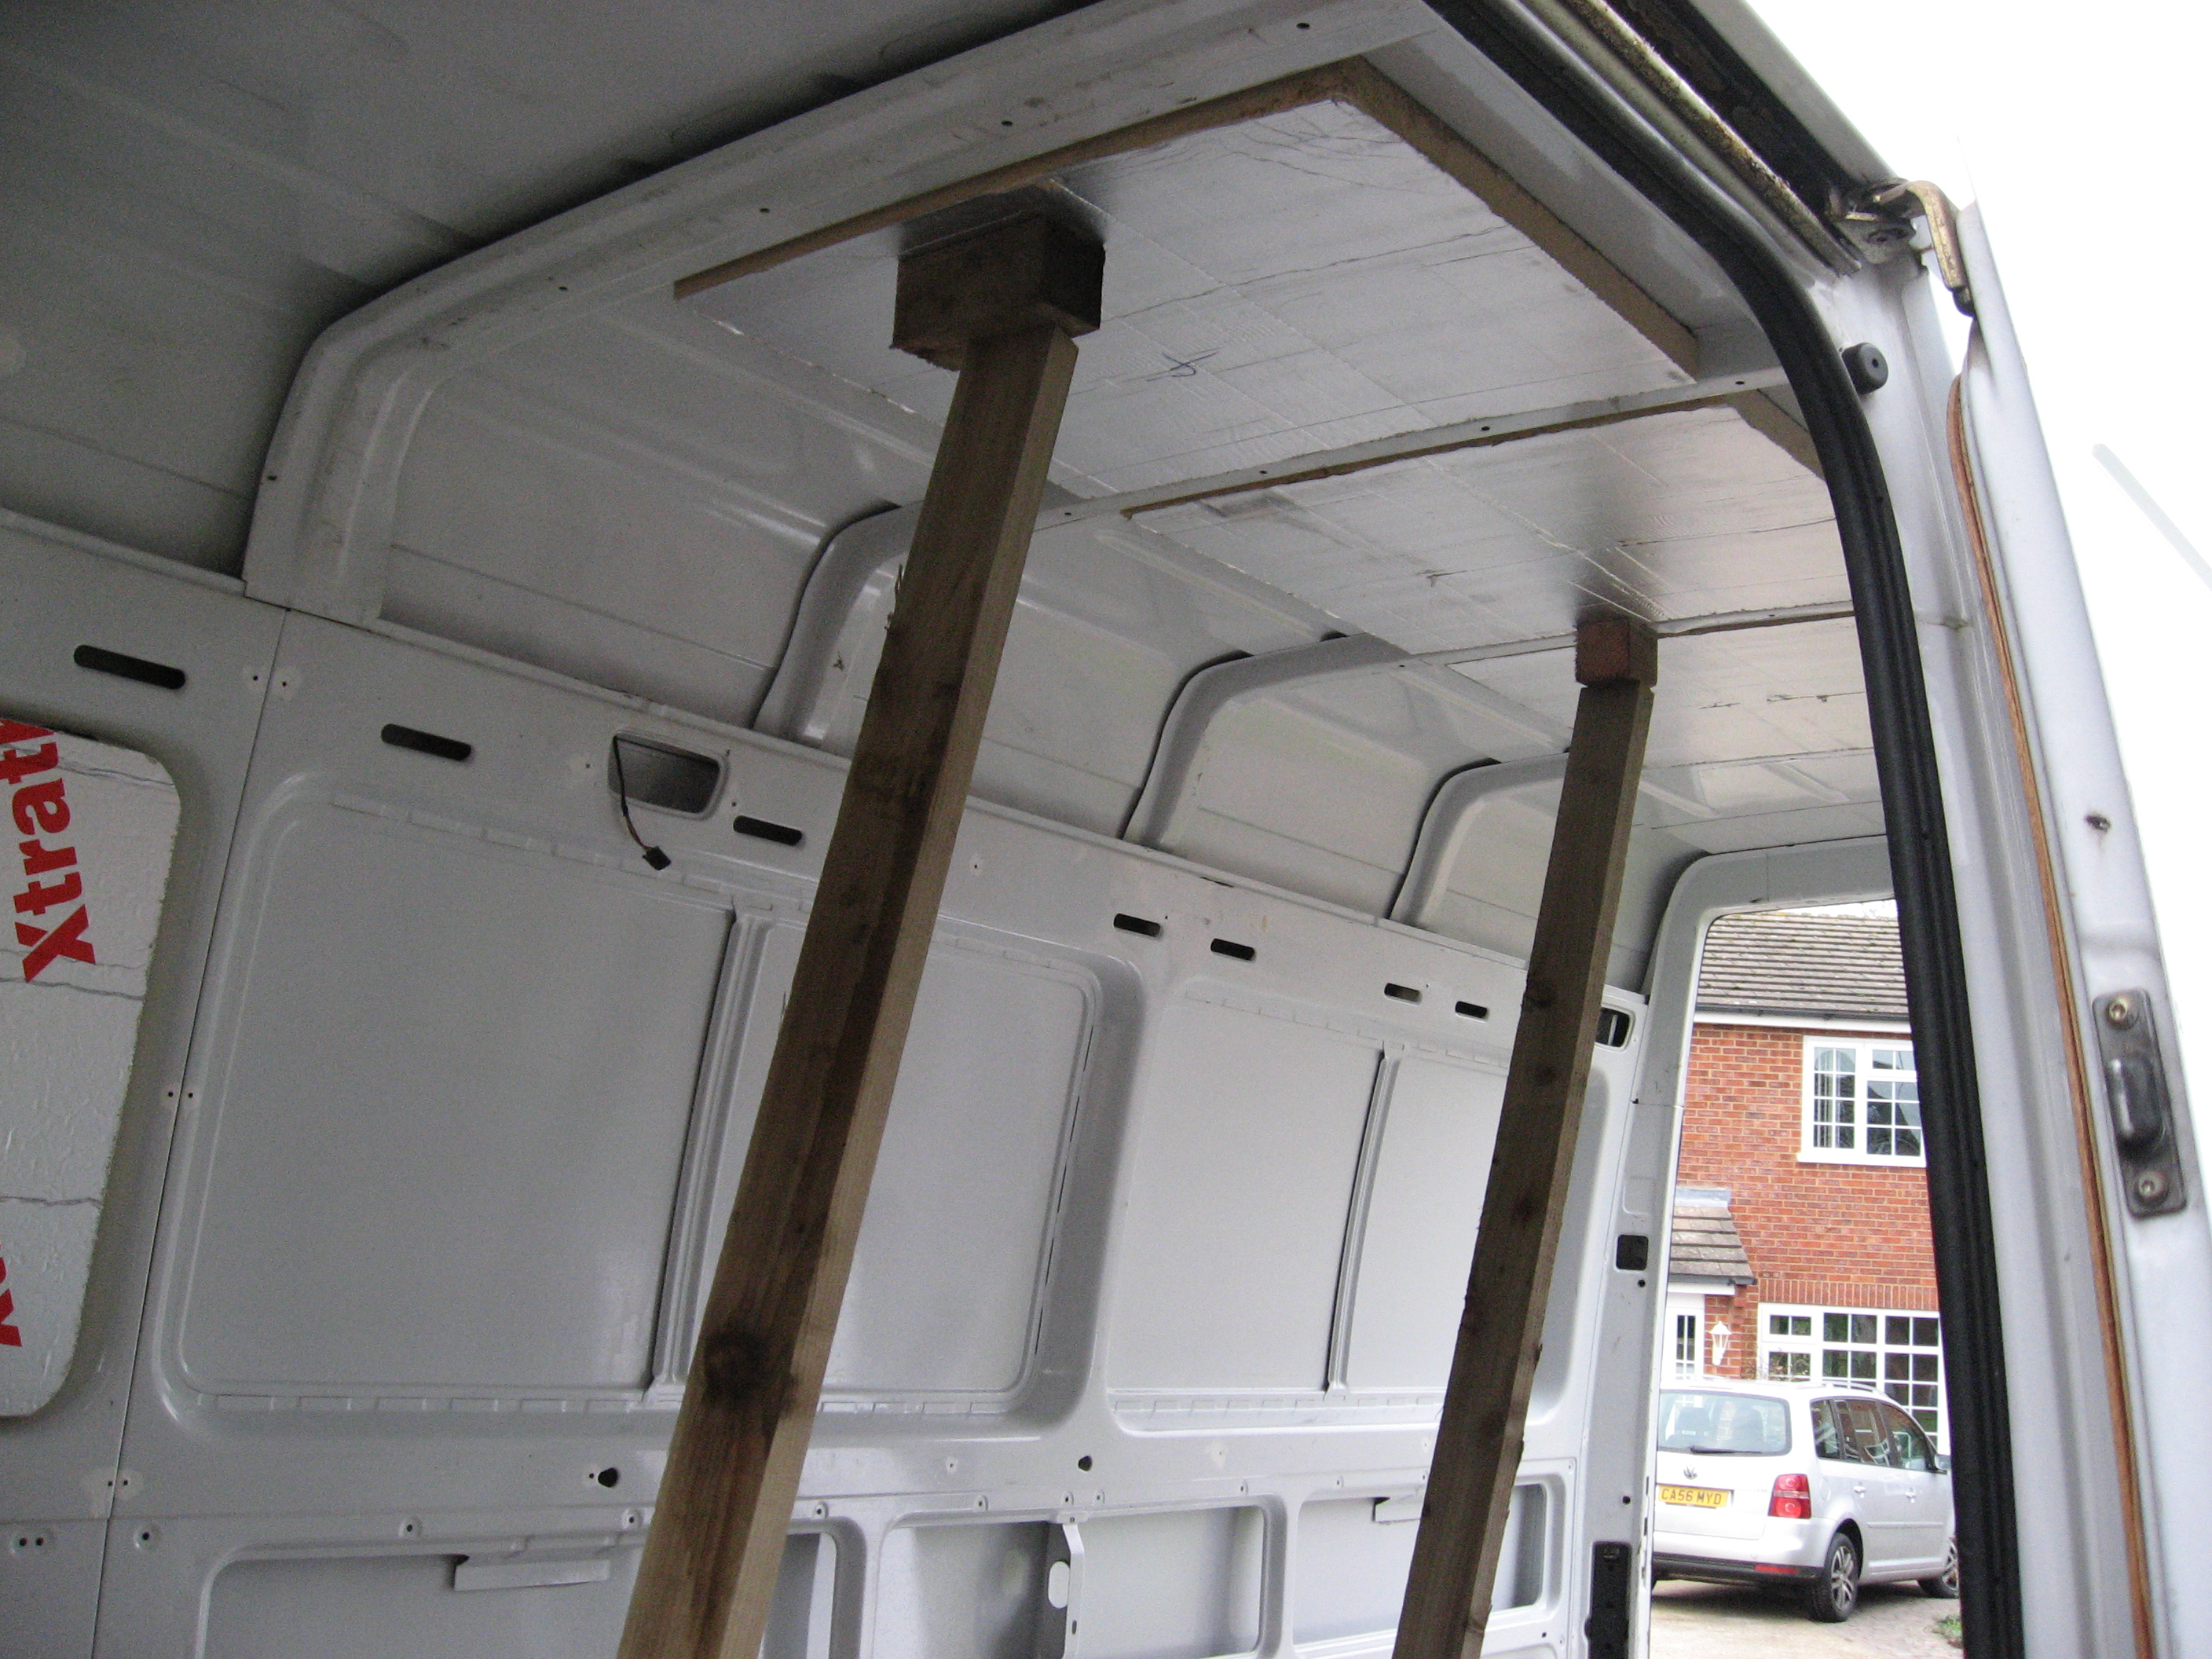
Spray adhesive or double sided foam are the typical ways to secure insulation to your vehicle. Tapes and certain adhesives can also be used. You may want to check with the manufacturer of the insulation that the adhesive product is suitable.
Windows
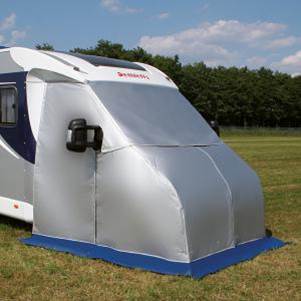
Condensation on windscreens and bonded glass is likely to occur due to the ‘cold bridging’ effect. To combat this window insulation mats are available in many sizes and styles. These also provide a screen so that others cannot see in your vehicle and keep out the light if you should so require. A premium product as a solution to this problem is an ‘external insulation cab’ as seen in the photo, which can be purchased for around £500
Don’t forget to view the Ventilation Guide
