
-
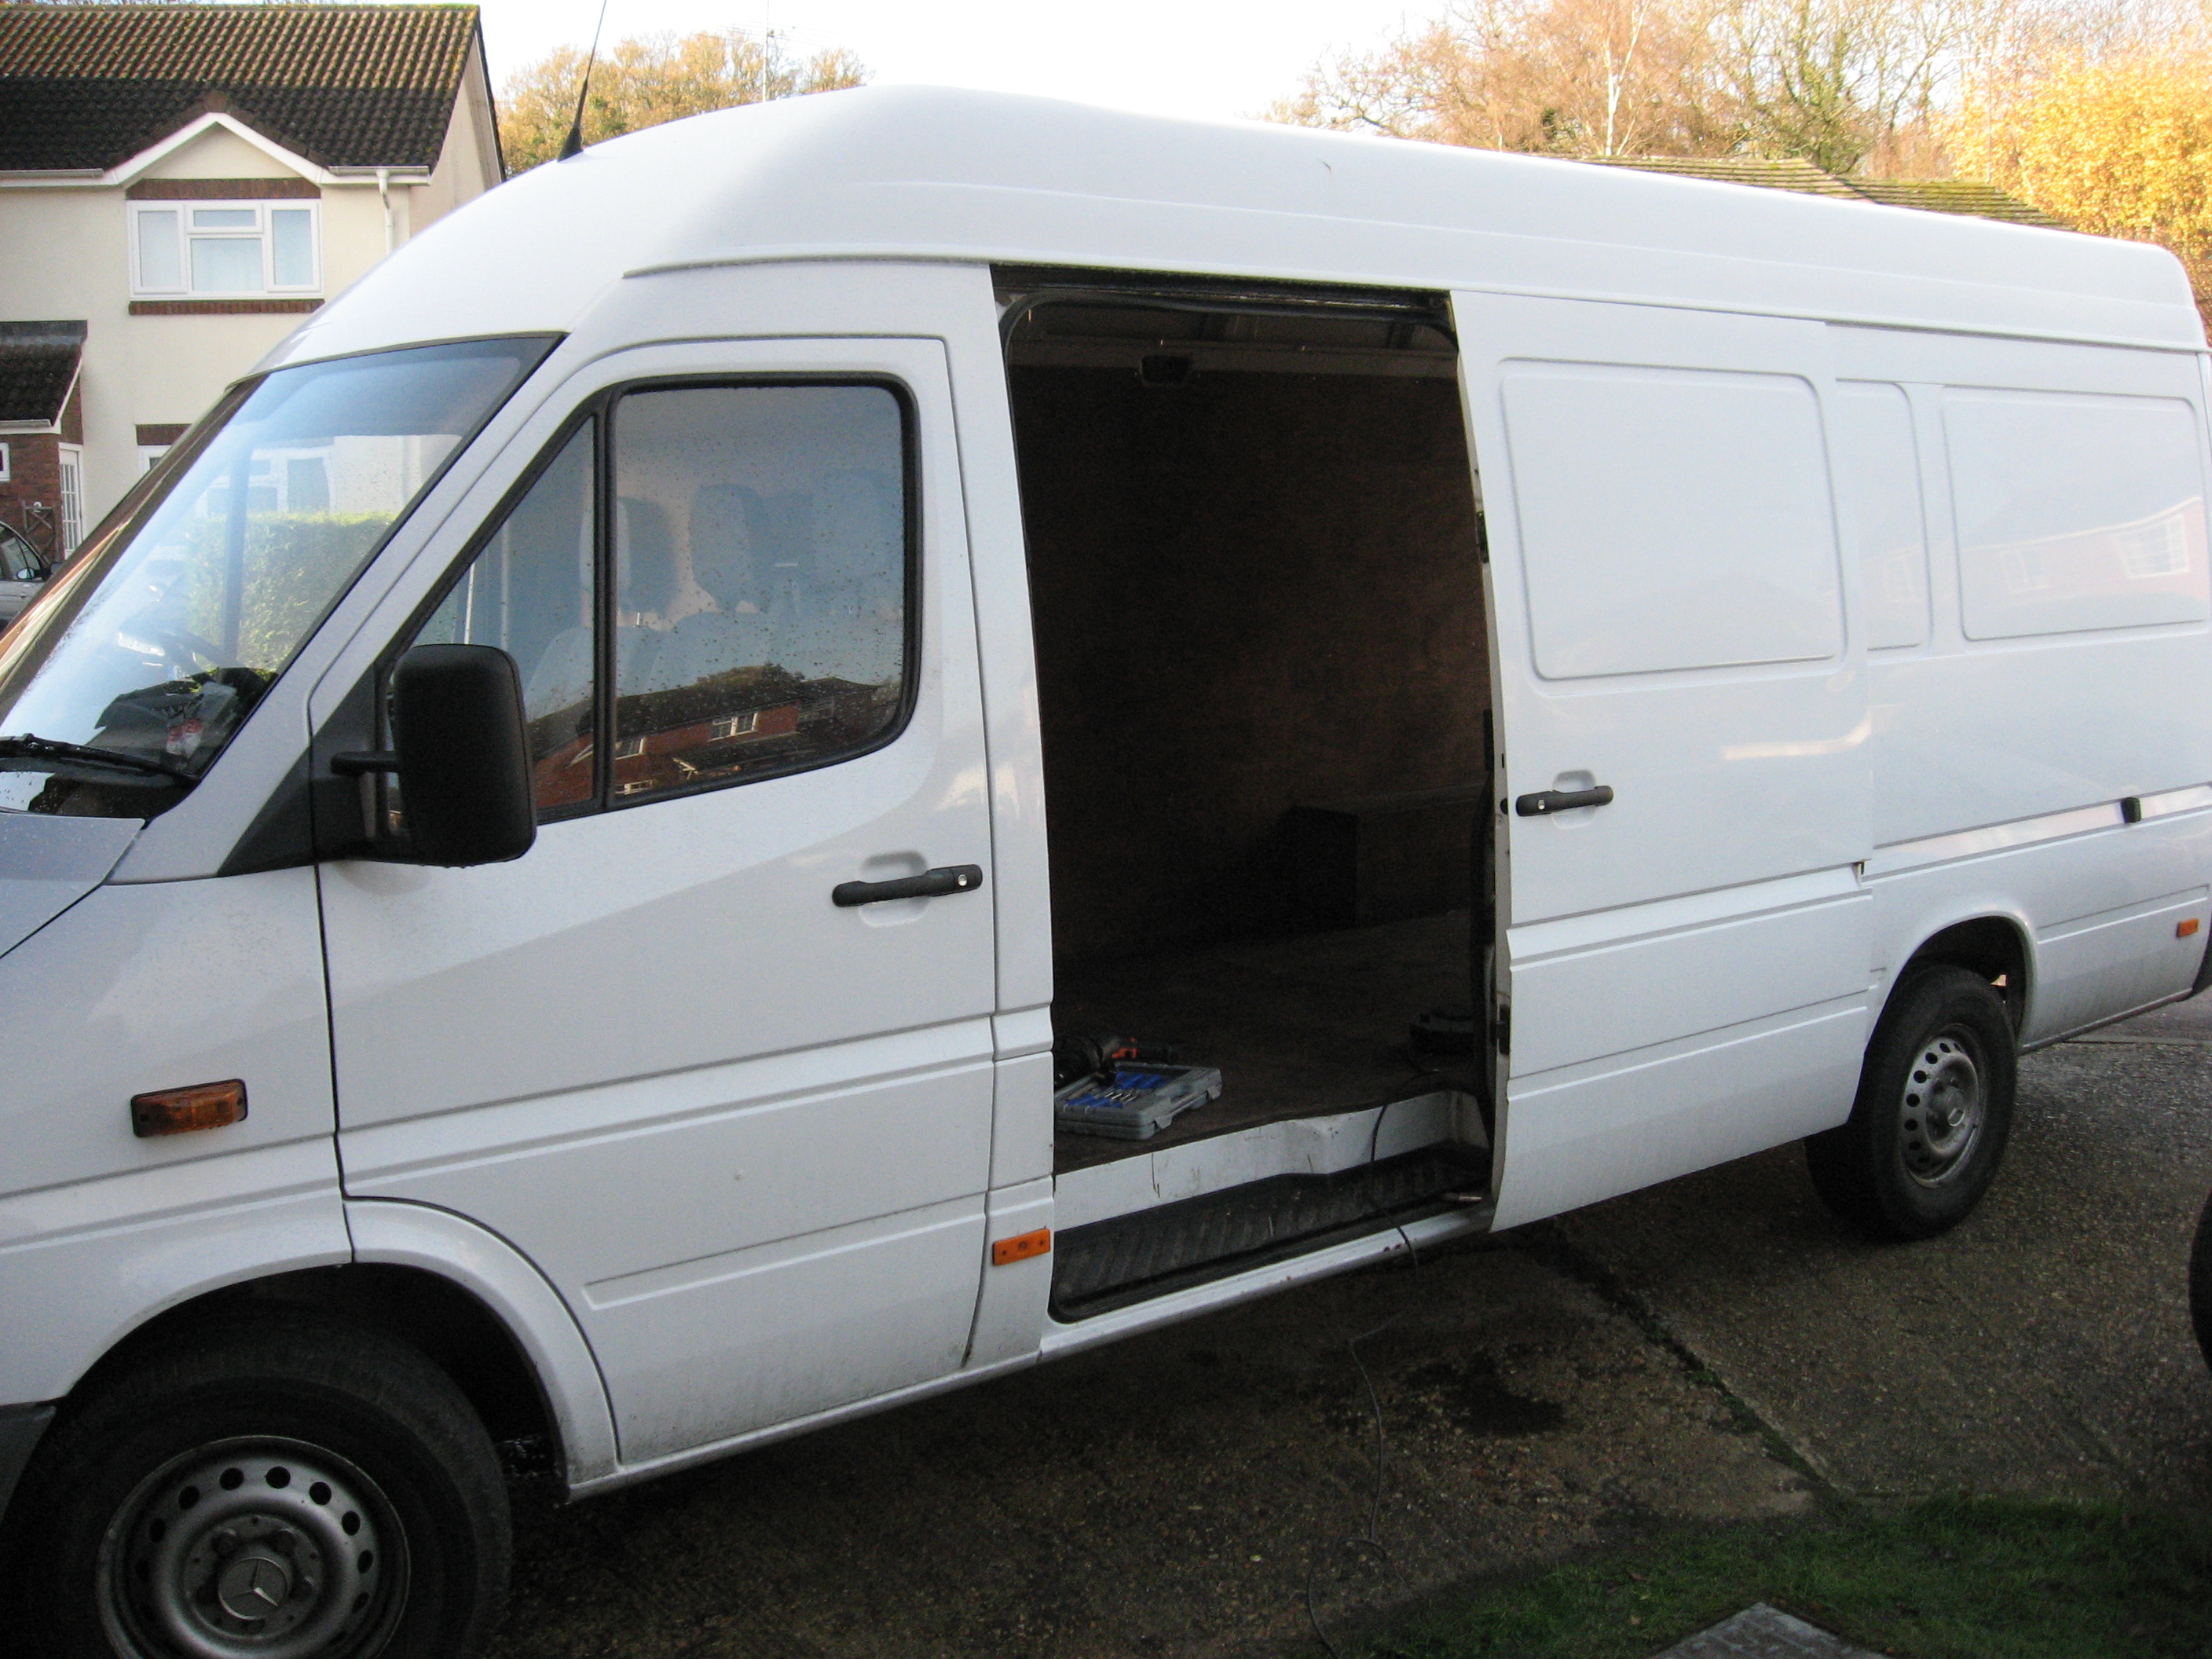
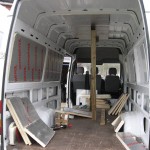
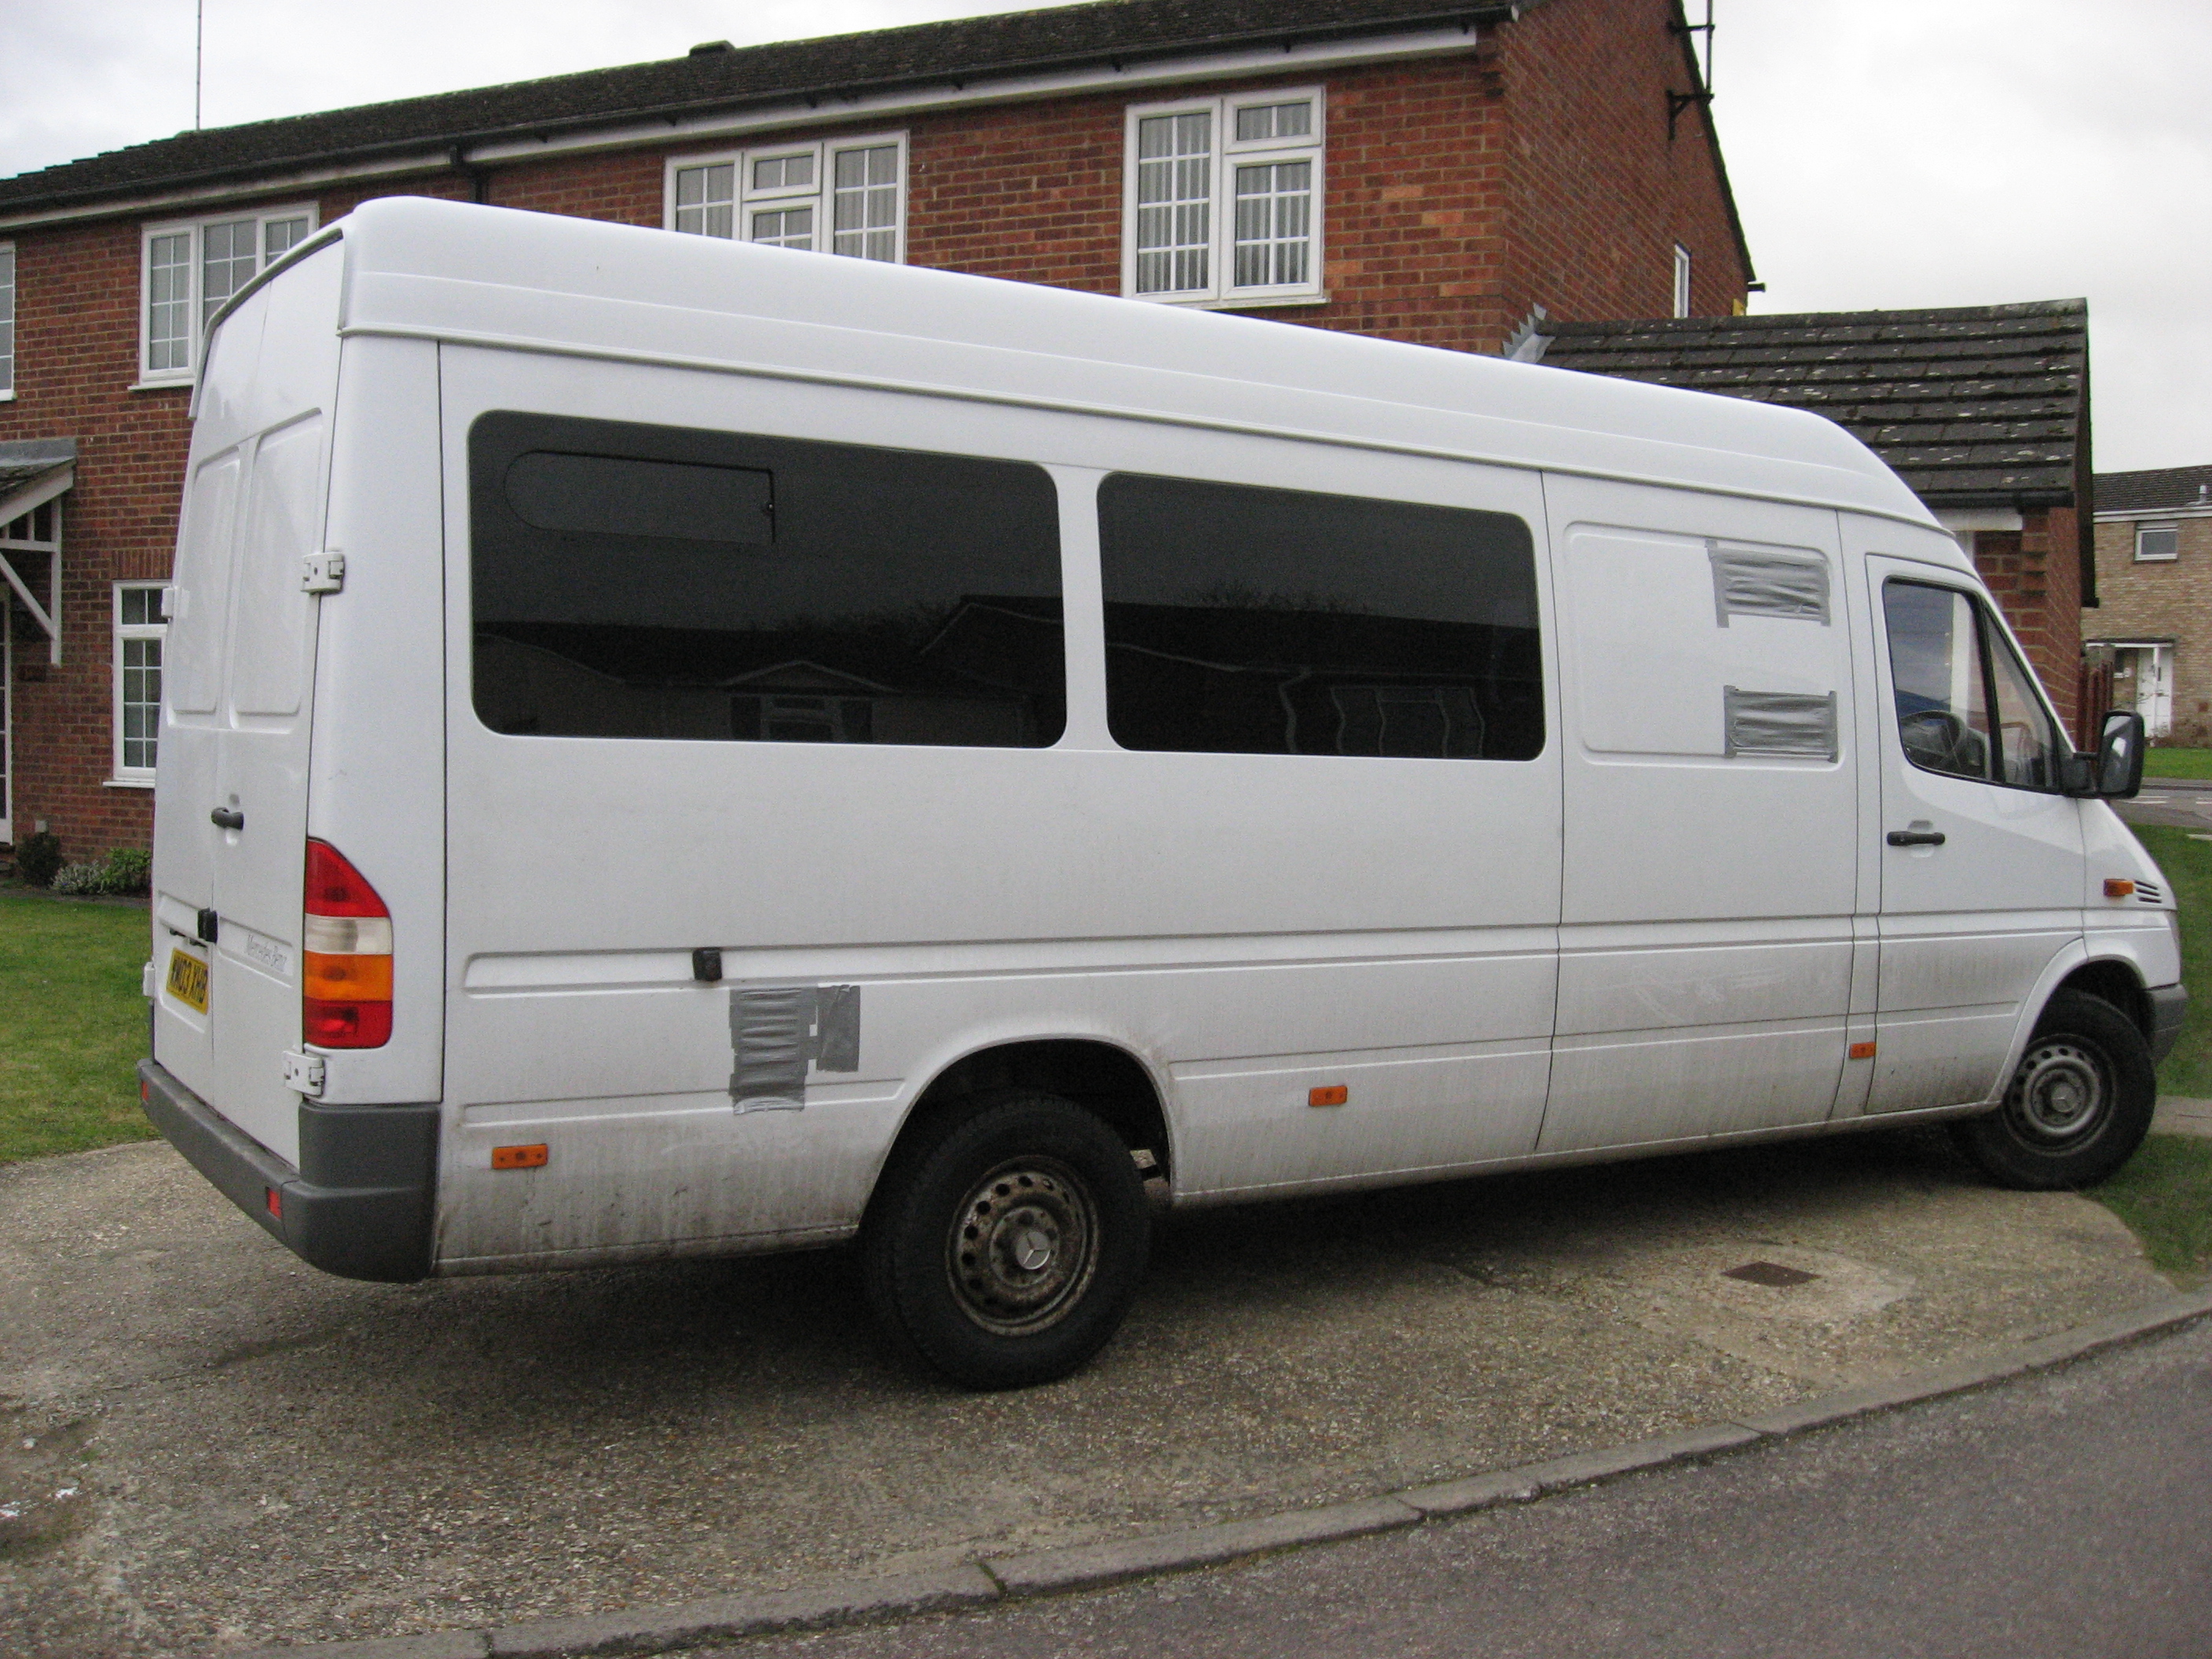
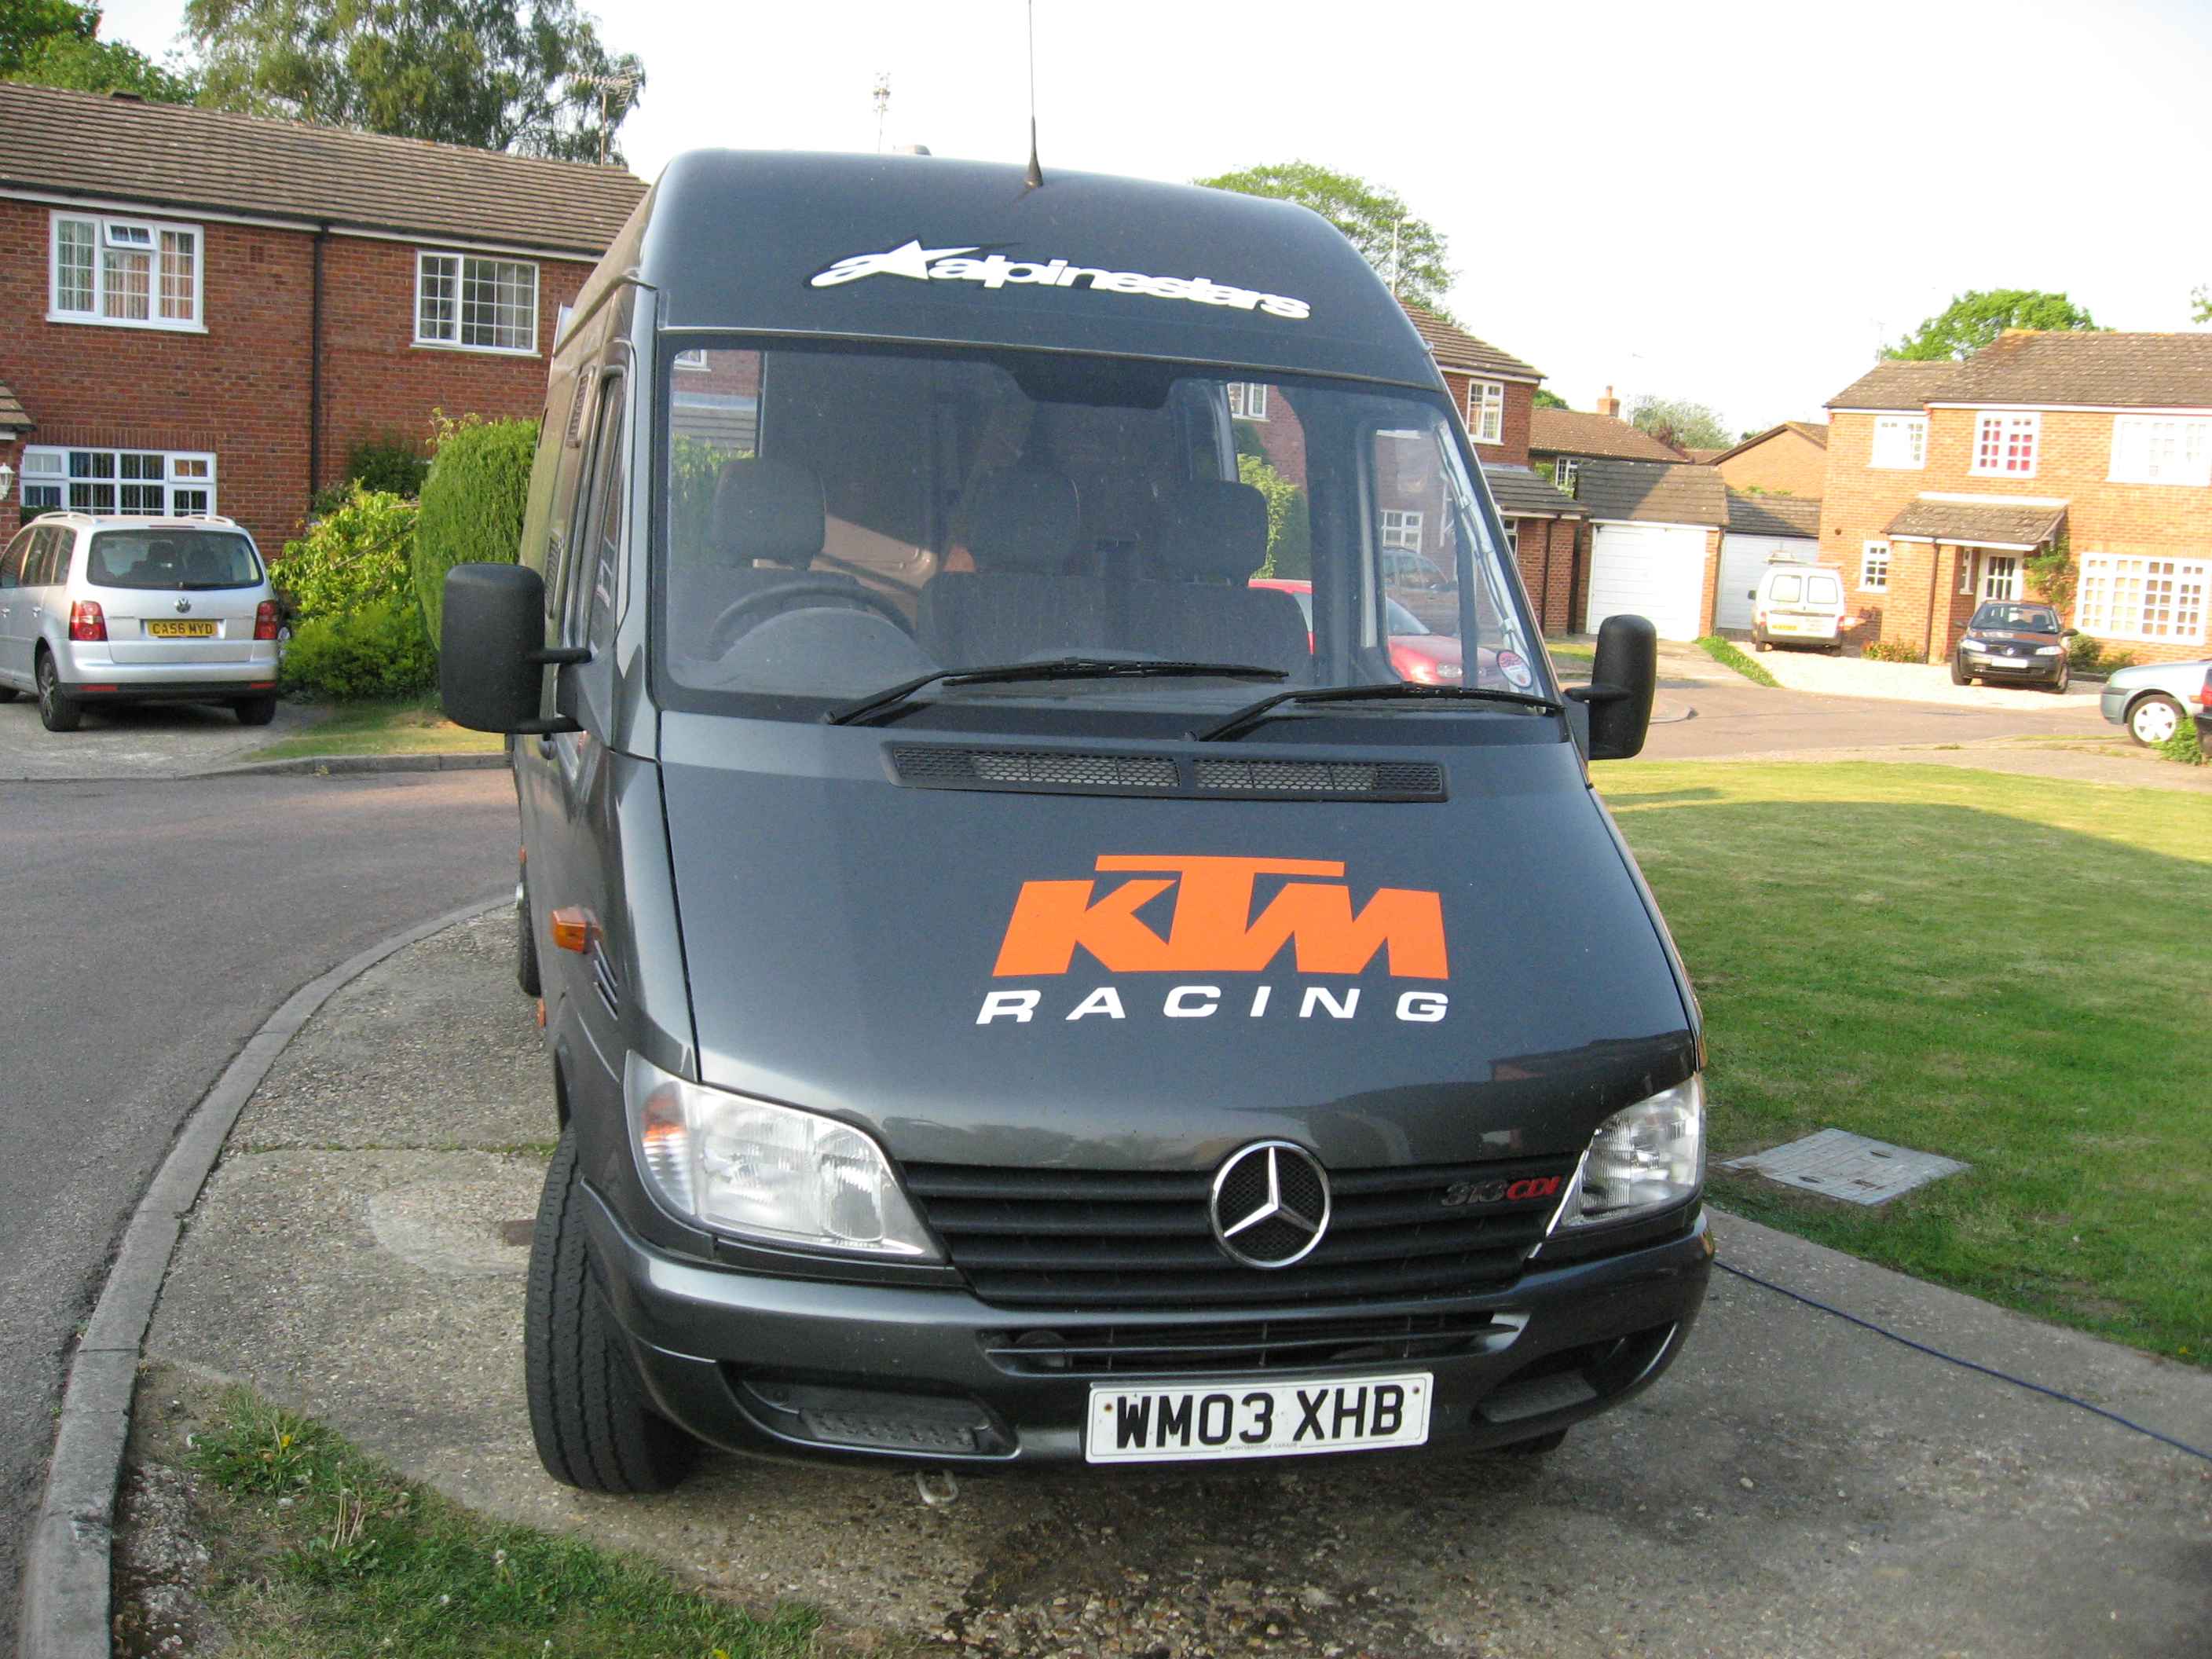
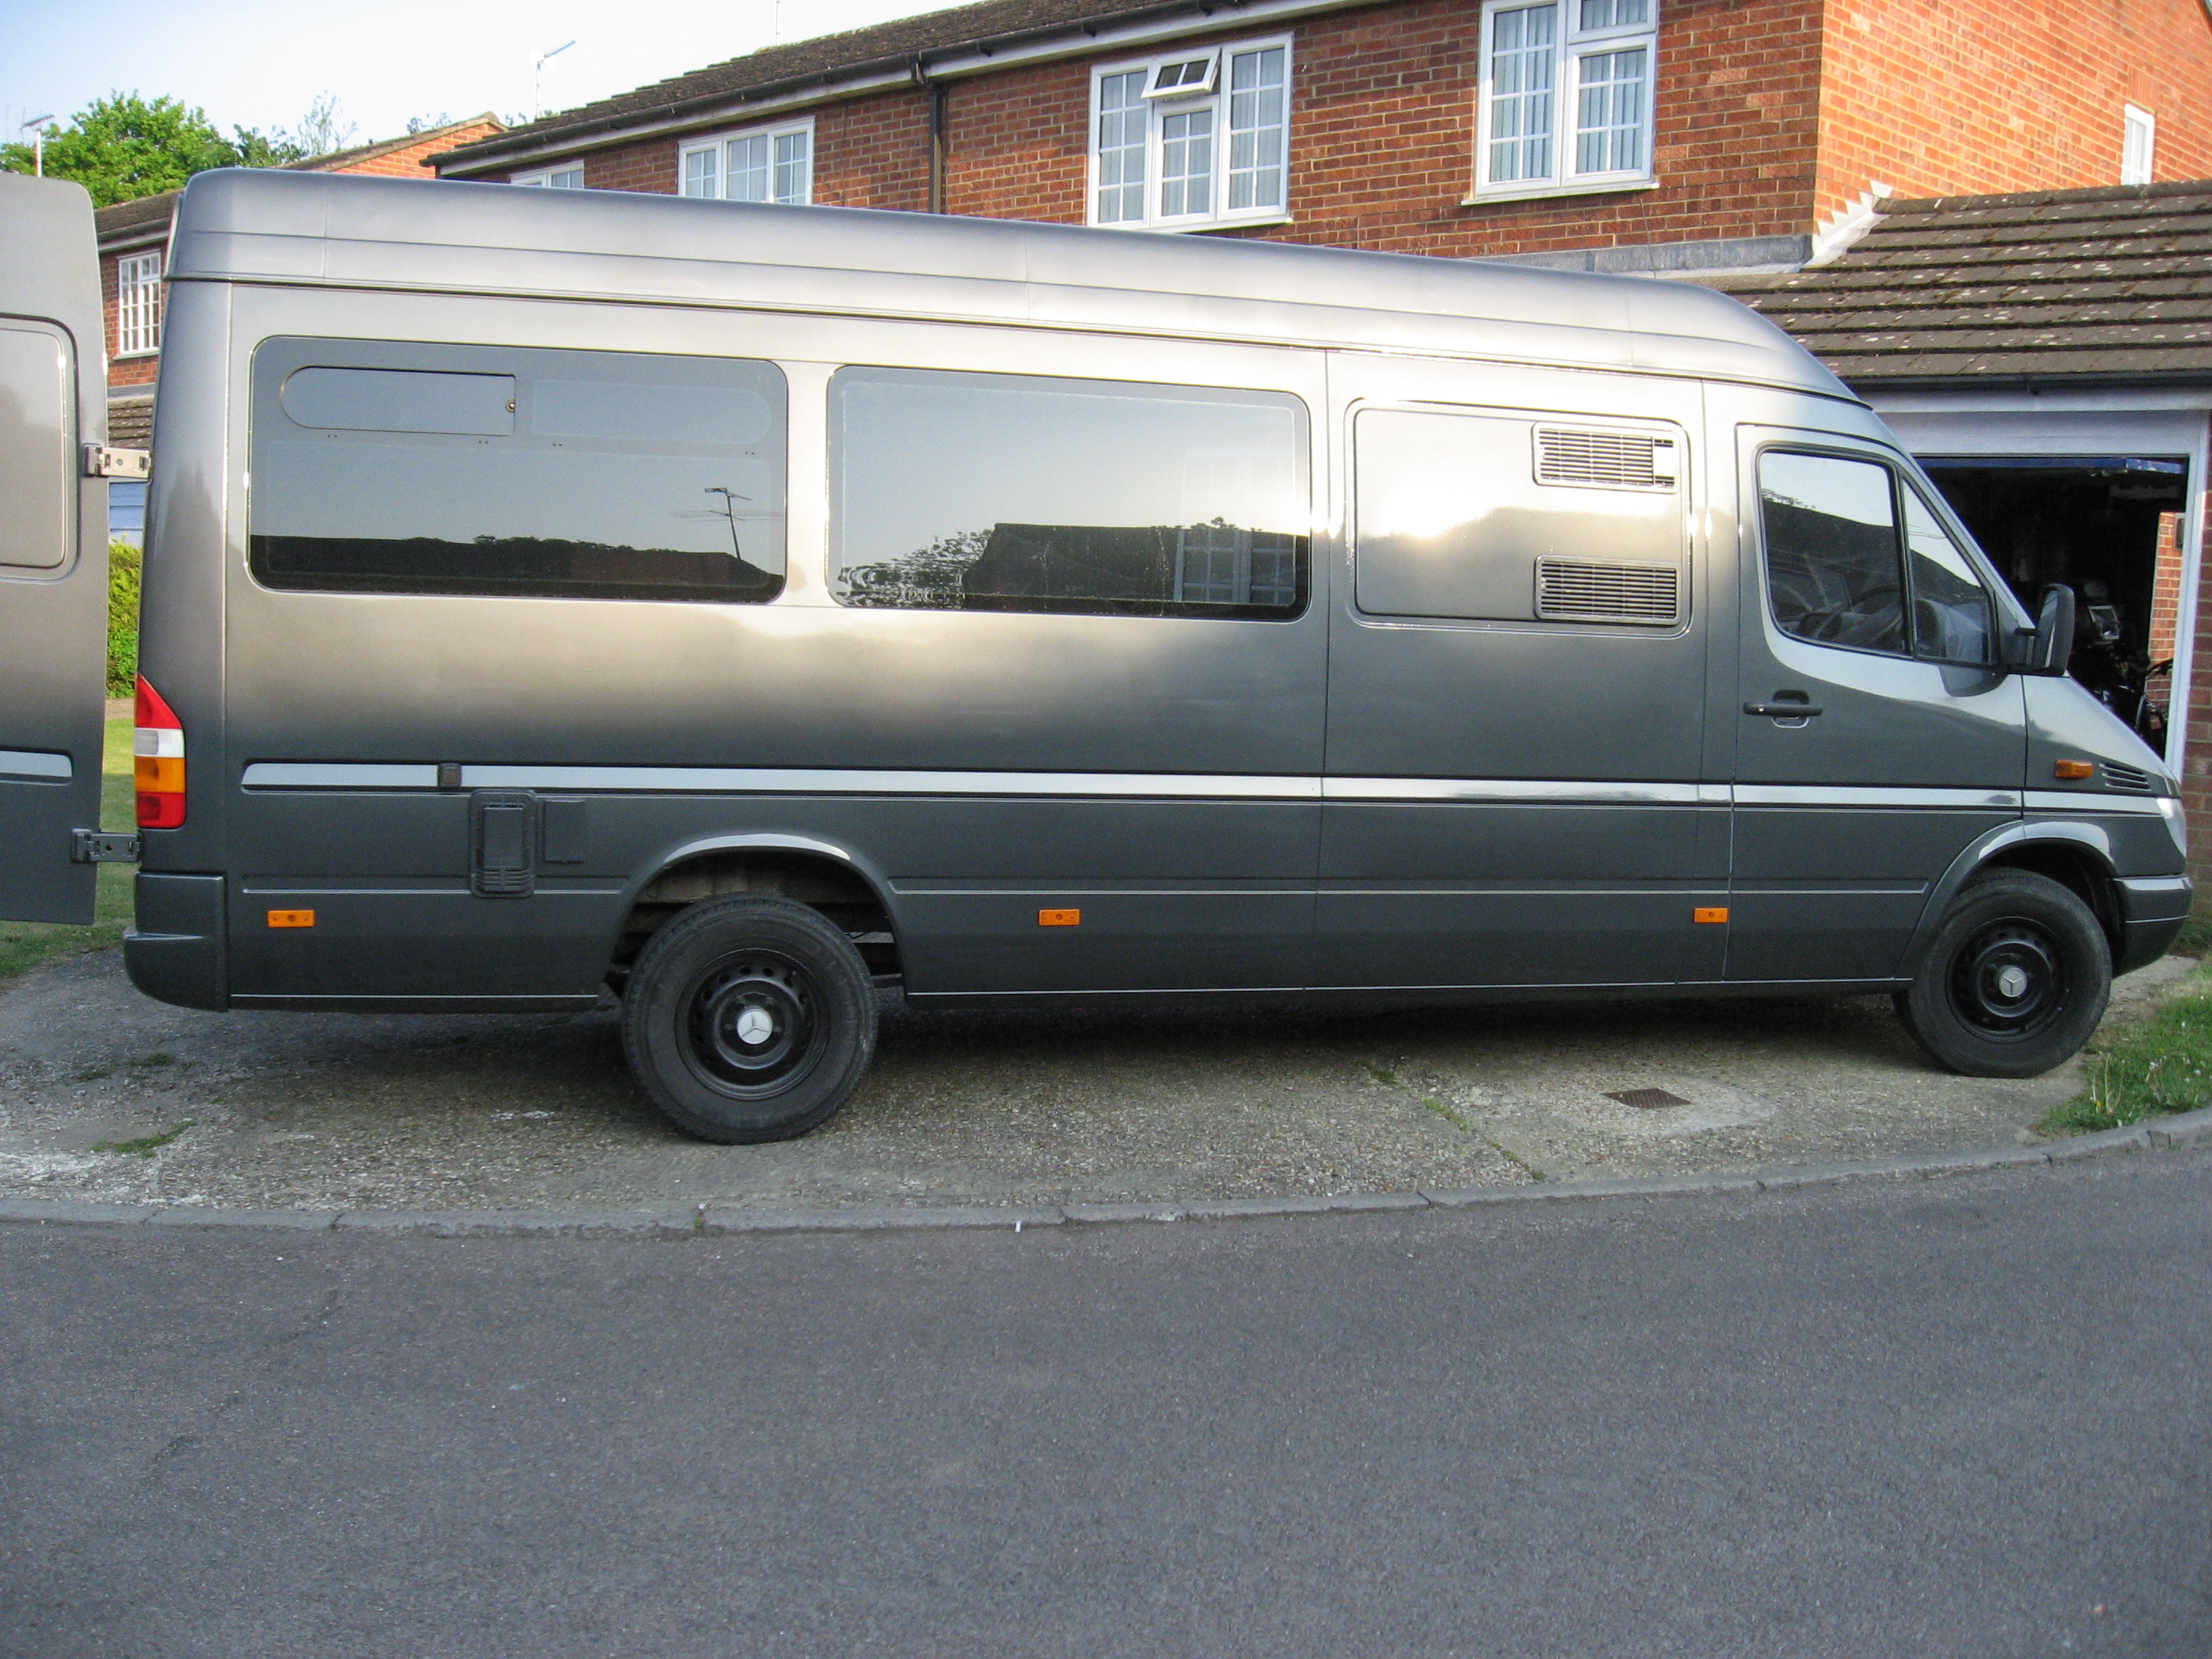
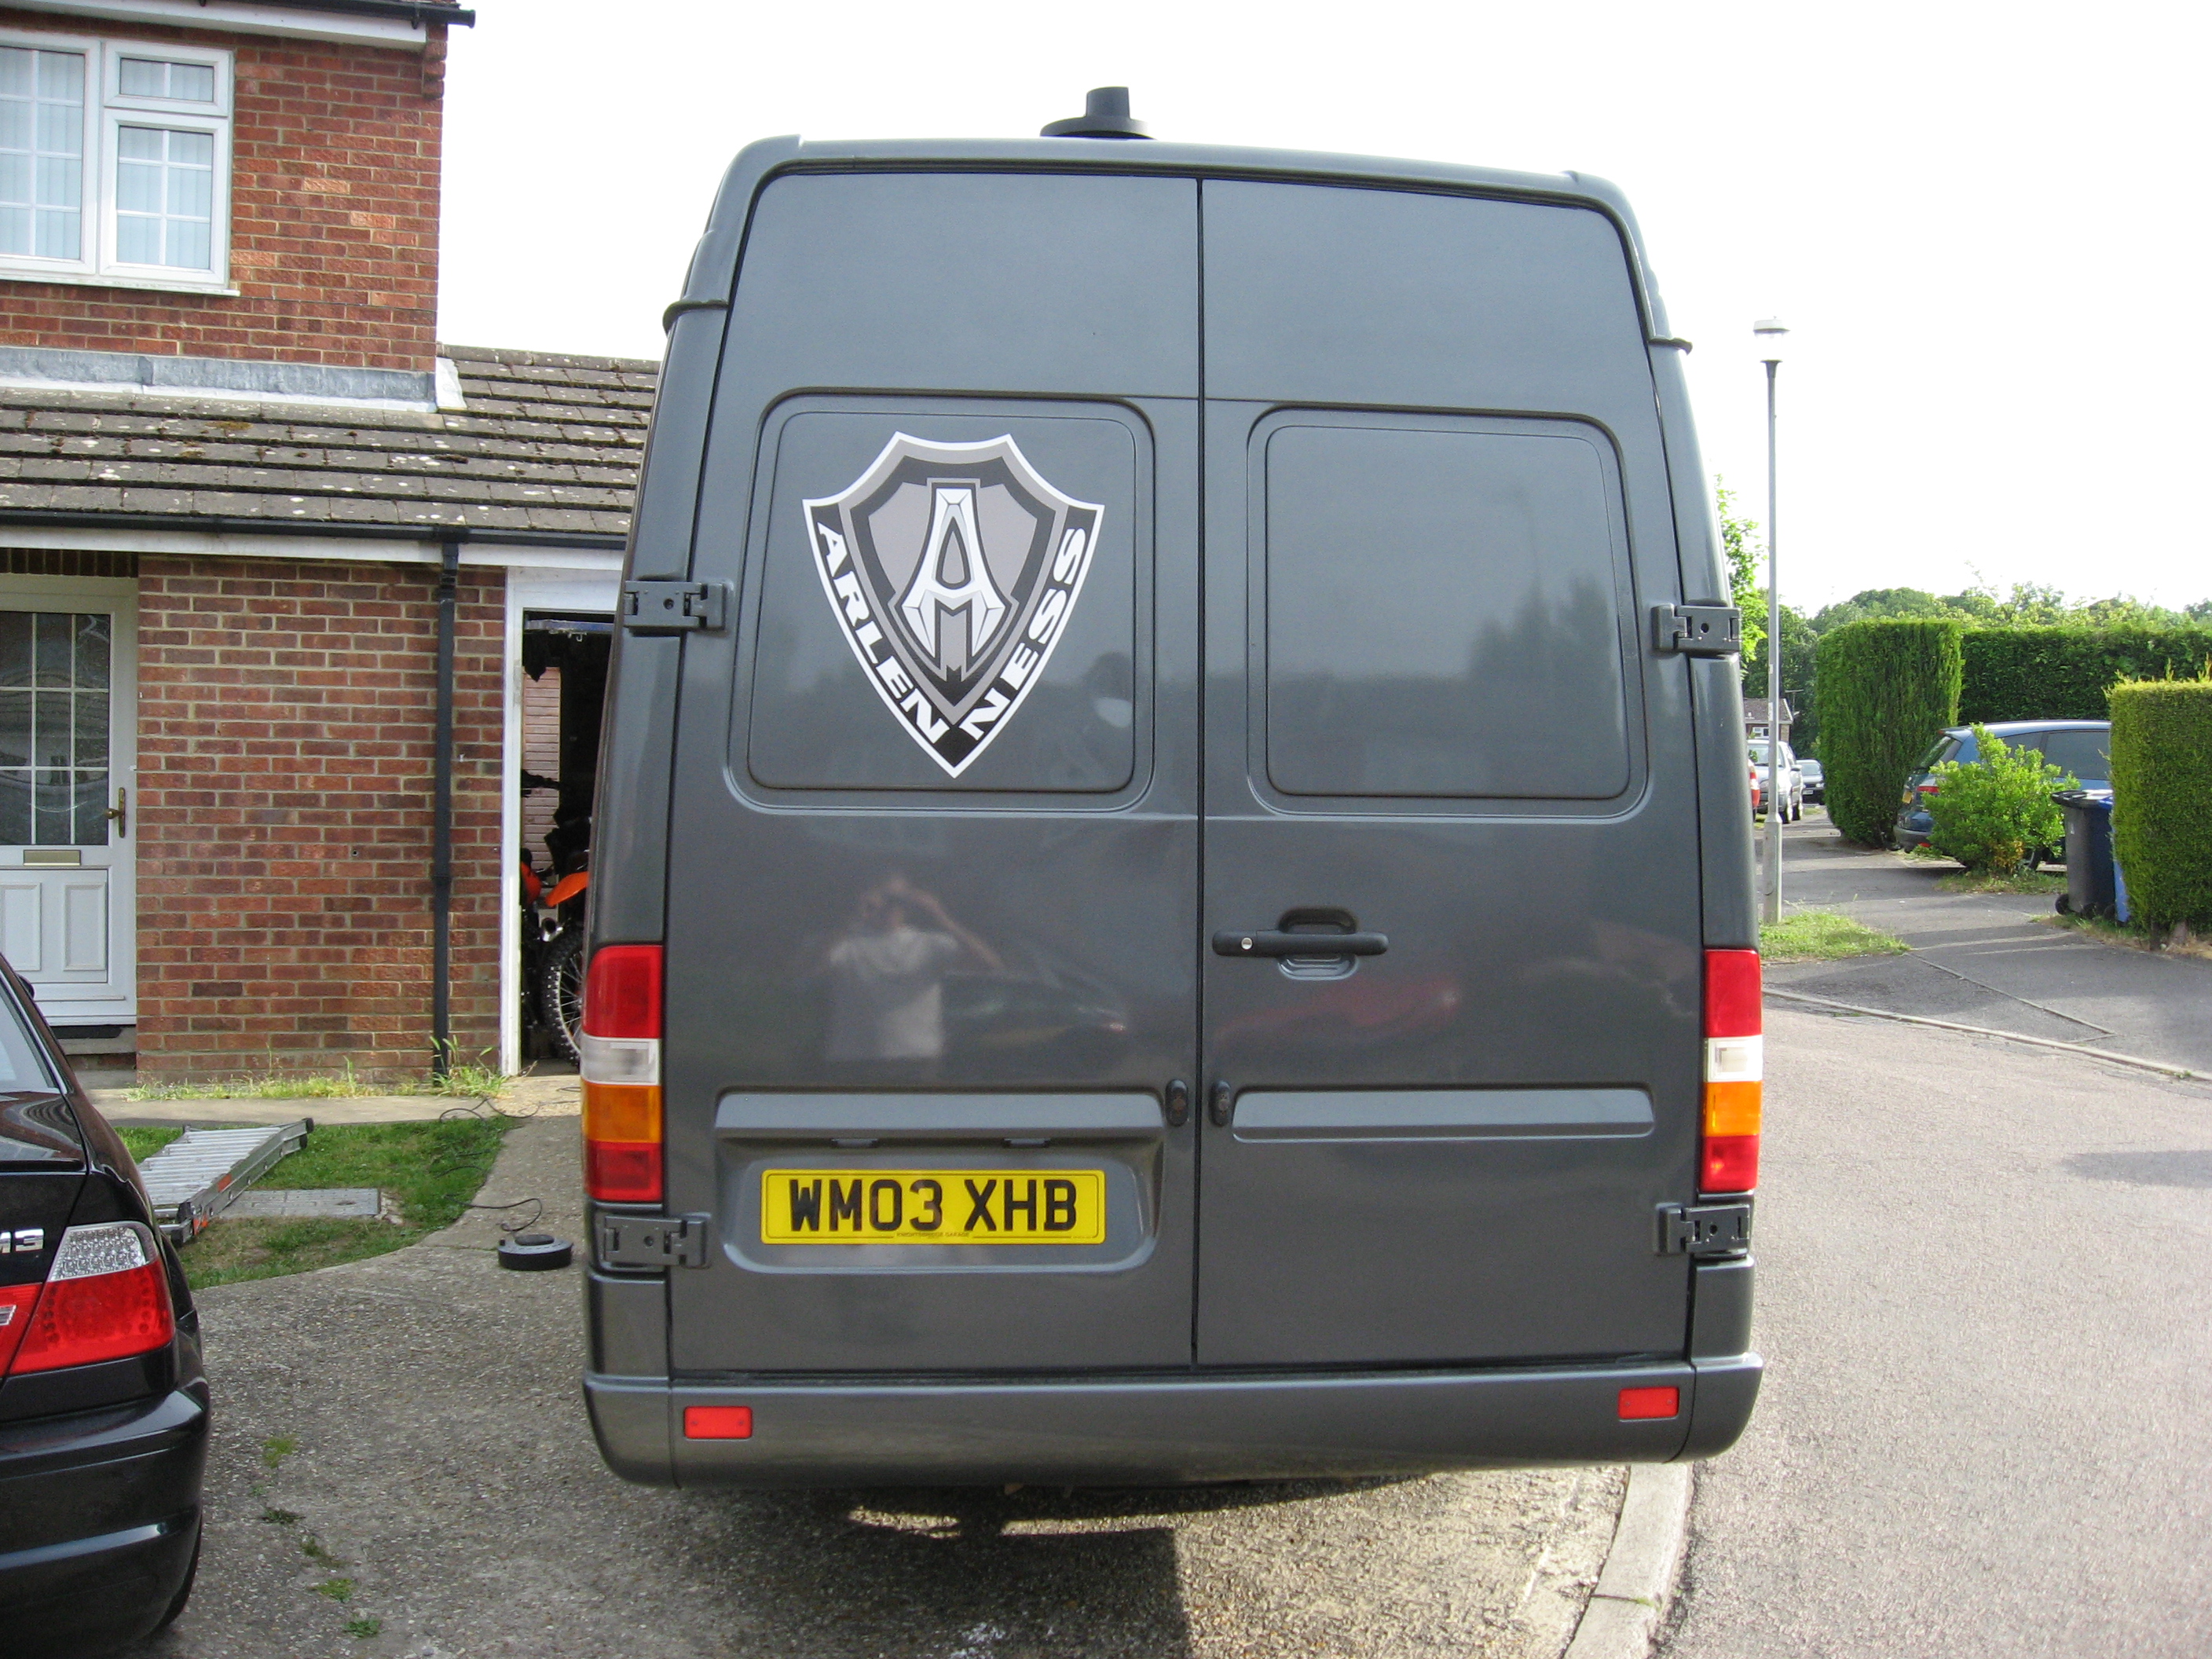
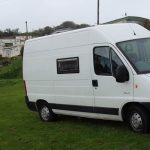
- The van arrives!
-
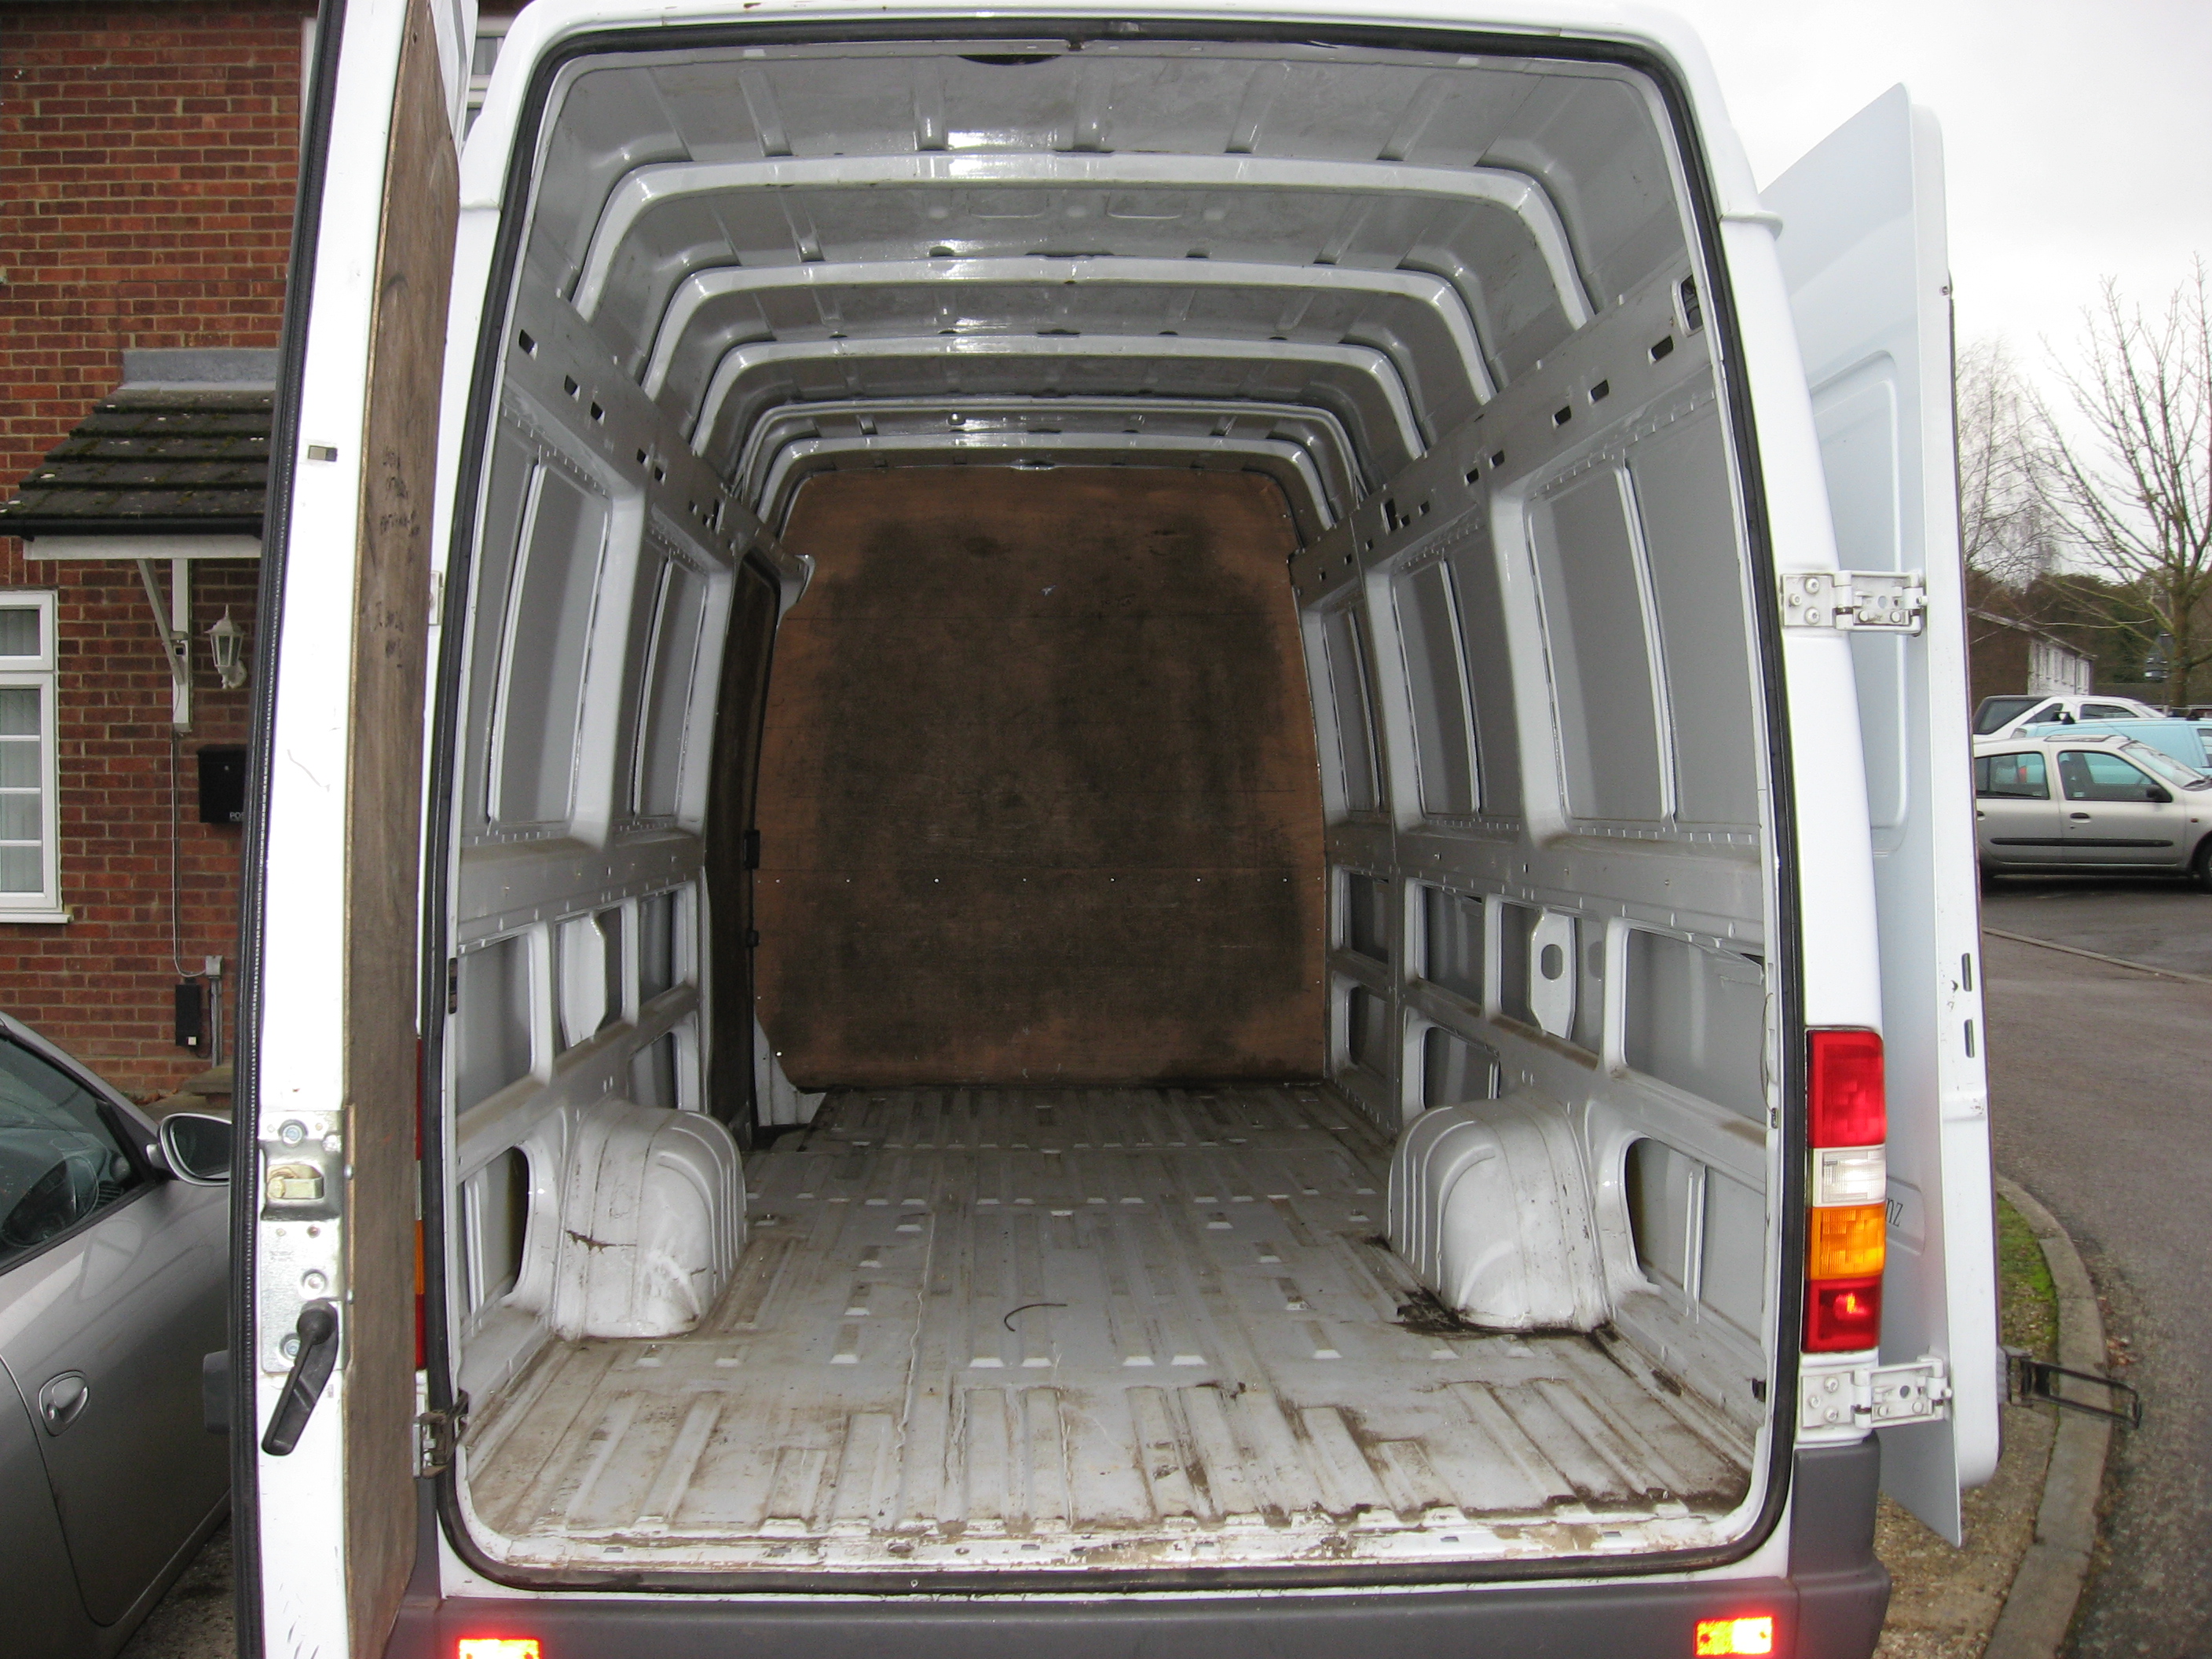
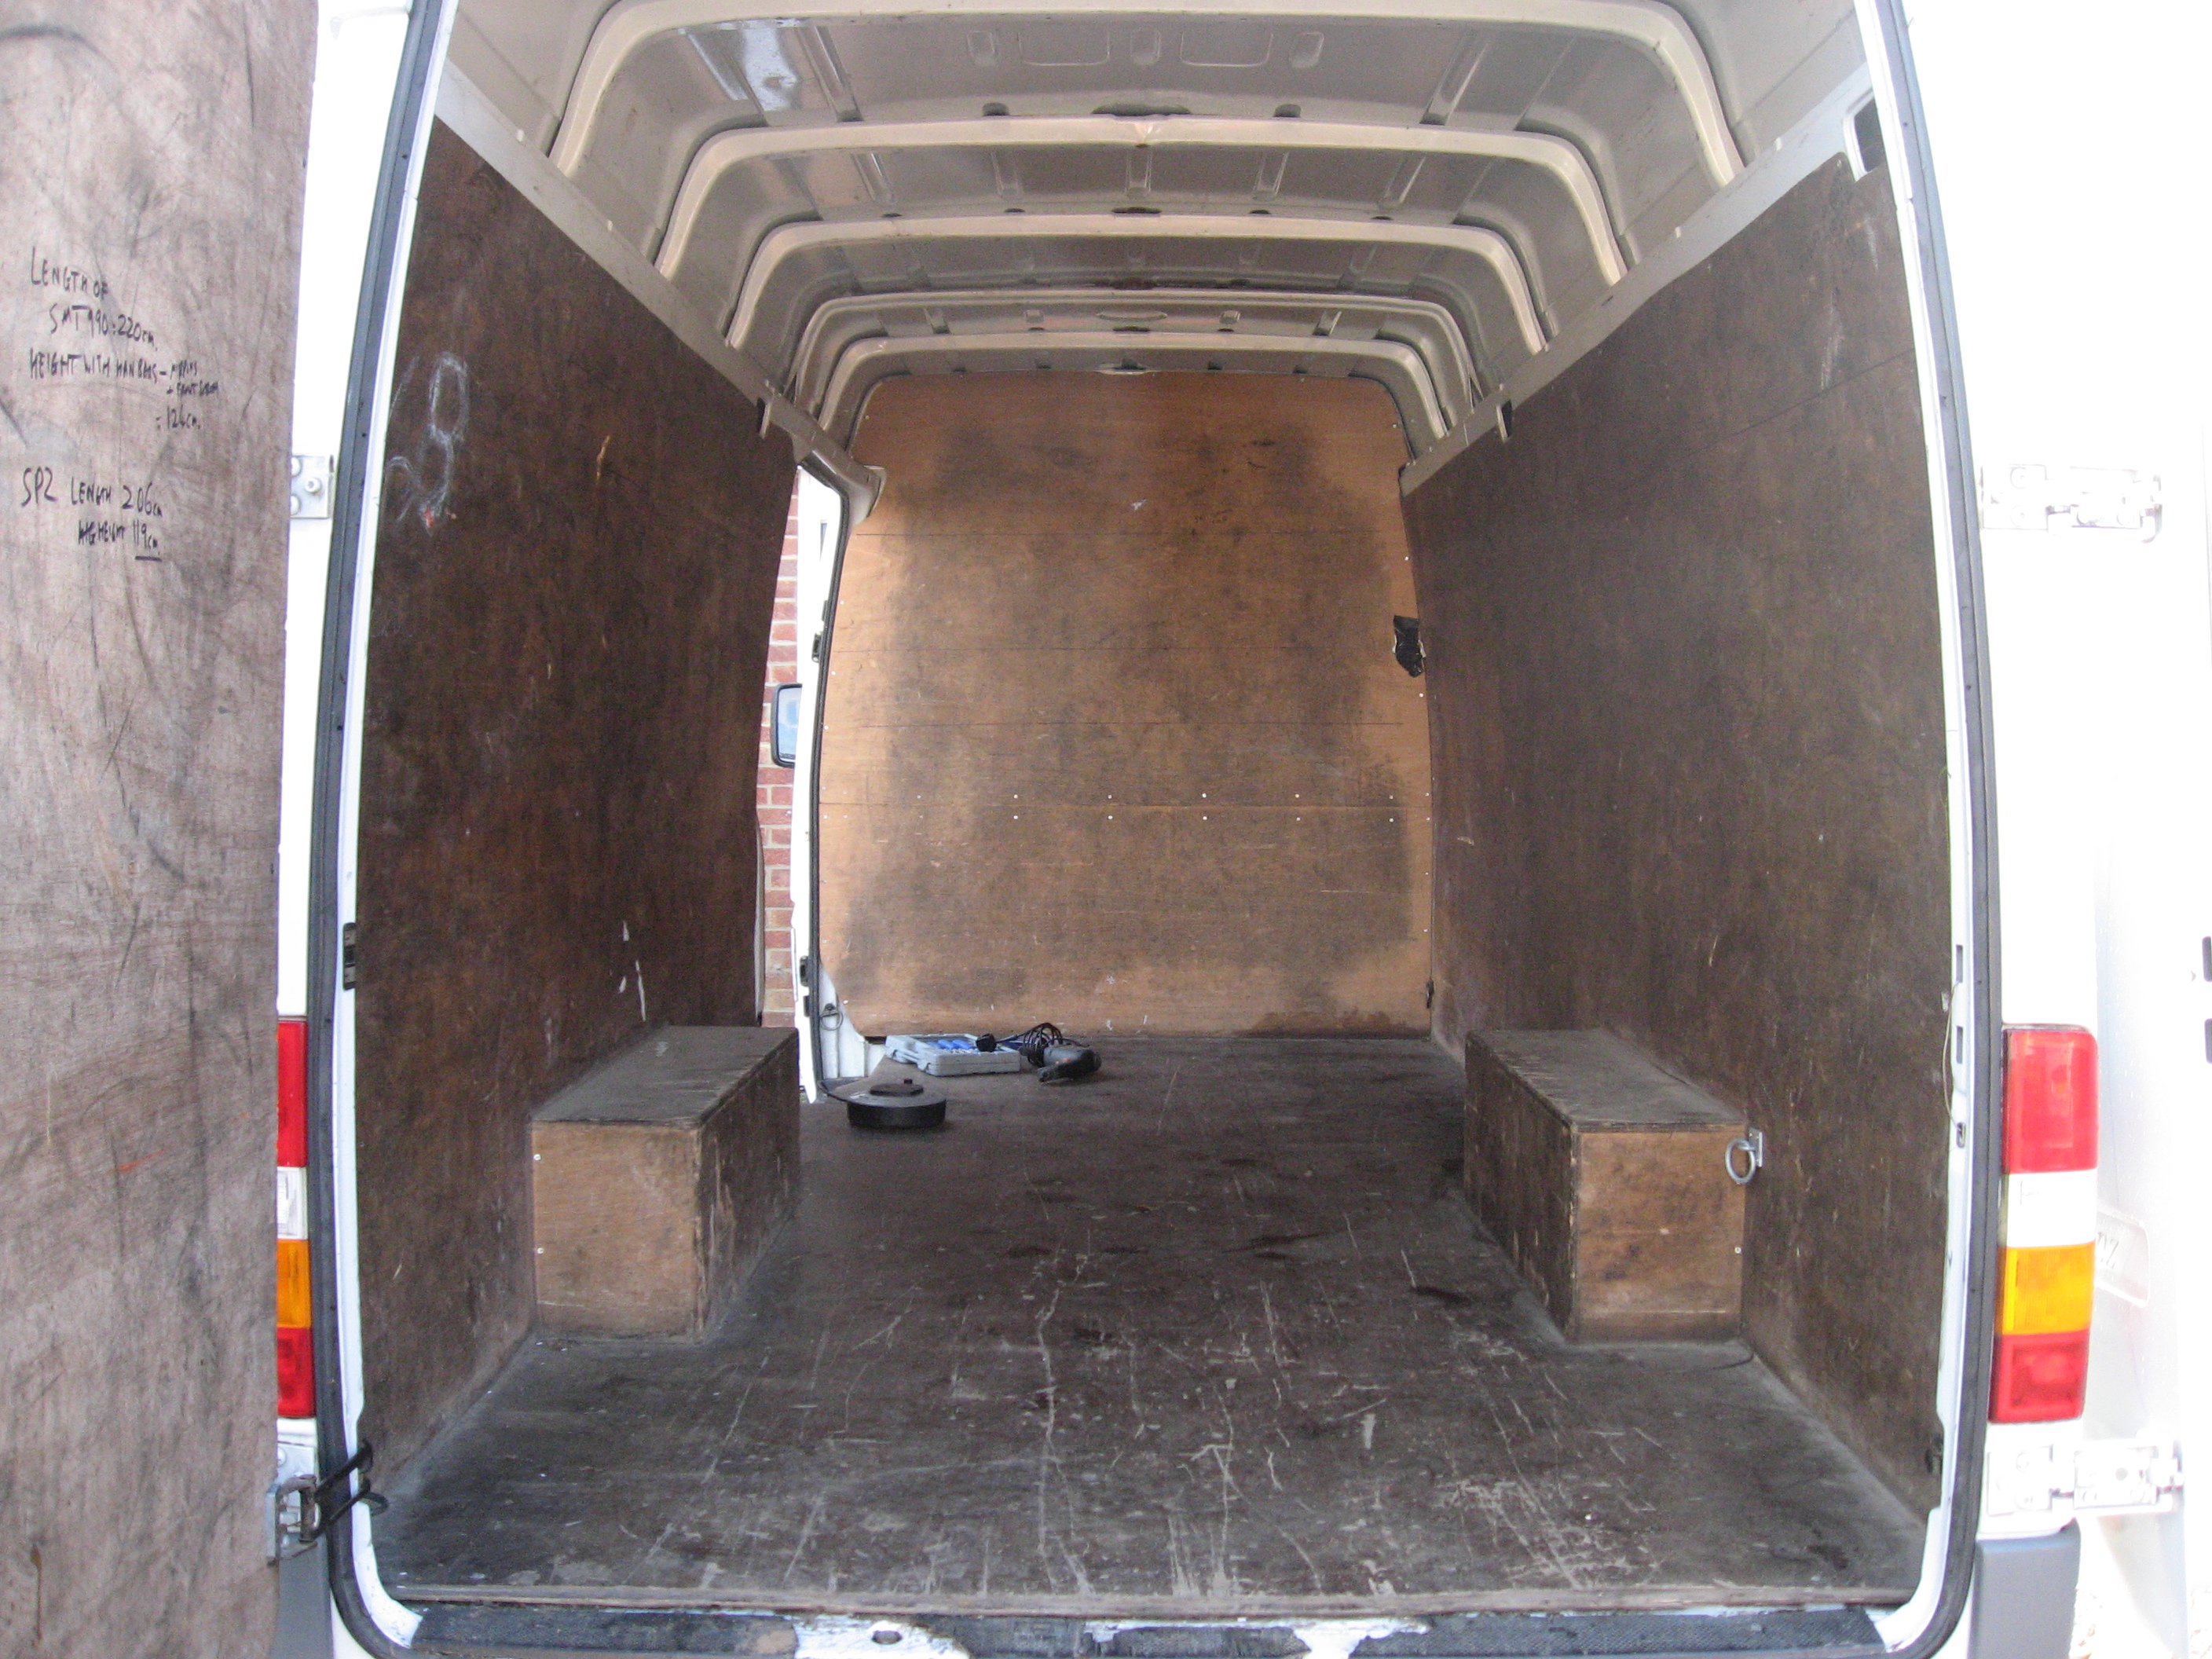
- Boarding removed just the bulkhead panel to go
-
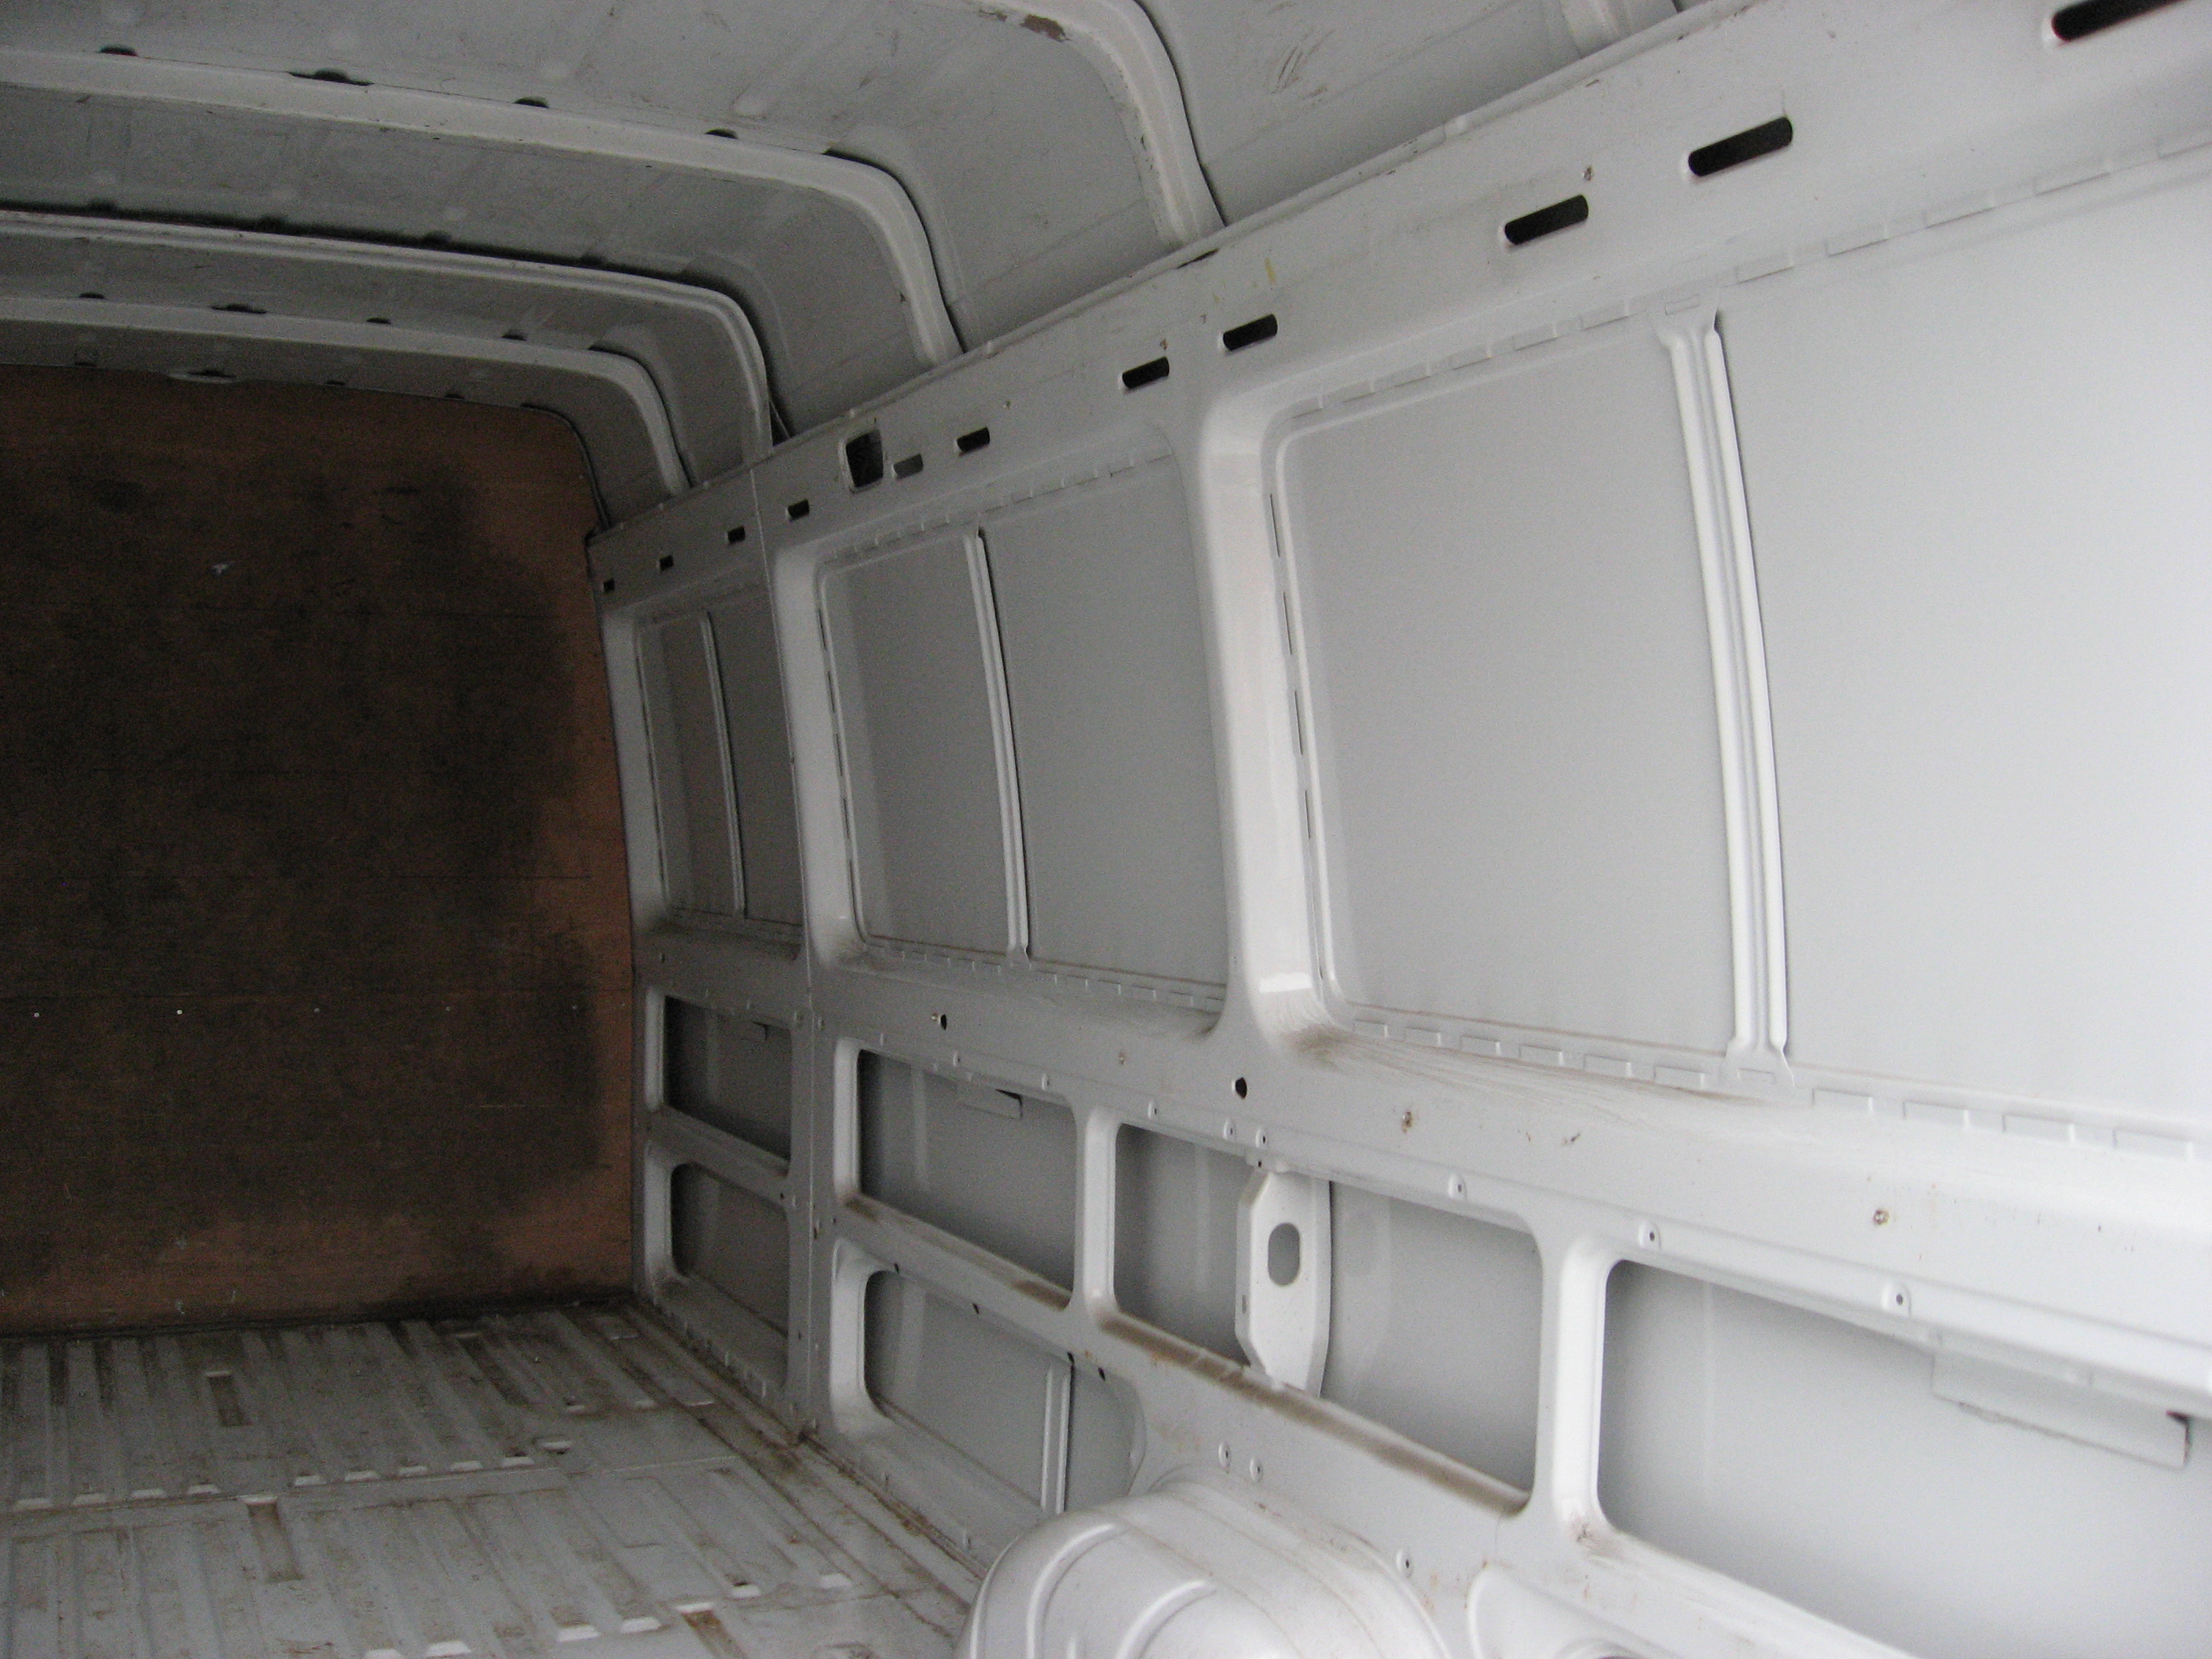
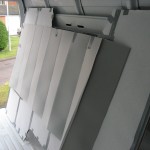
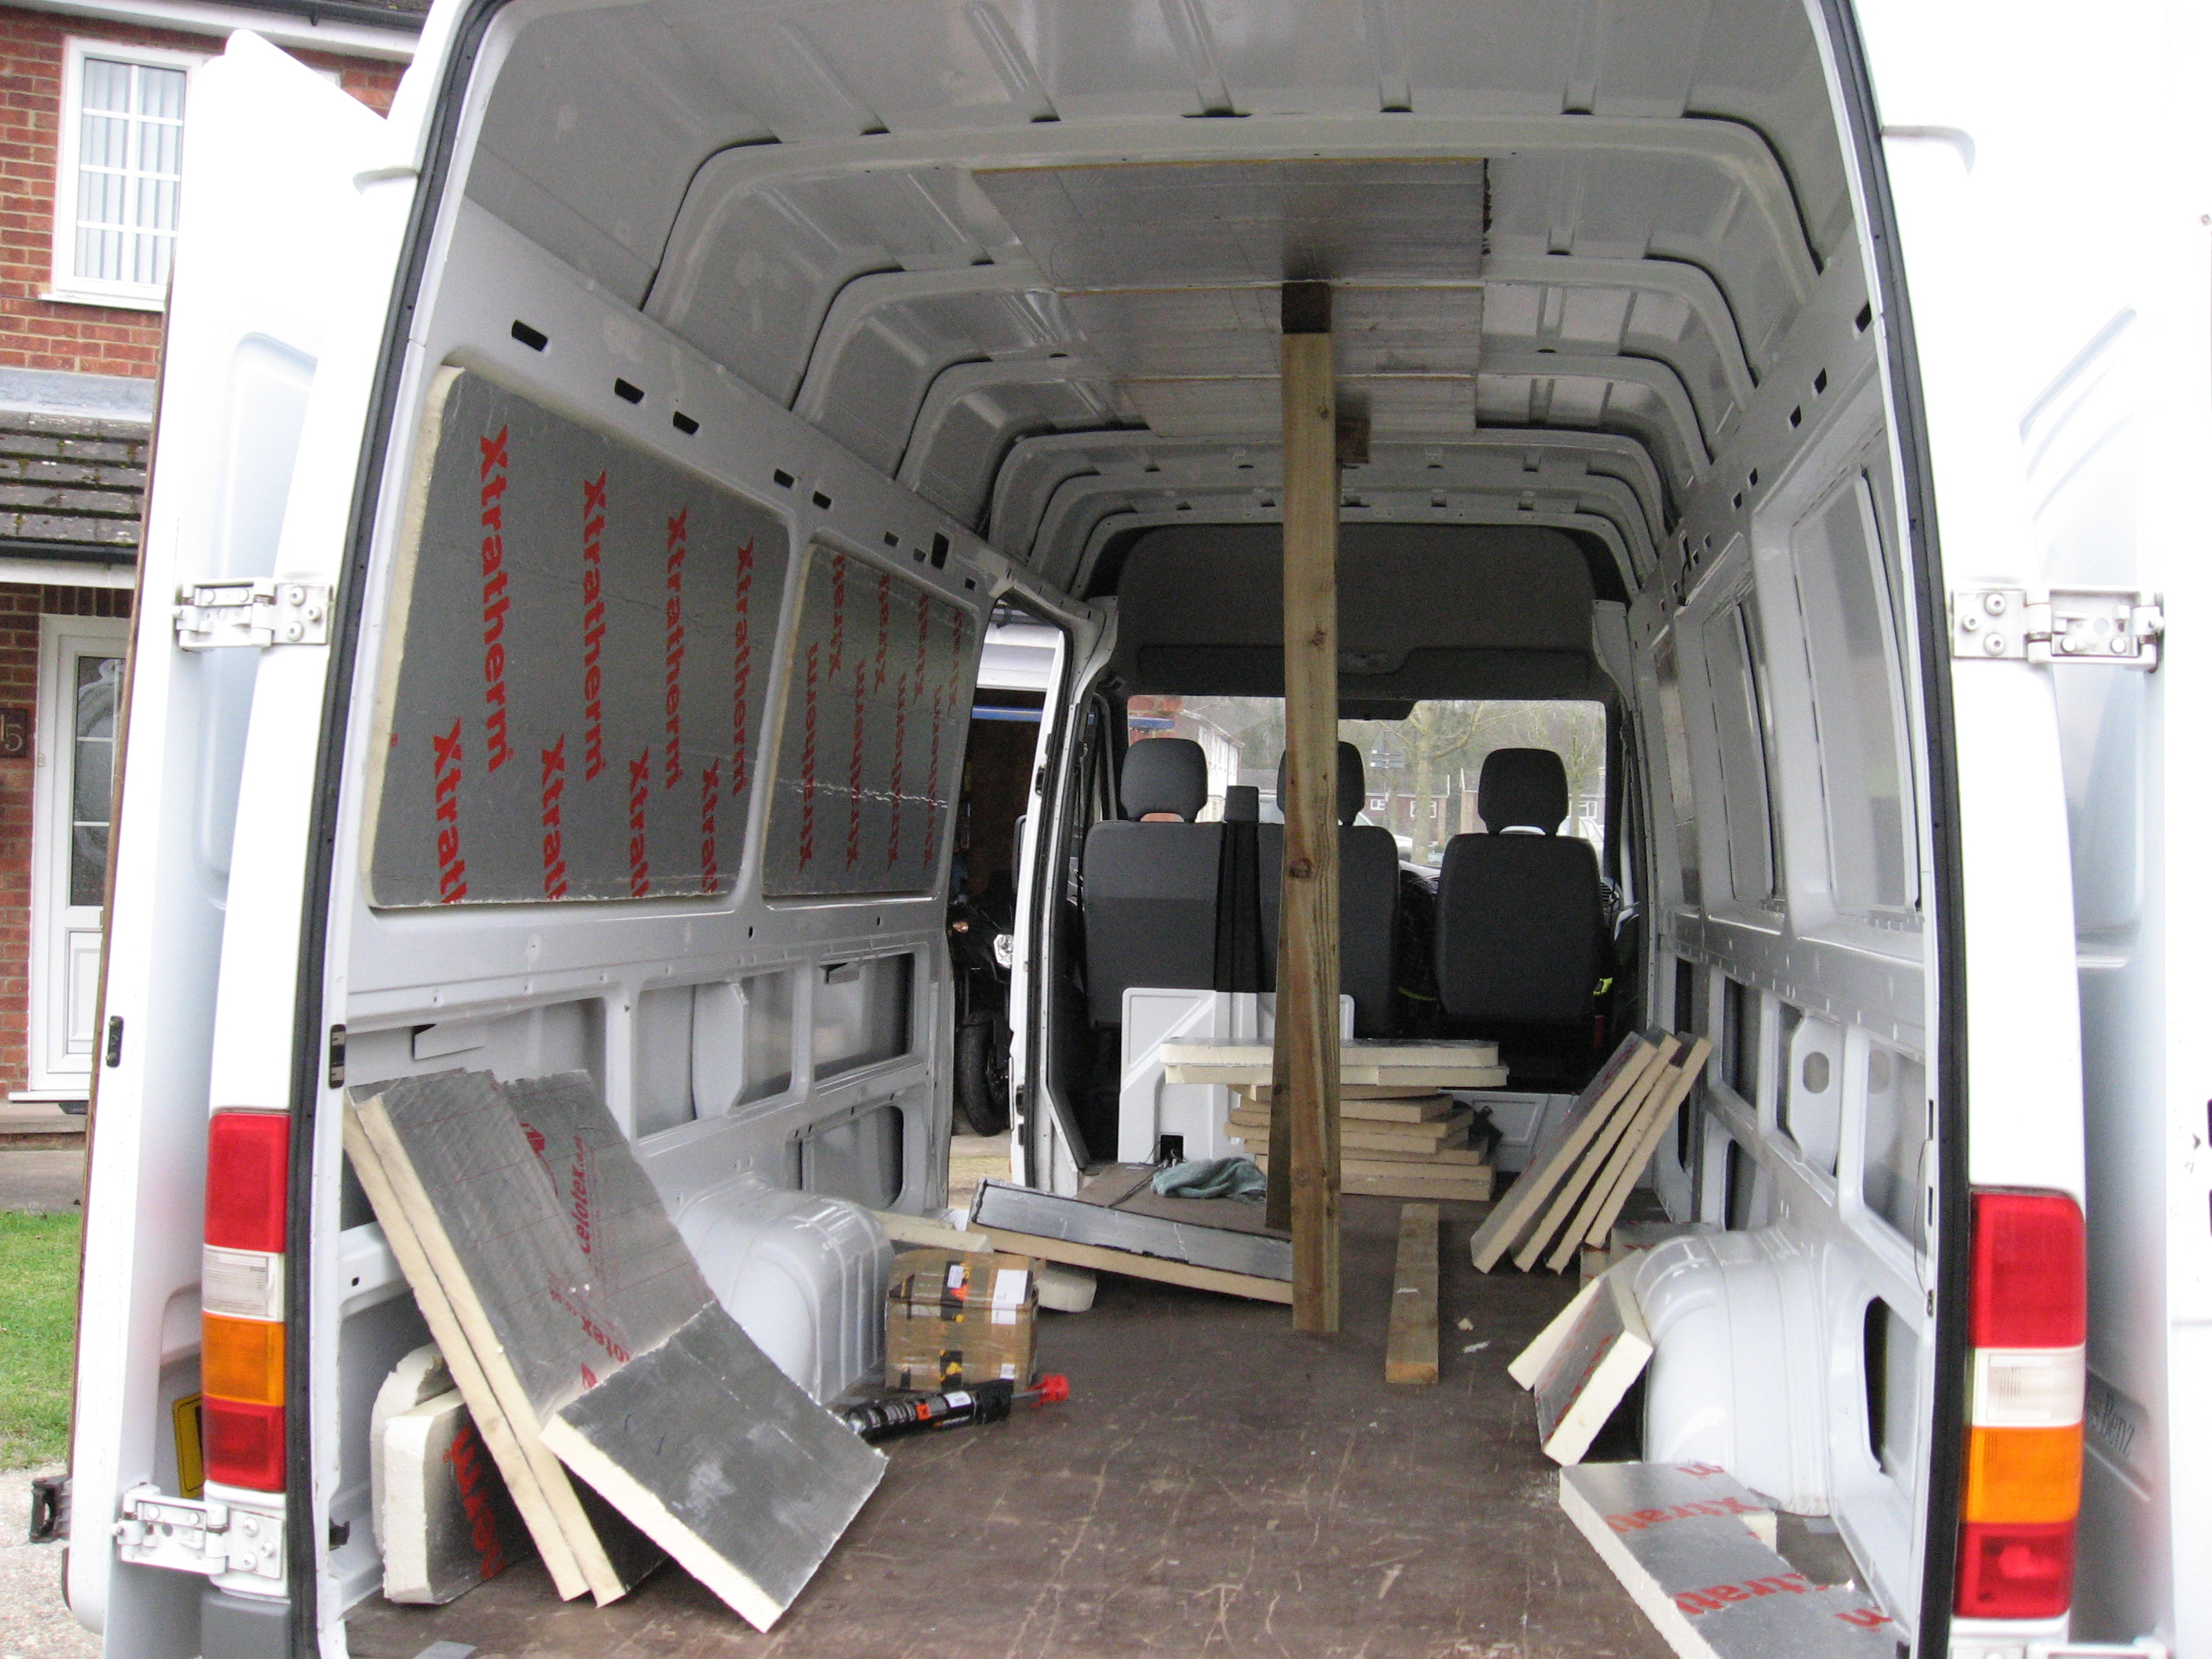
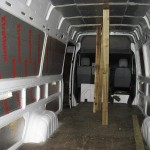
- Panelling removed & ready to get building
-
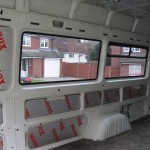
- Existing panelling removed prior to insulation
-
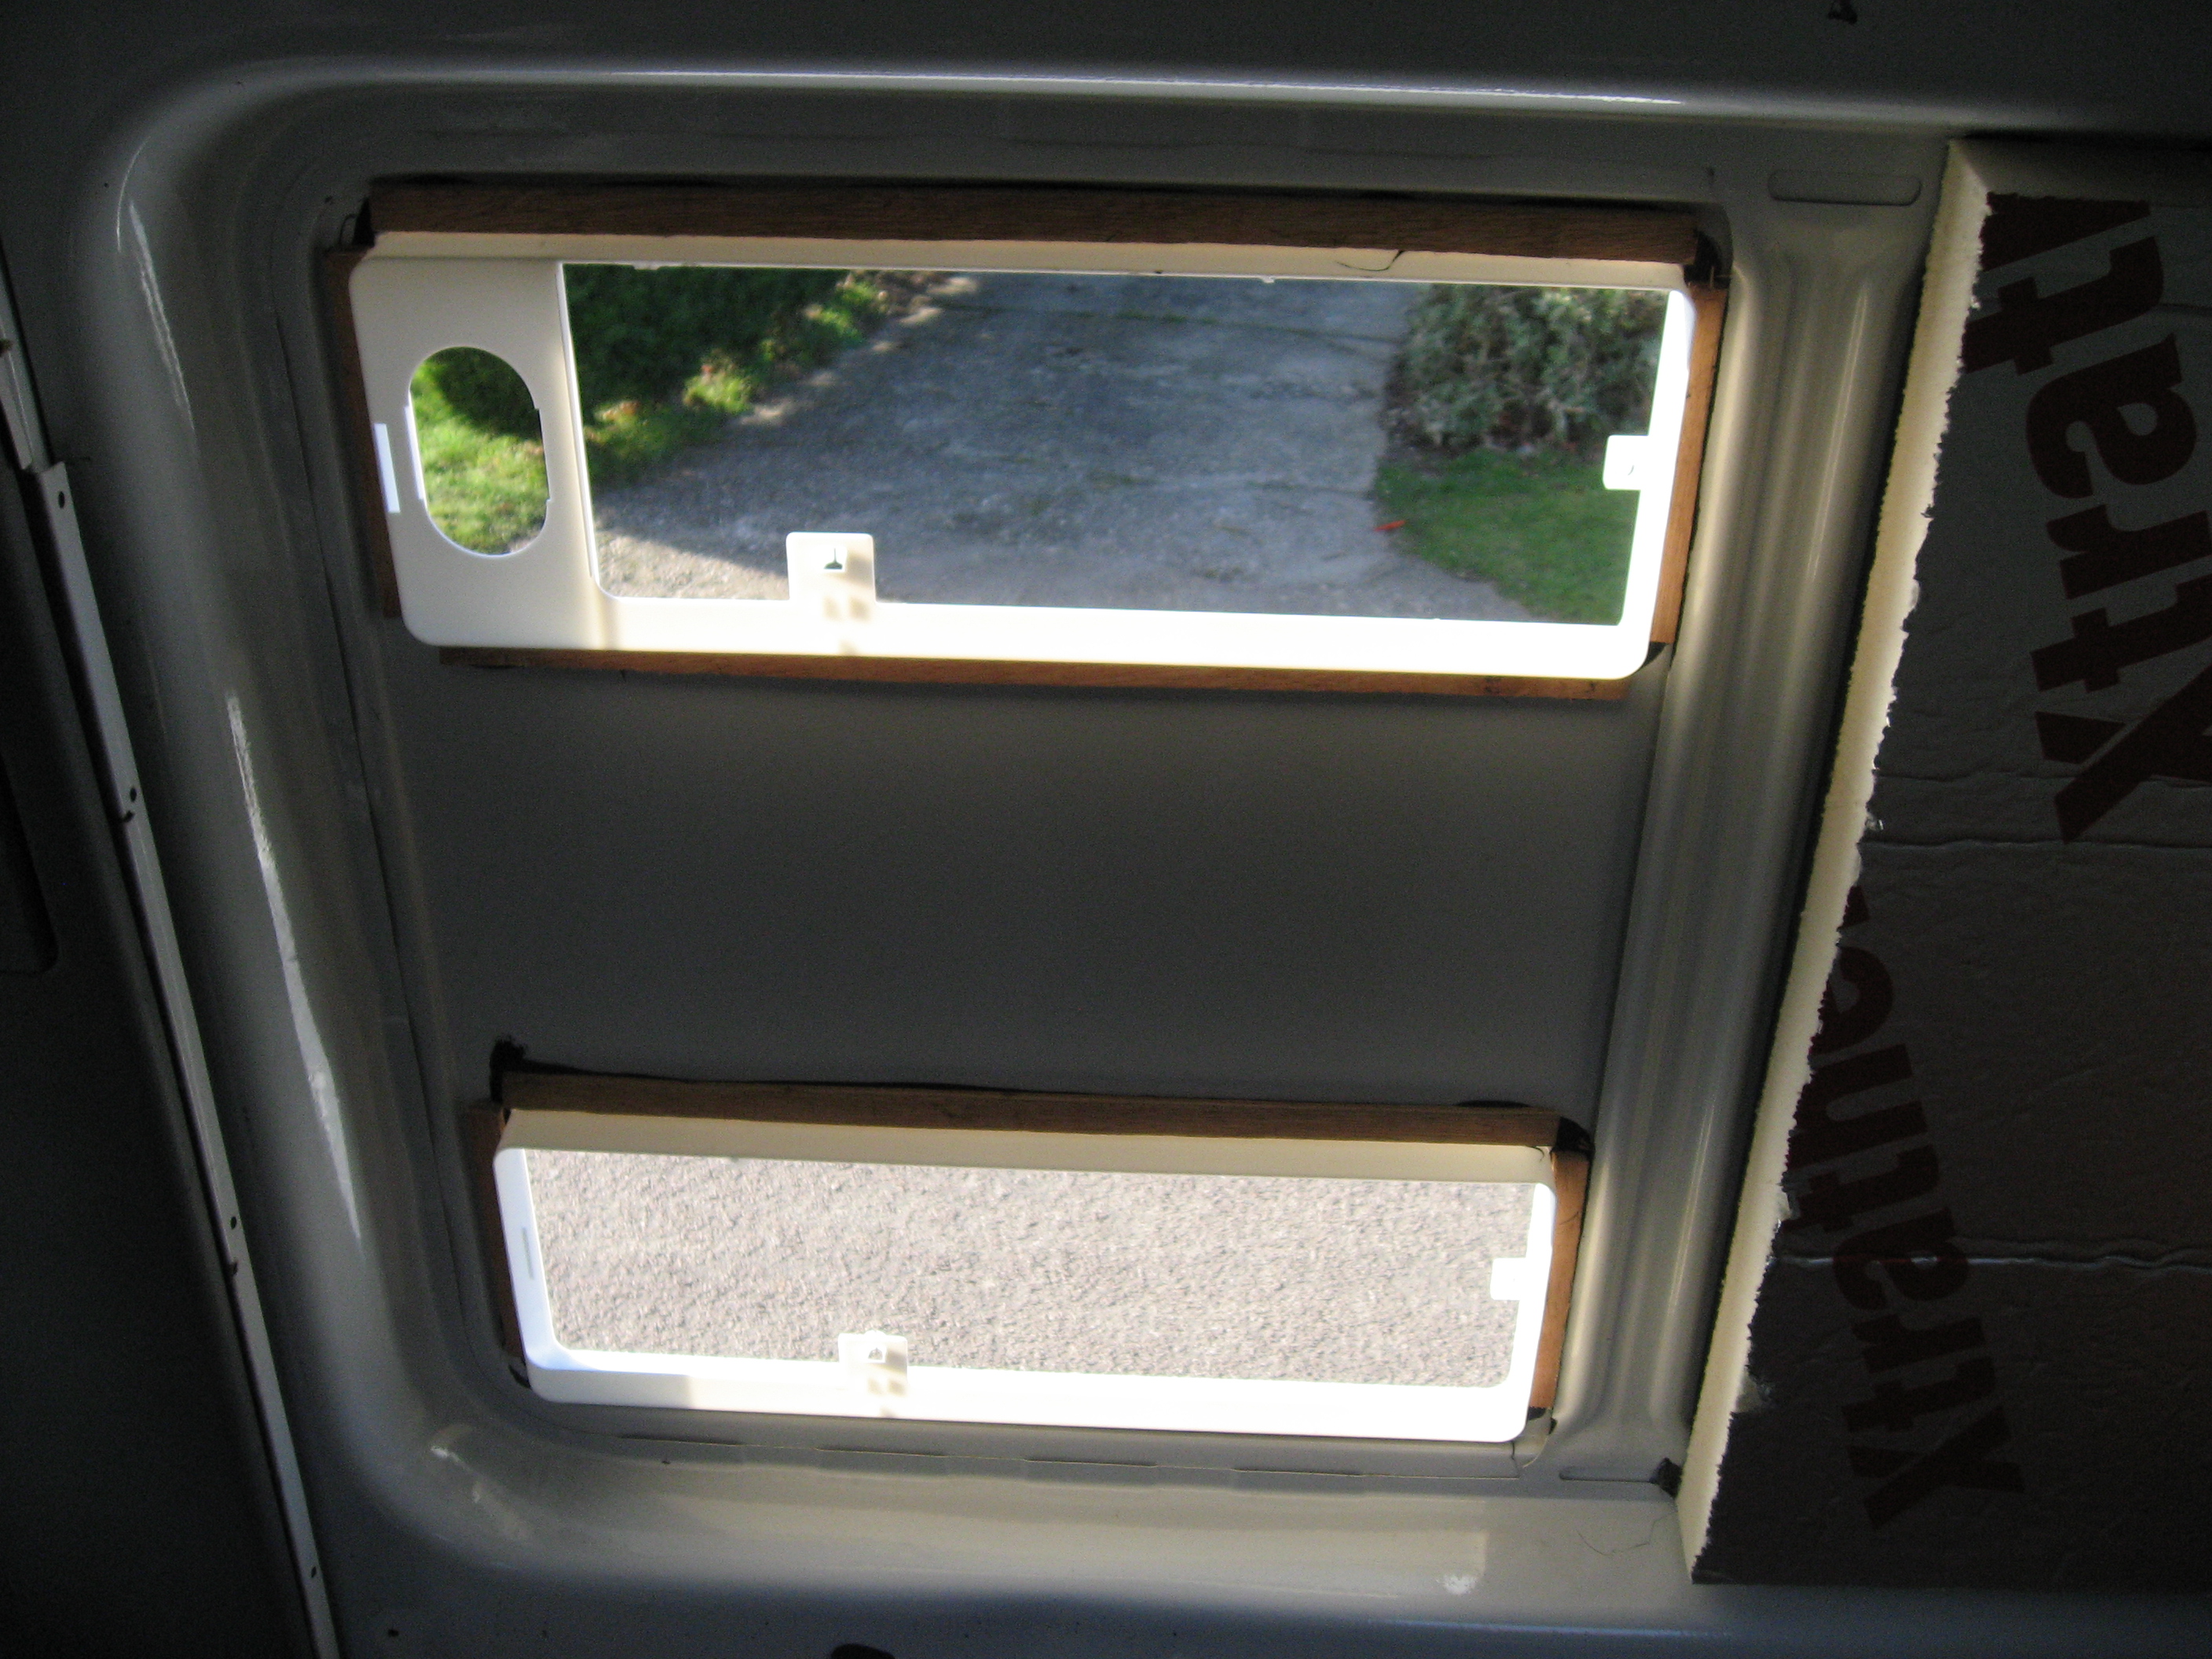
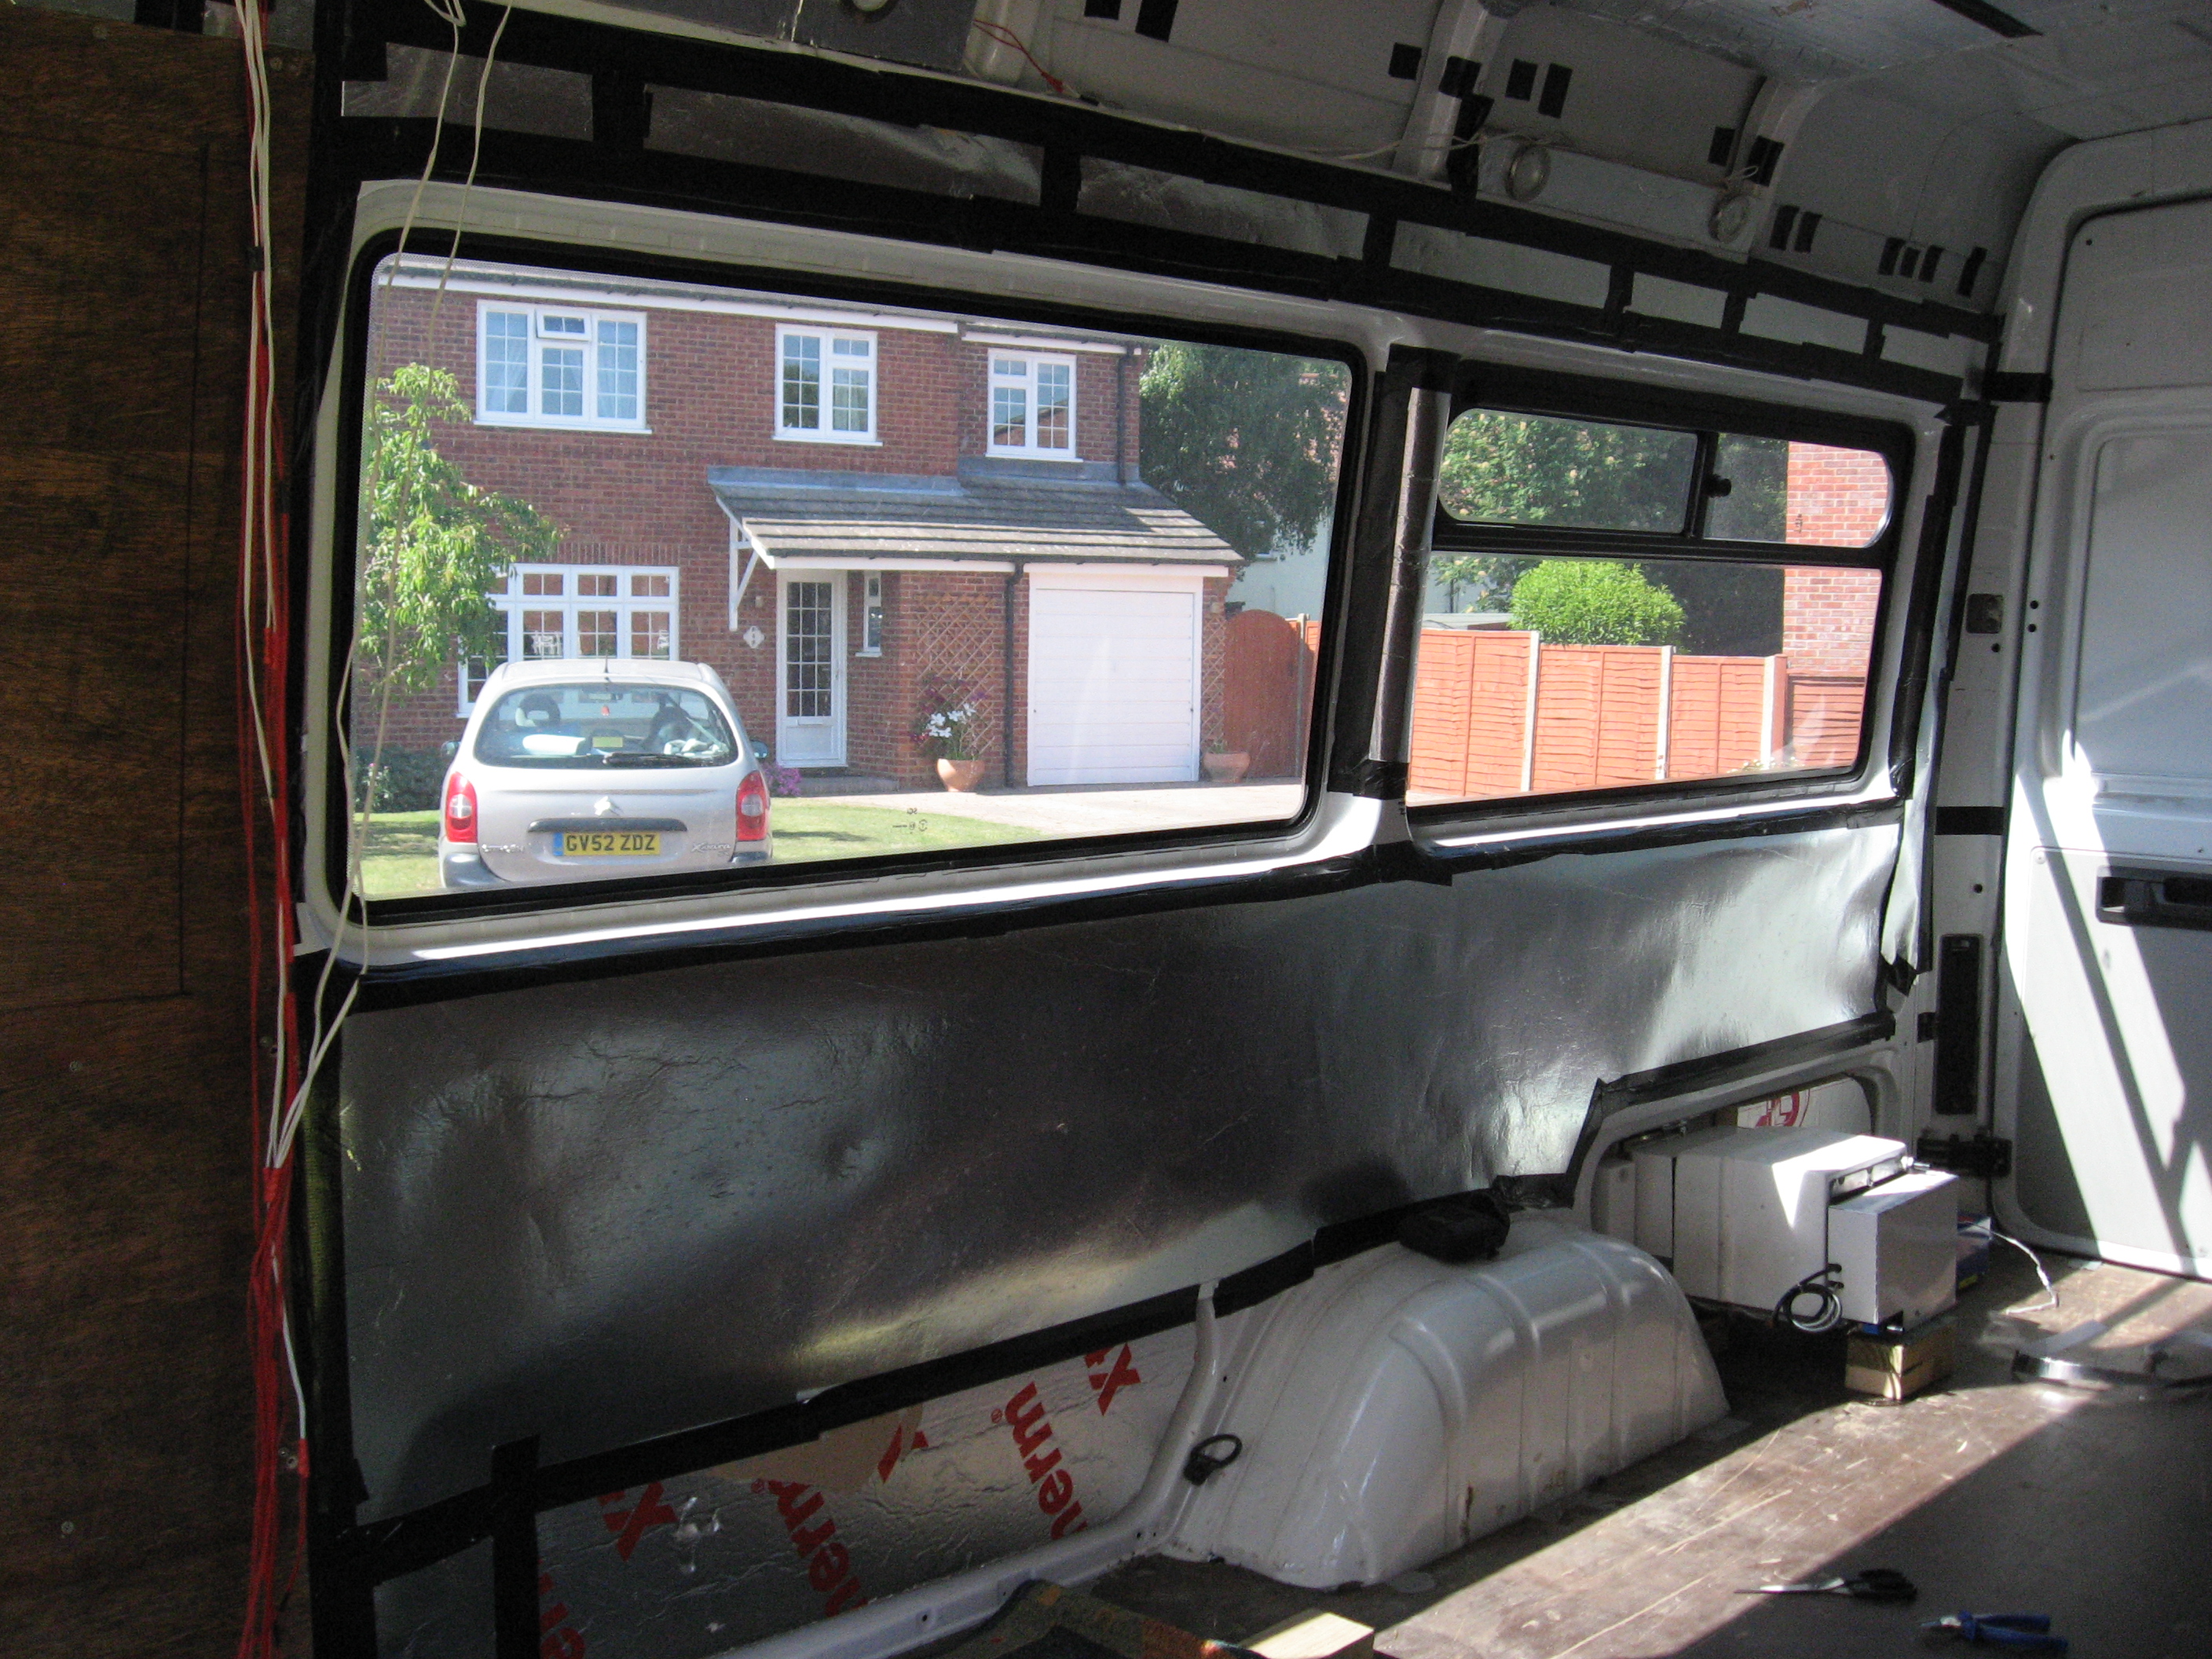
- Sealing campervan windows
-
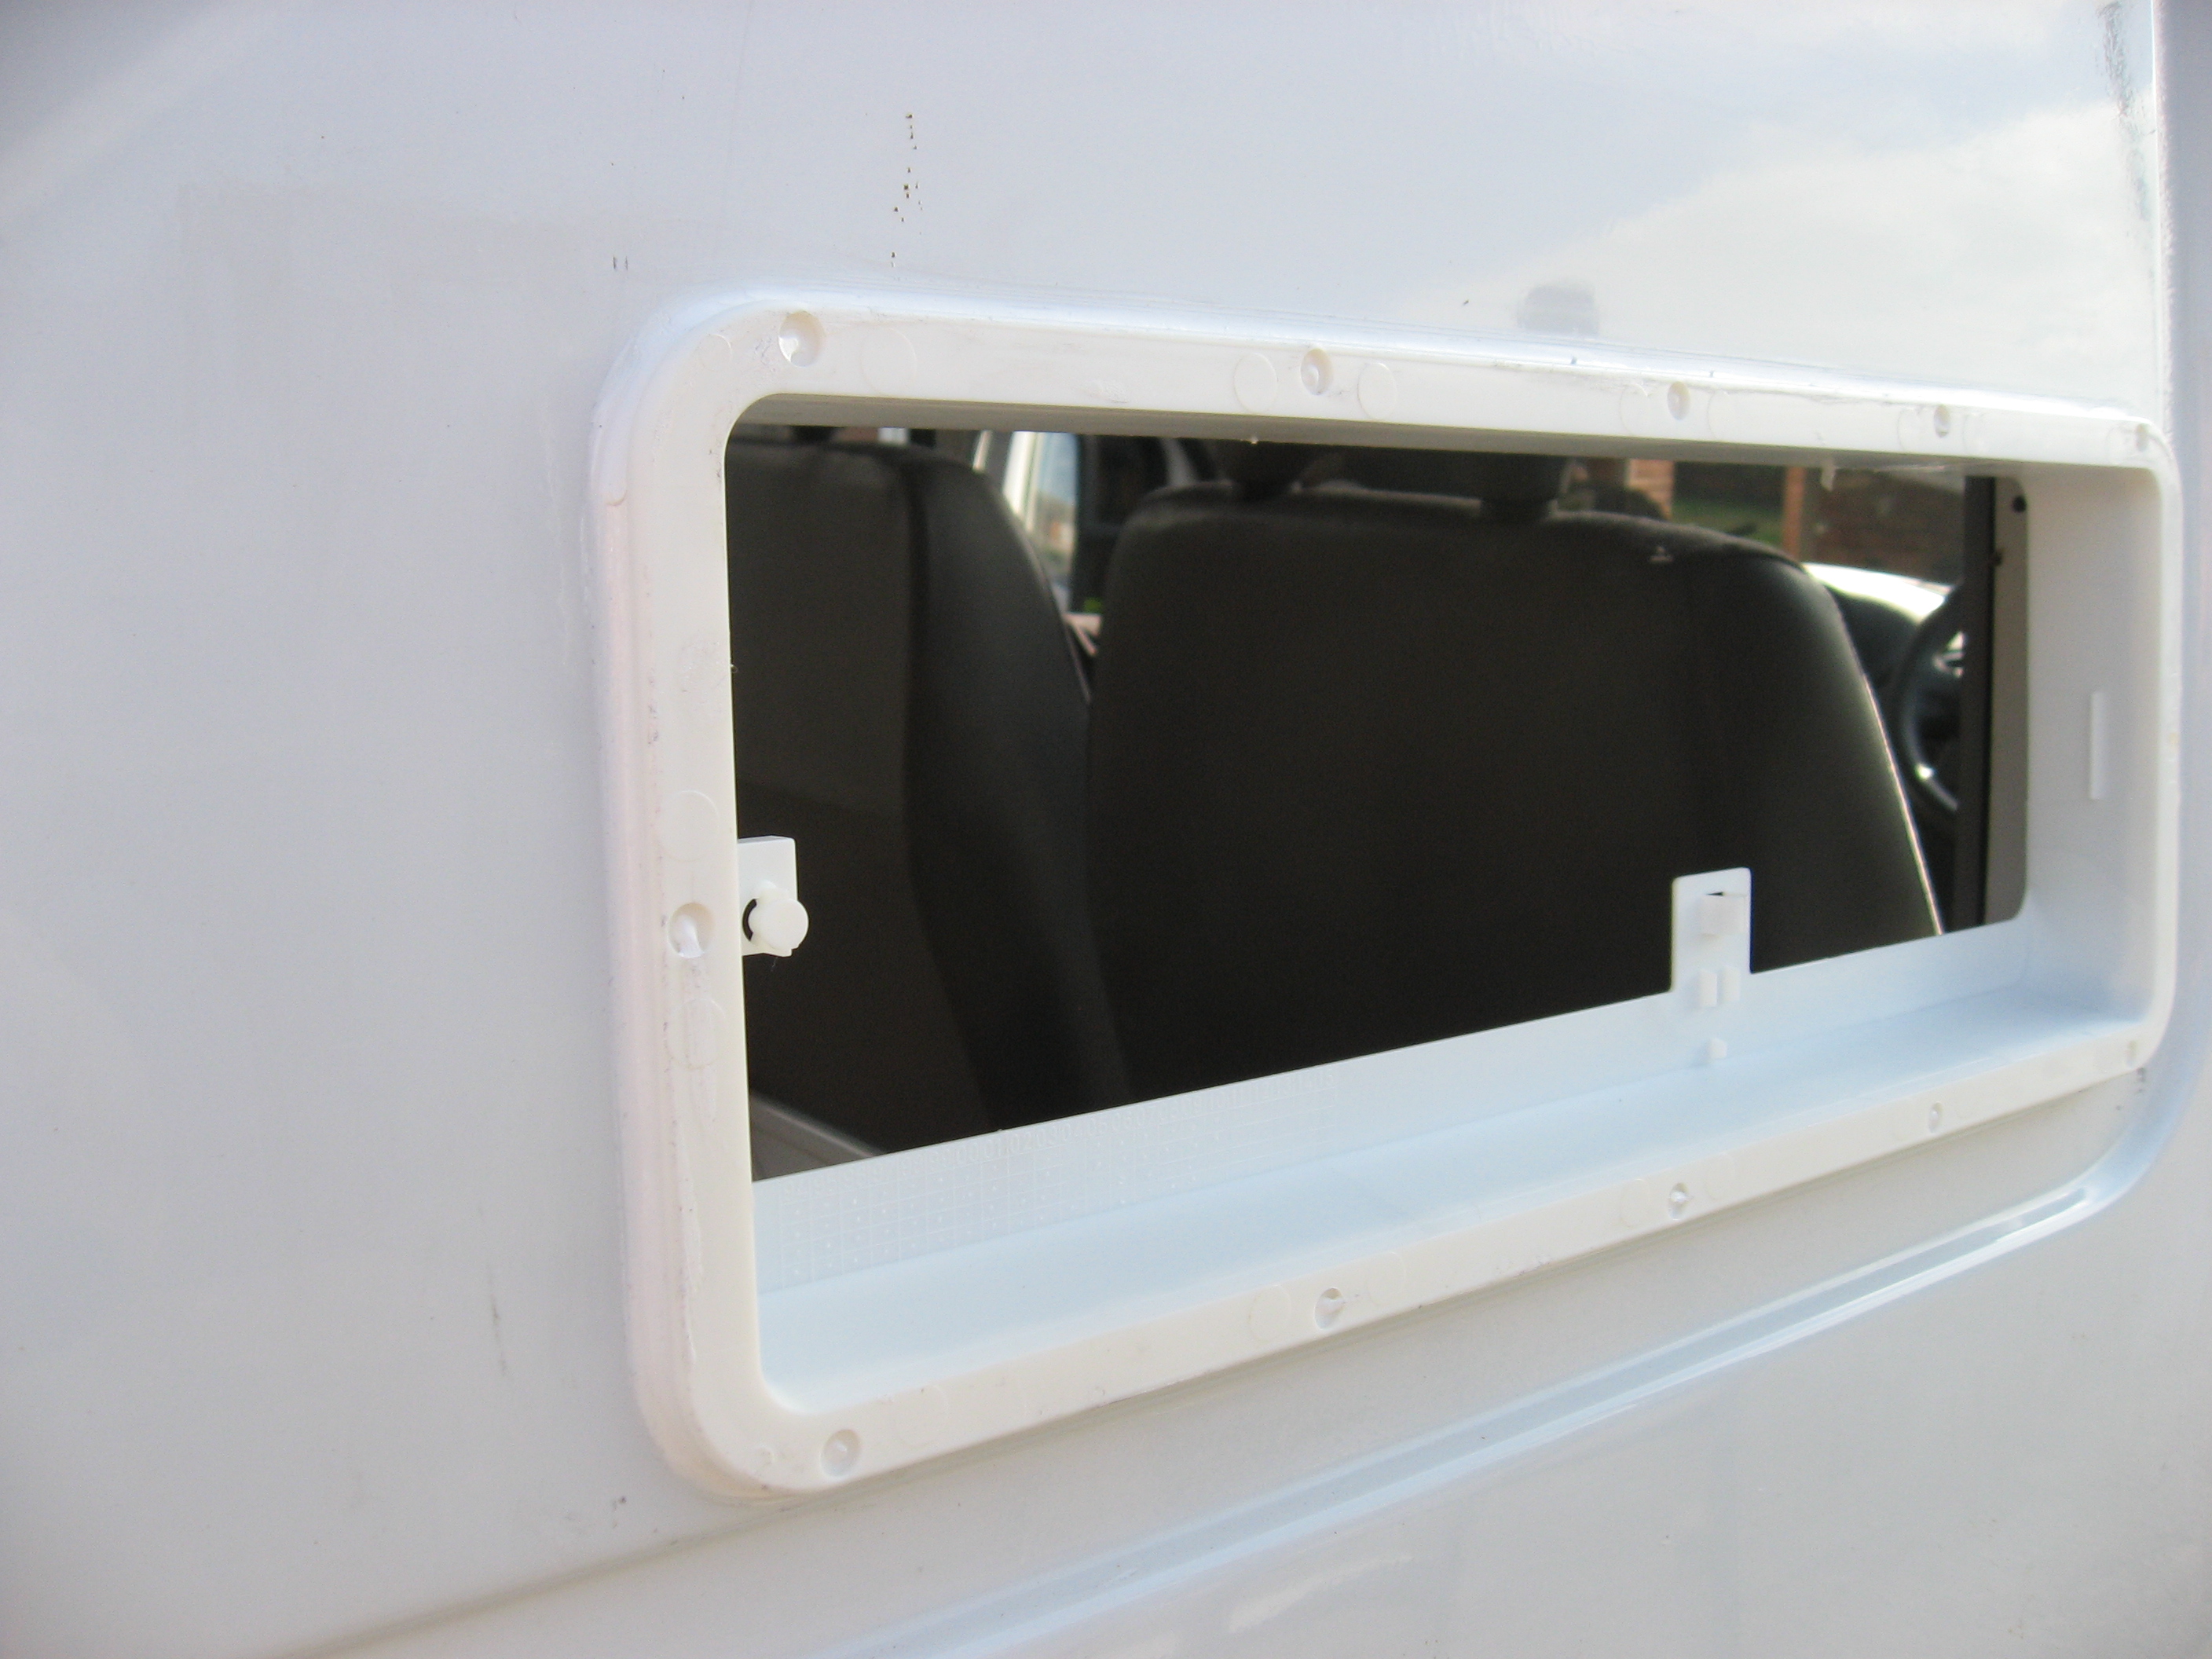
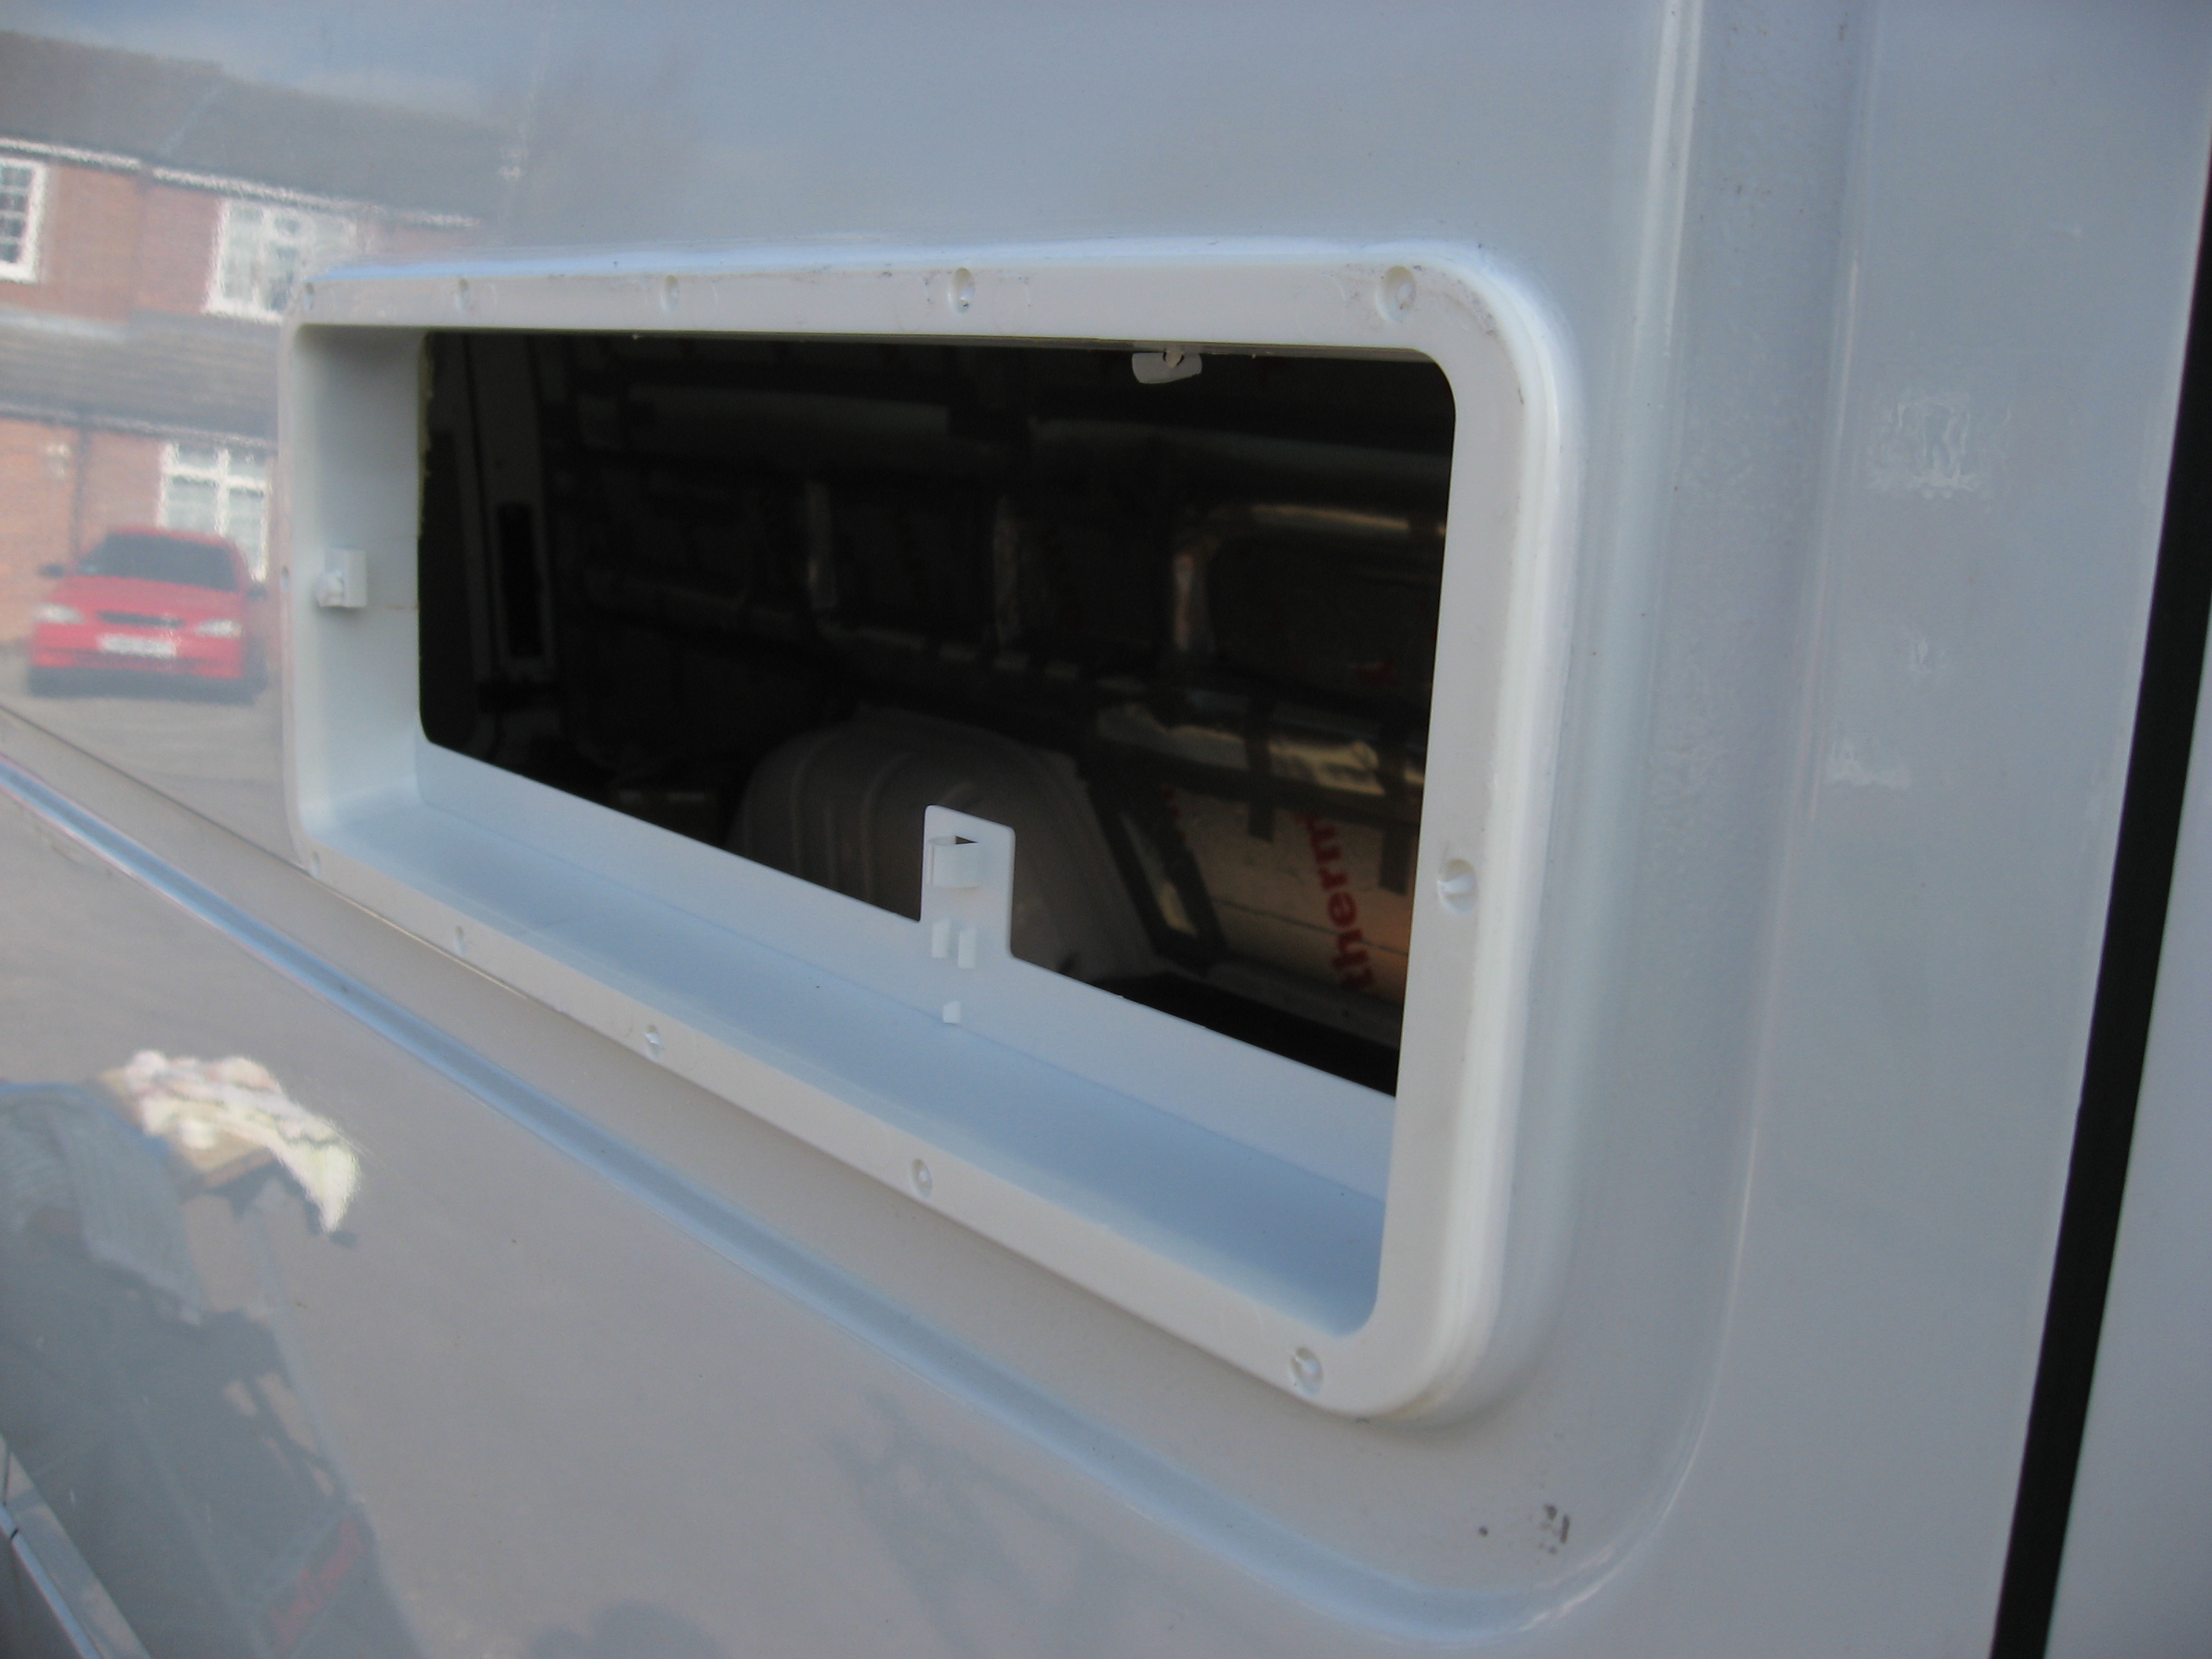
- Fit the window in the panel van
-
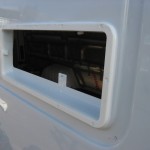
- External panel van window fitting
-
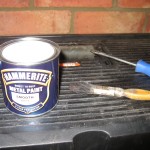
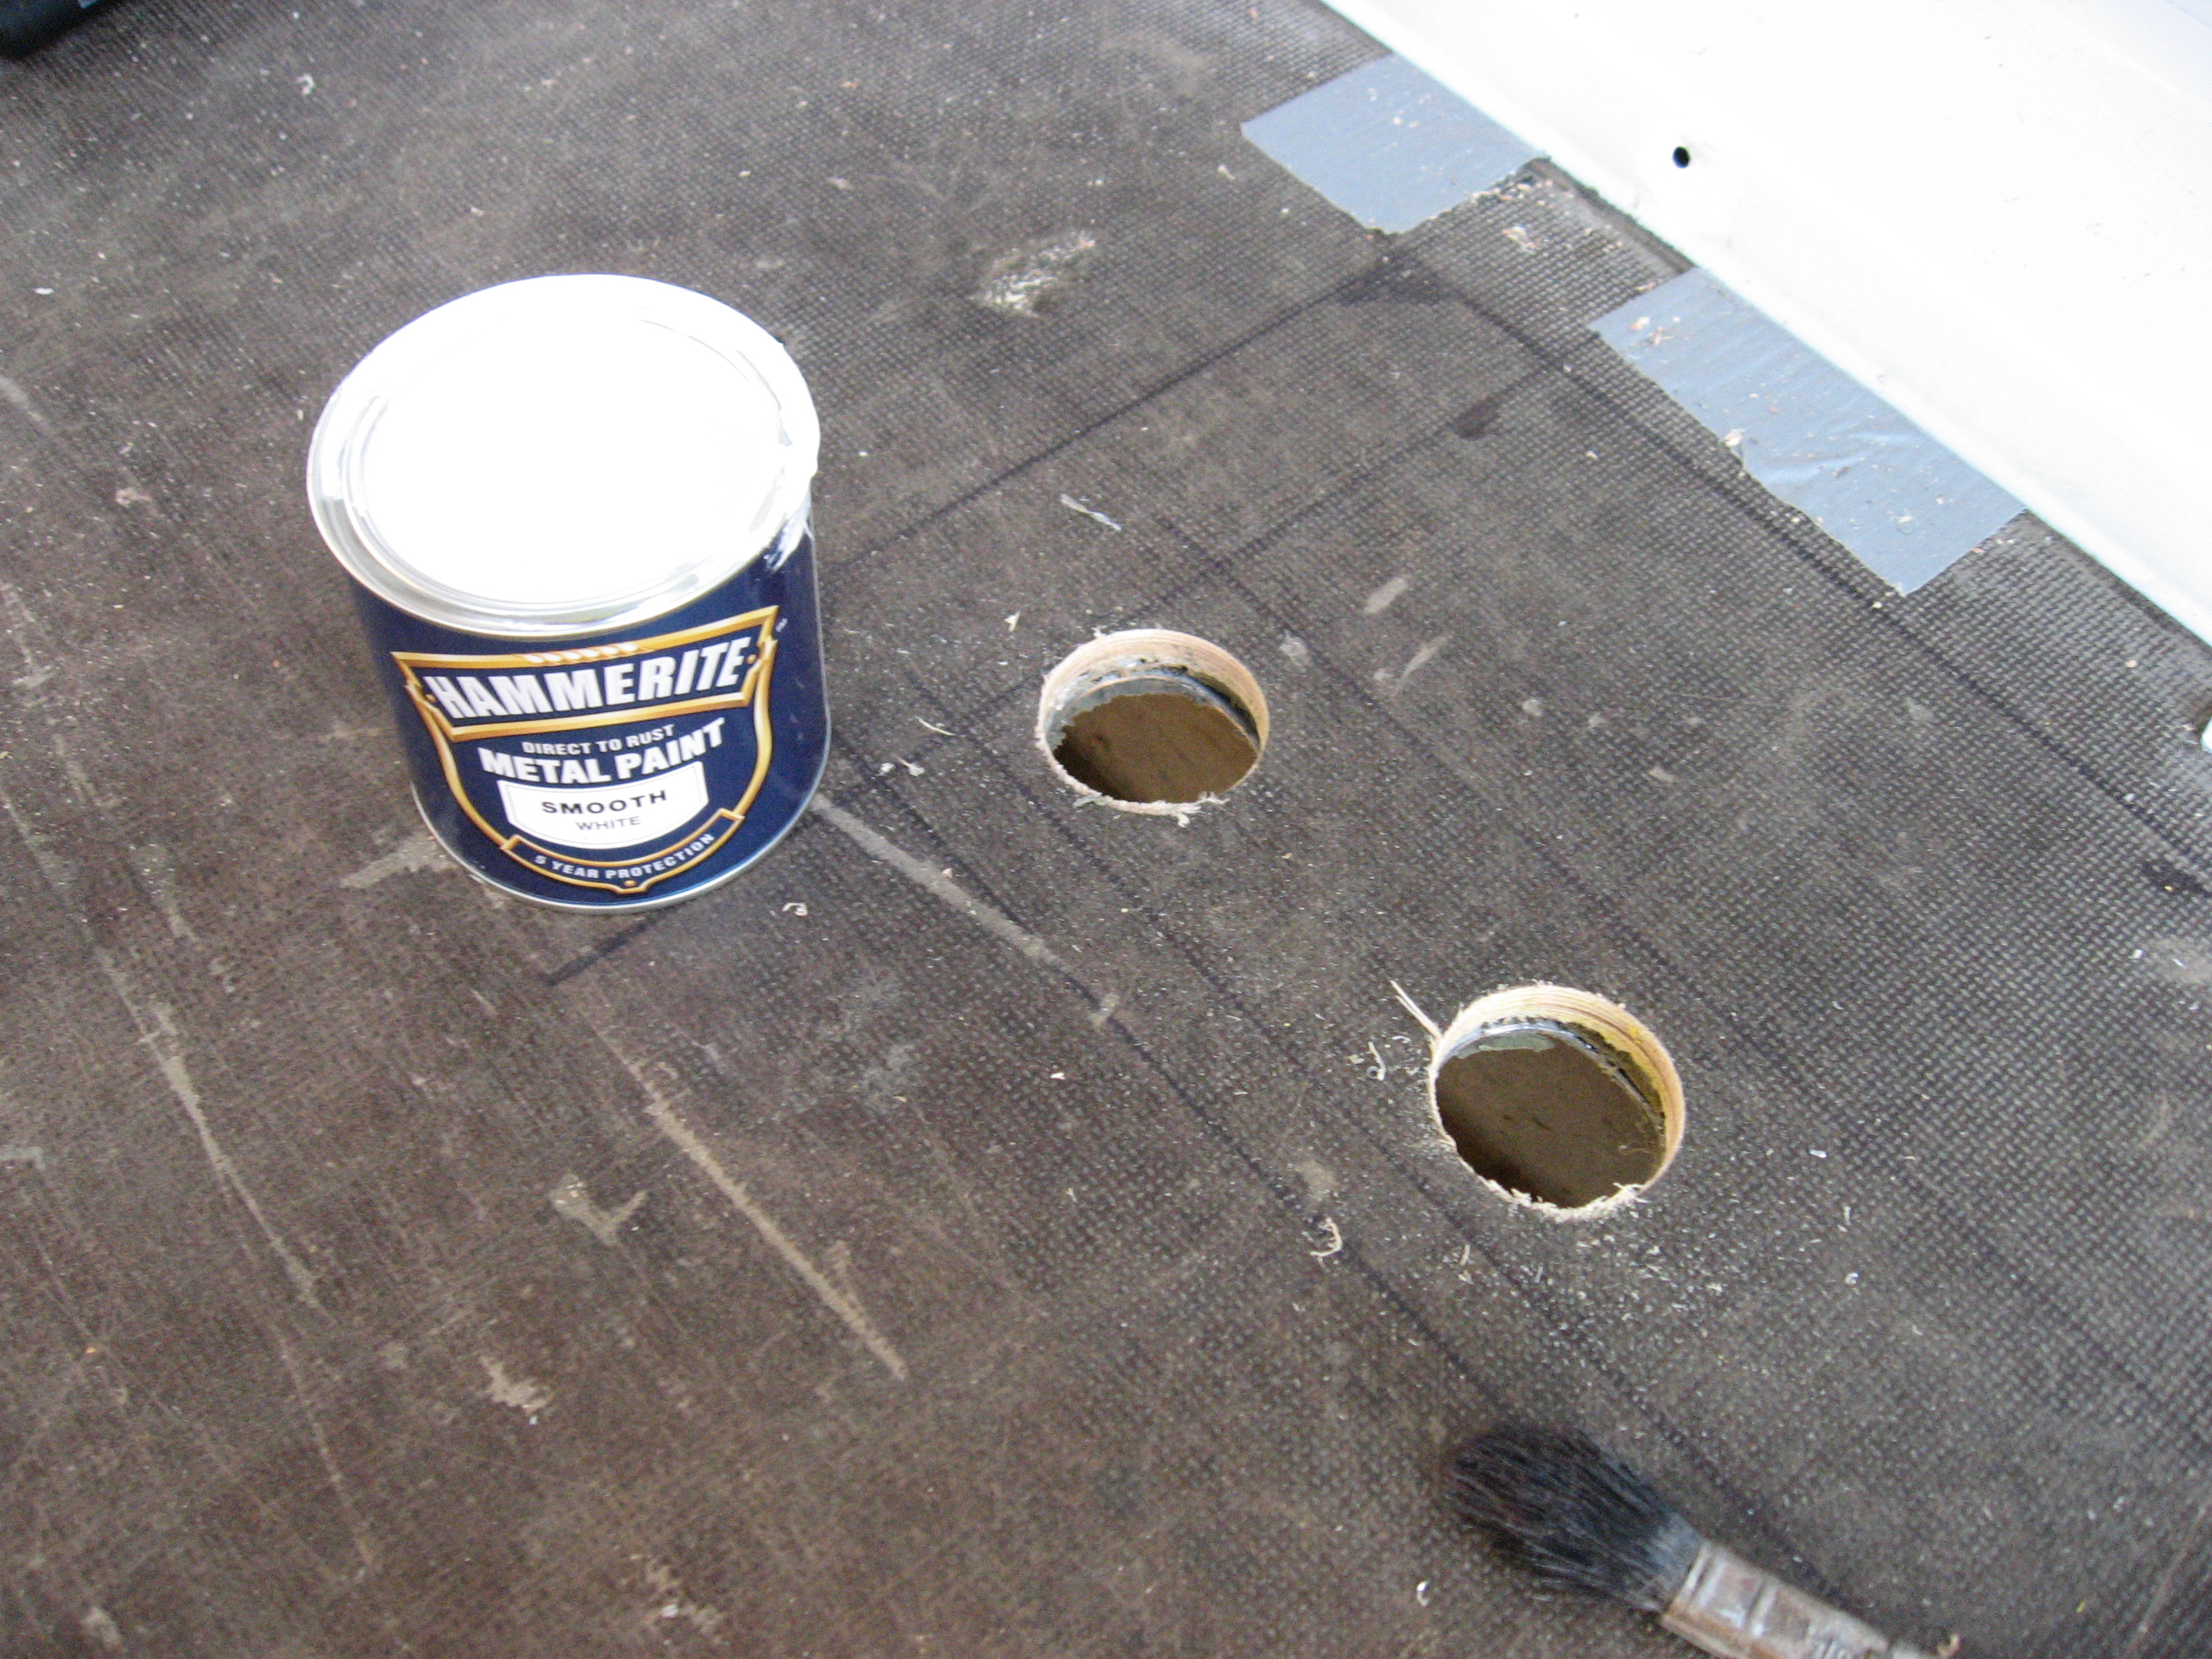
- Use metal paint to seal any cut metal

-
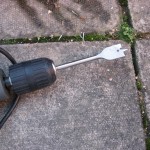
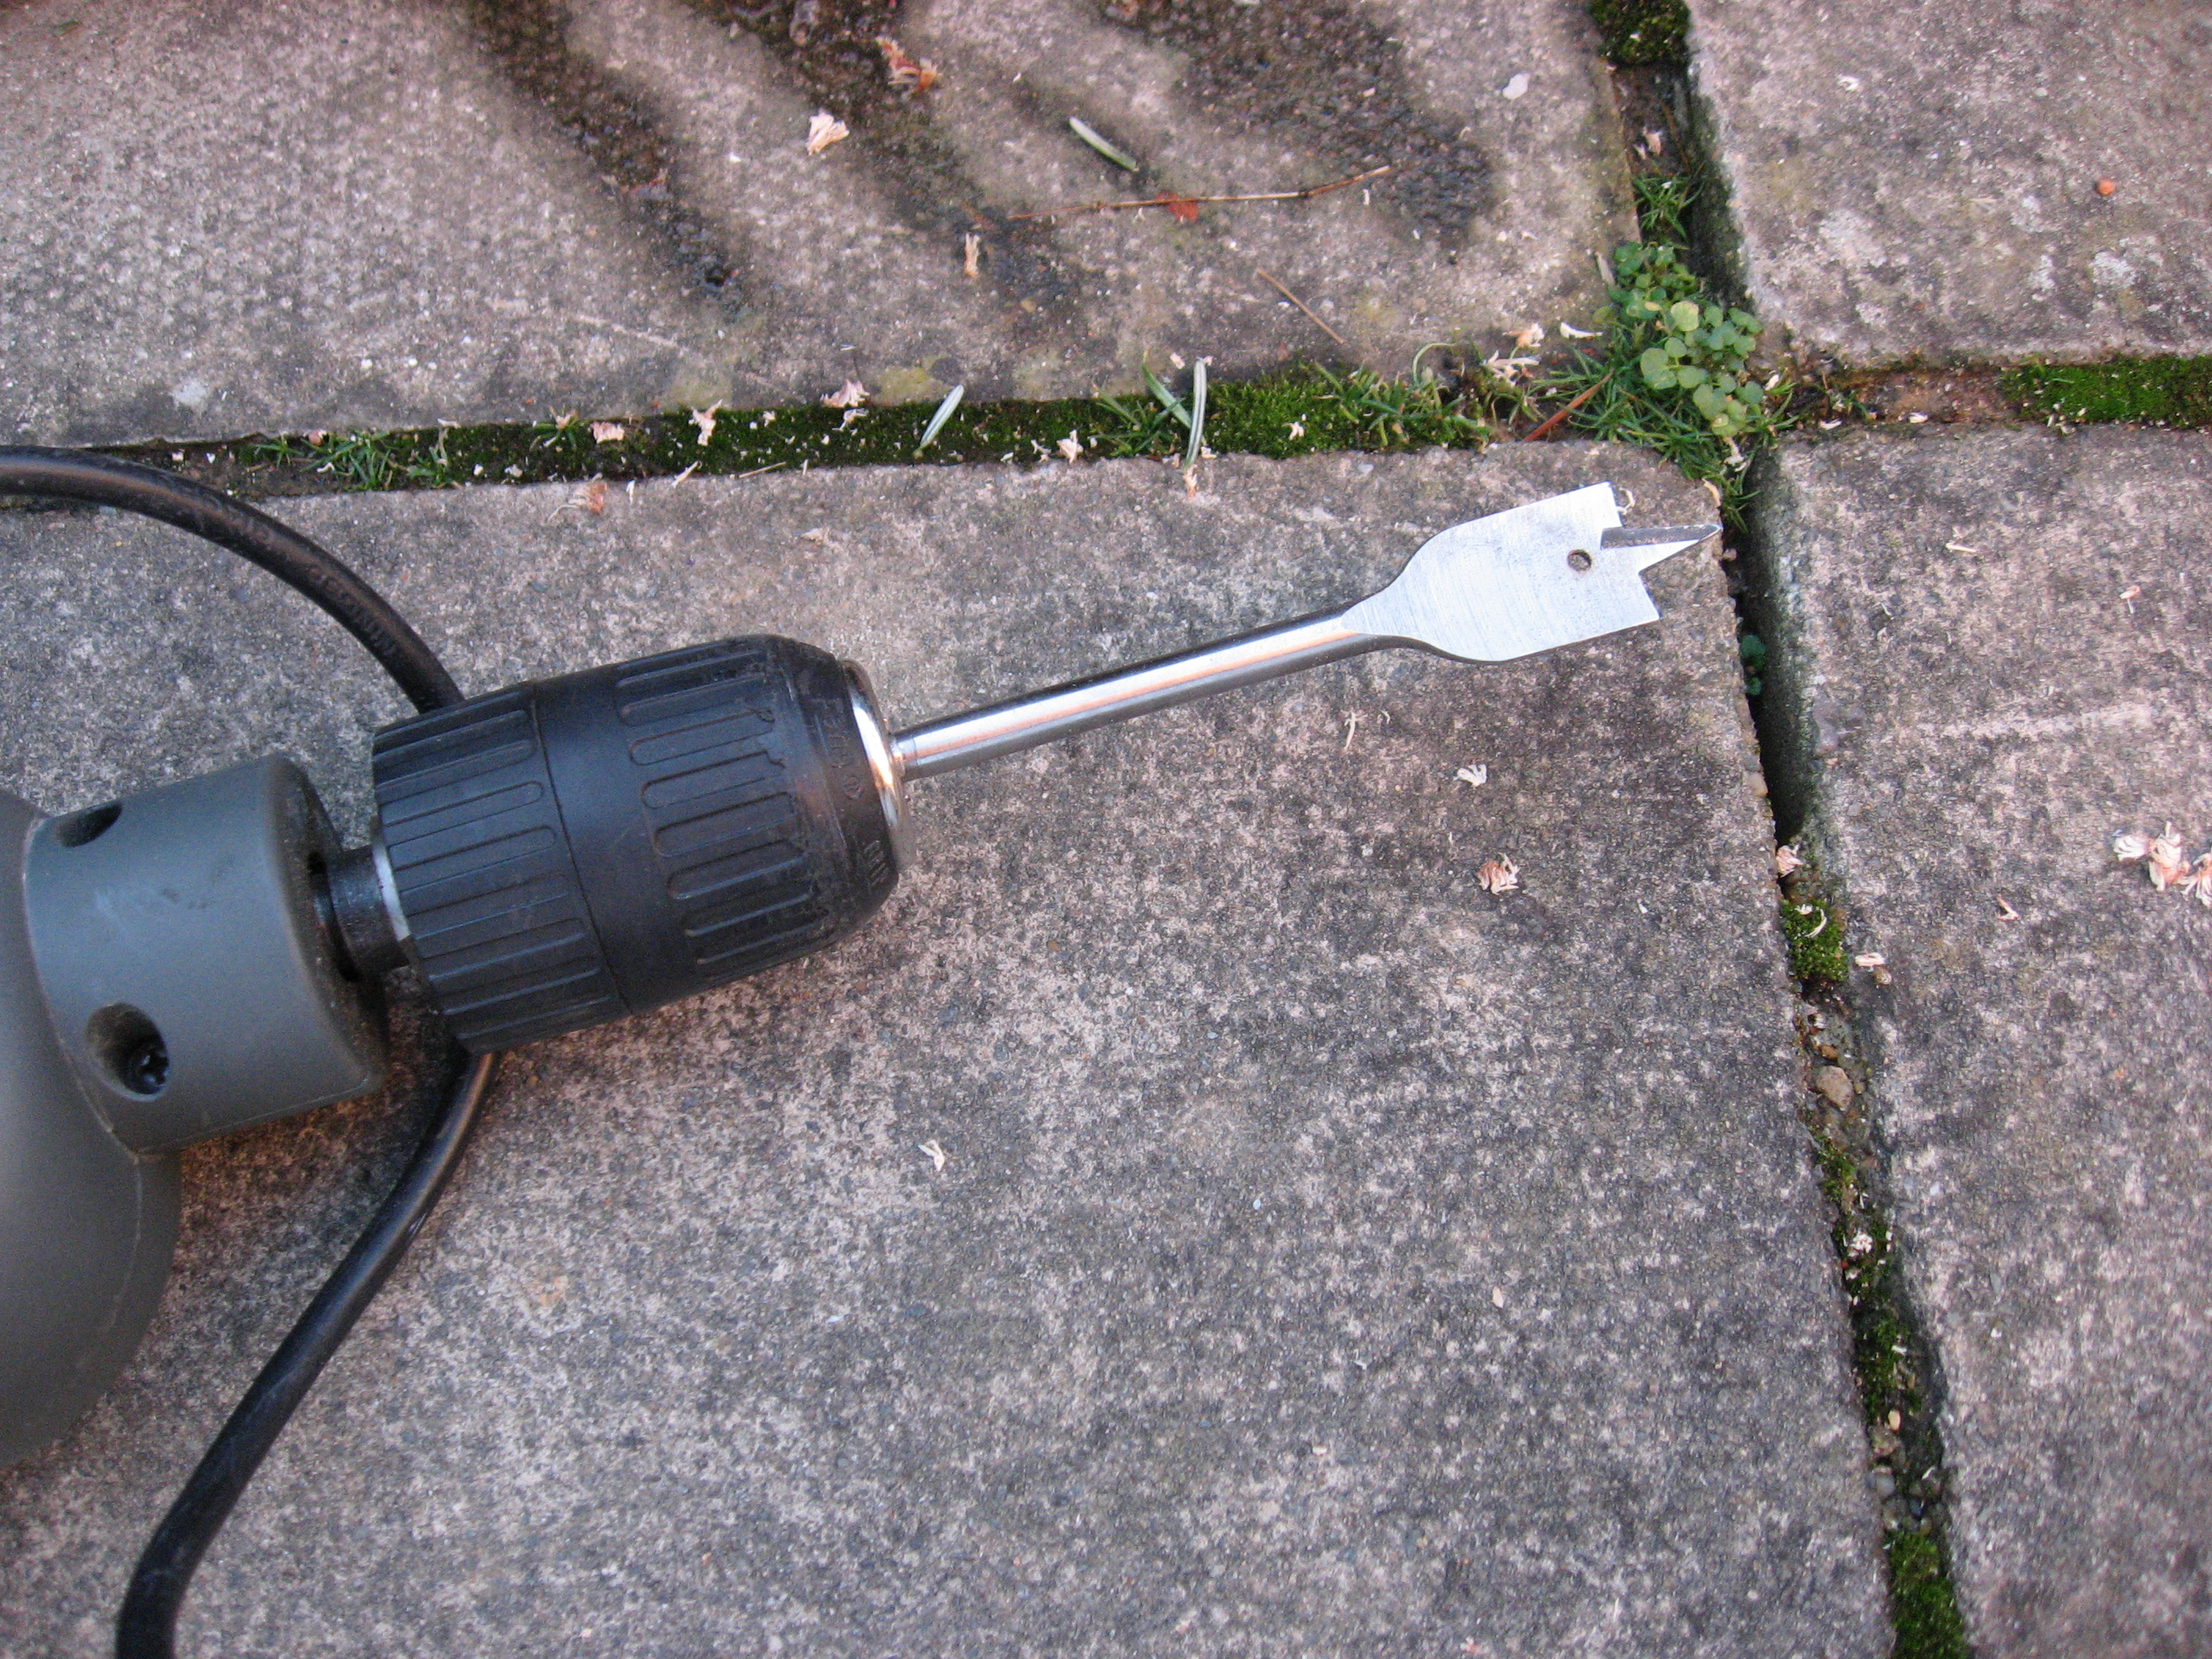
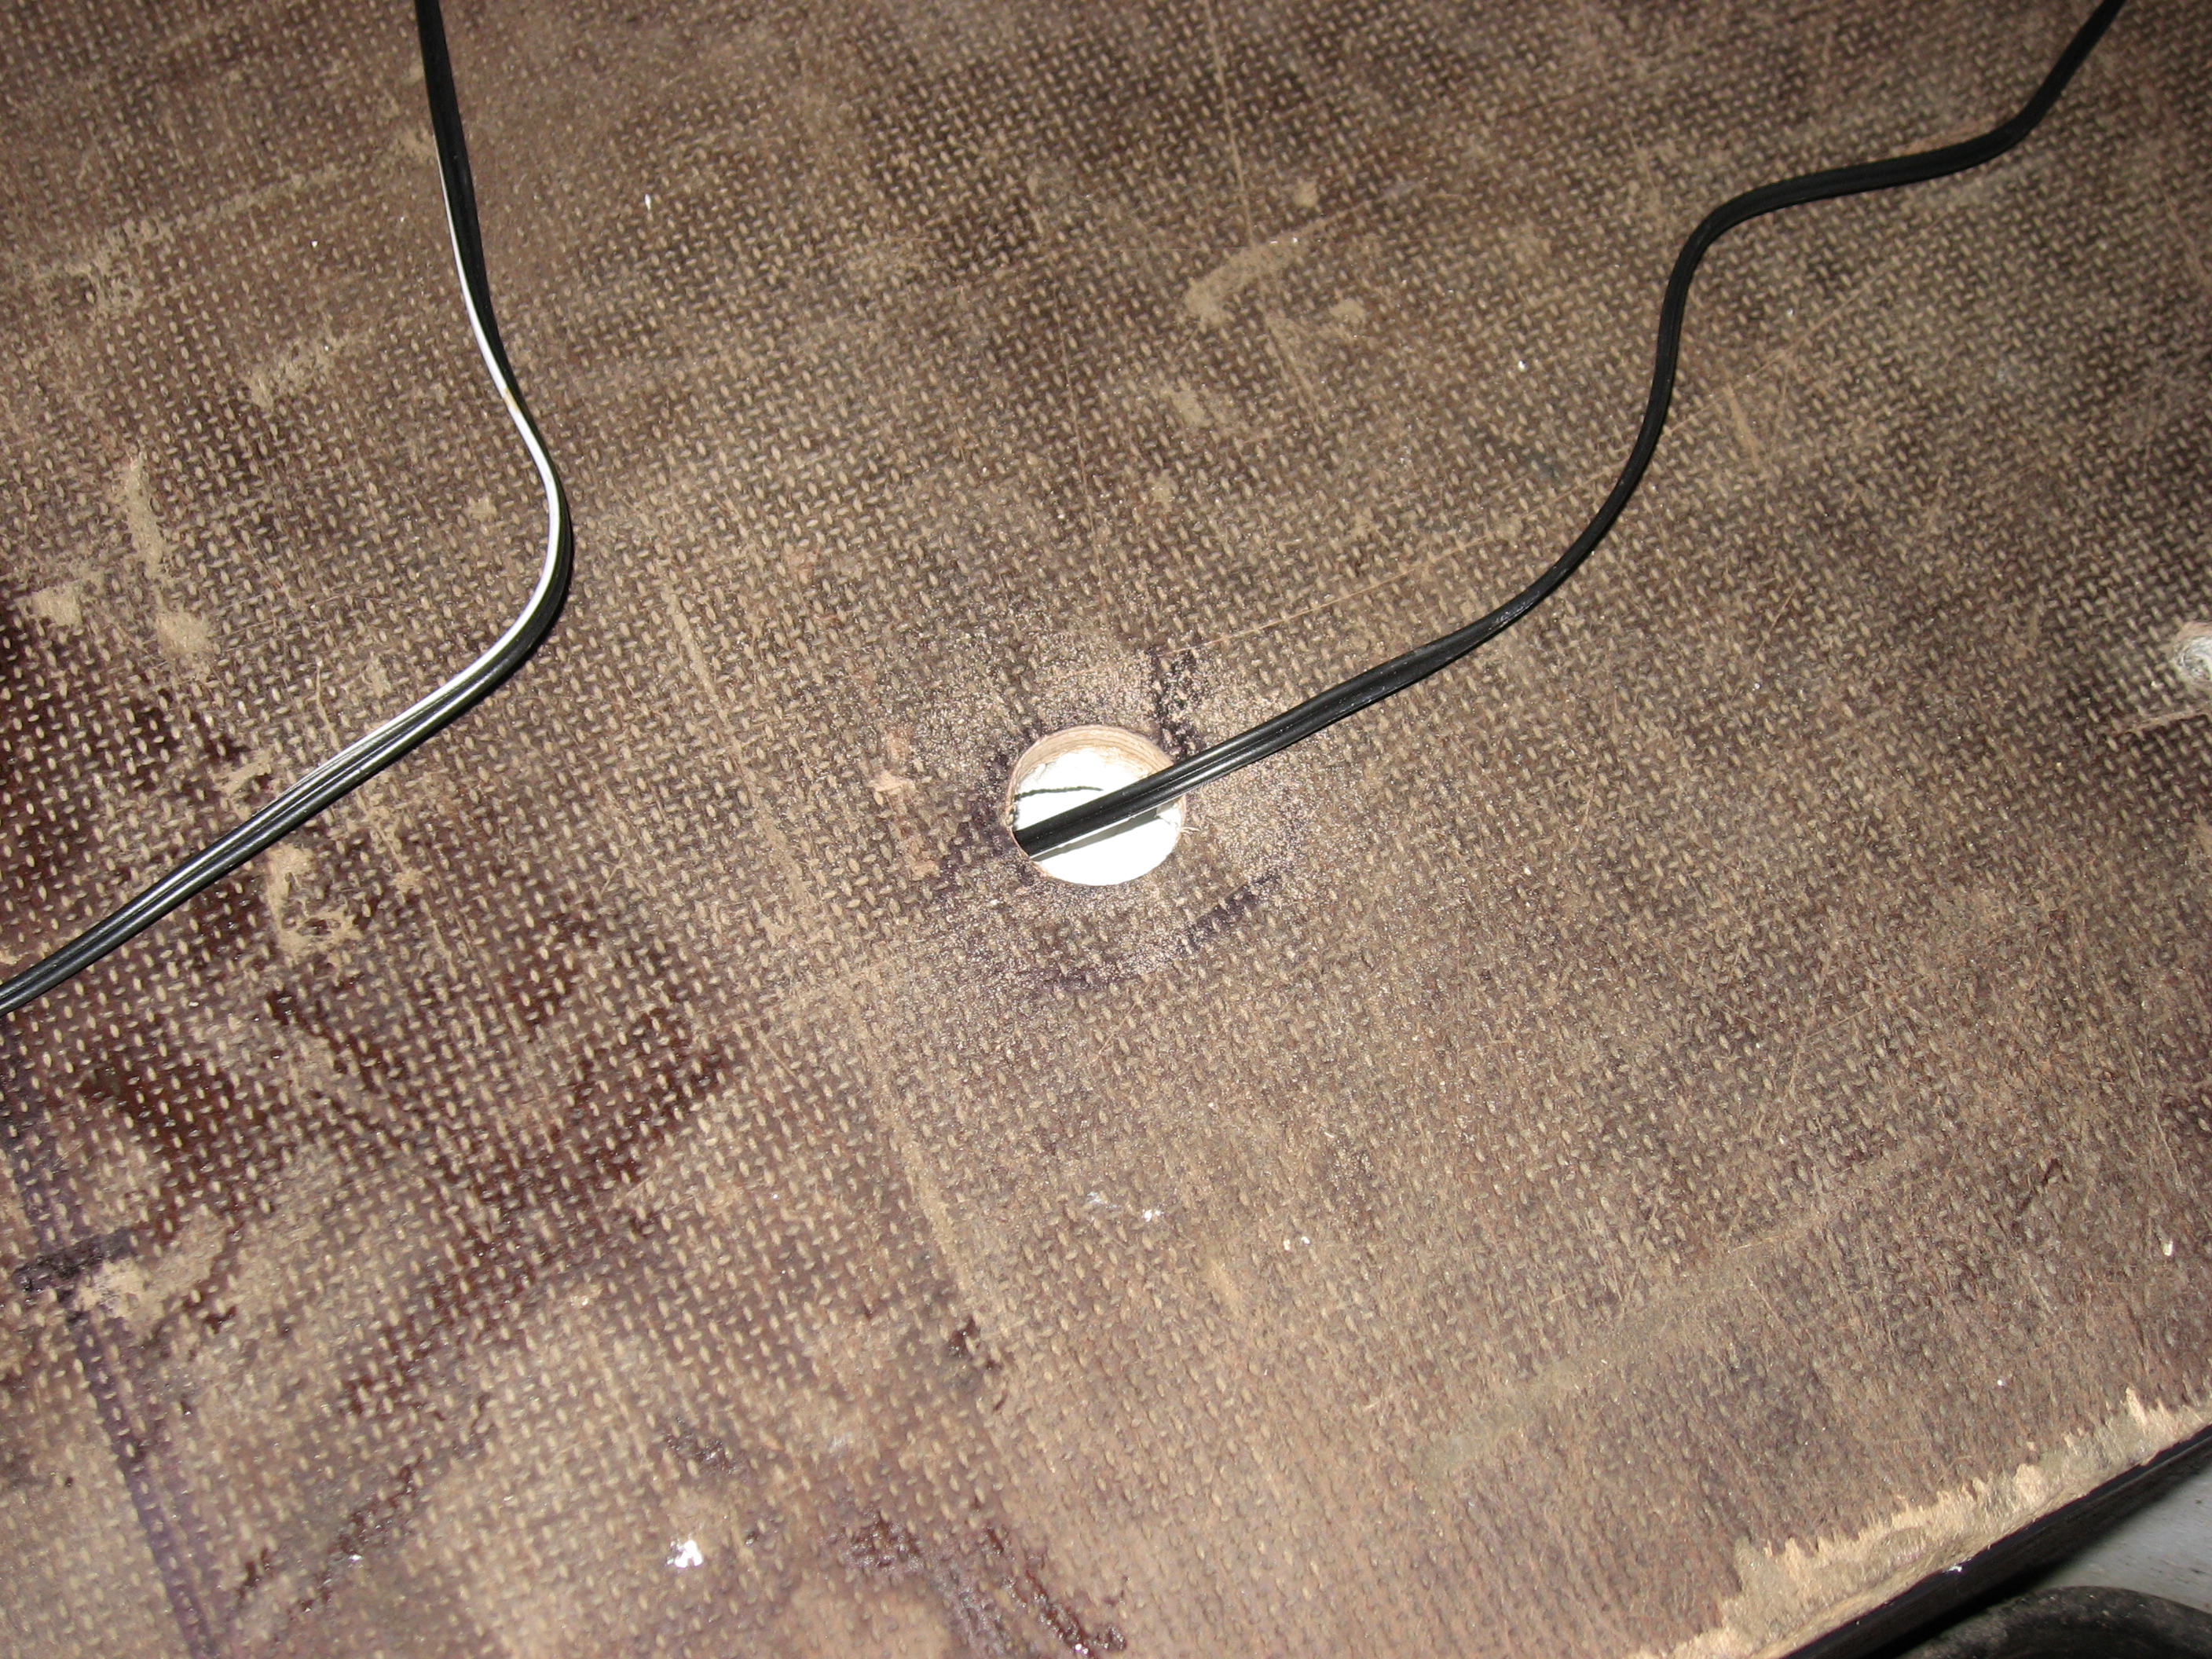
- Use a core drill to cut holes in the panel van
-
- Plan your campervan insulation
-
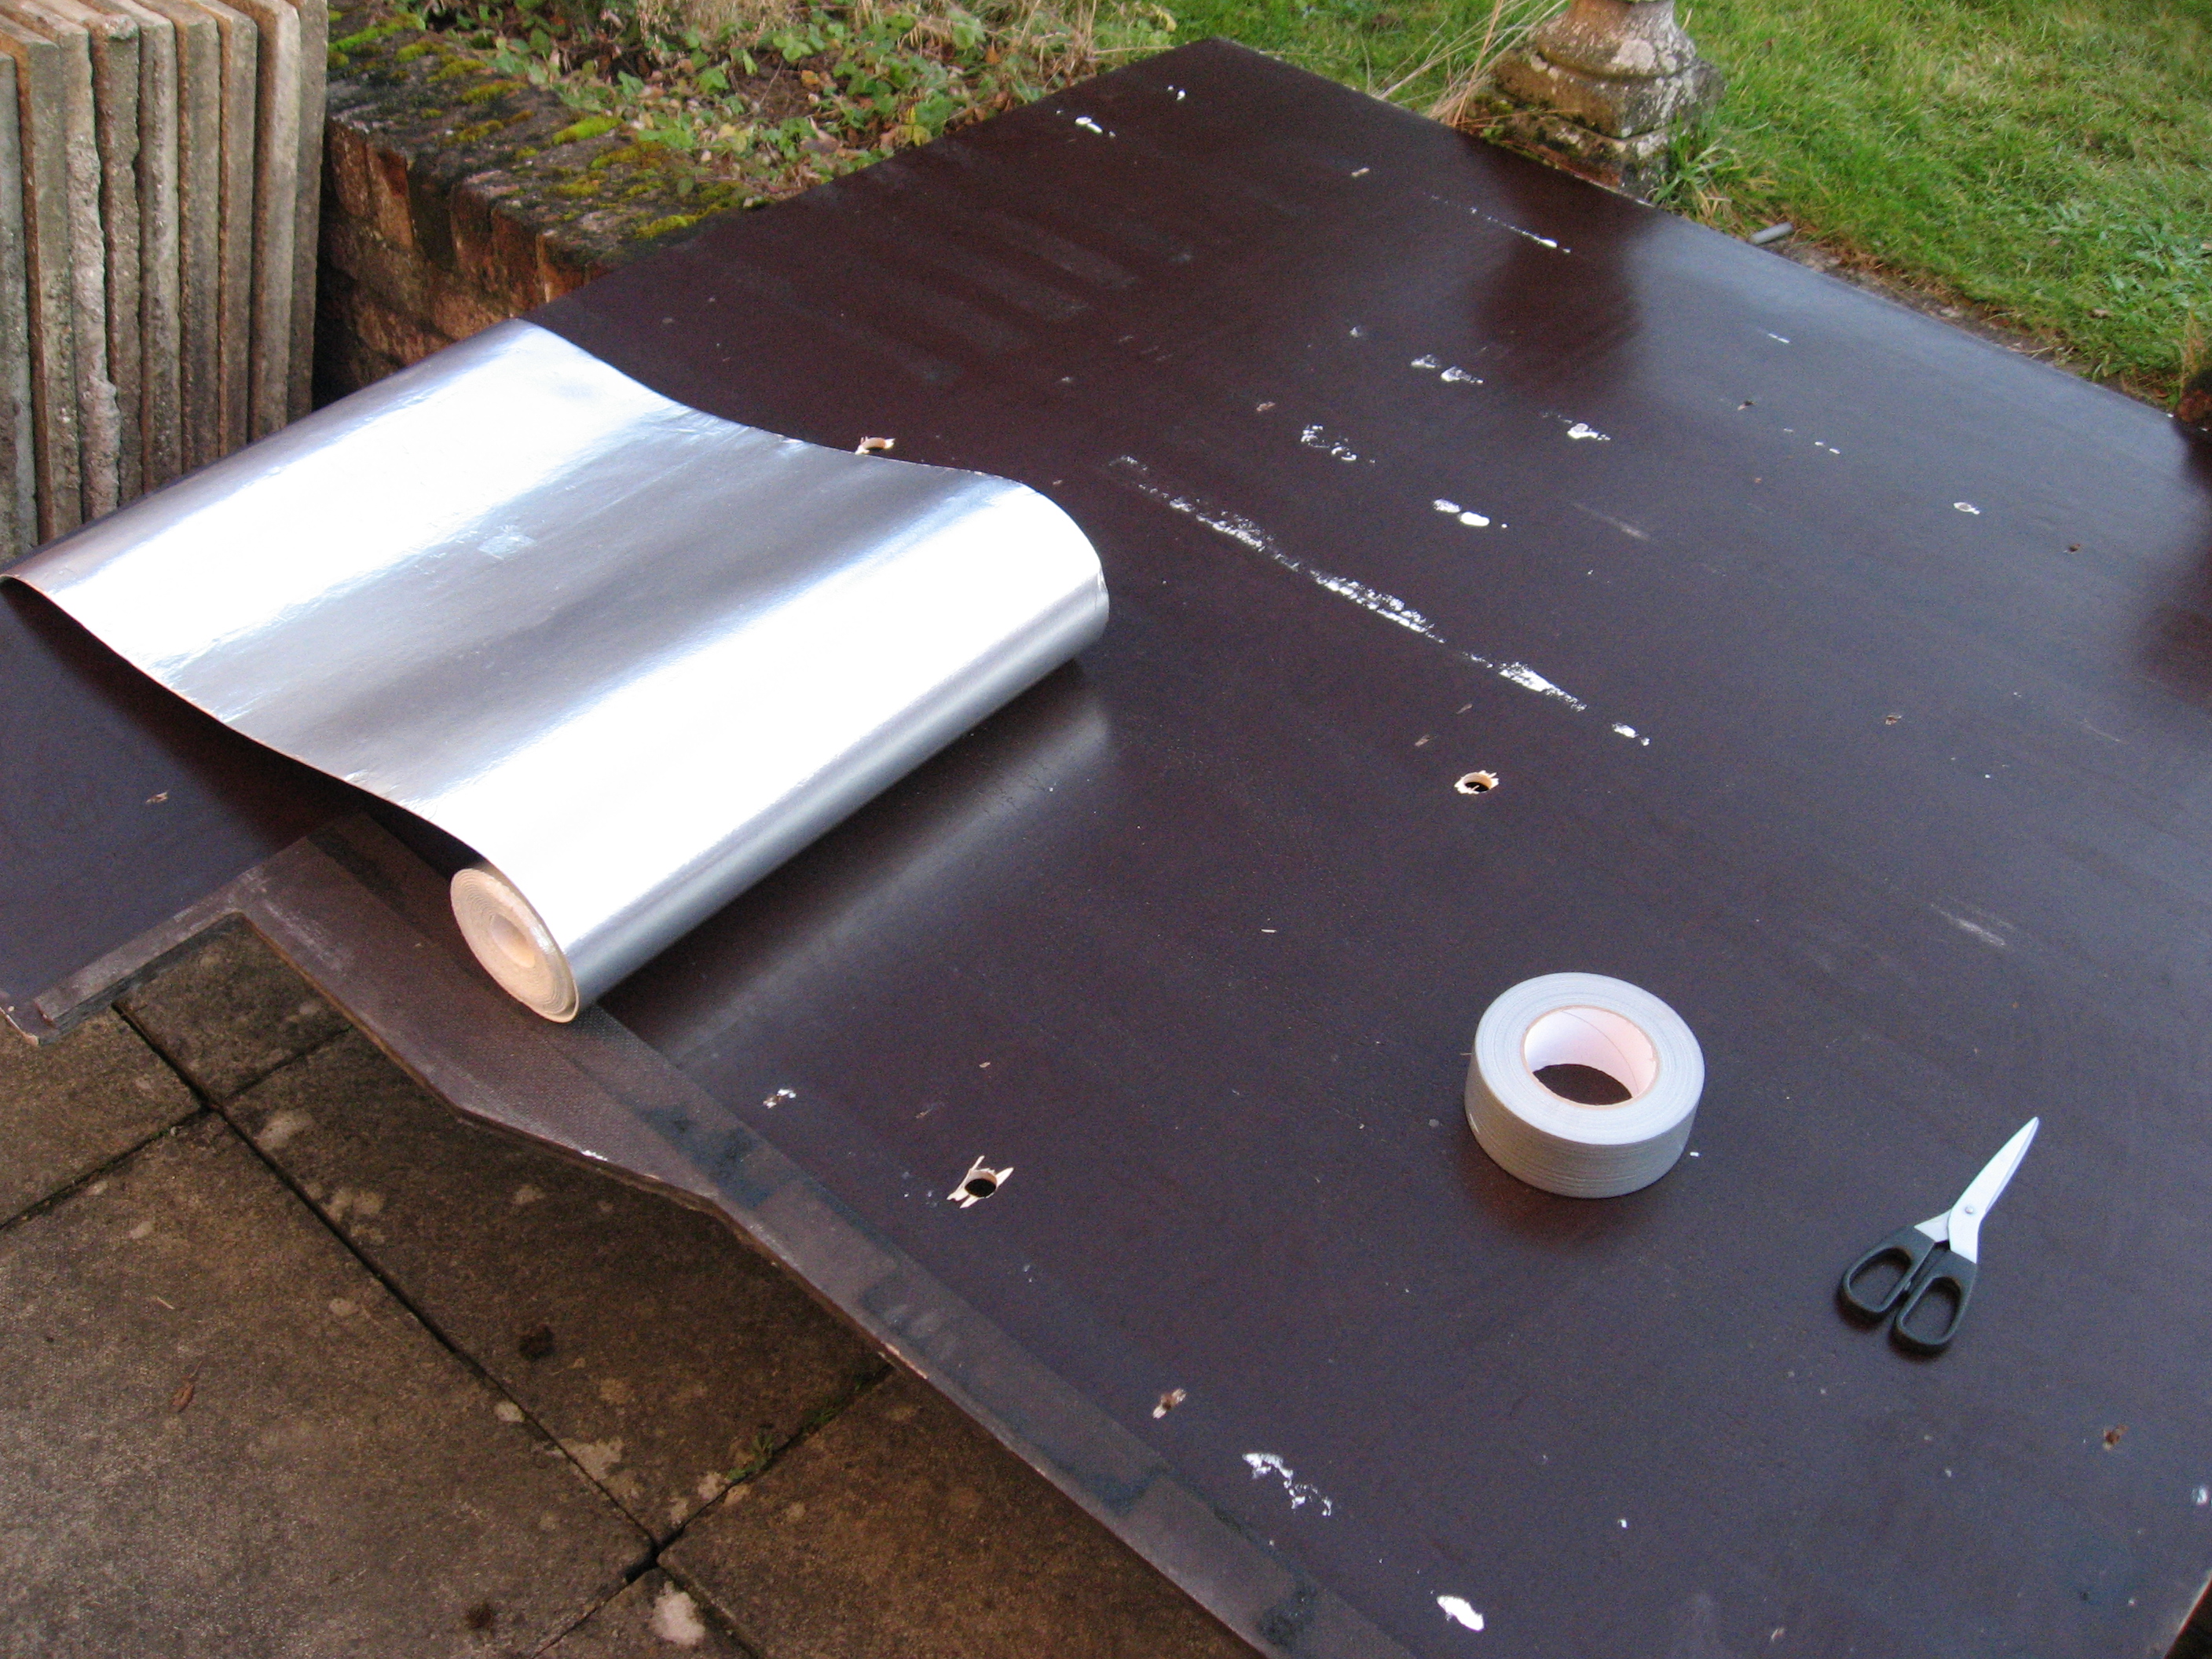
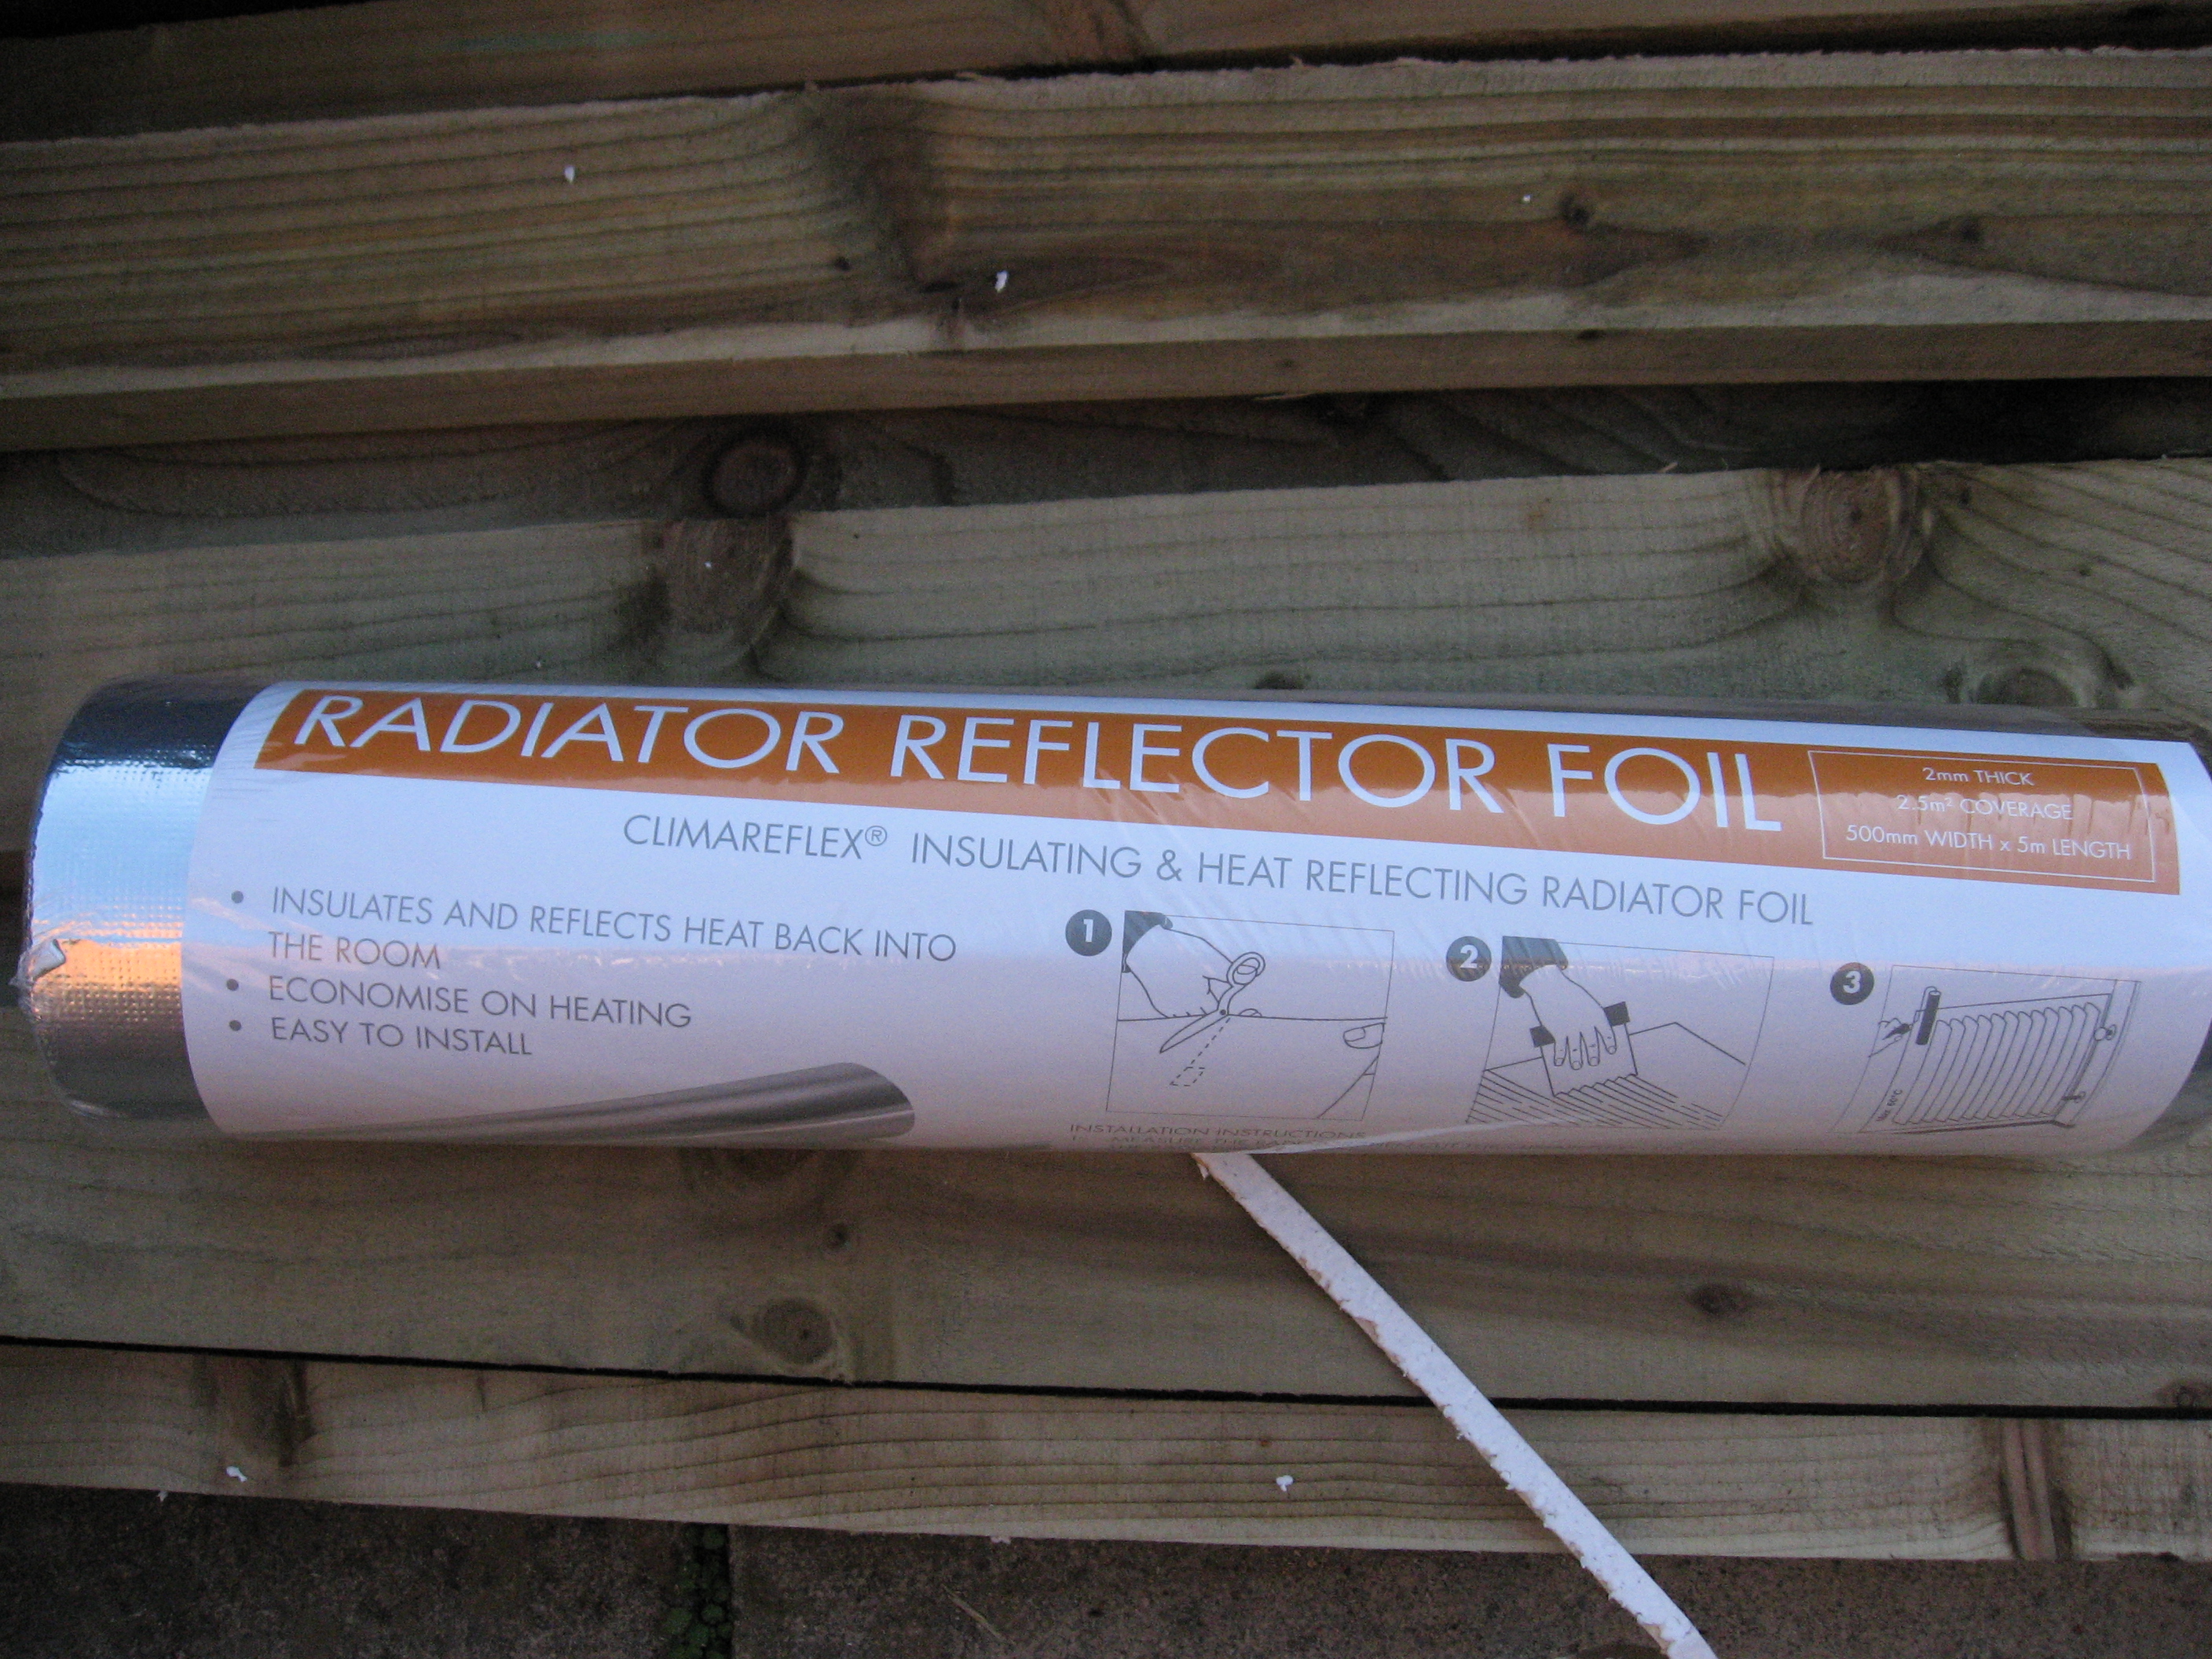
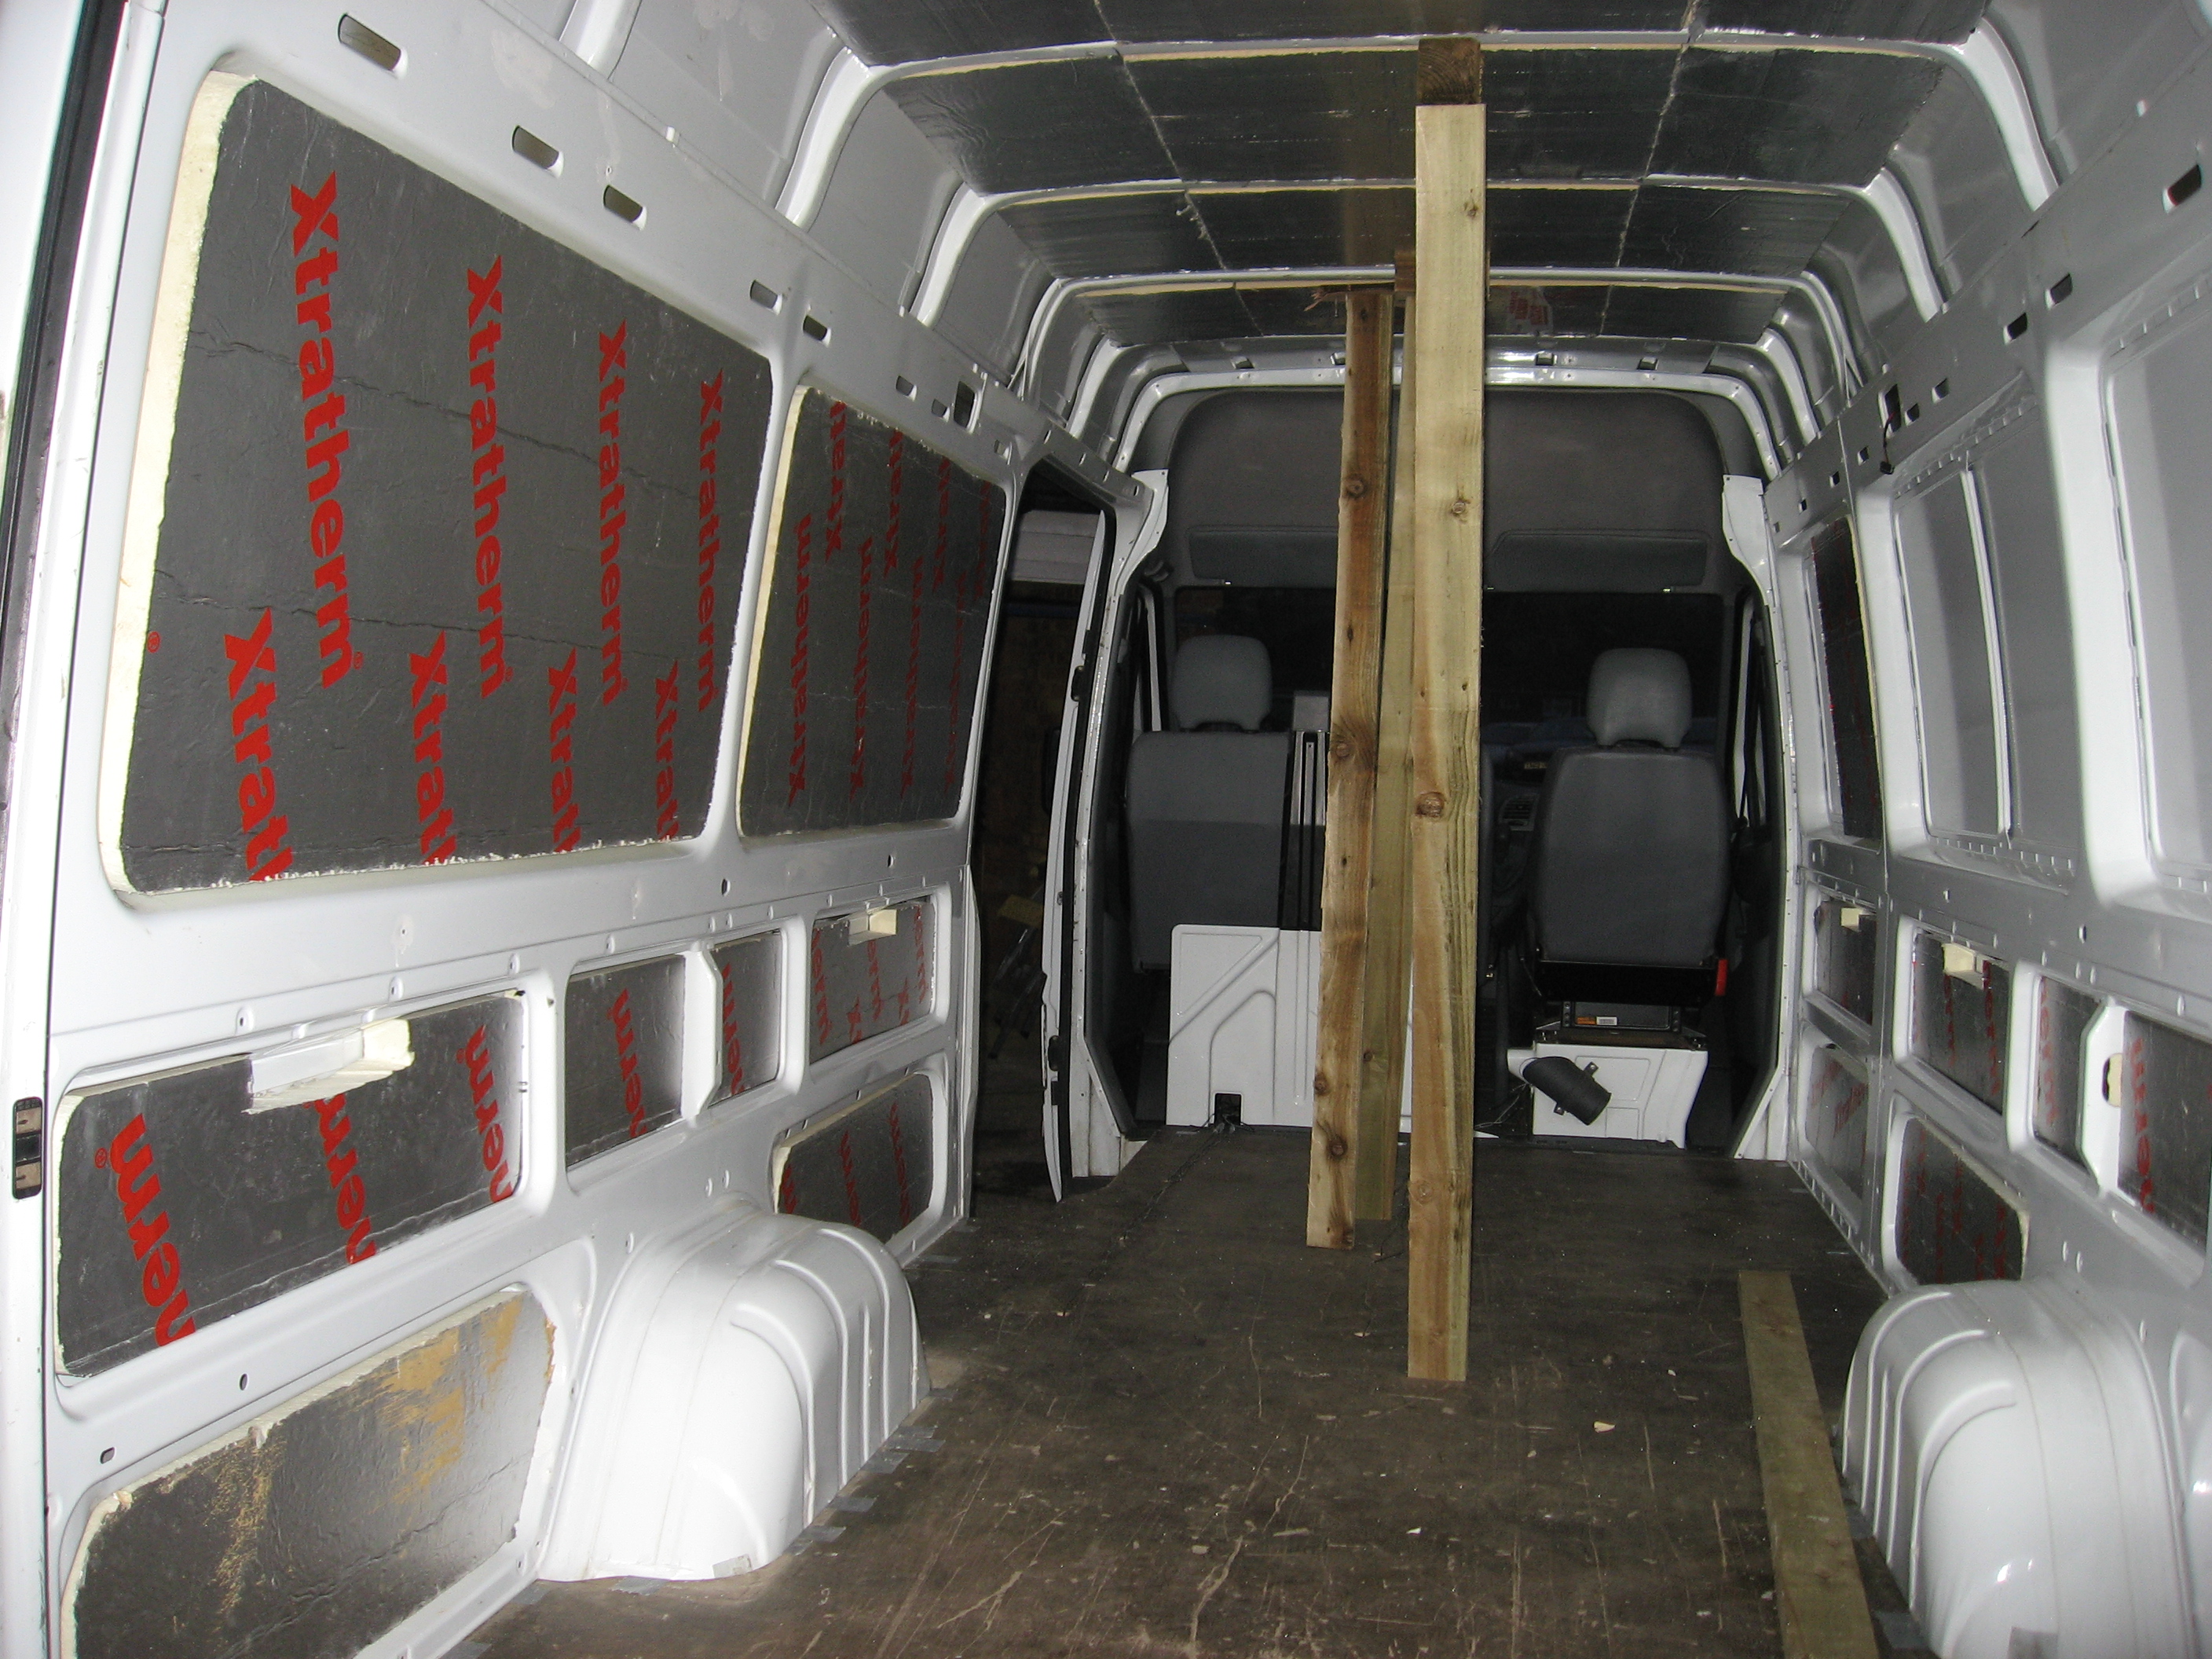
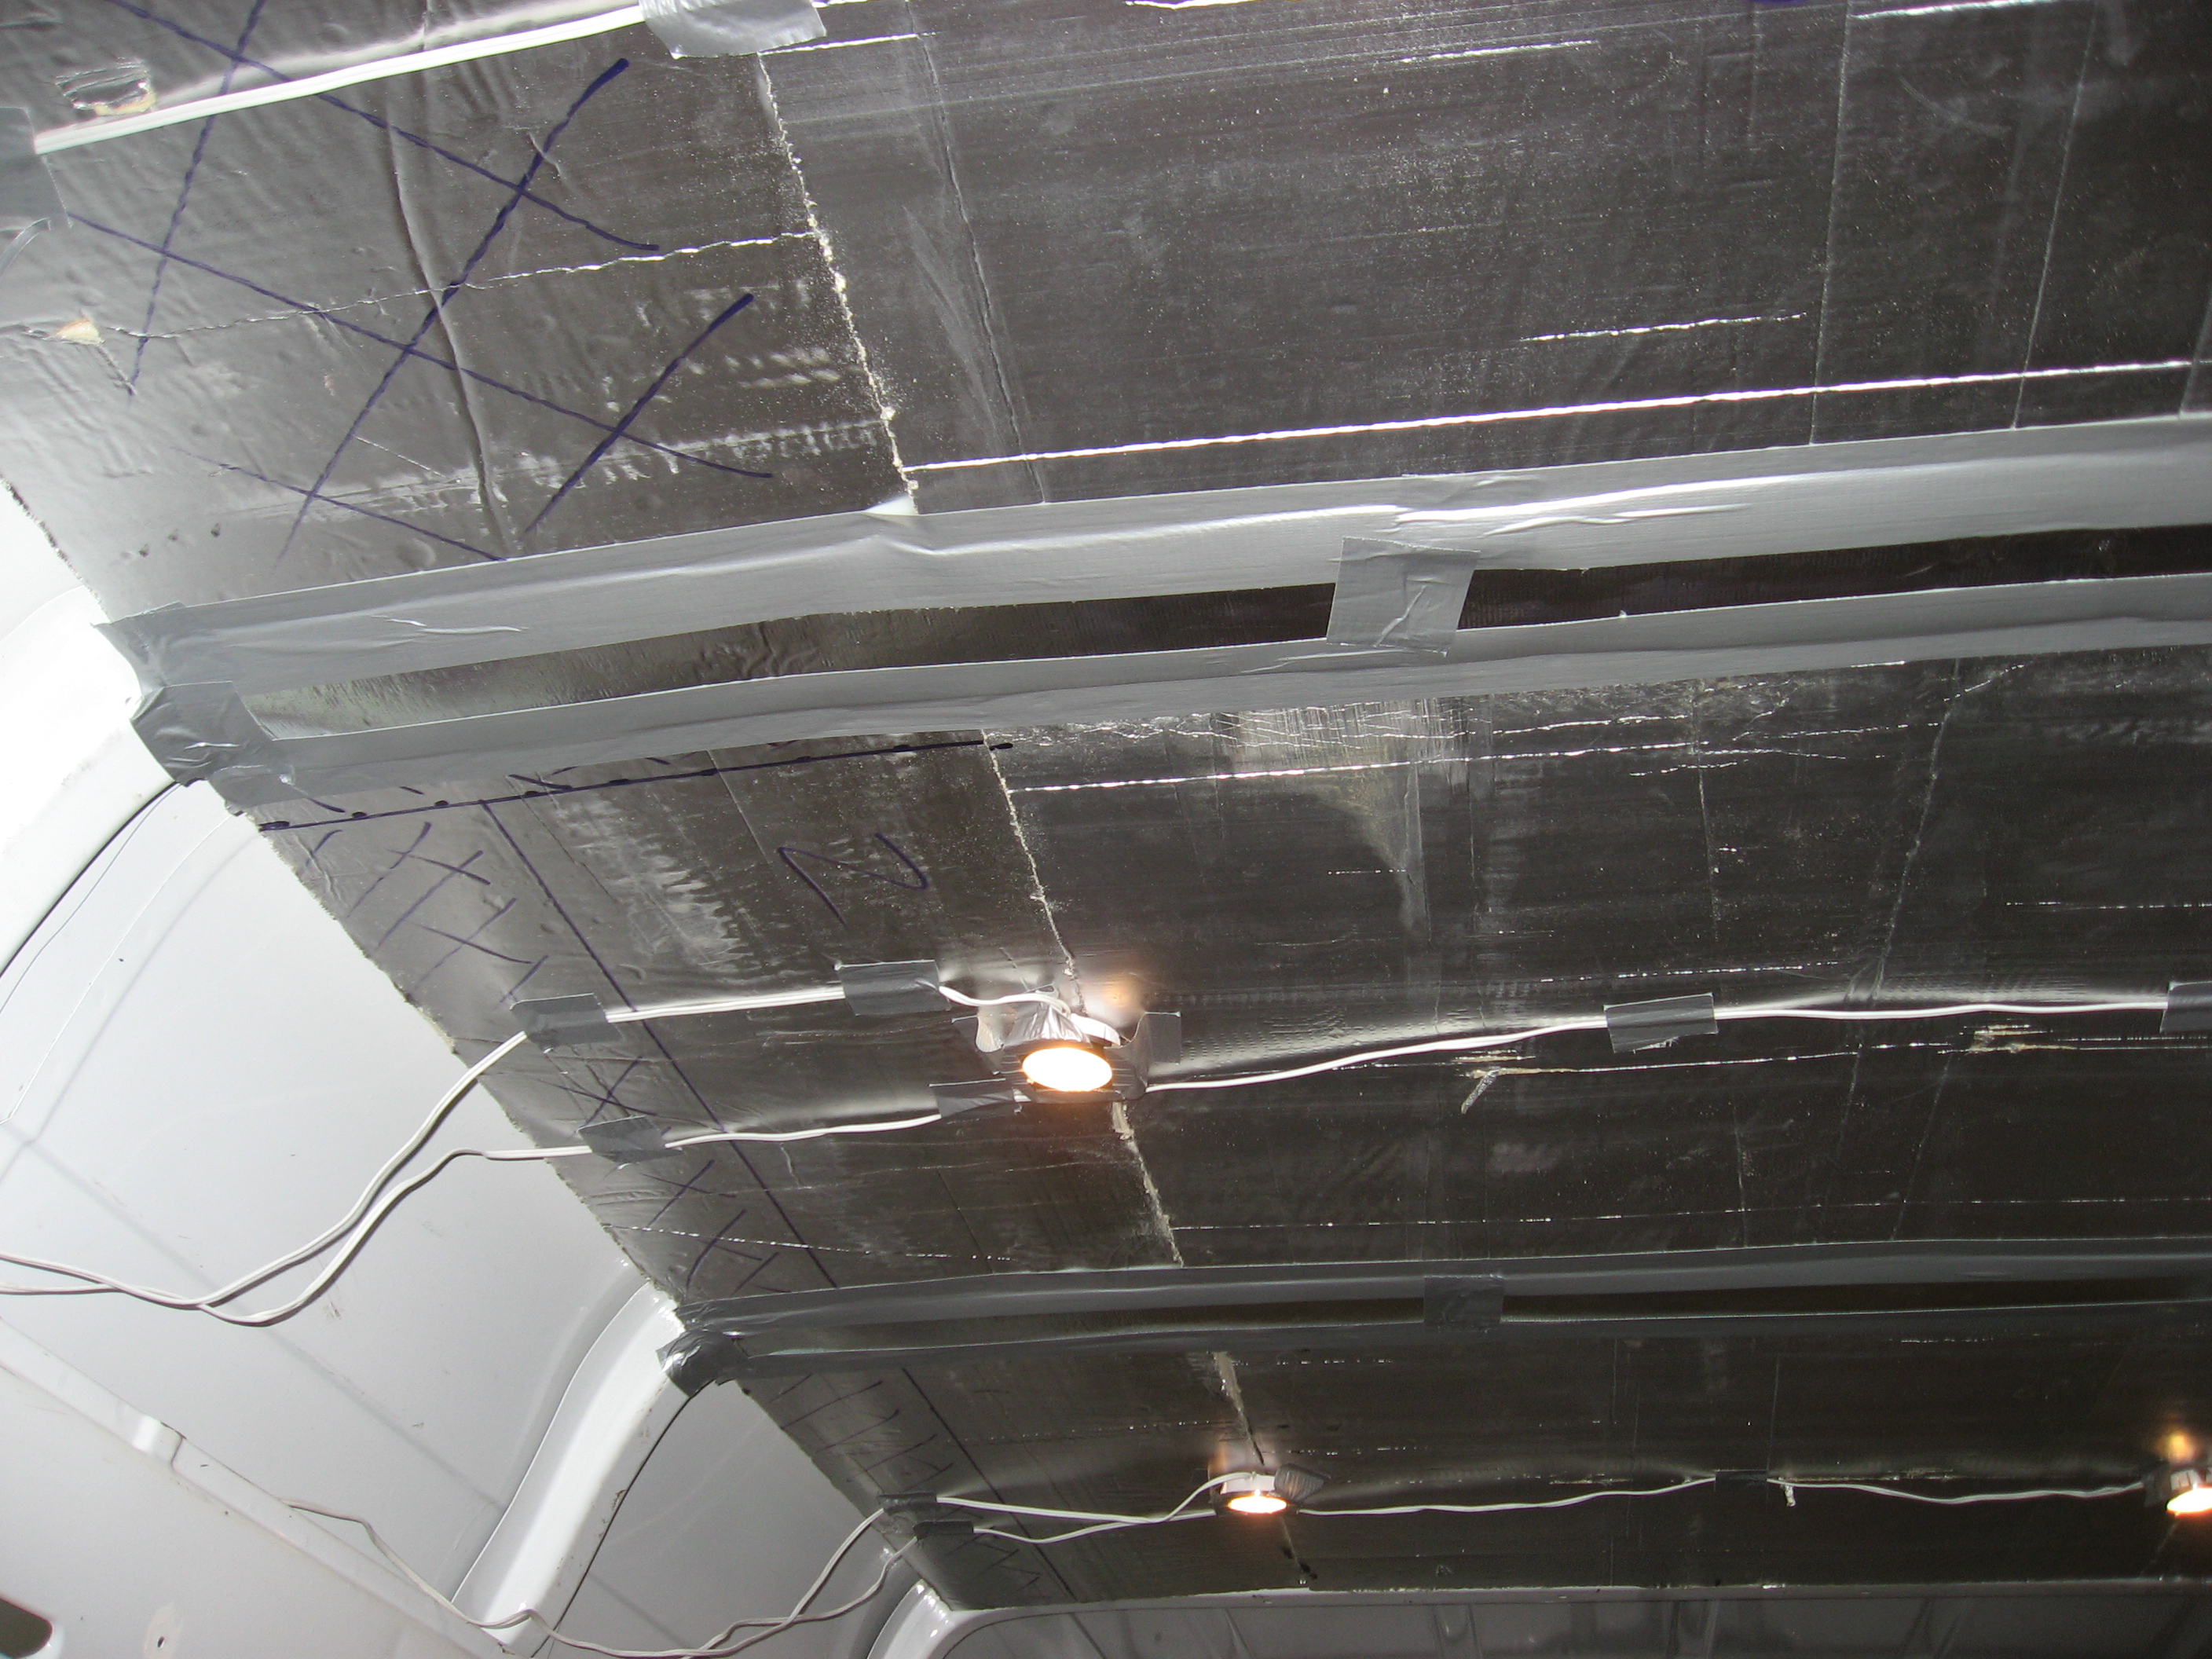
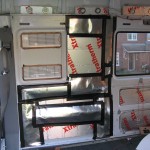
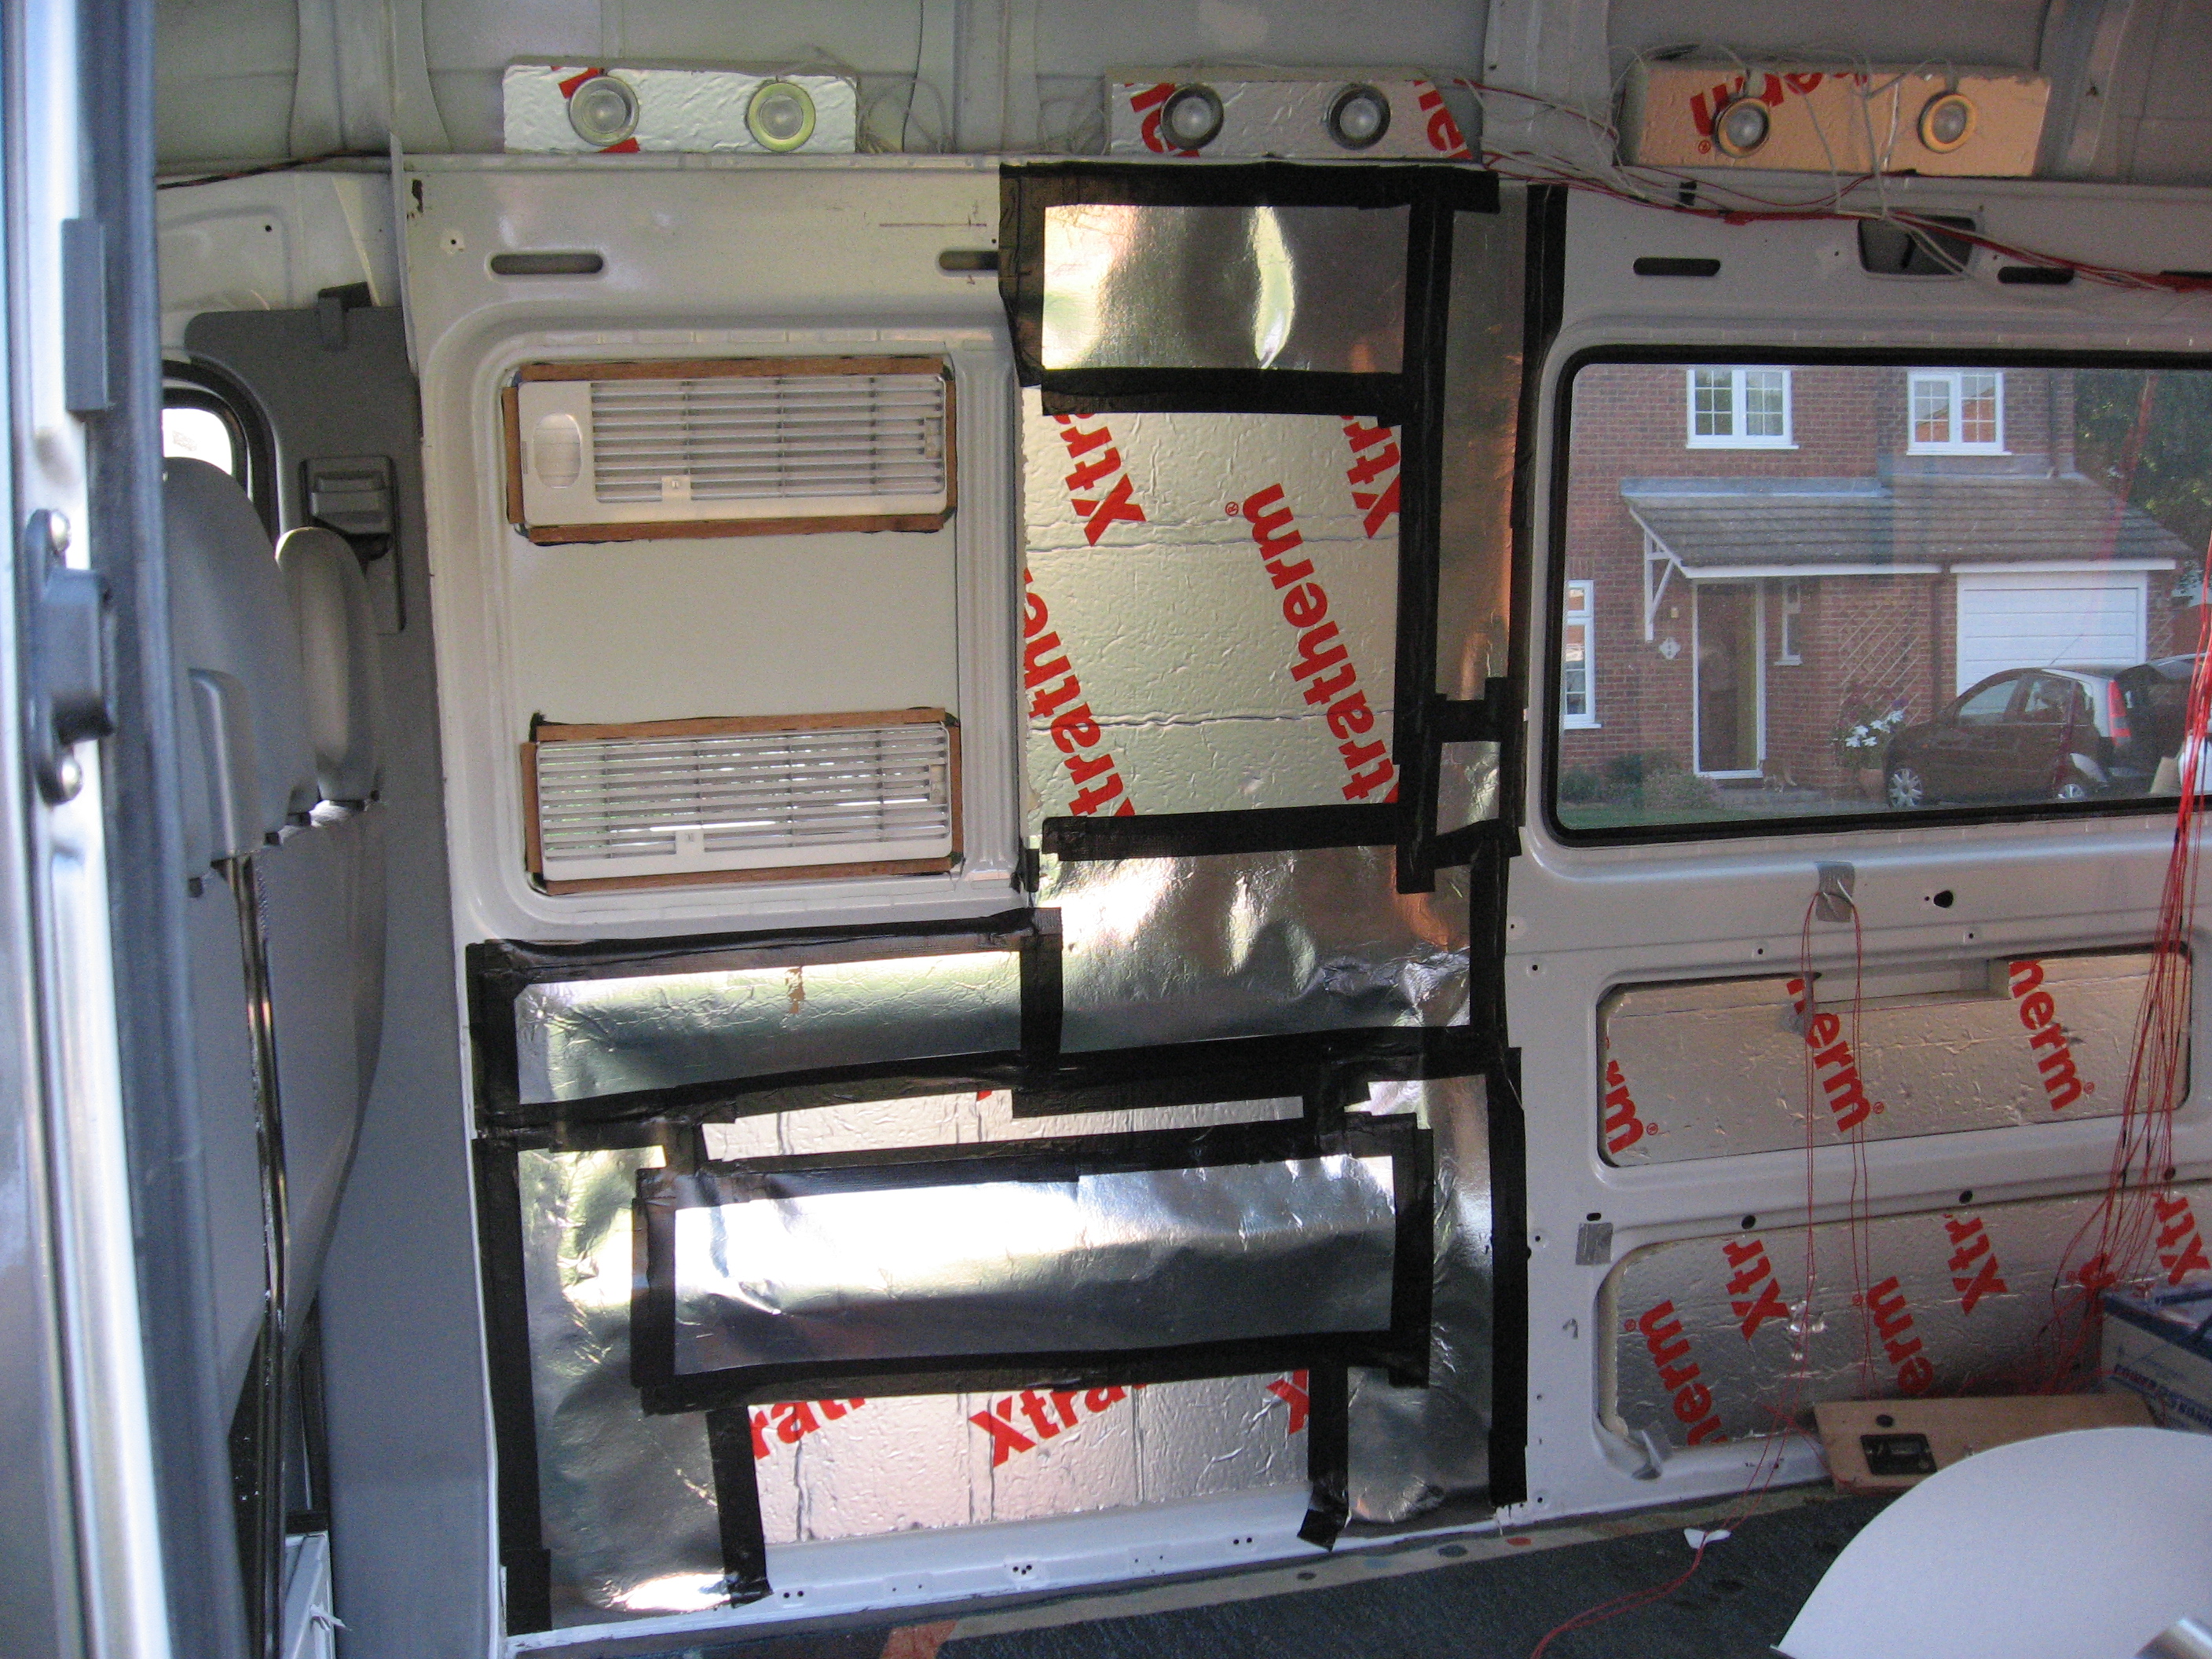
- Radiator reflector foil fitted over insulation
-
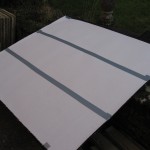
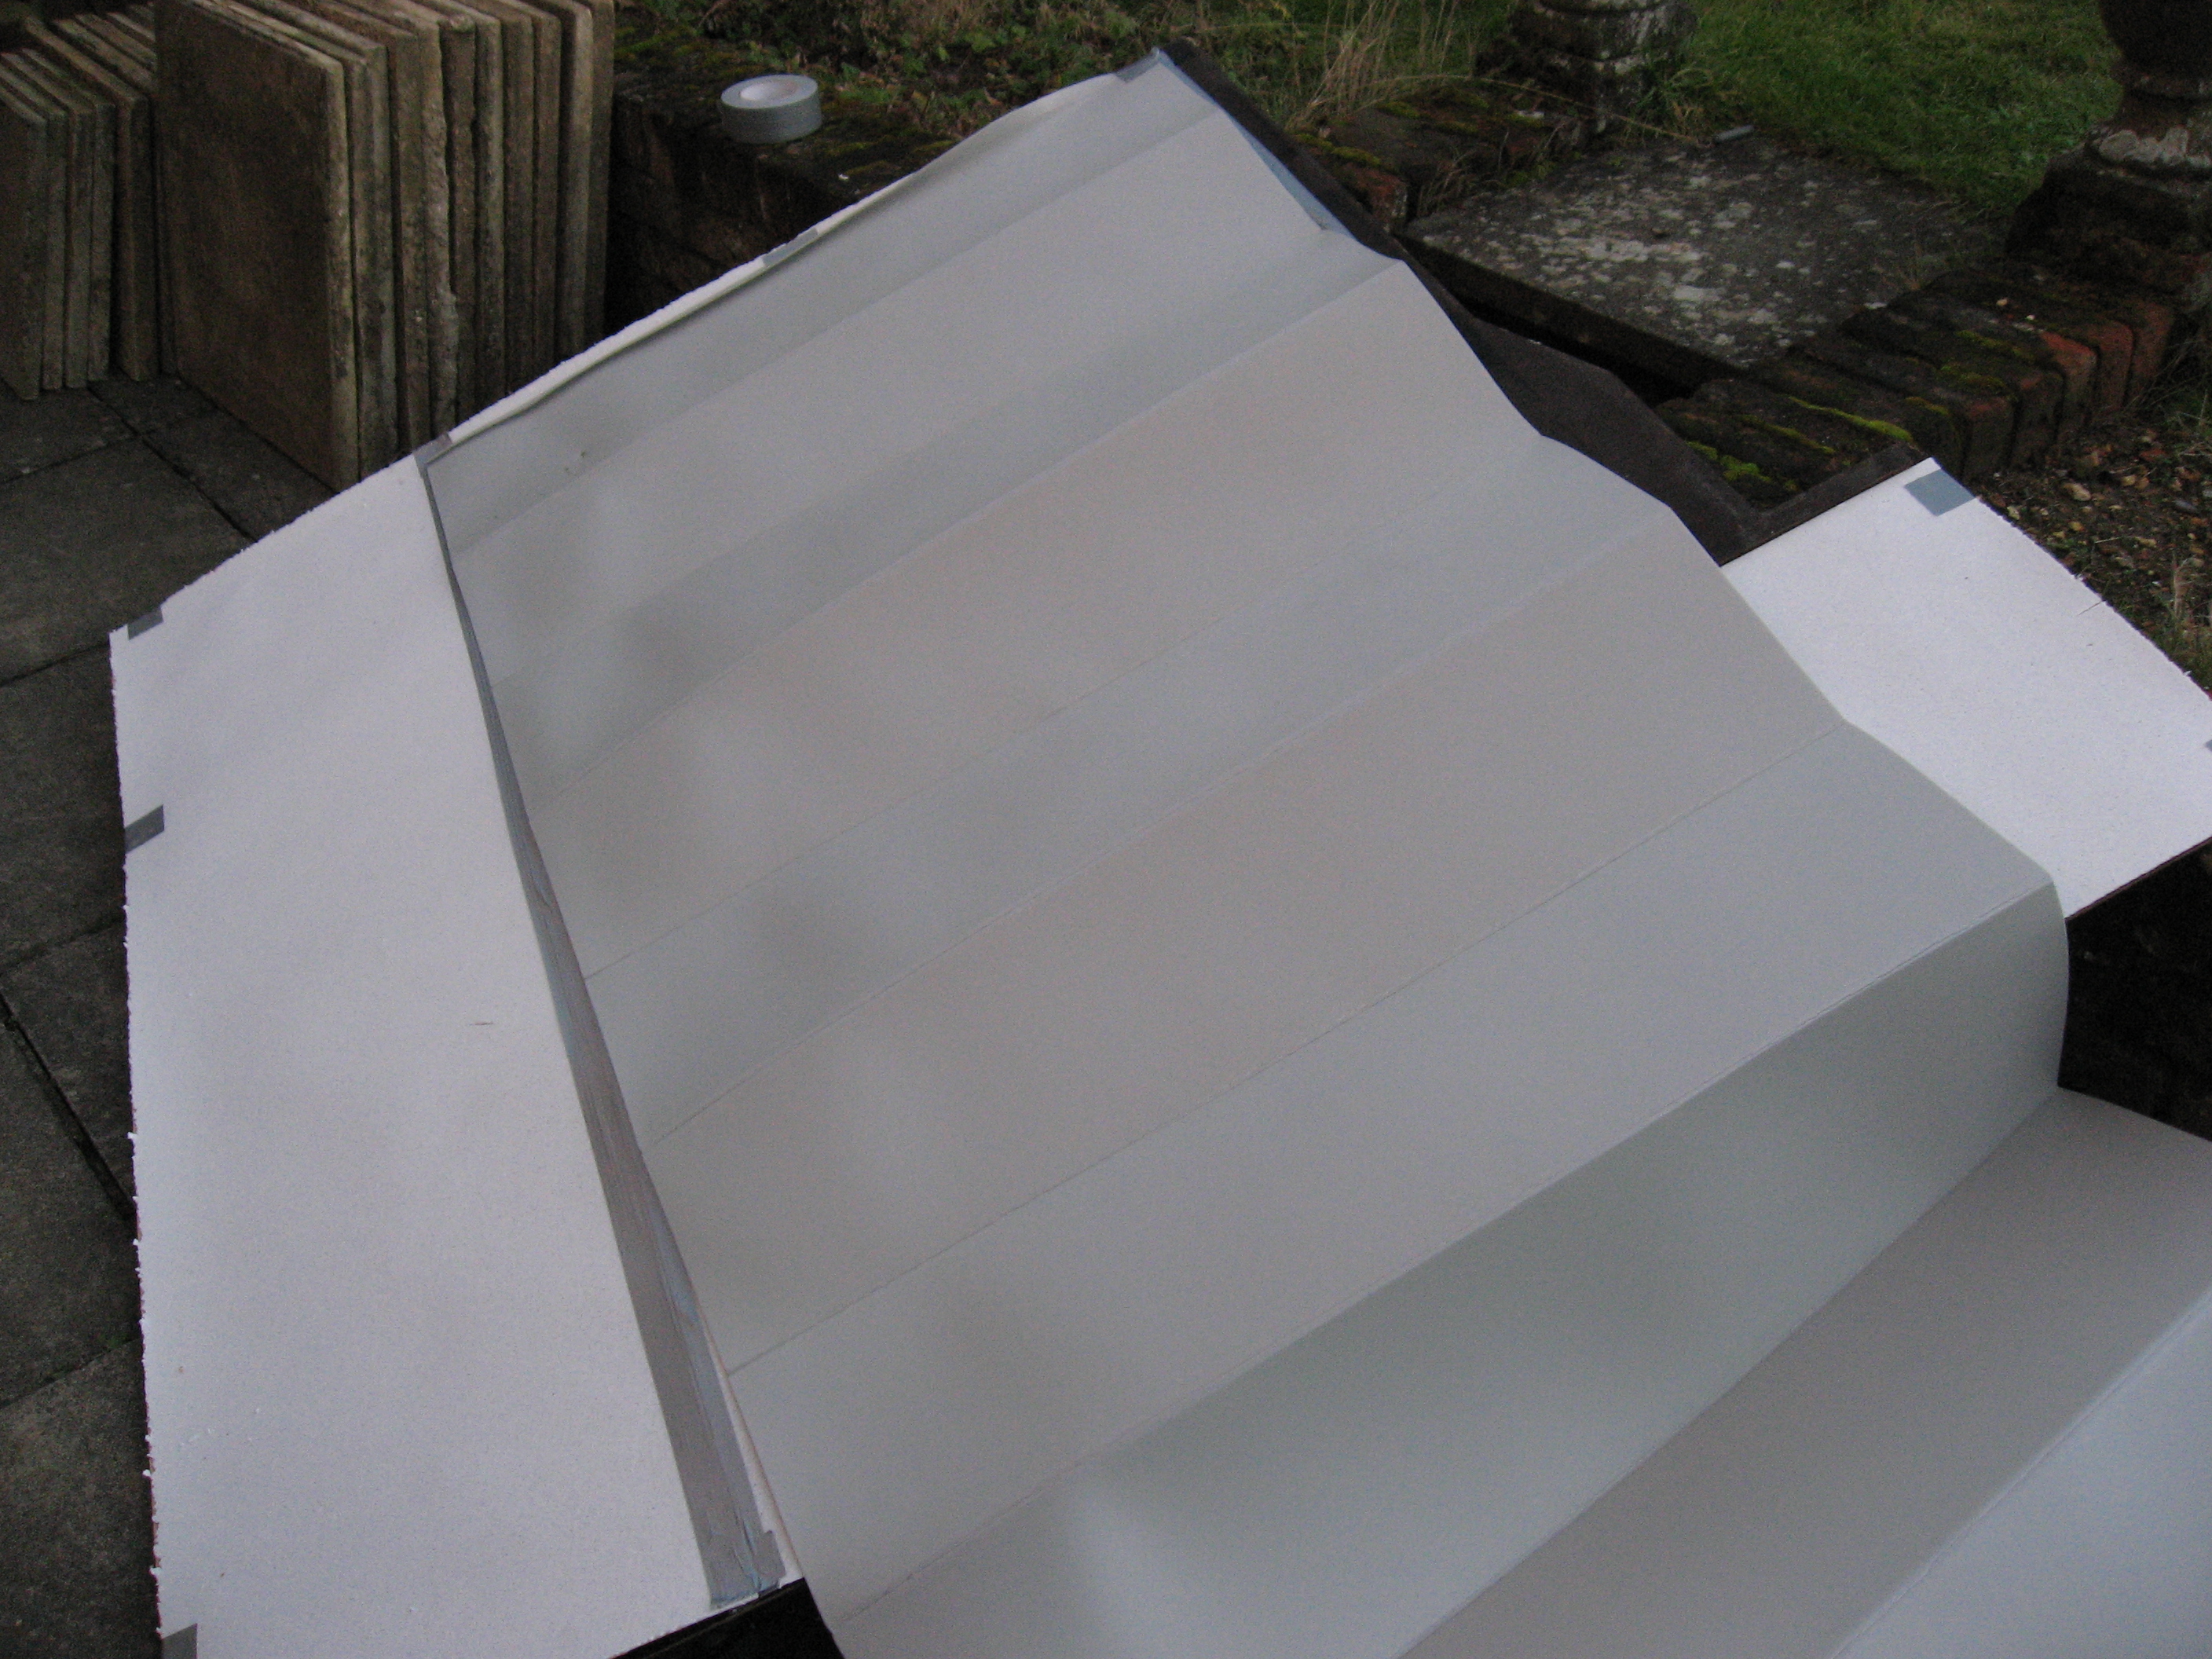
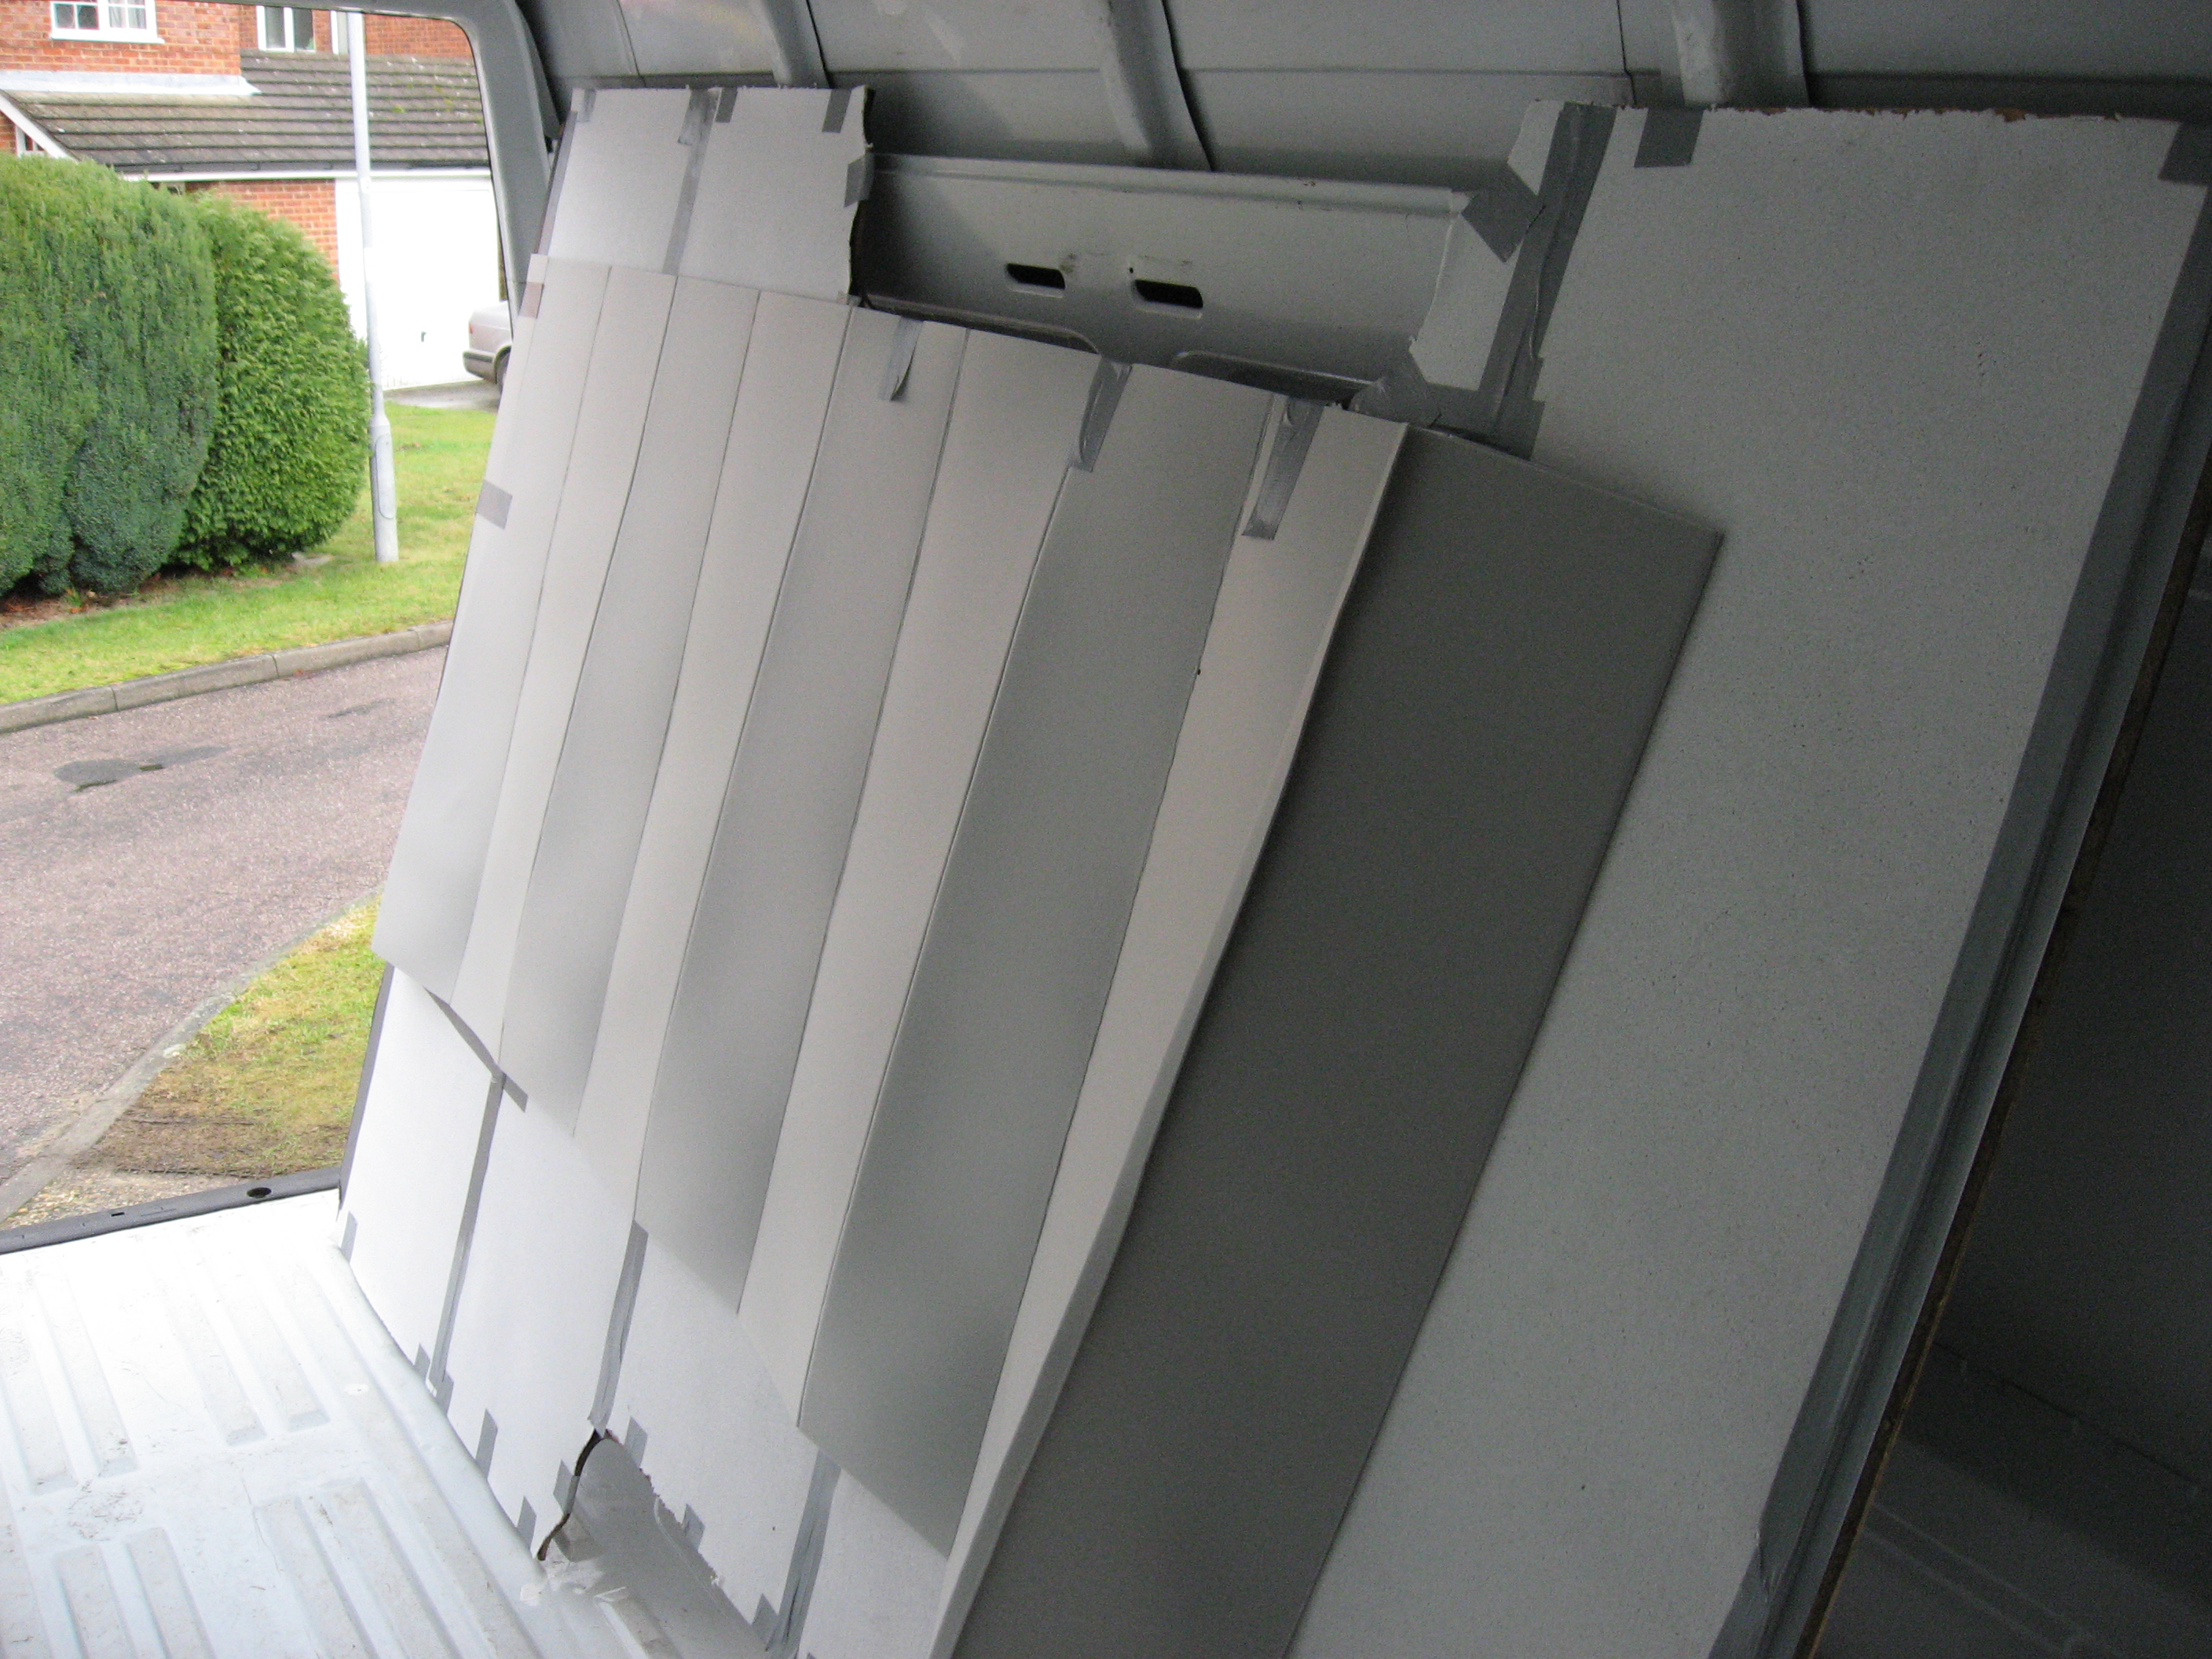
- Making insulation panels from cardboard, cut to same size of wall panels

-
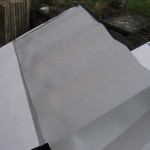
- Cardboard cut to size of wall panels then covered with insulation material
-
- Making insulation panels from cardboard, cut to same size of wall panels

-
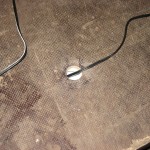
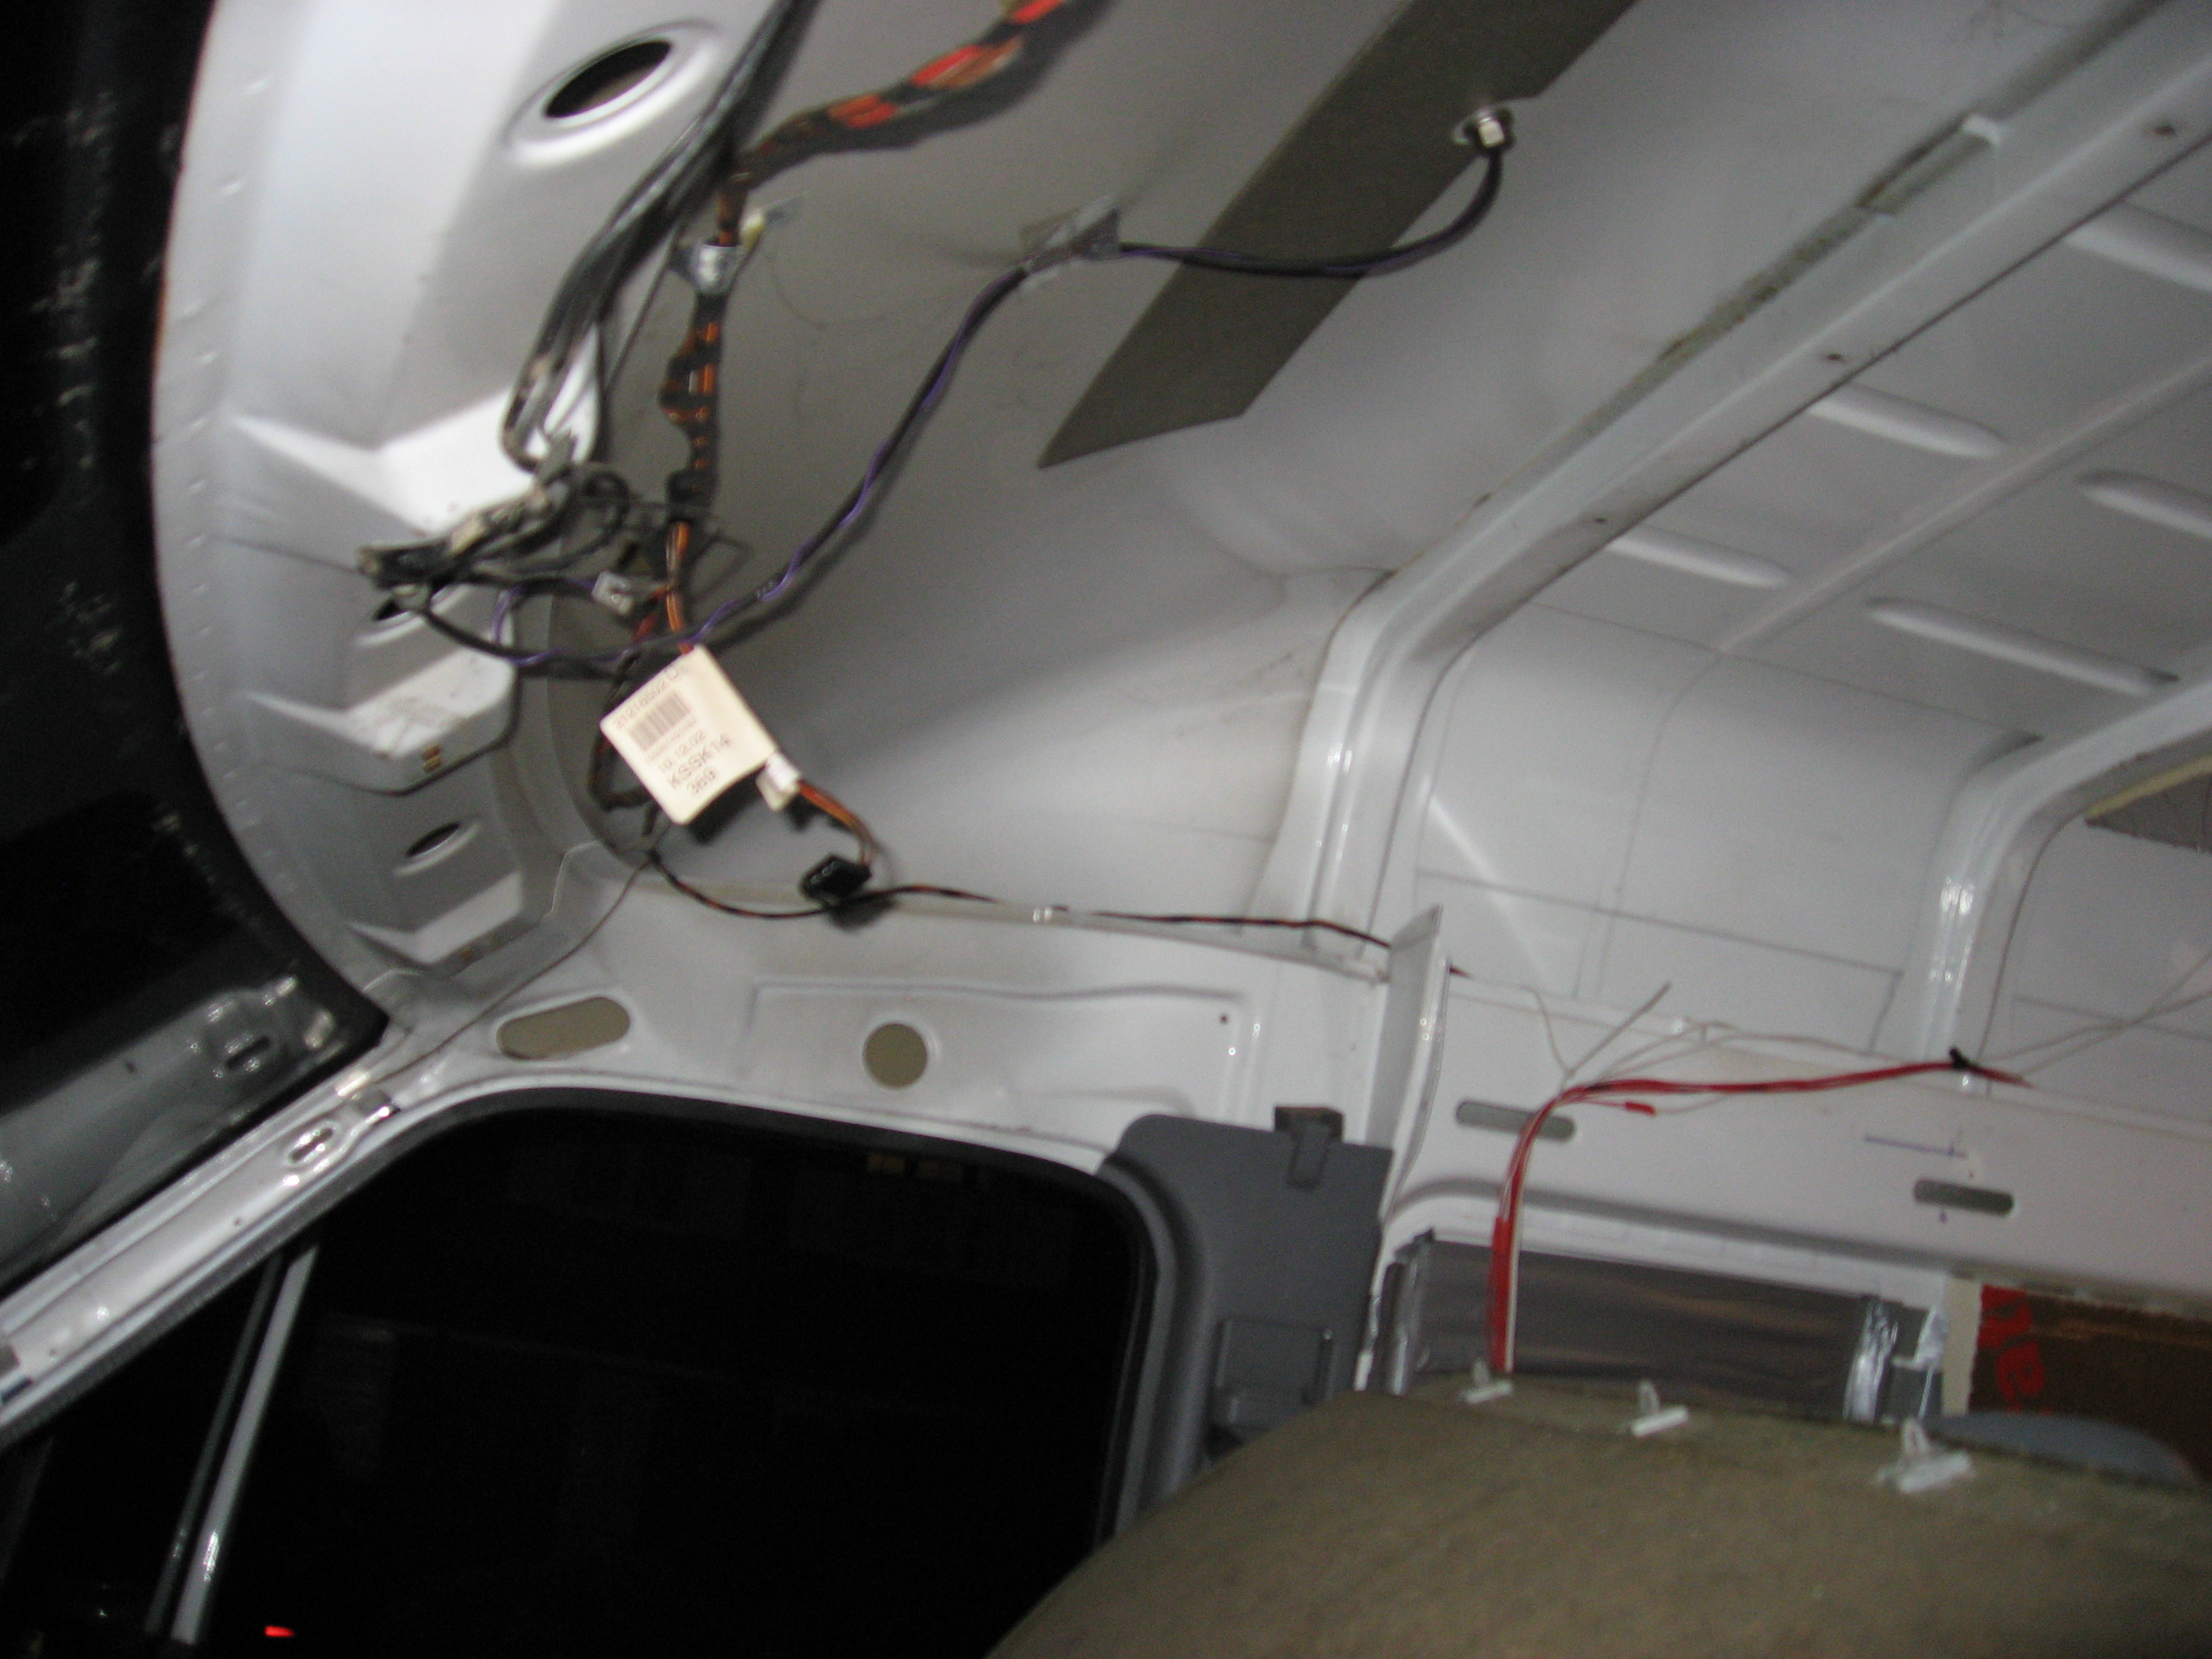
- Try to pre plan any electrical wires before fitting insulation

-
- Insulation ready to be fitted after cavi
-
- Useful. Sikaflex 221 sealant and adhesive to fix insulation and seal gaps

-
- Insulation internal walls and roof

-
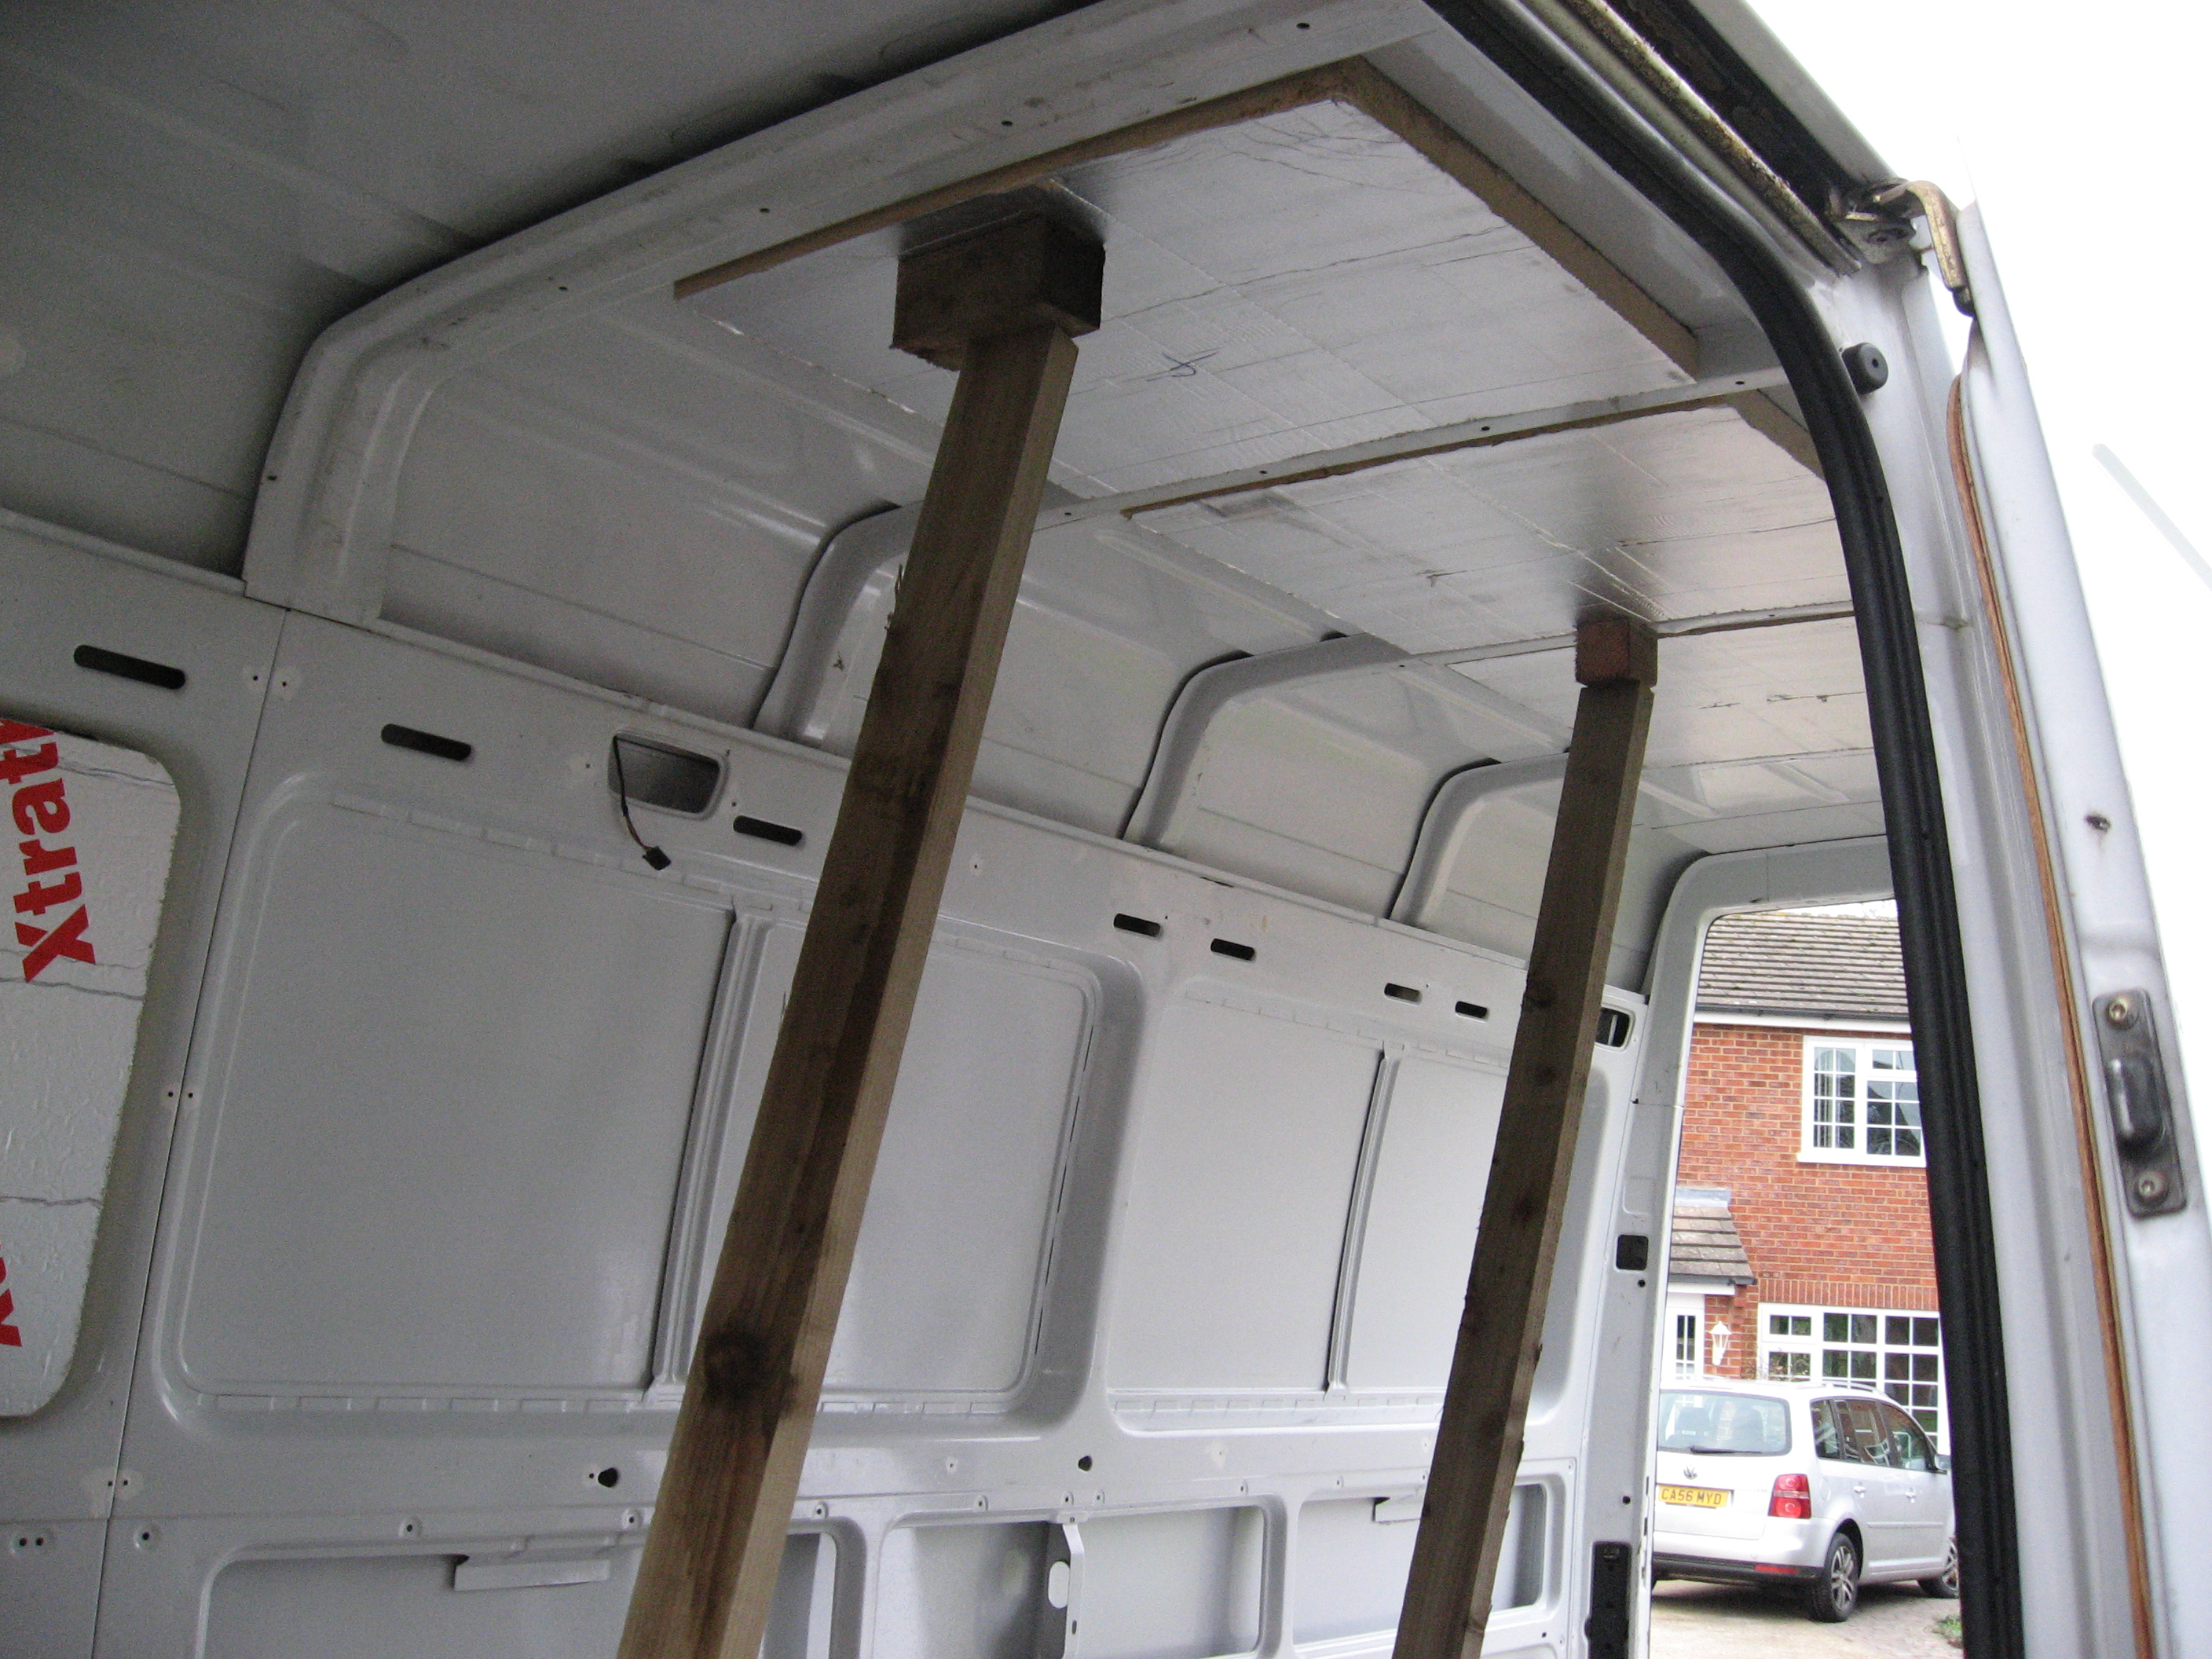
- Xtratherm propped to ceiling as adhesive sets
-
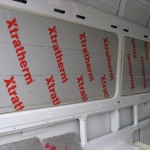
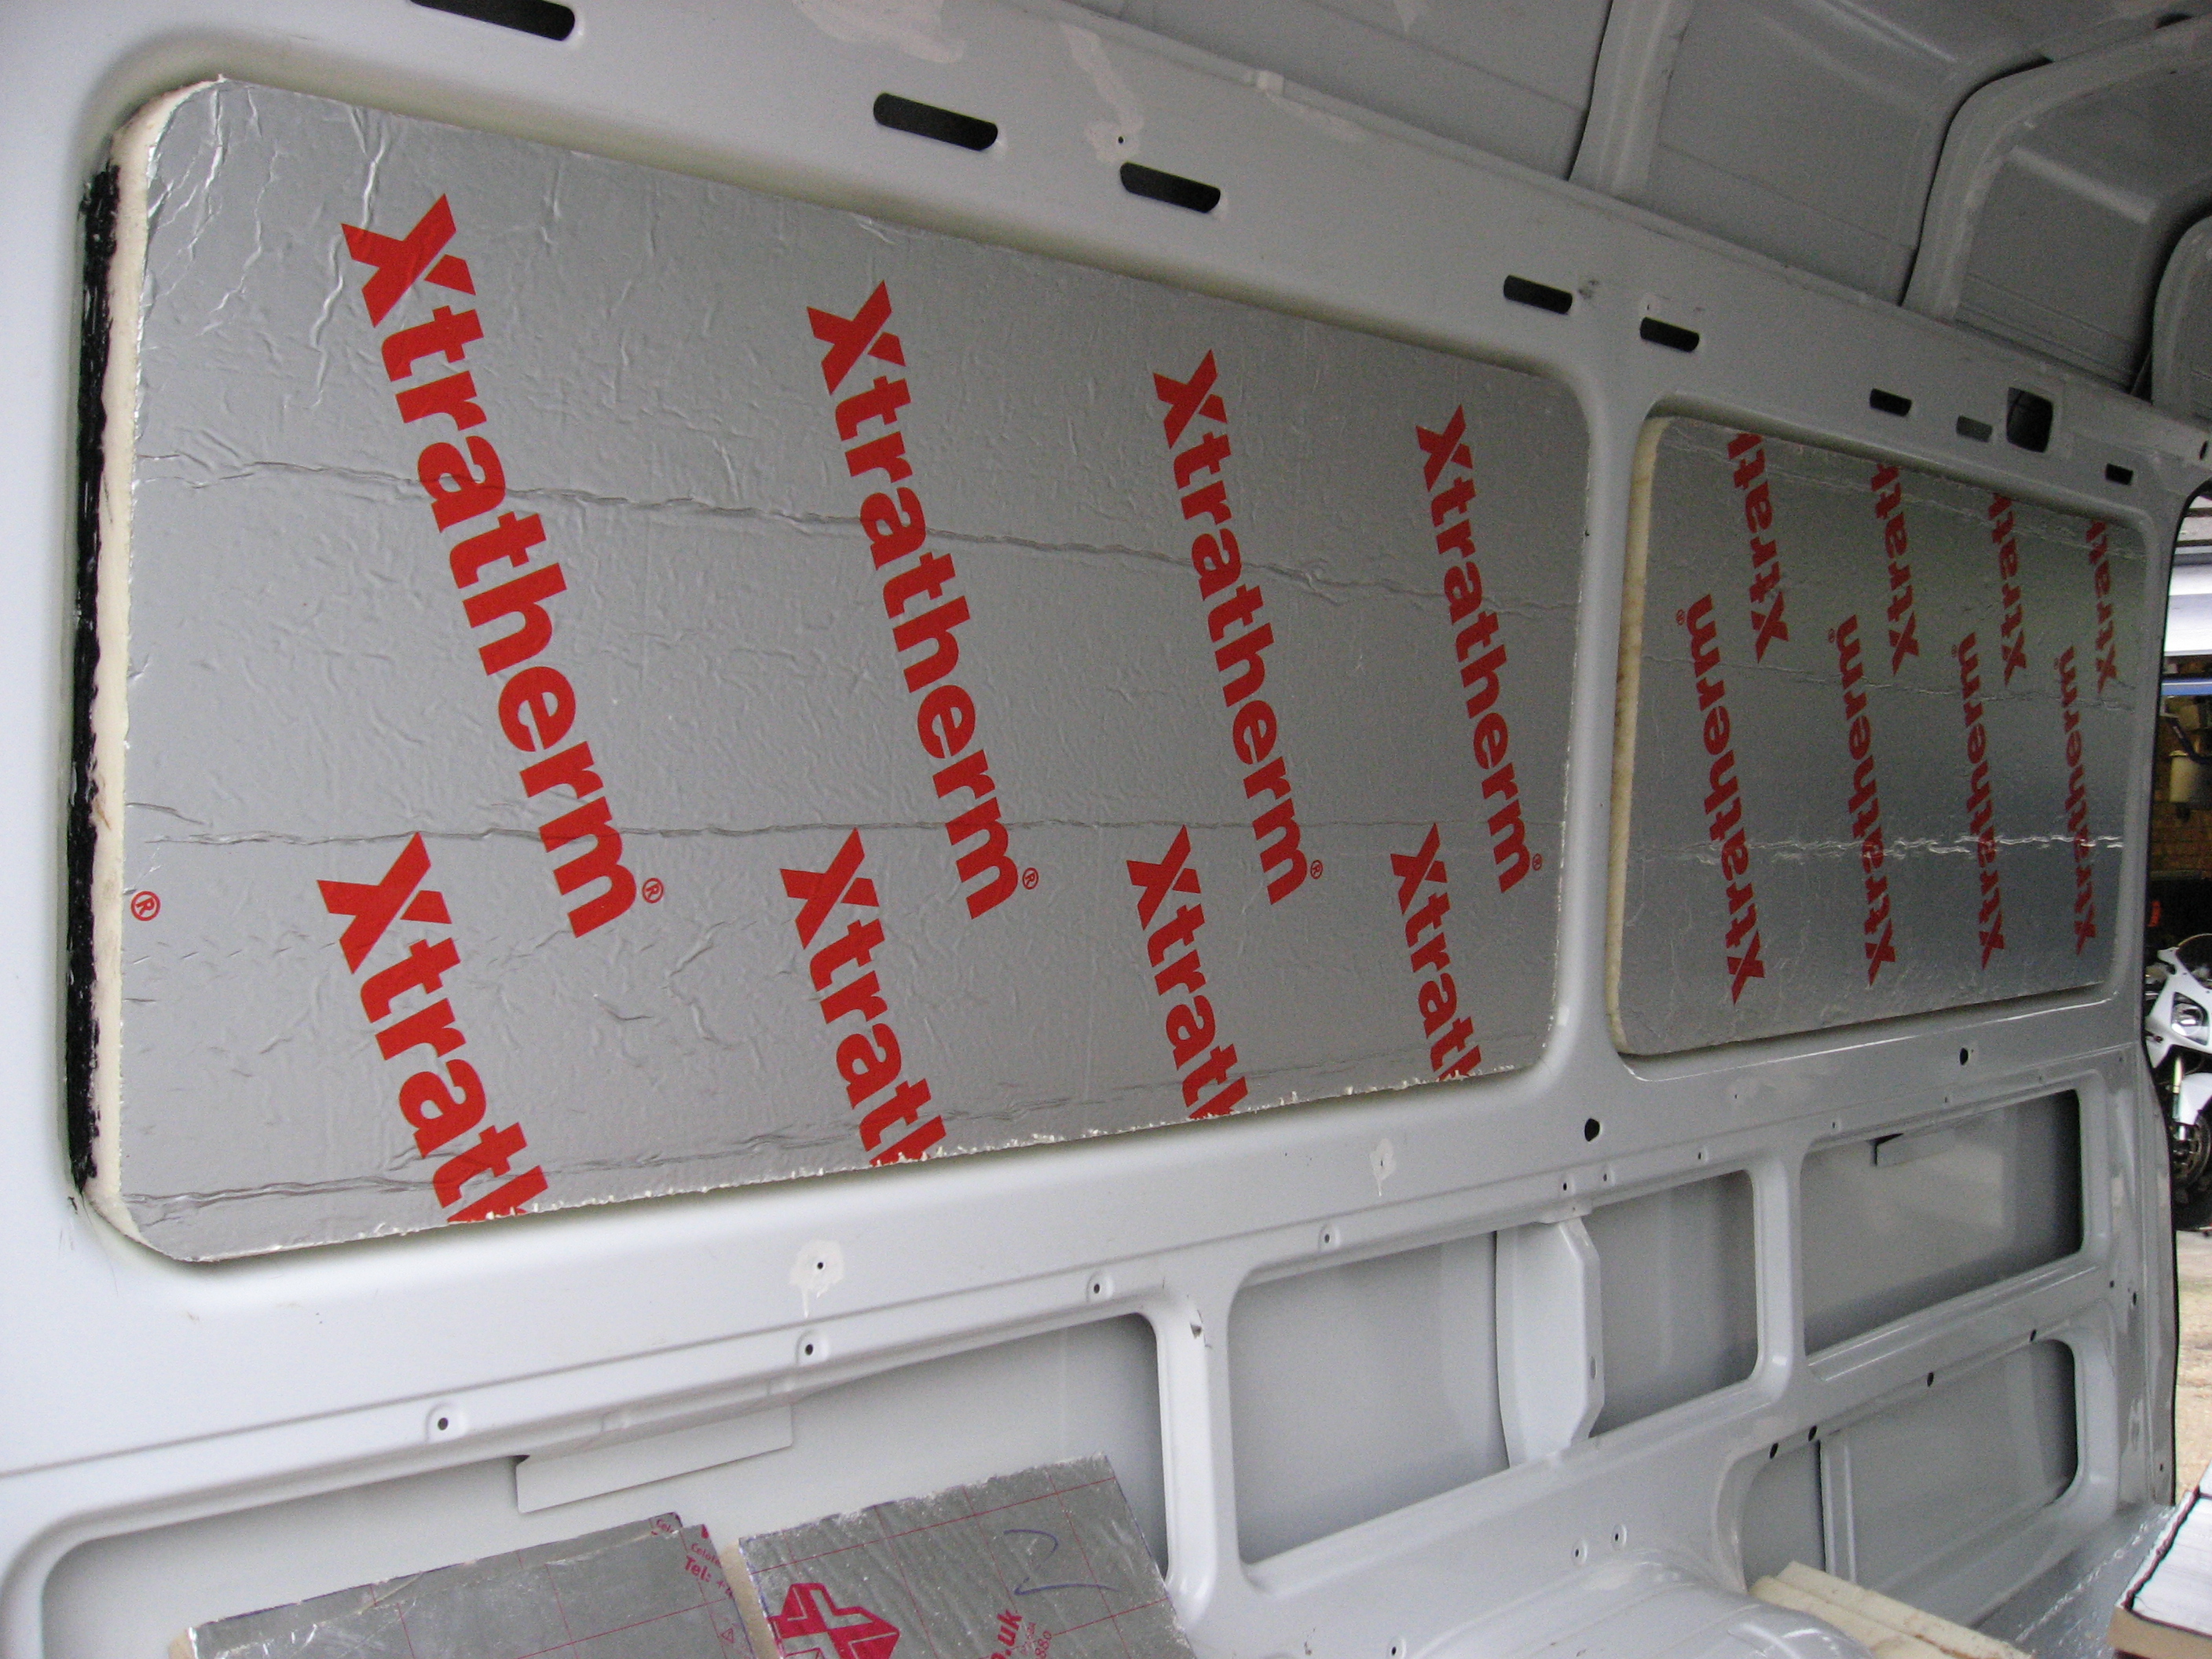
- Xtratherm insulation was used in the wall catities
-
- Leave props until sealant cures
-
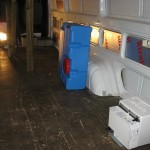
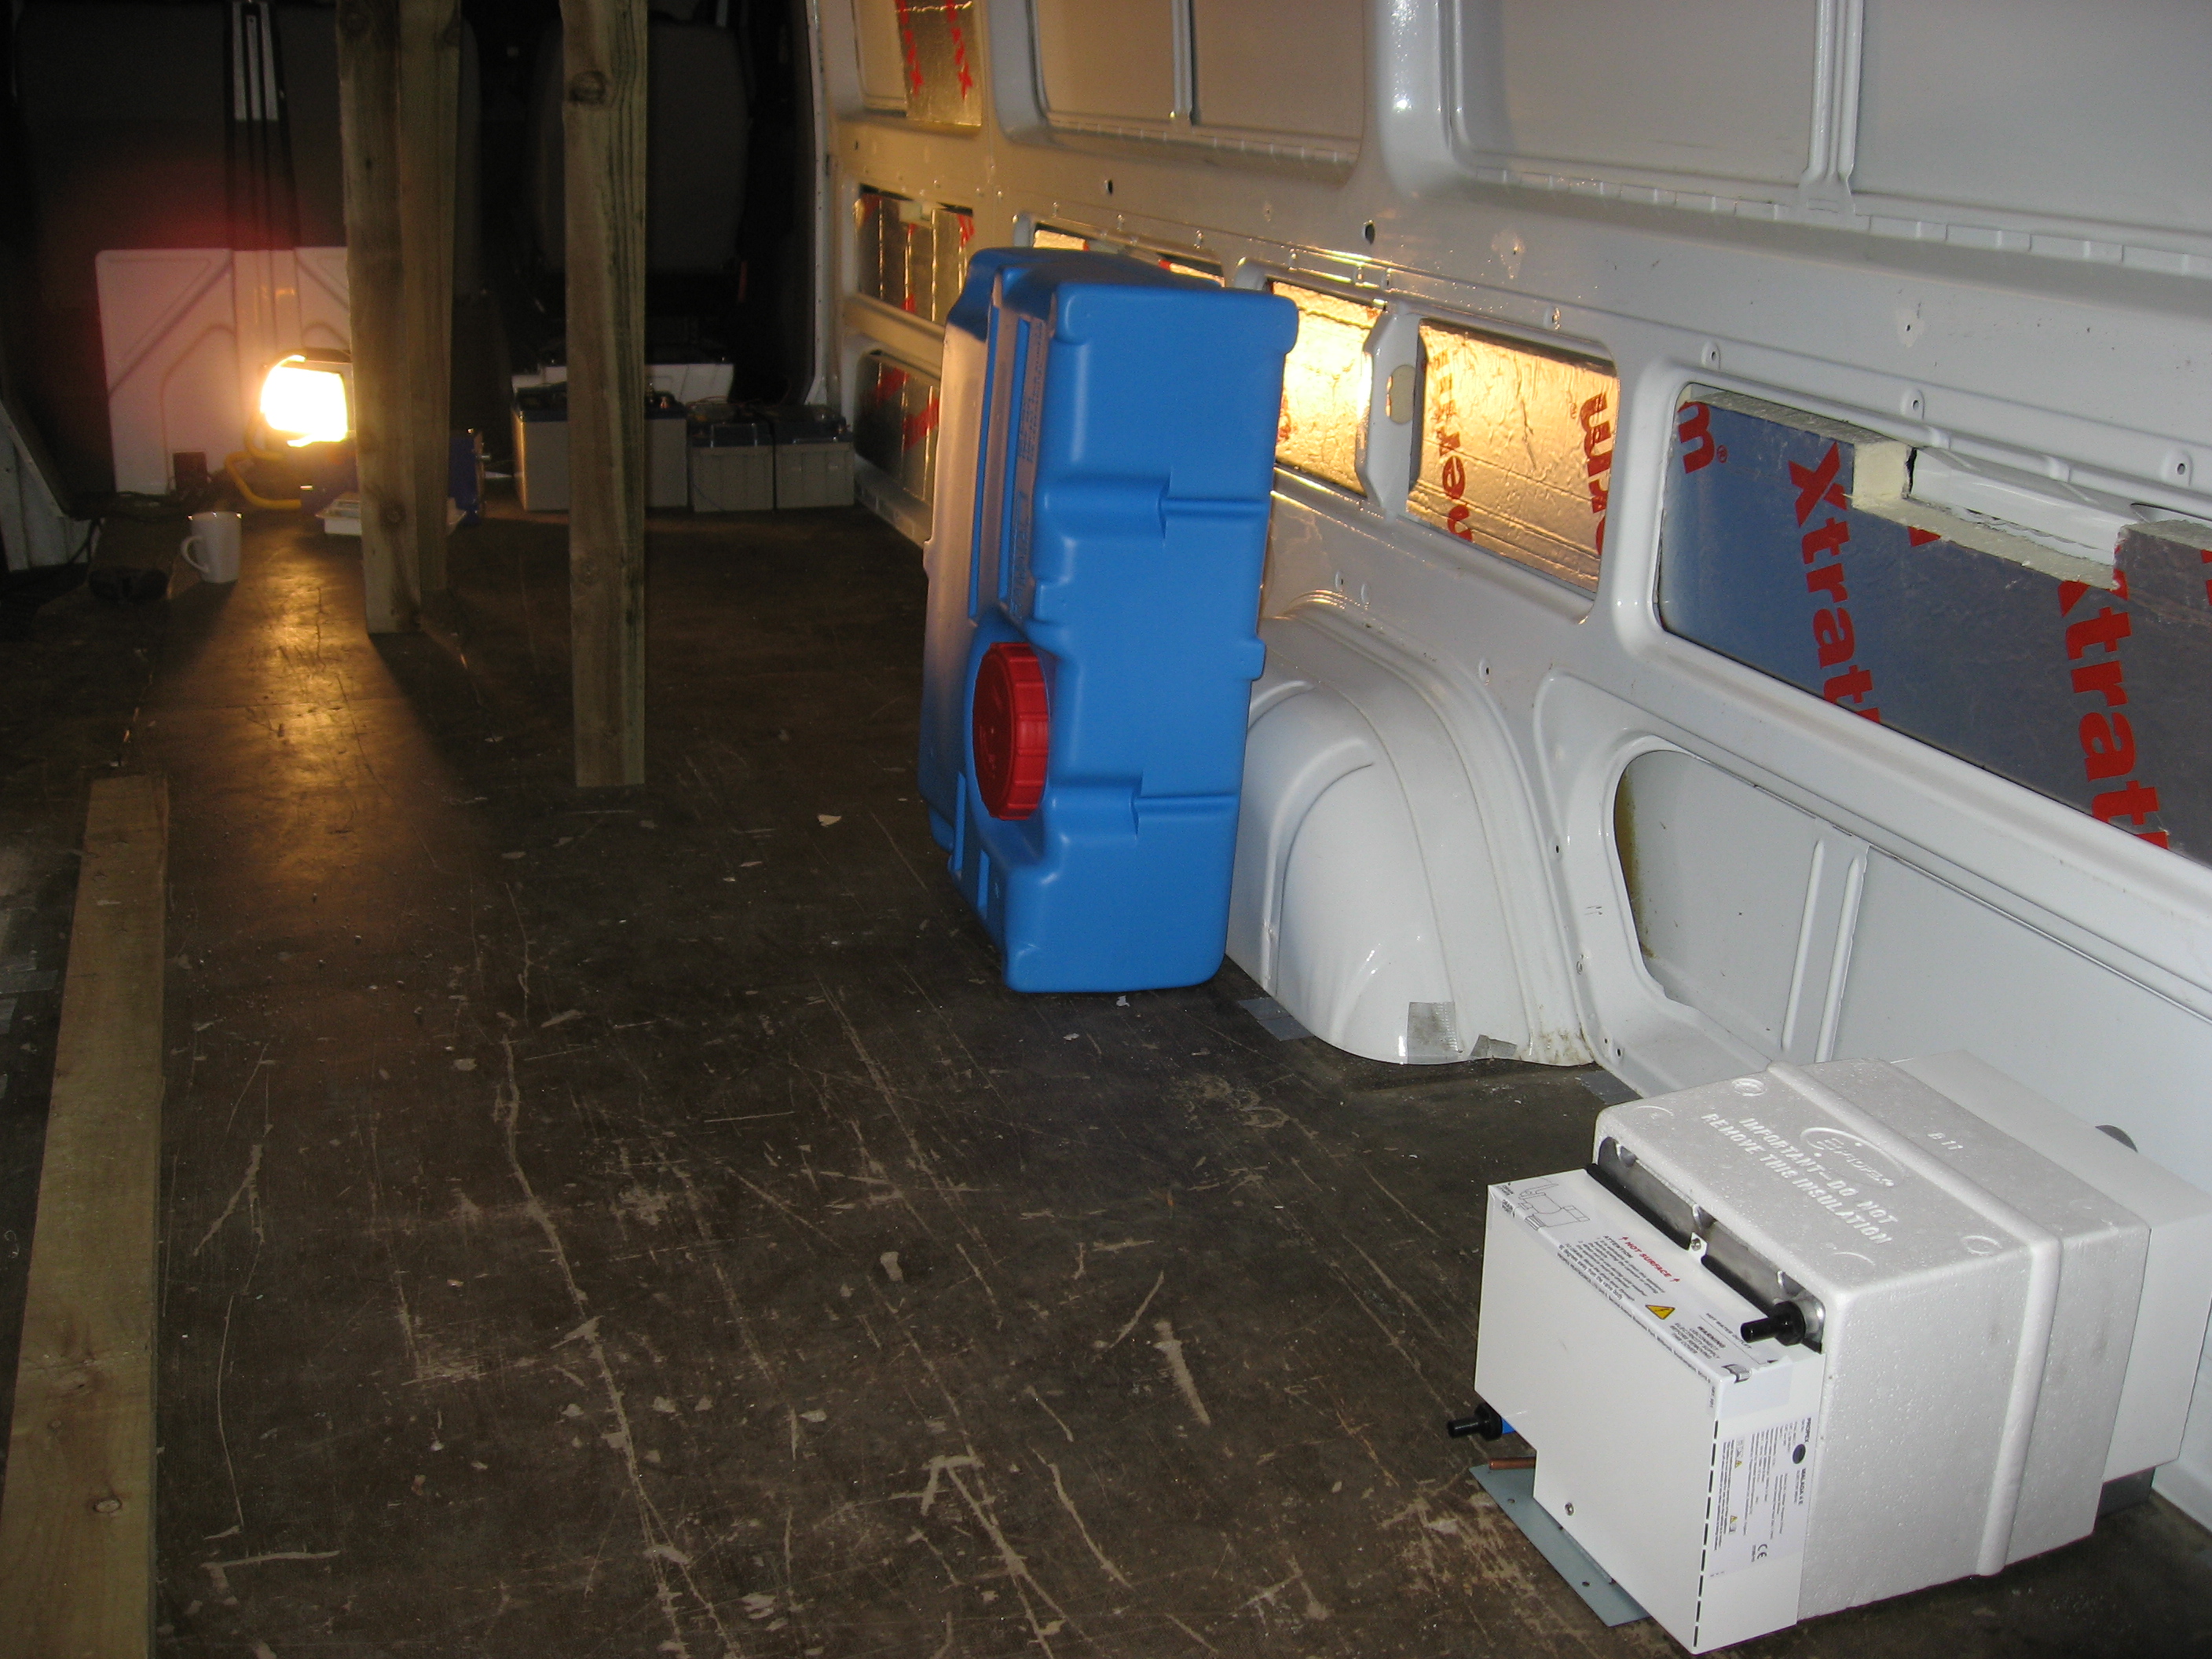
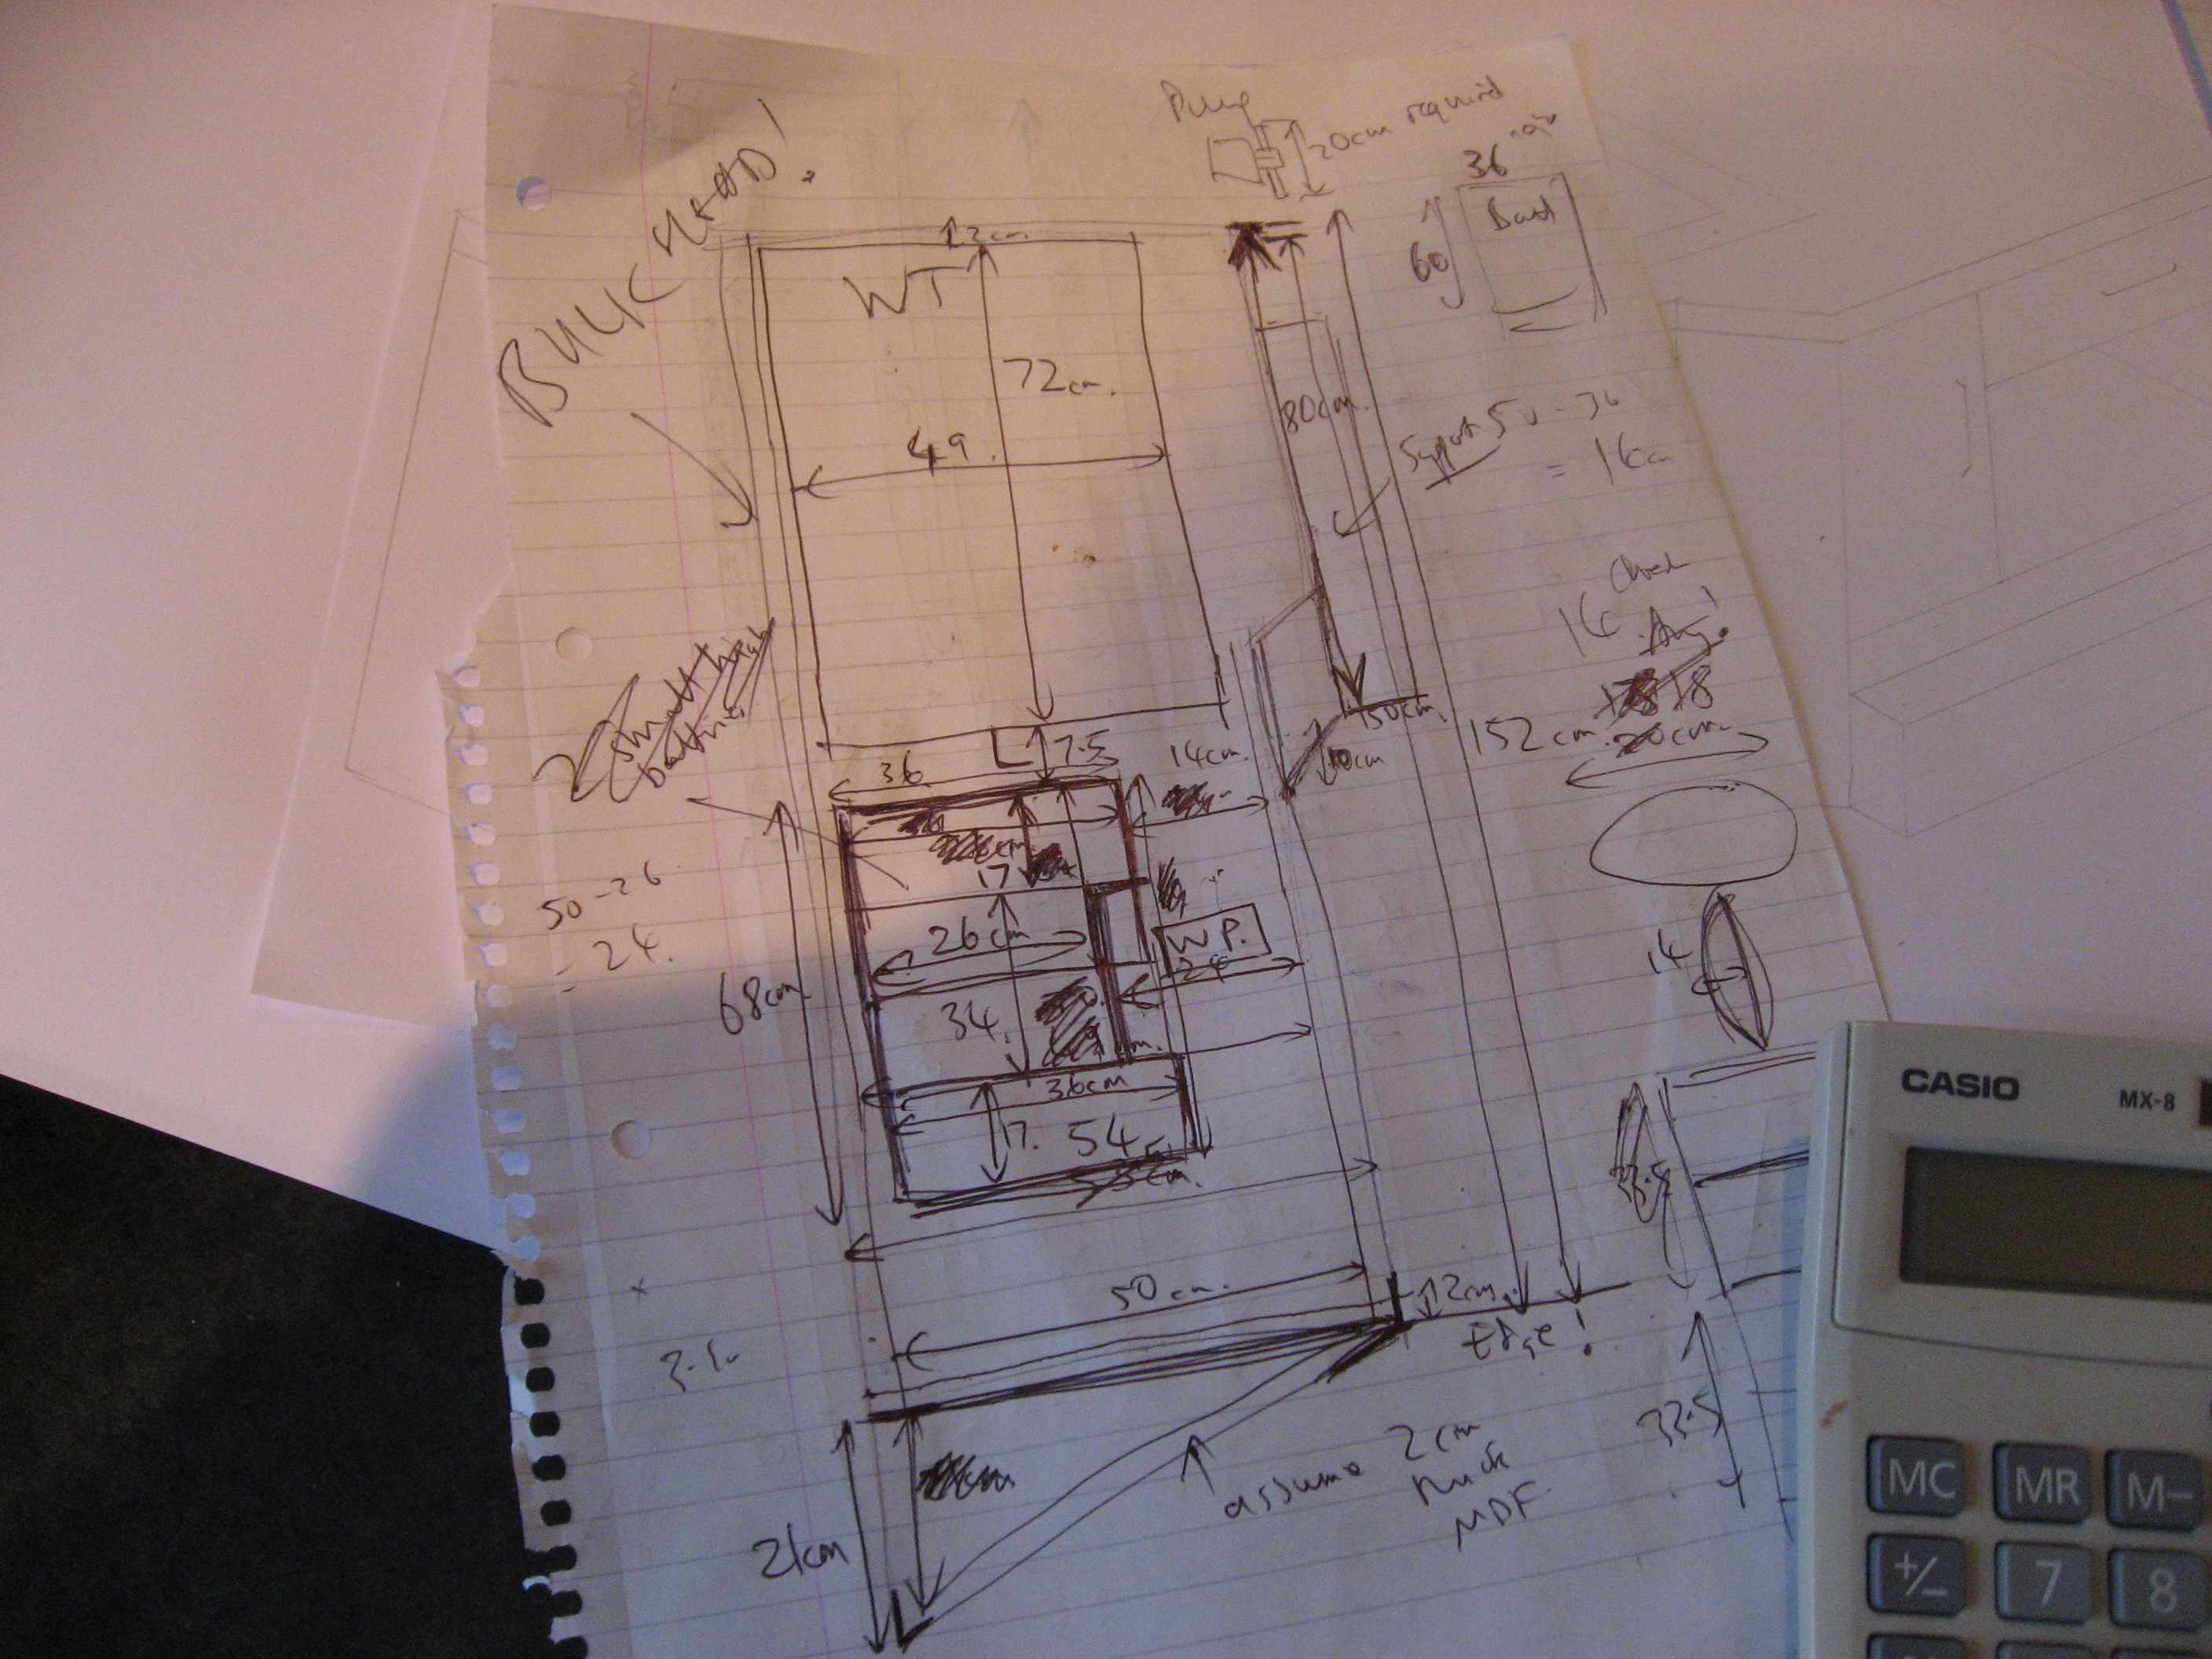
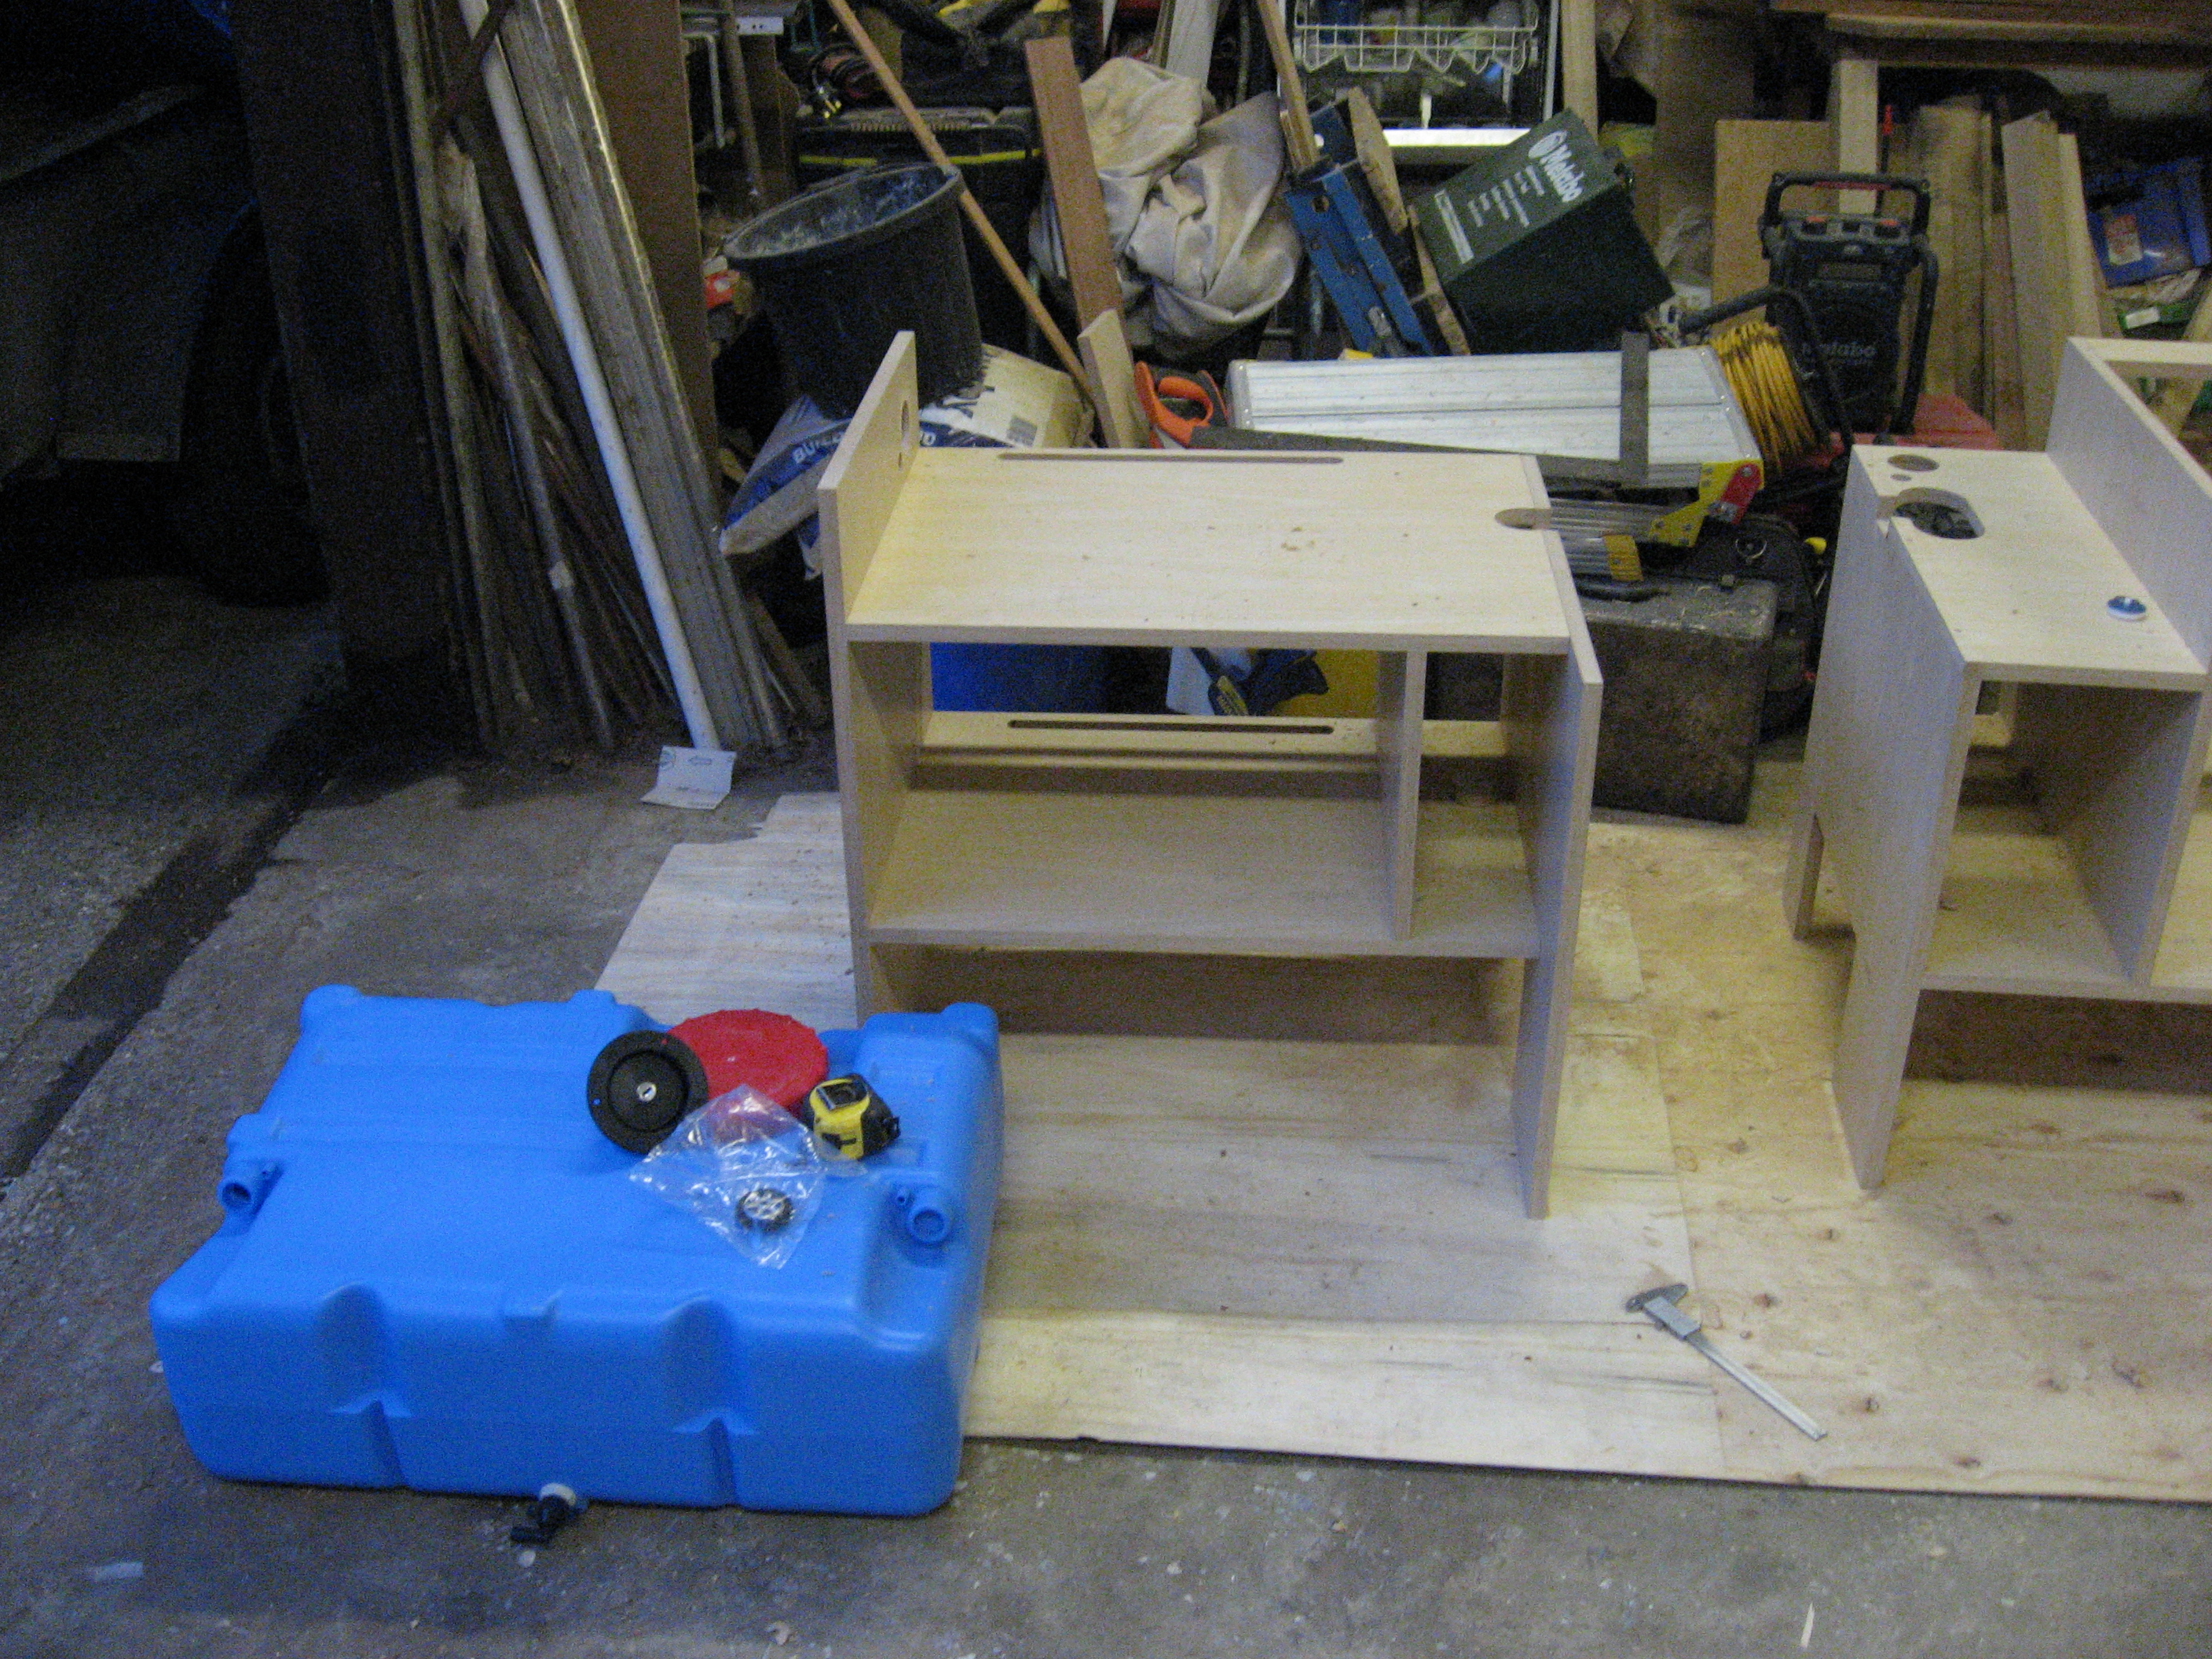
- The location of the water tank is important
-
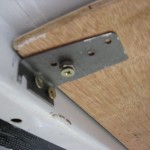
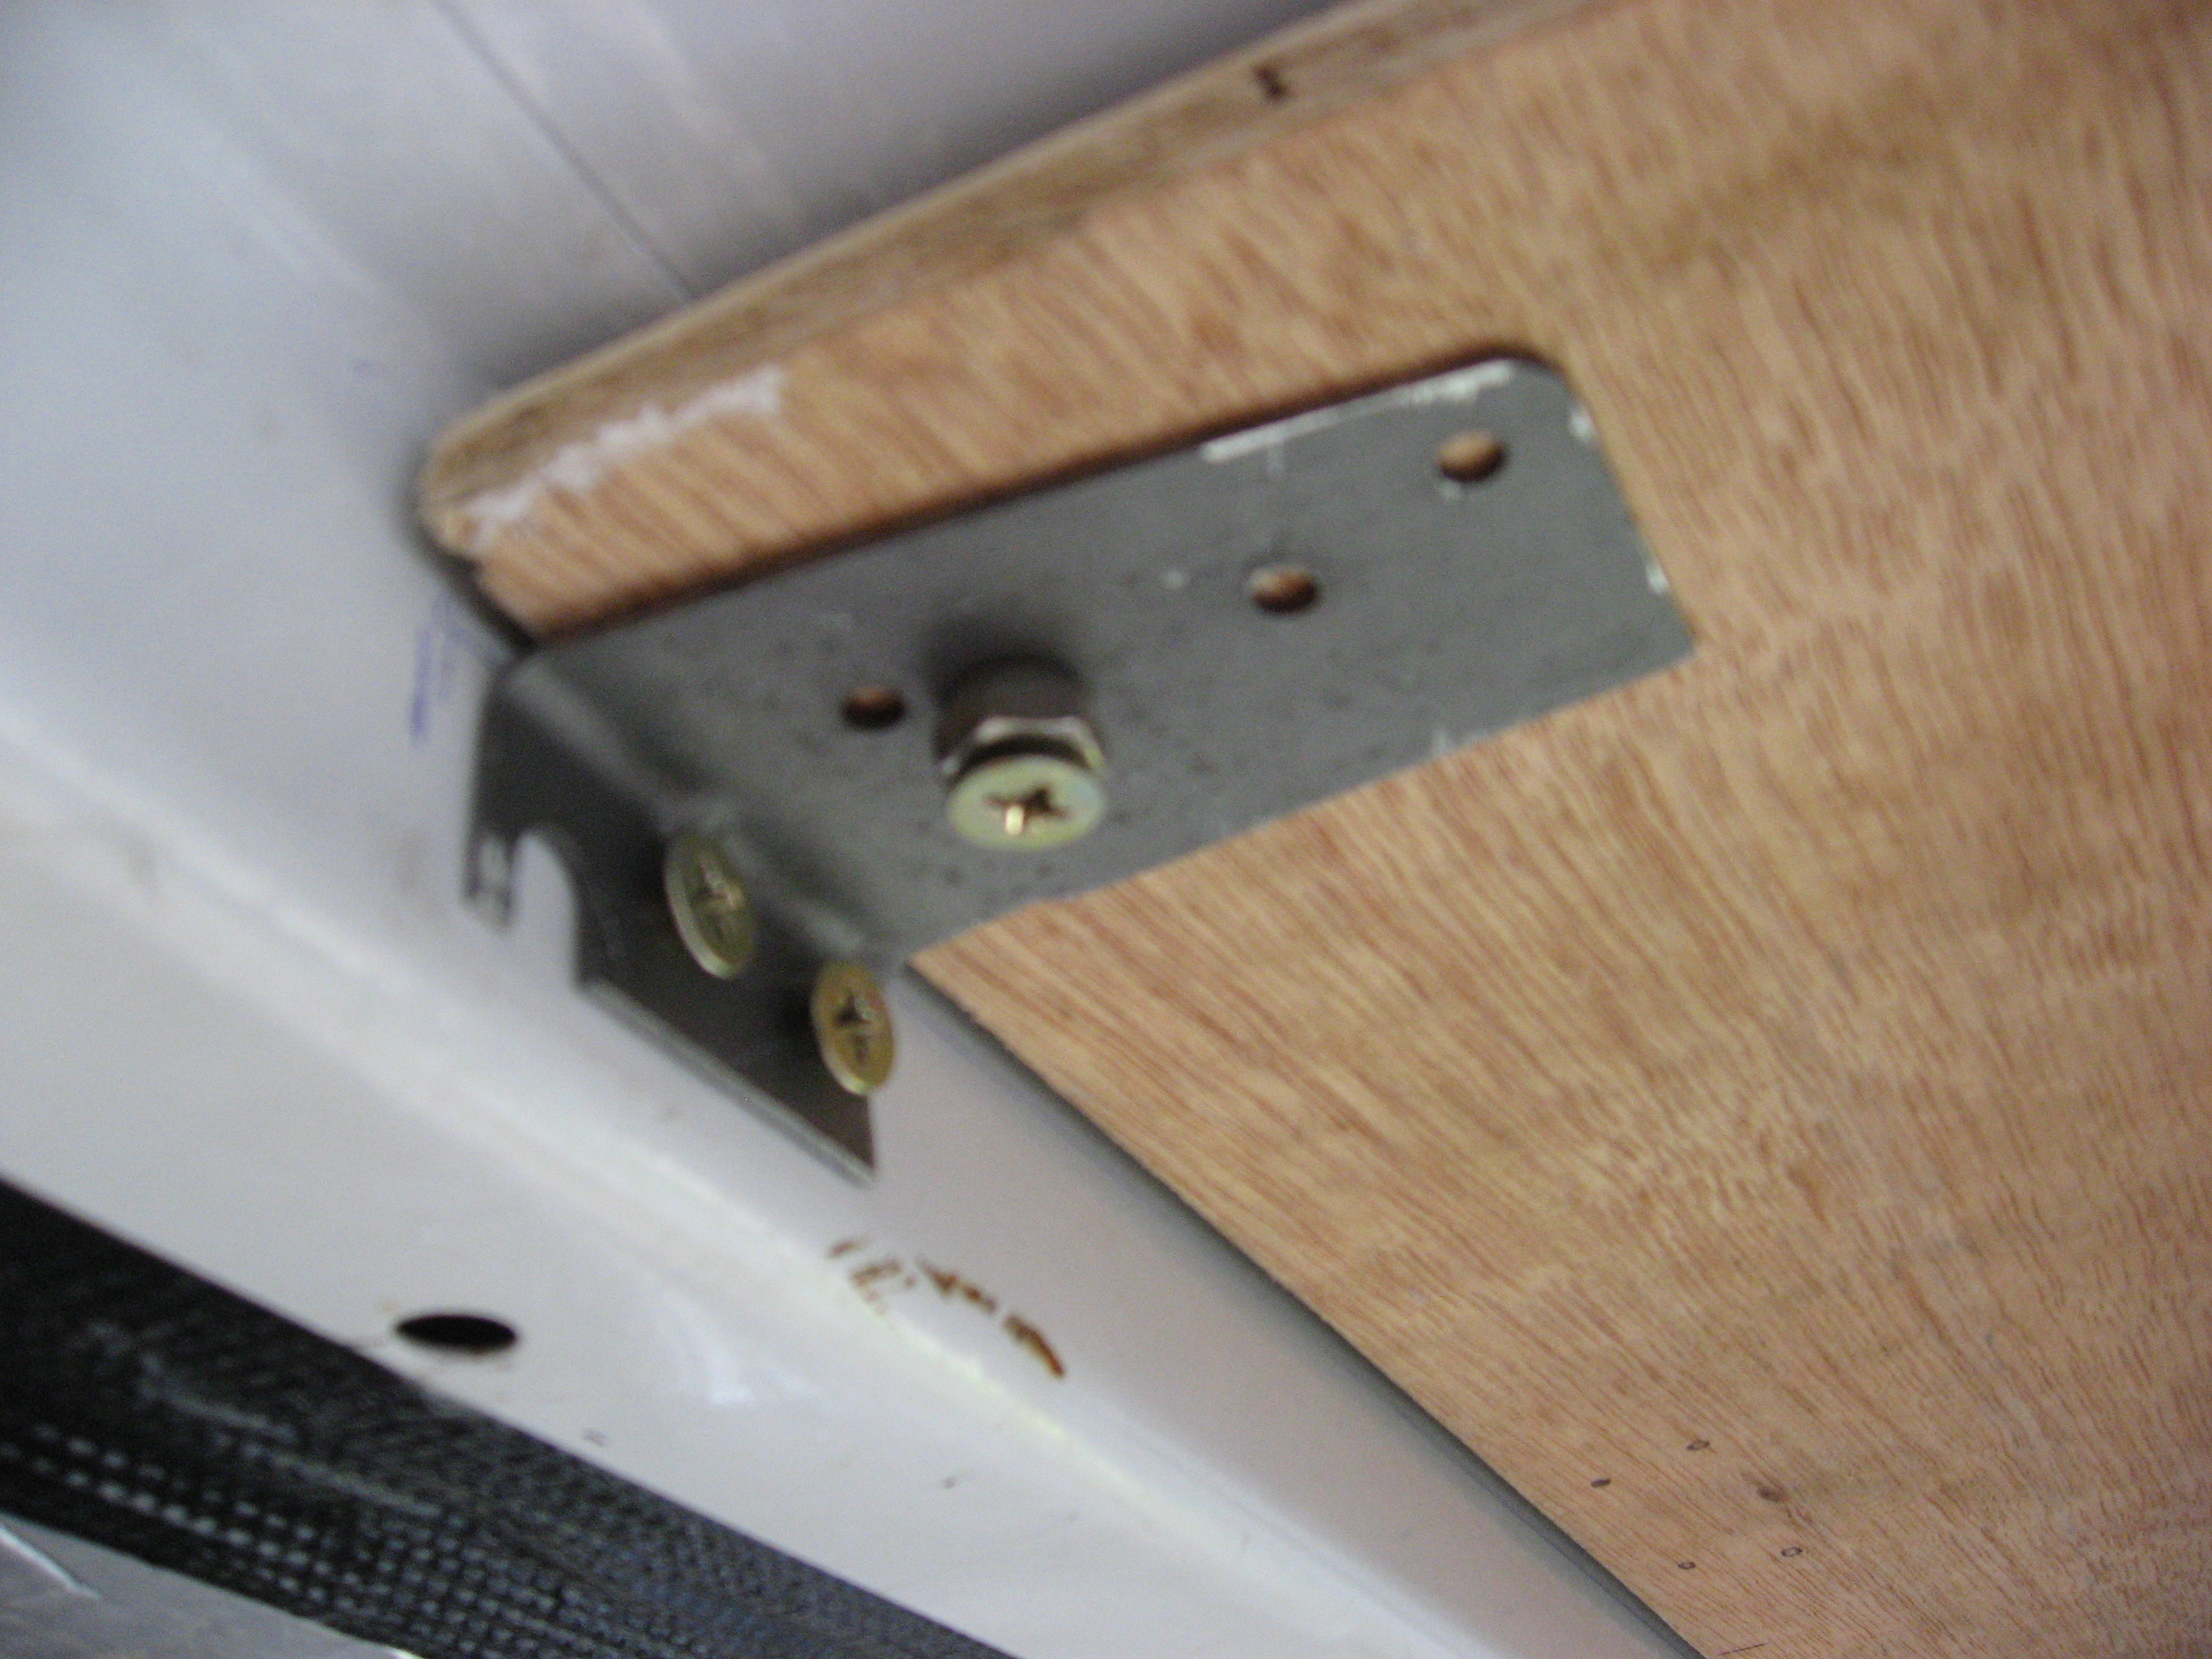
- Battery tray taking shape

-
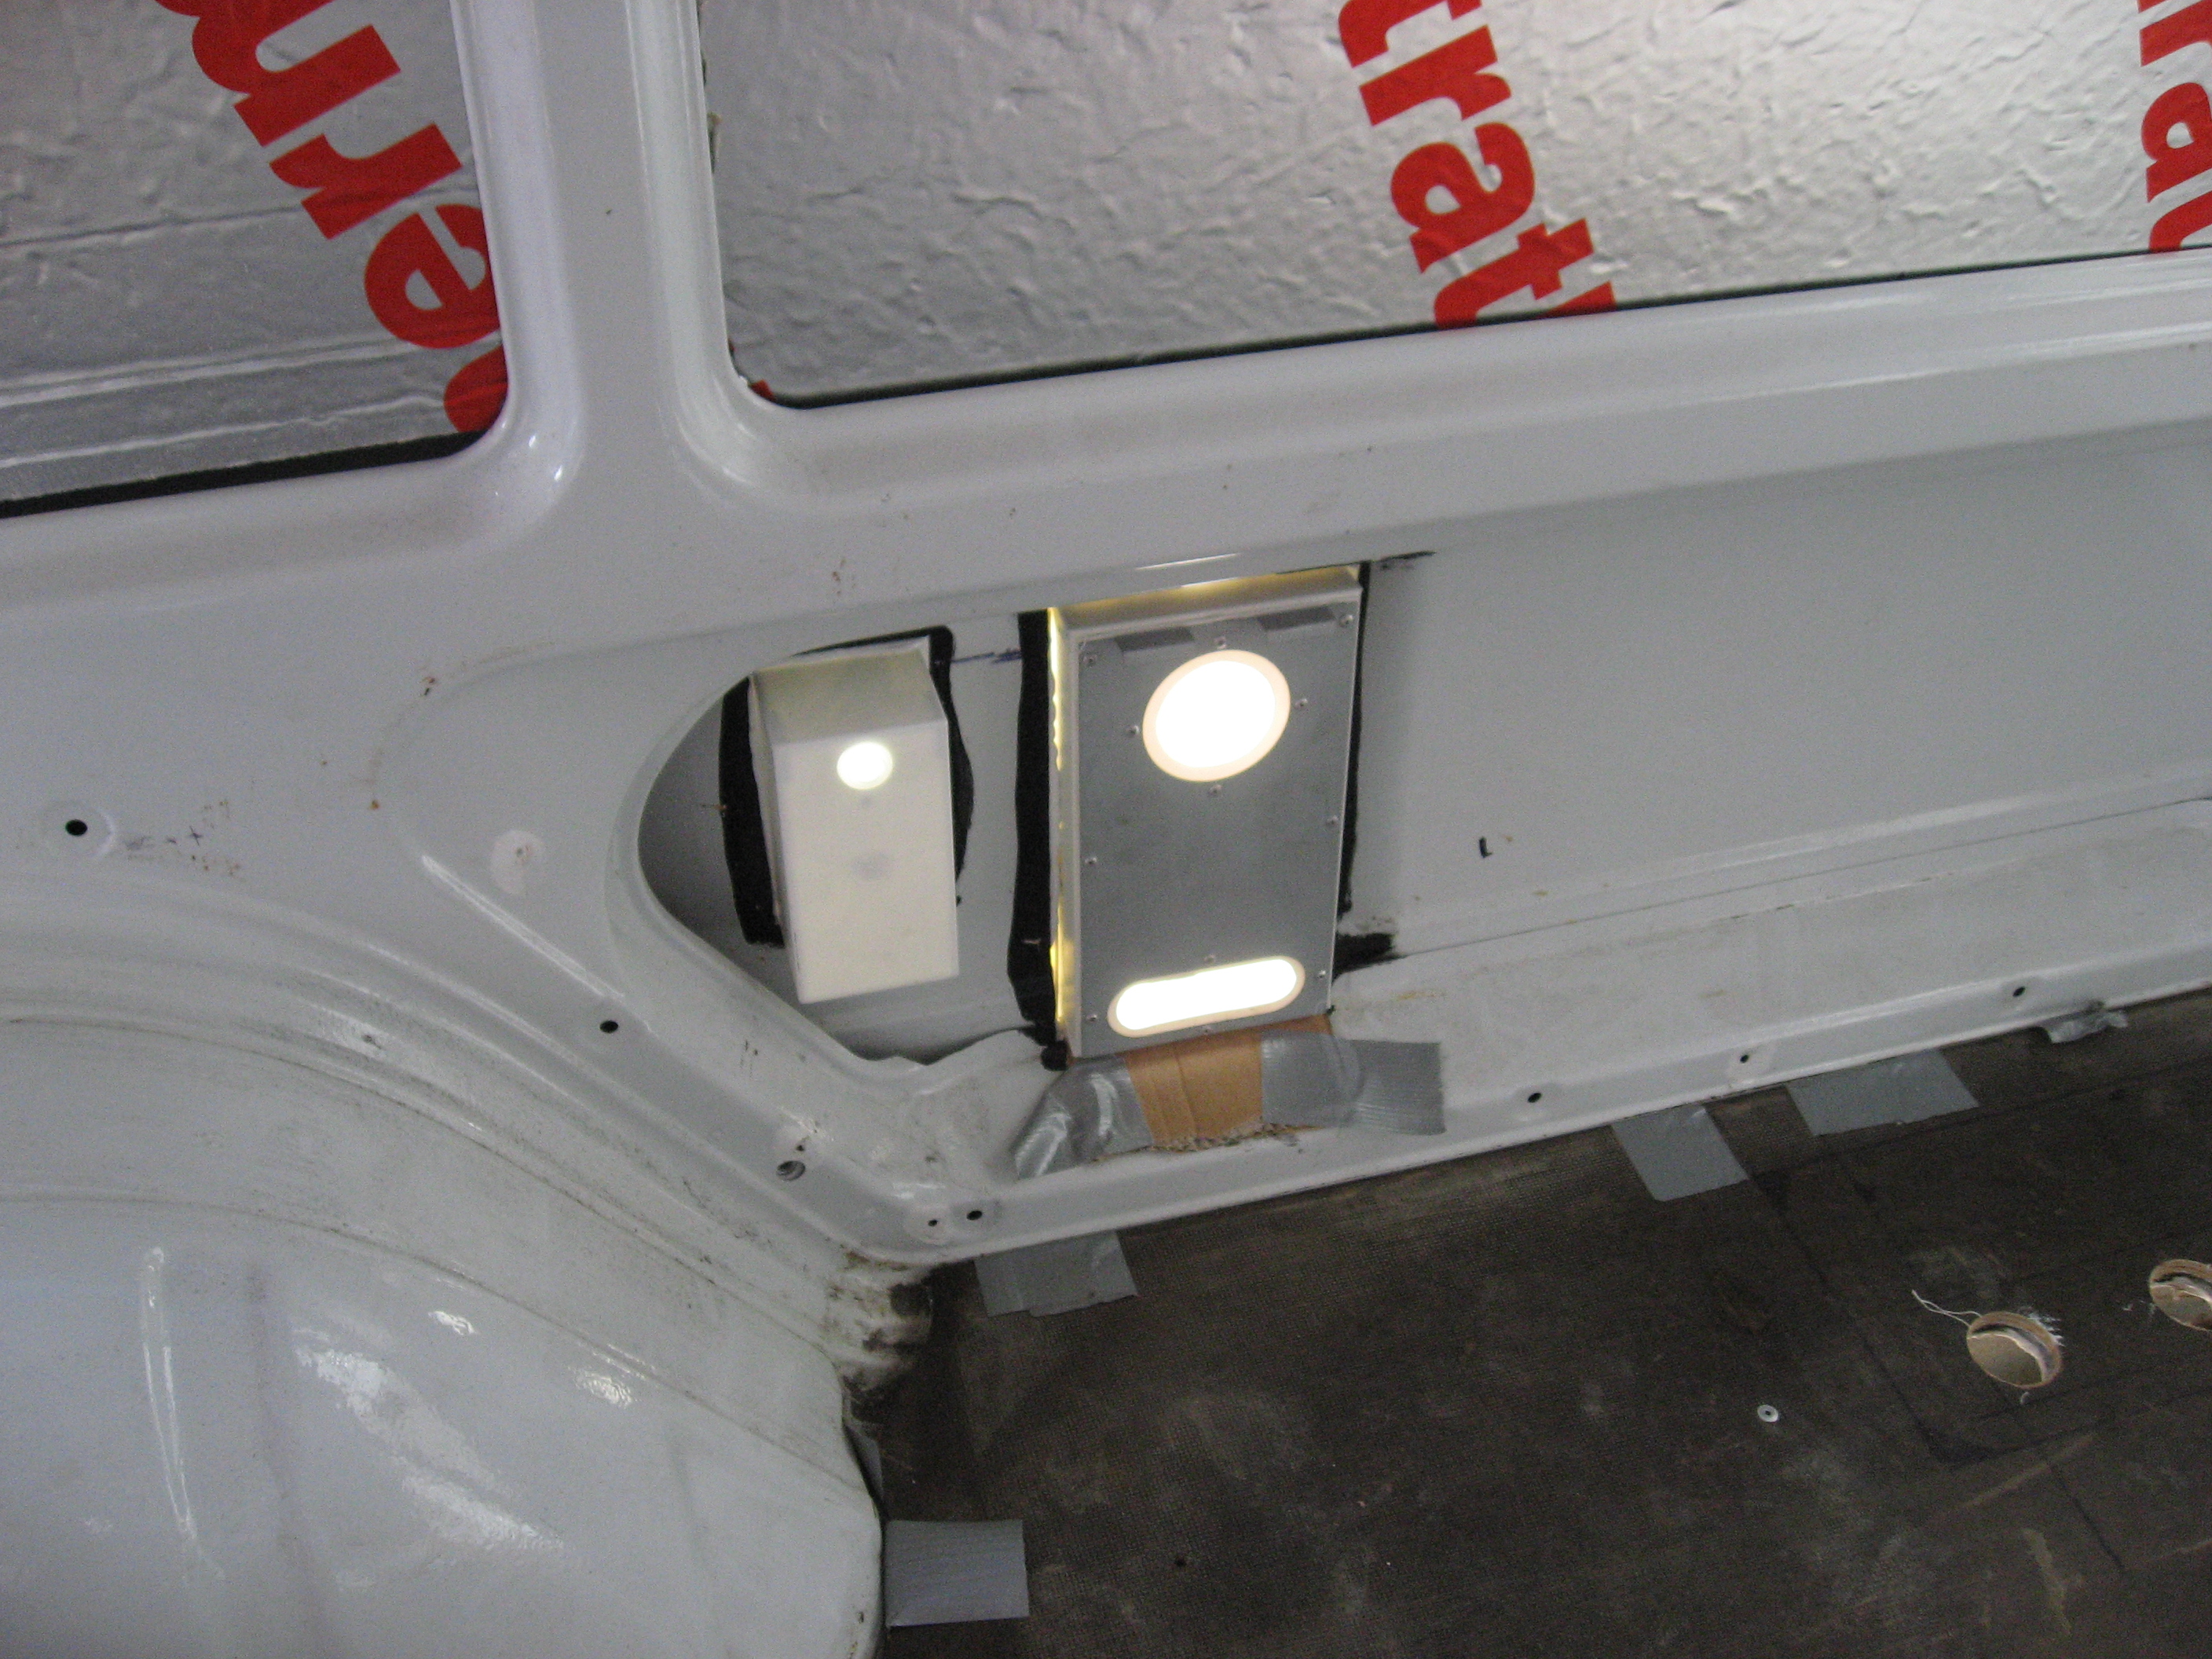
- Initial Light fittings and wiring.

-
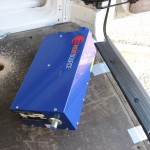
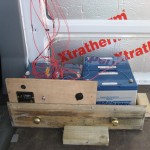
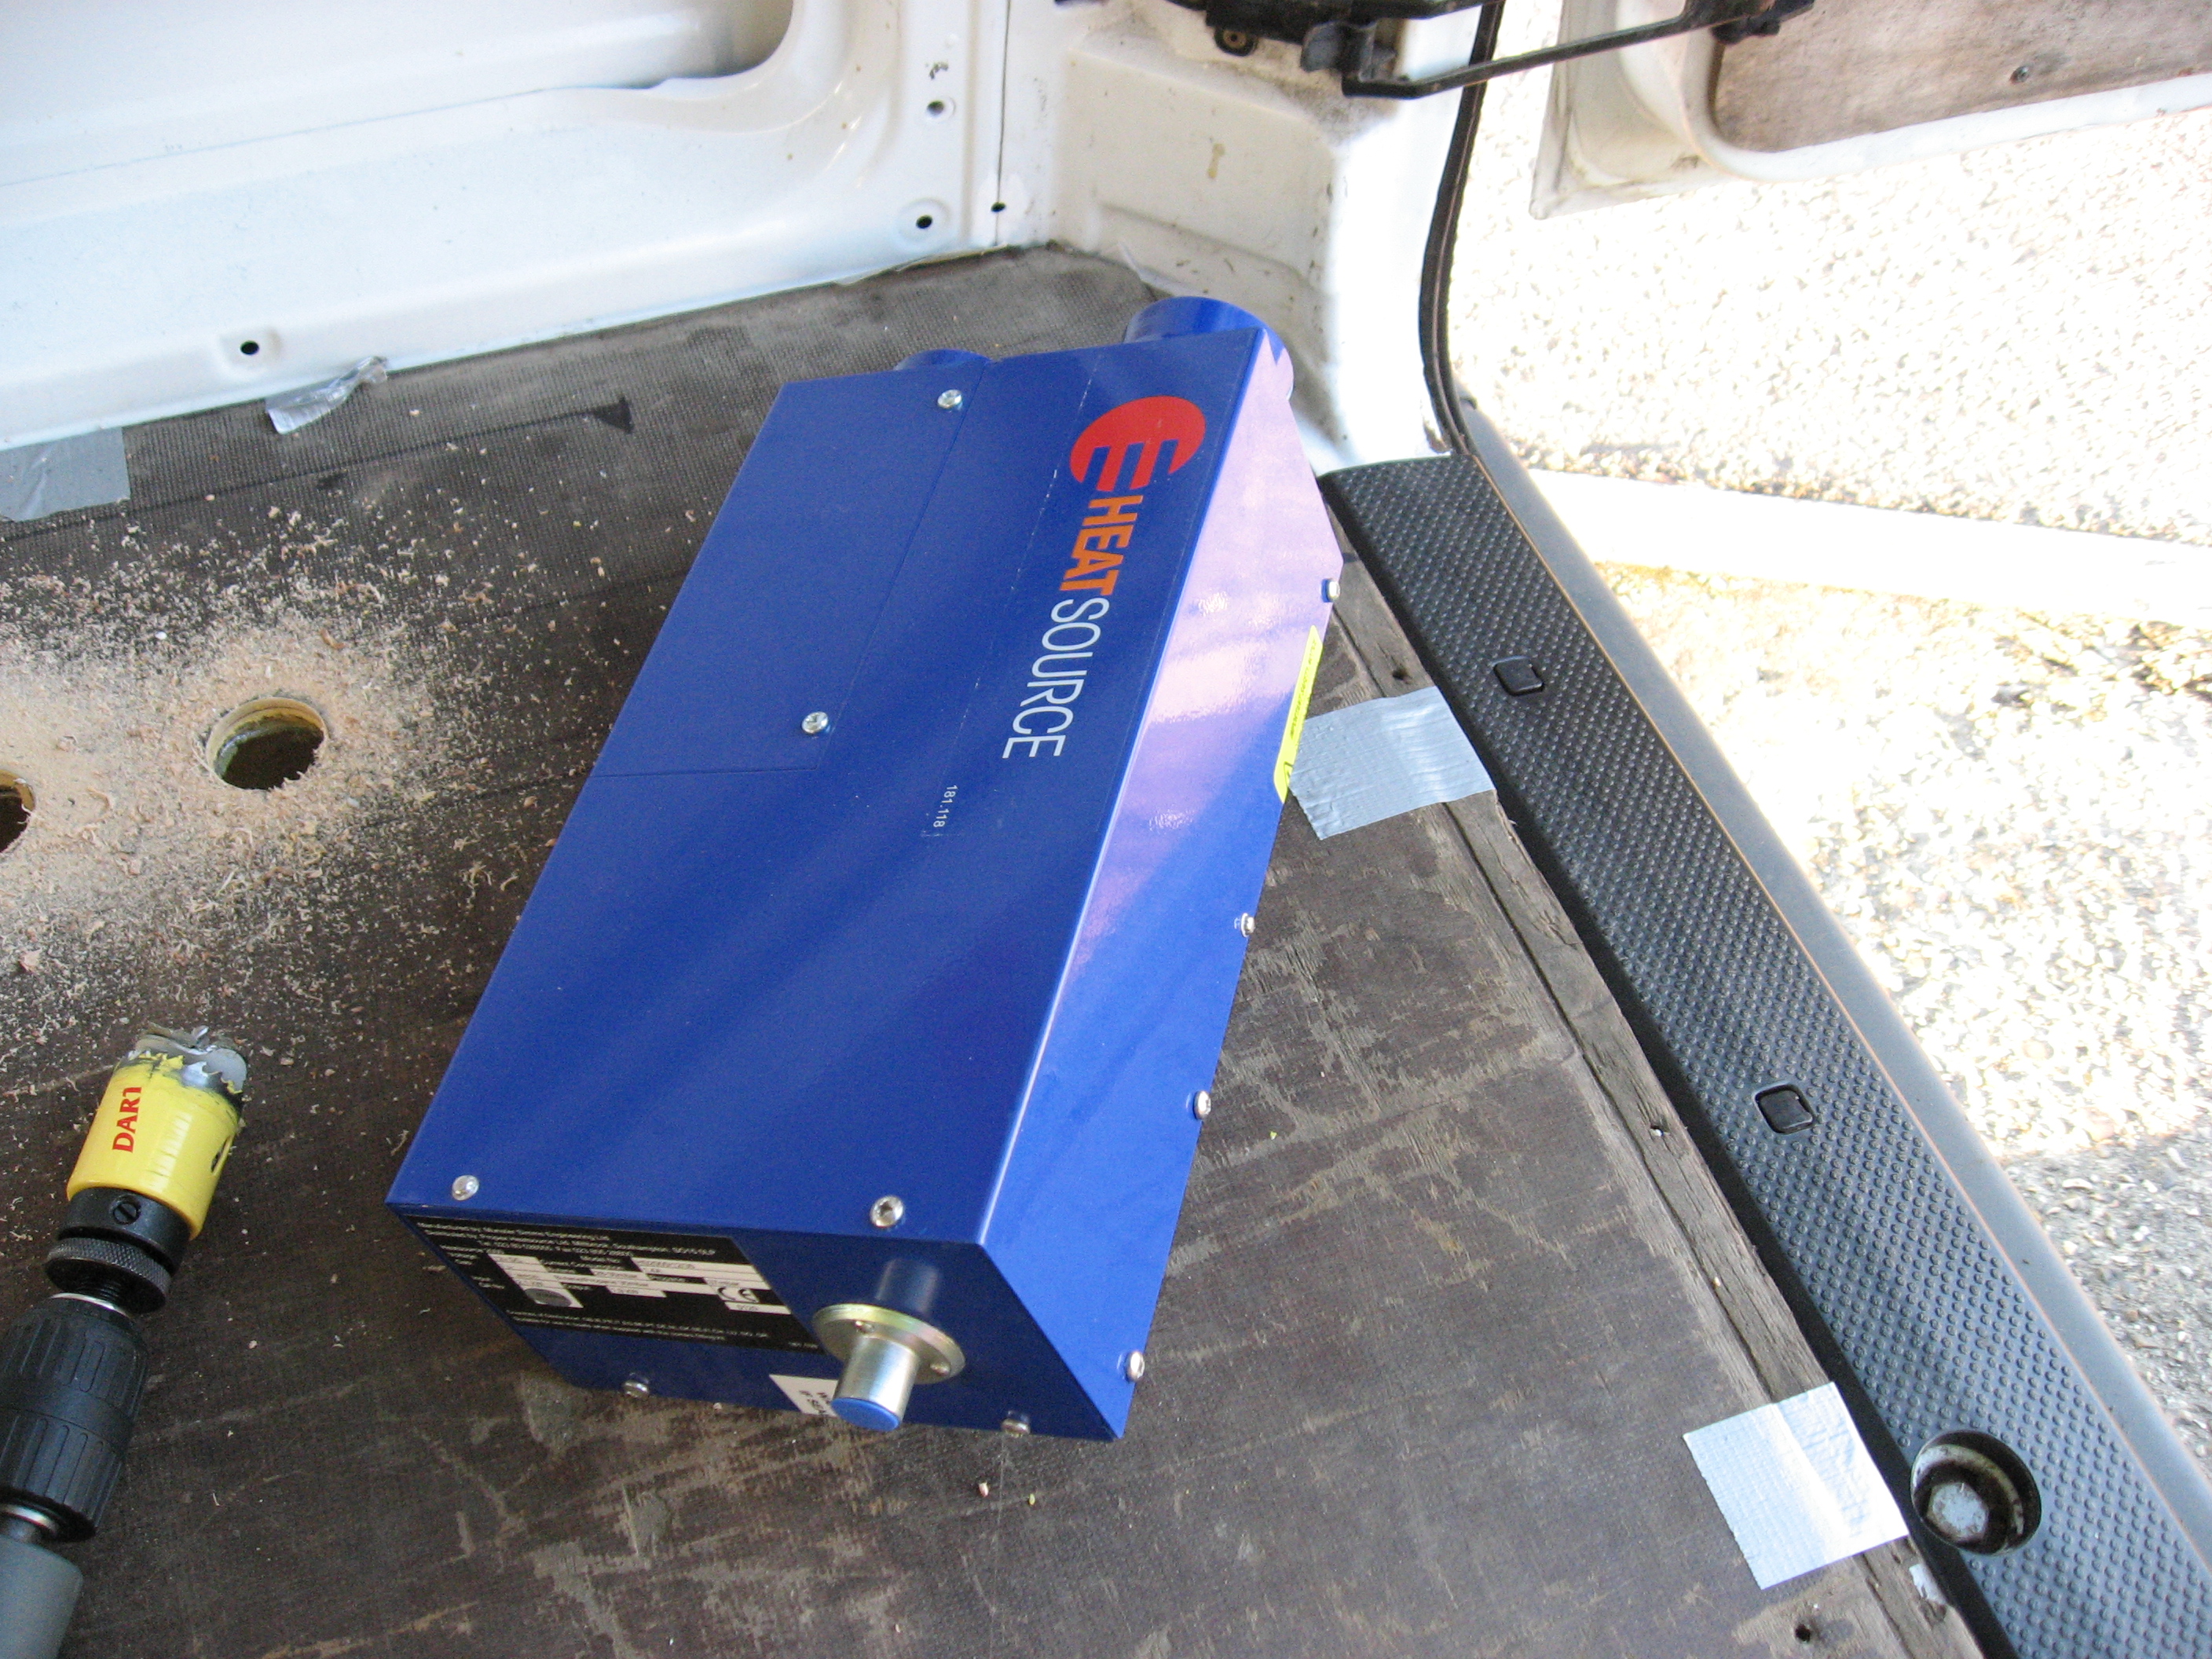
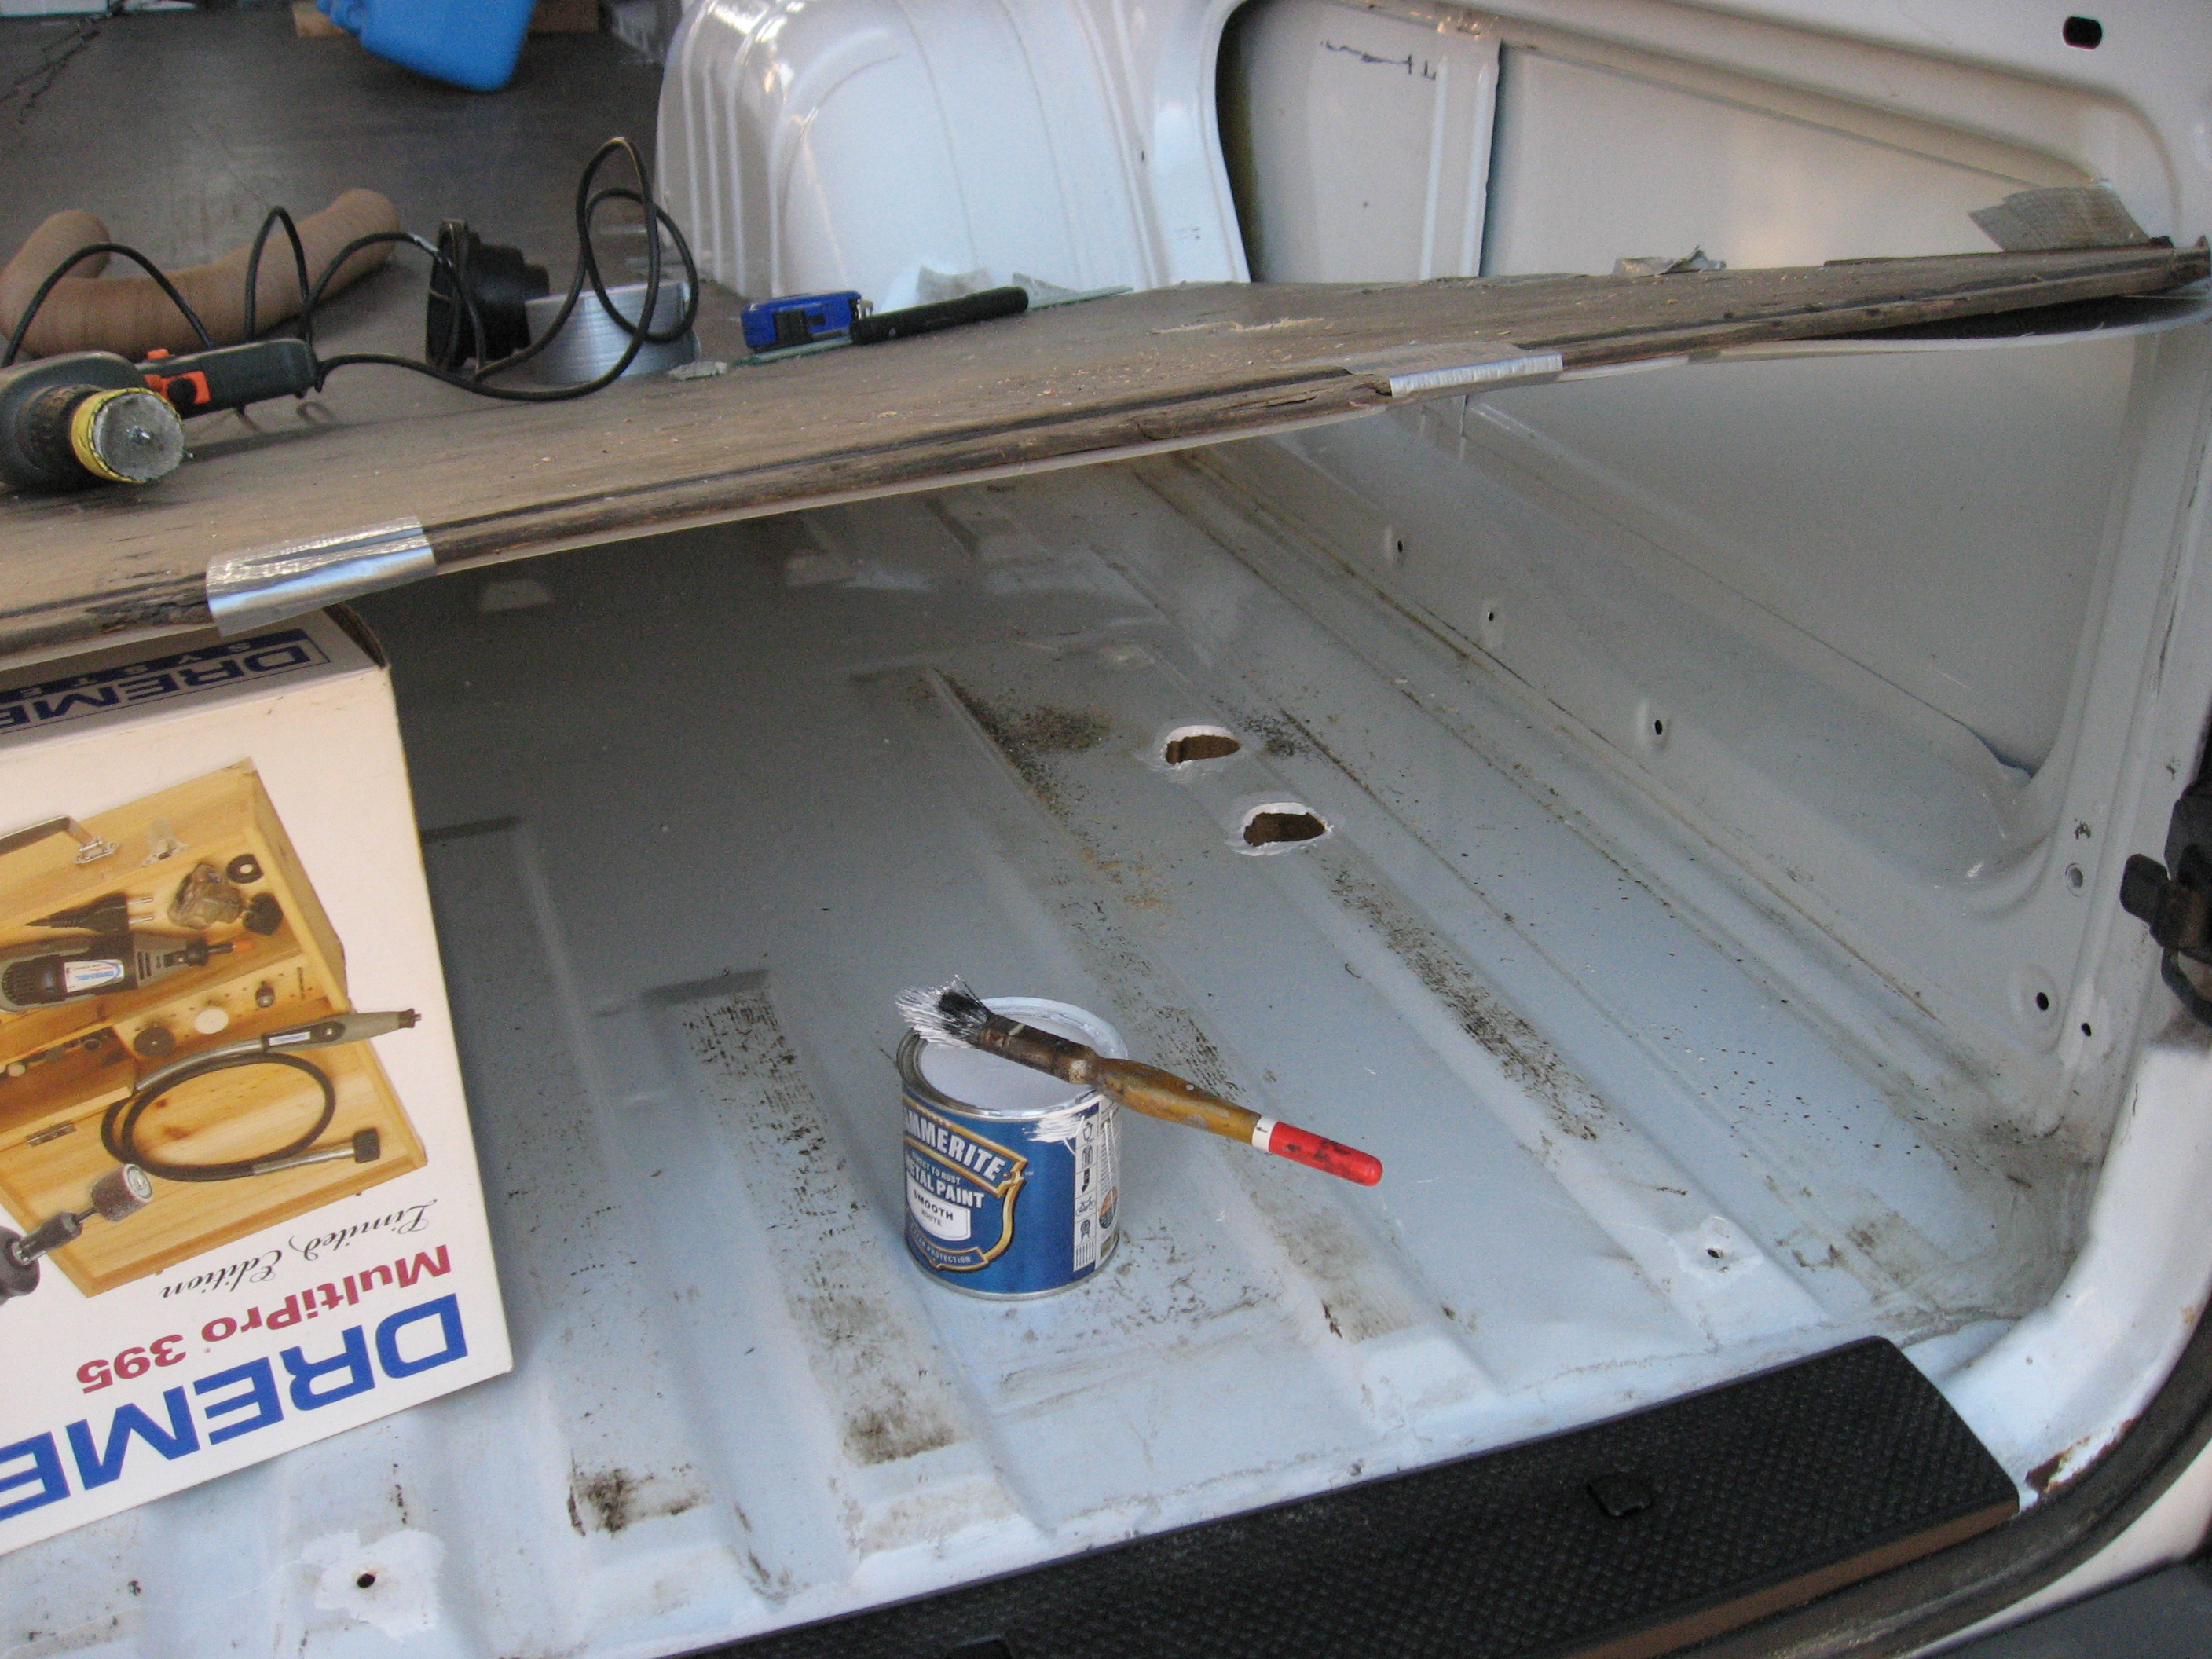
- Cutting holes for propex heater
-
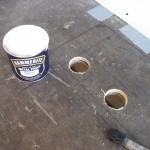
- Holes cut for heater ducting and edges sealed with Hammerite
-
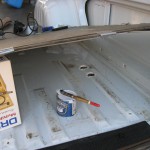
- Treat any bare metal with metal paint
-
- Xtratherm insulation was used in the wall cavities

-
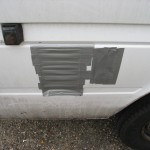
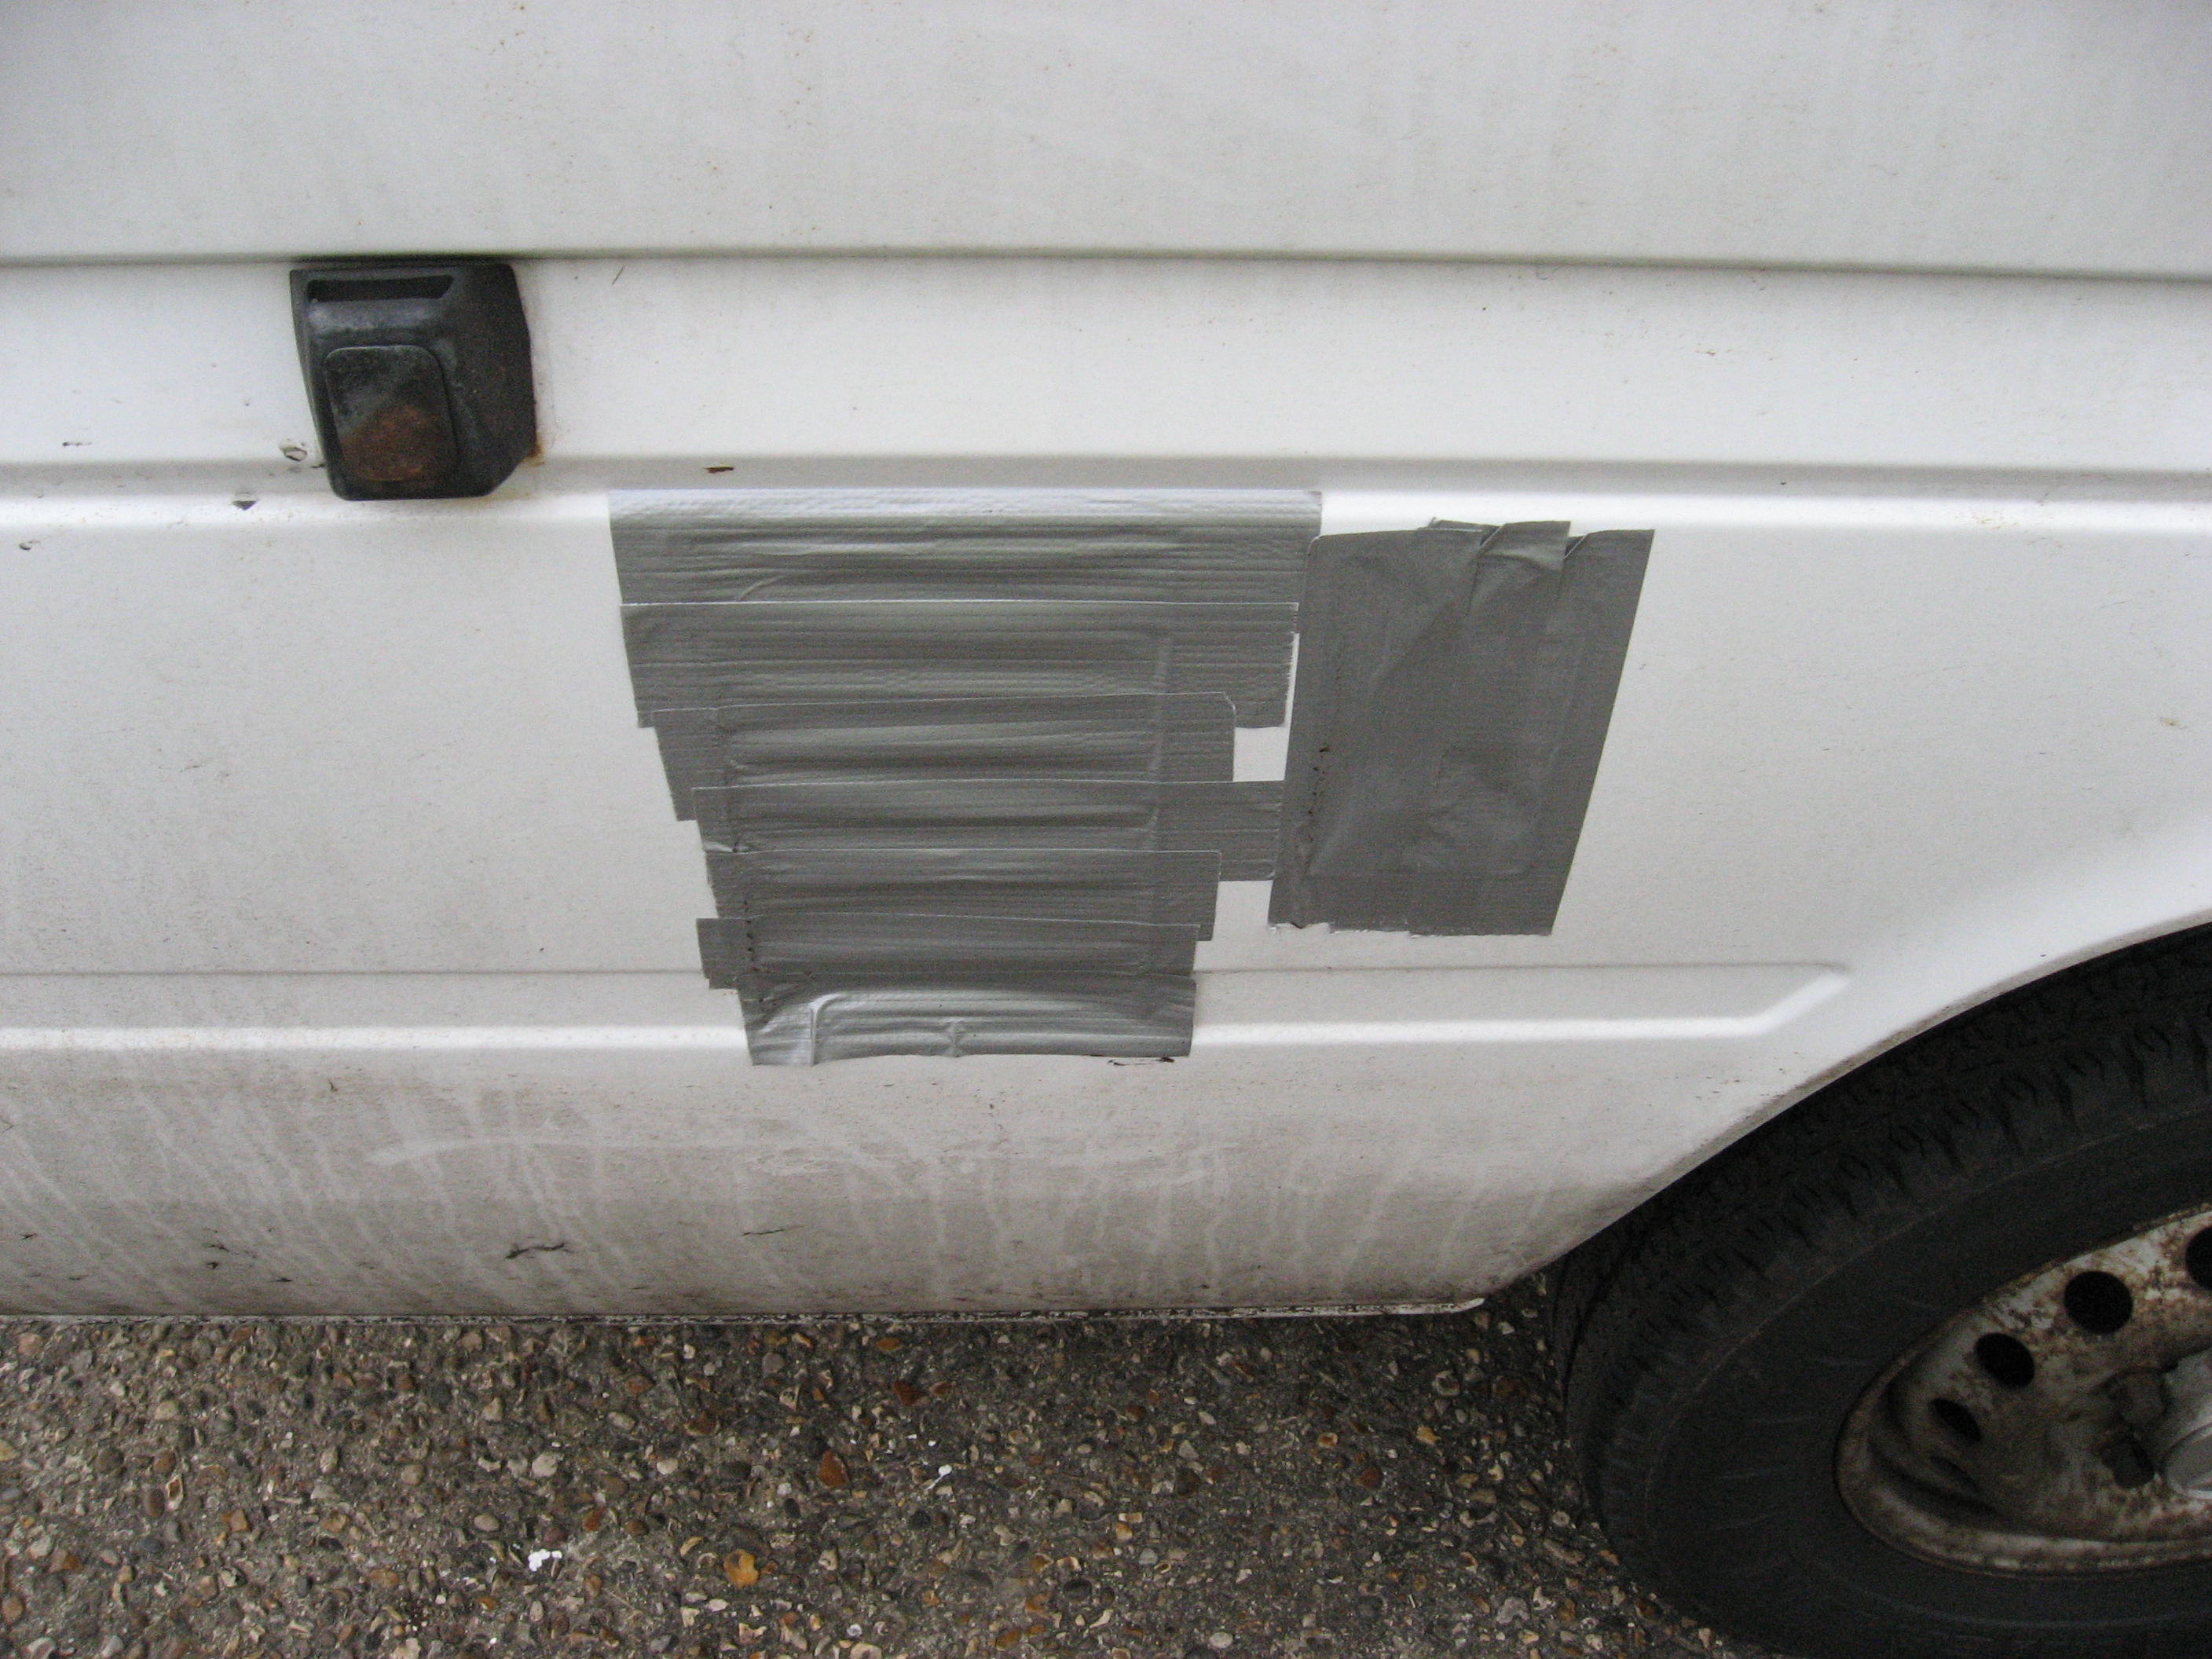
- Seal any holes with gaffer tape utilll you are able to add fittings
-
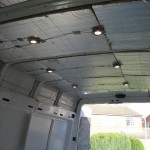
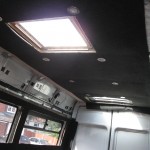
- Roof insulation with light fitting wire secured
-
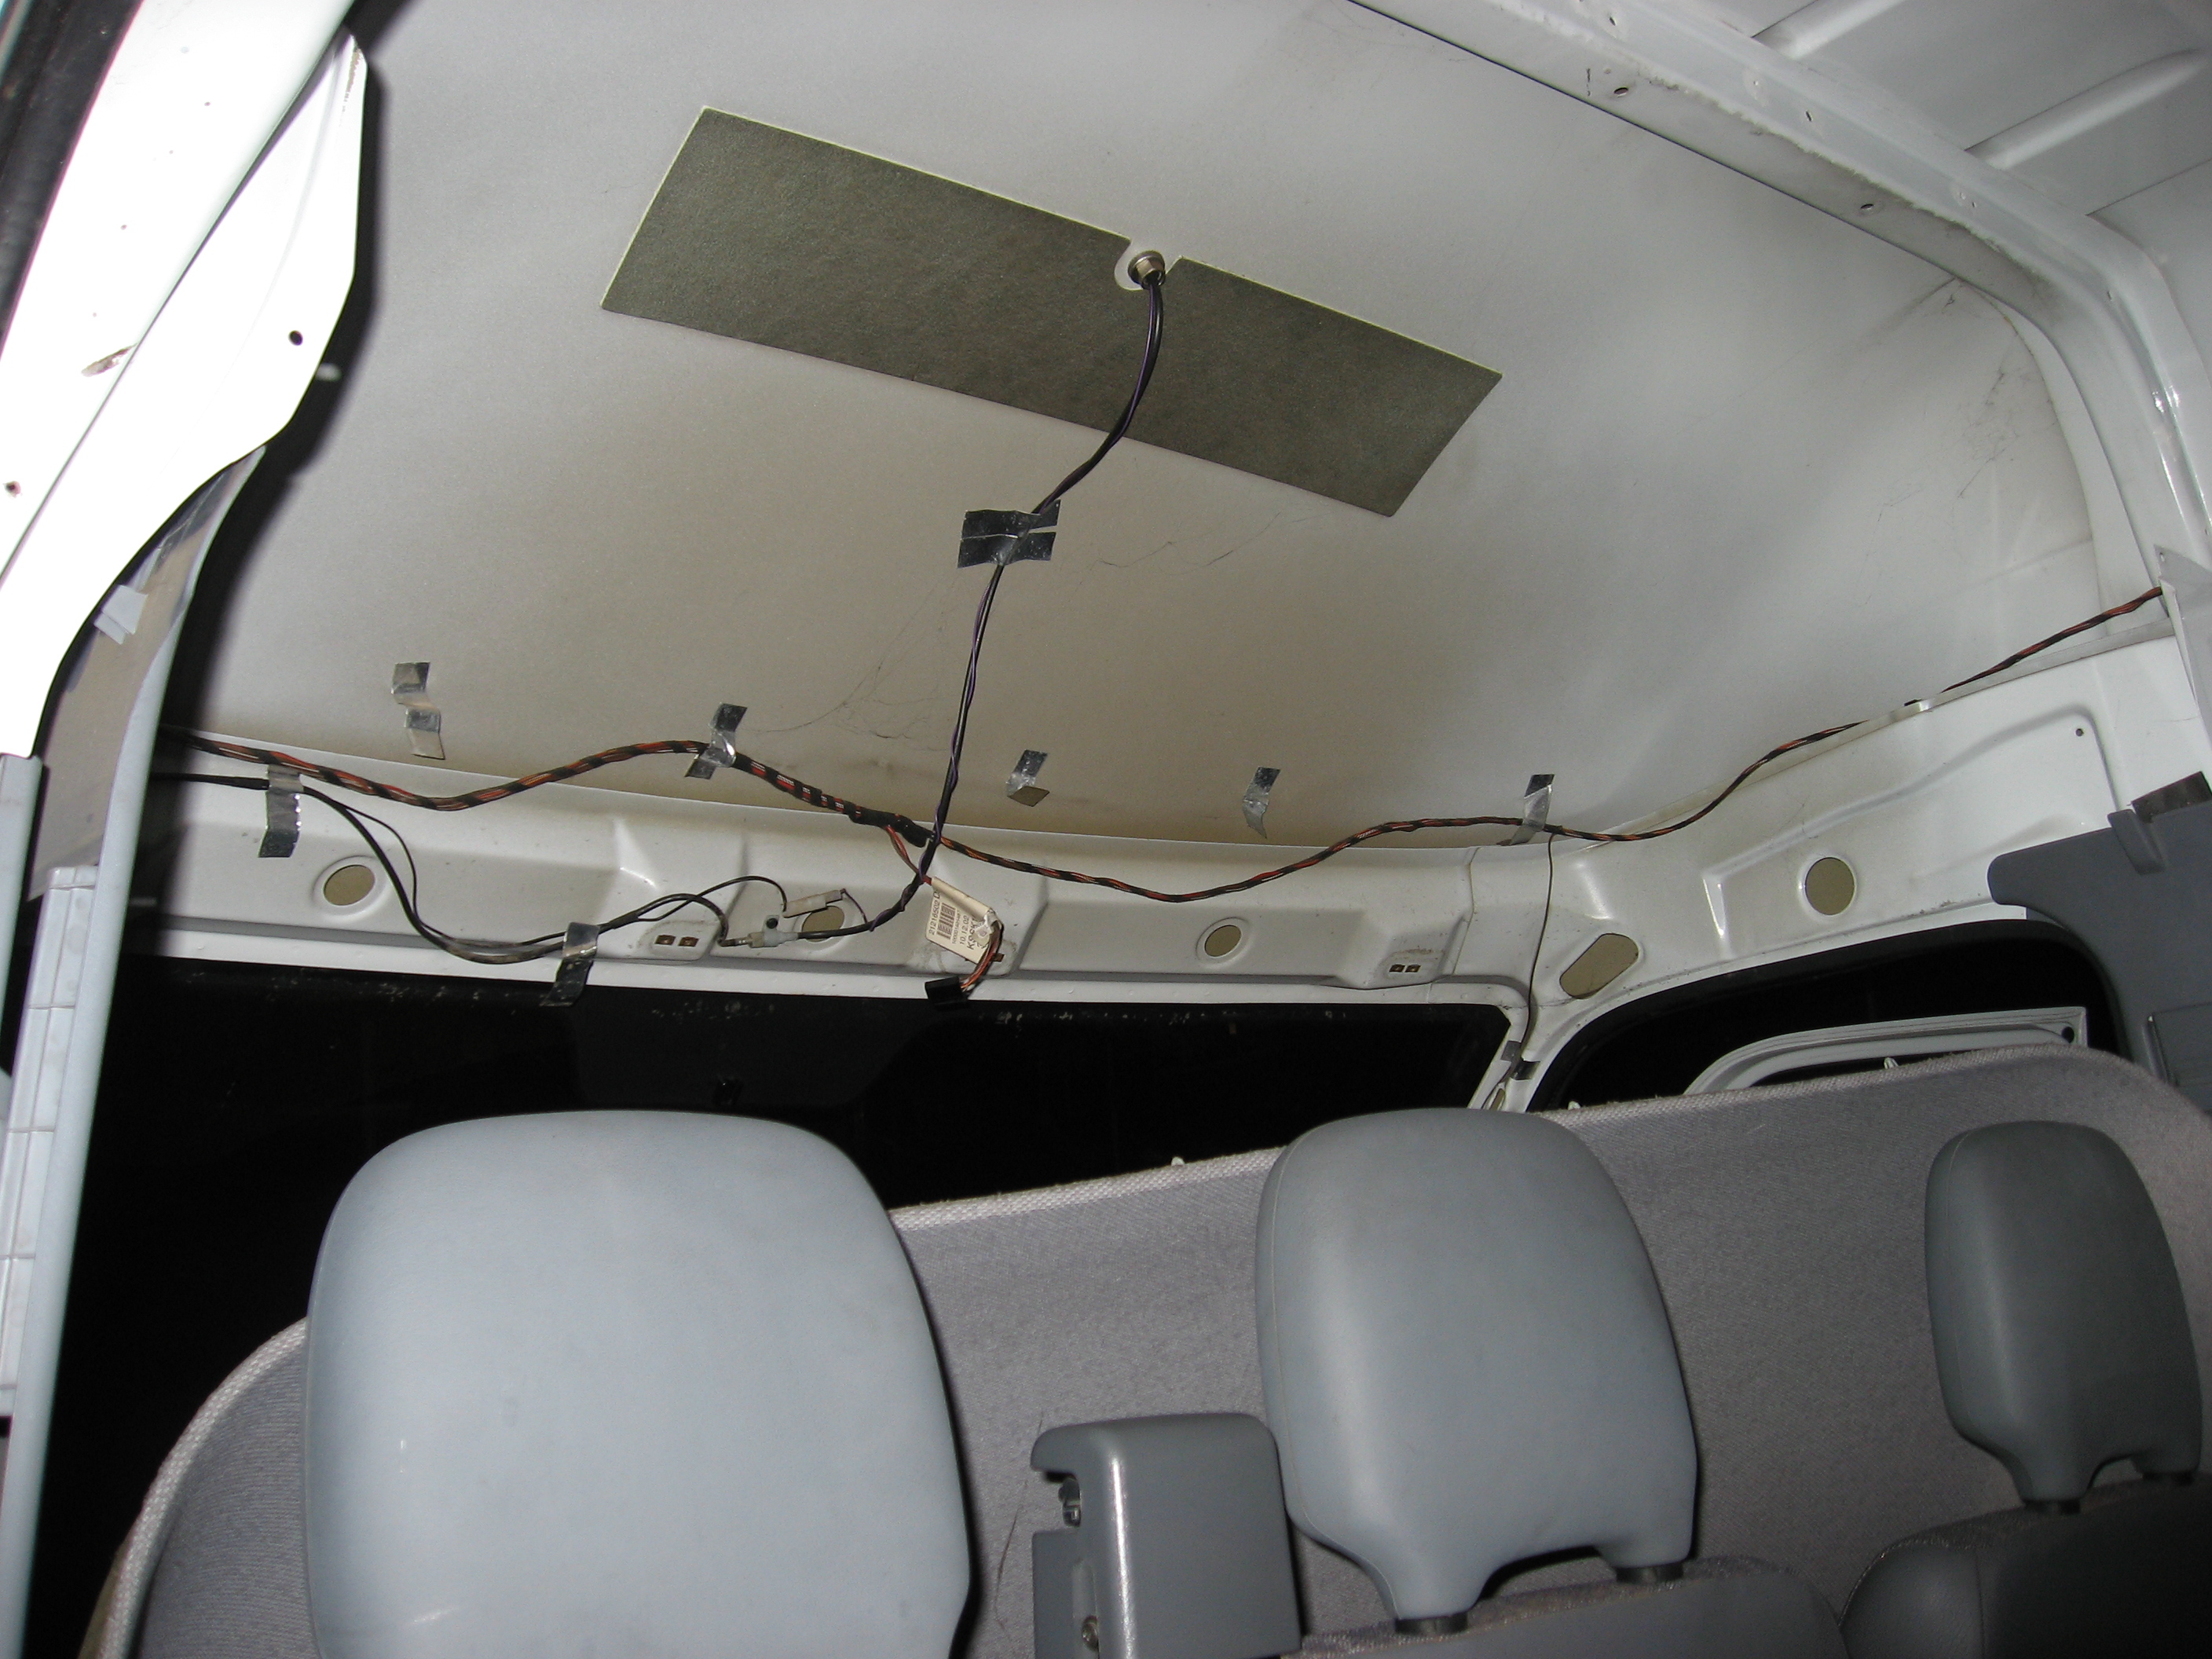
- Securing wiring prior to fitting head lining
-
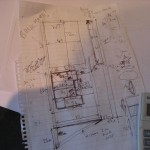
- Revisit and revise plans during construction
-
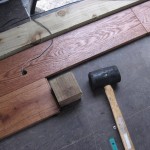
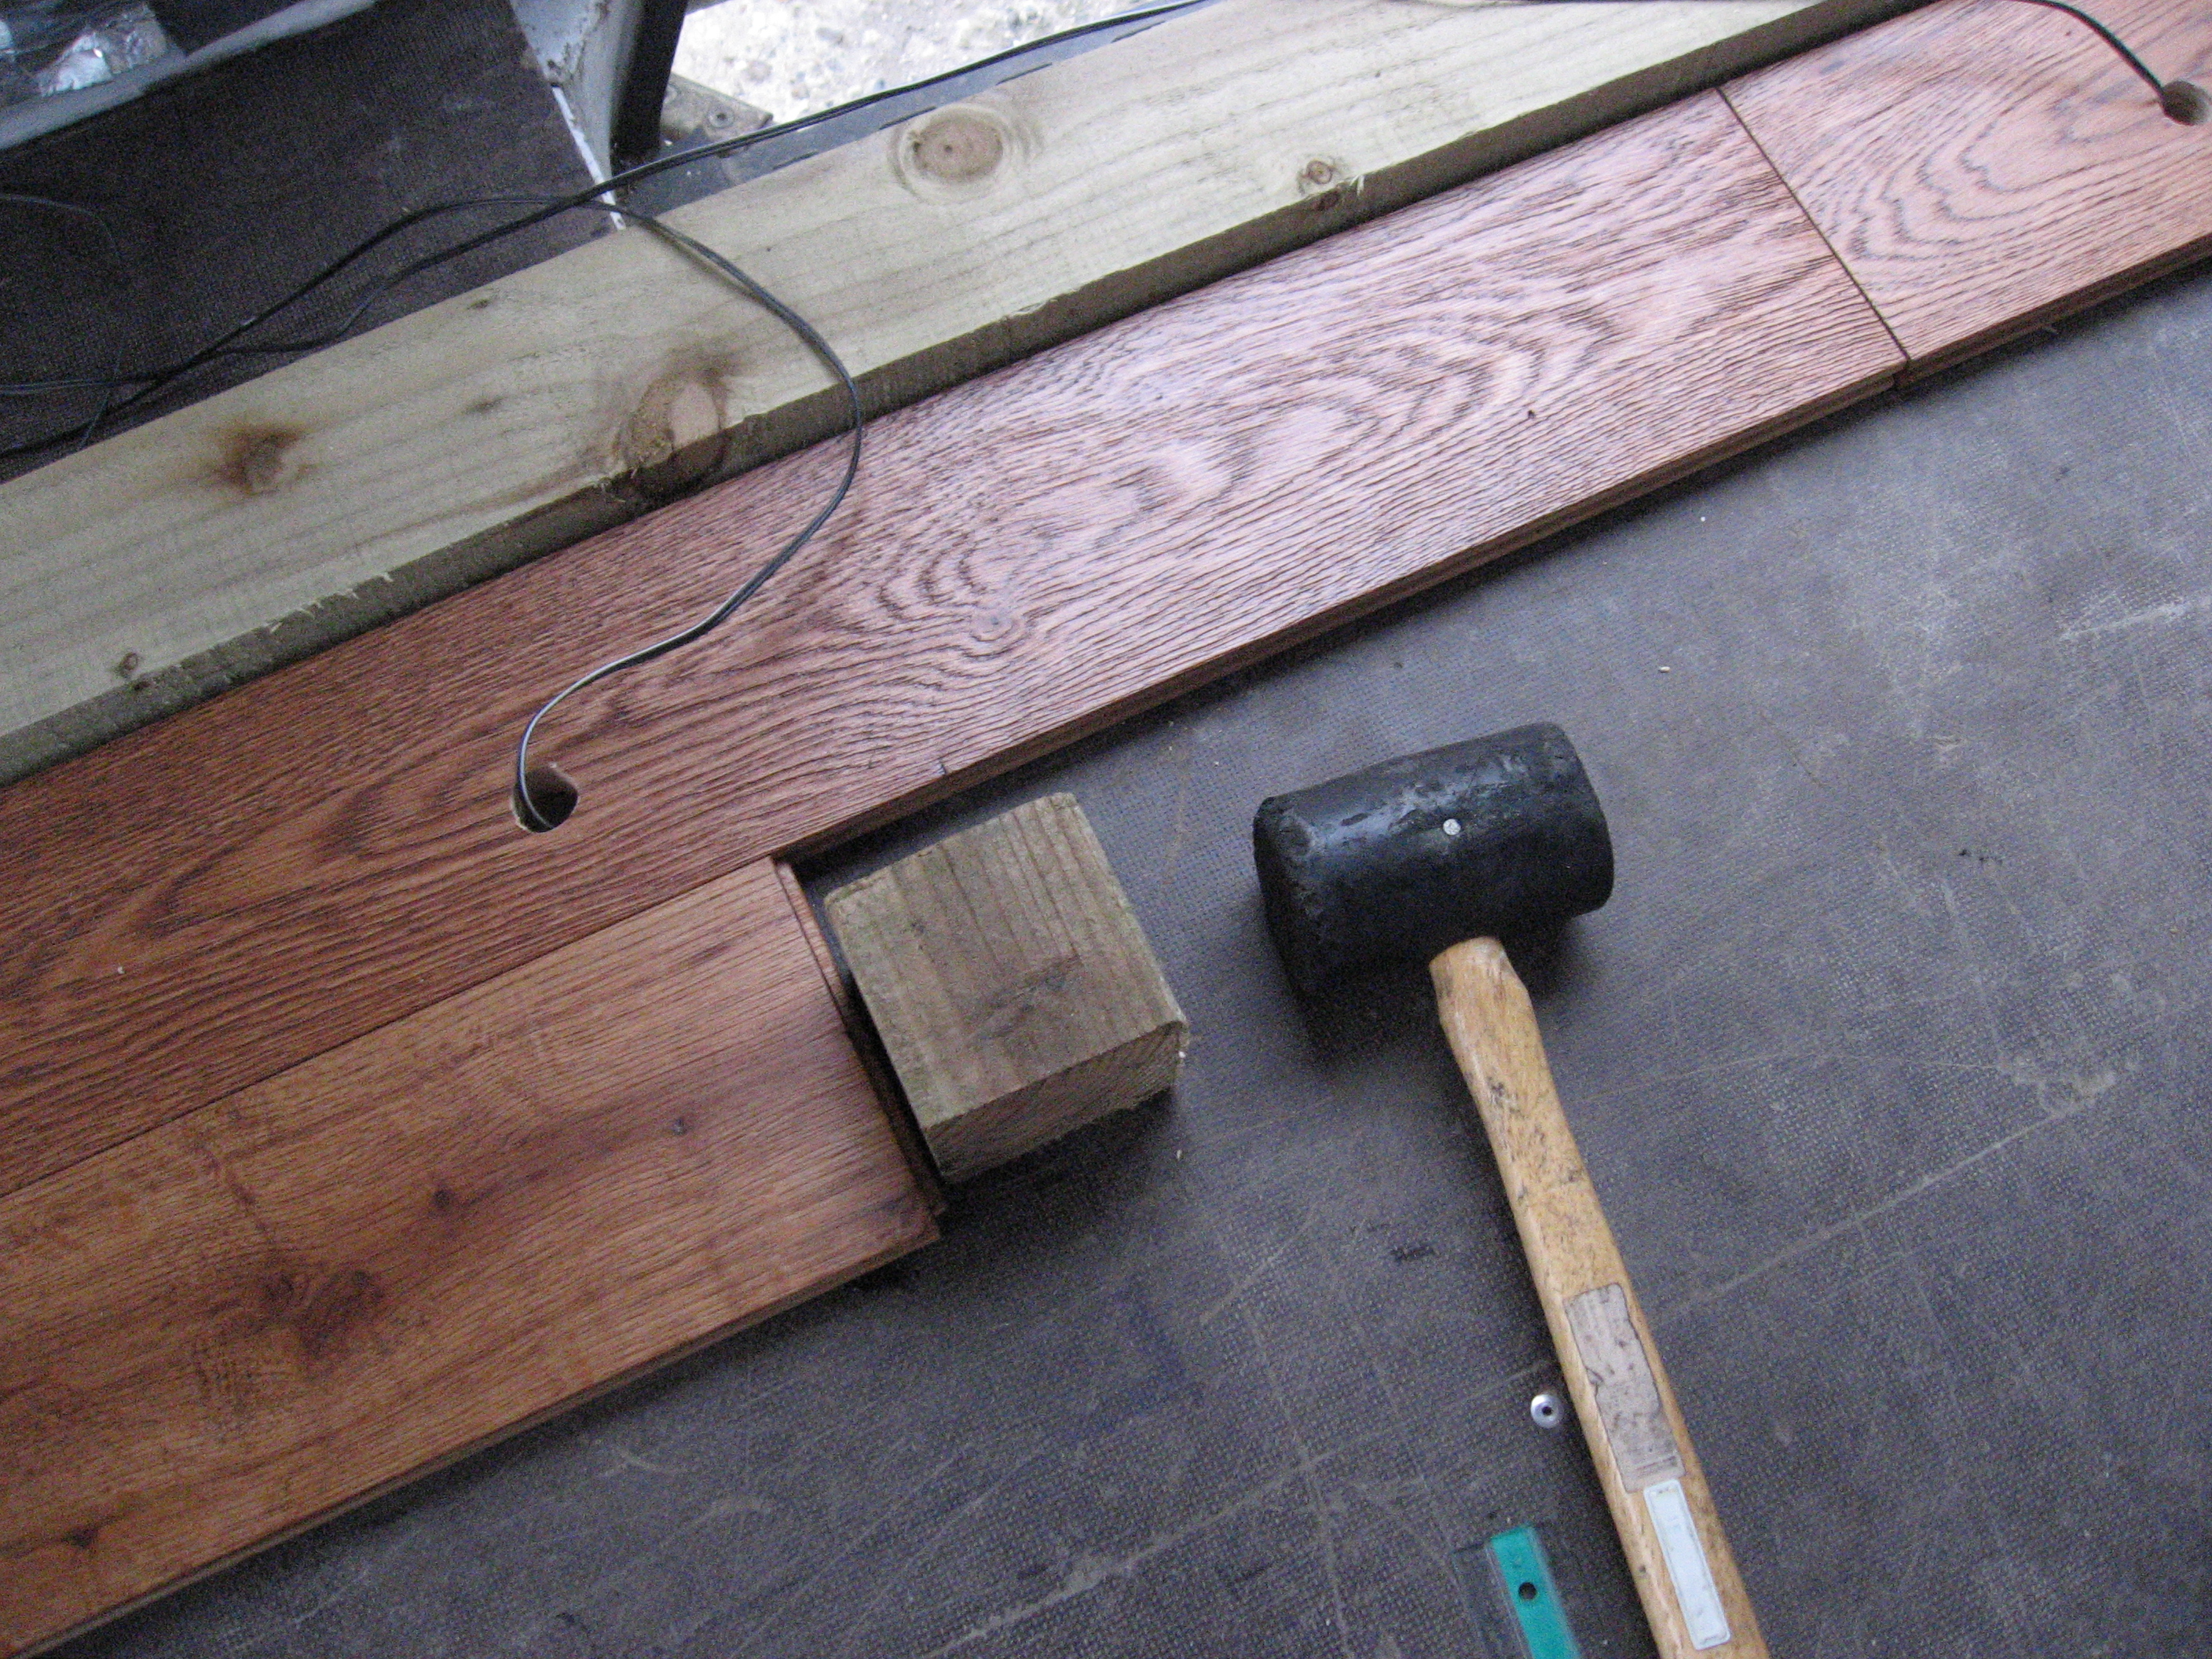
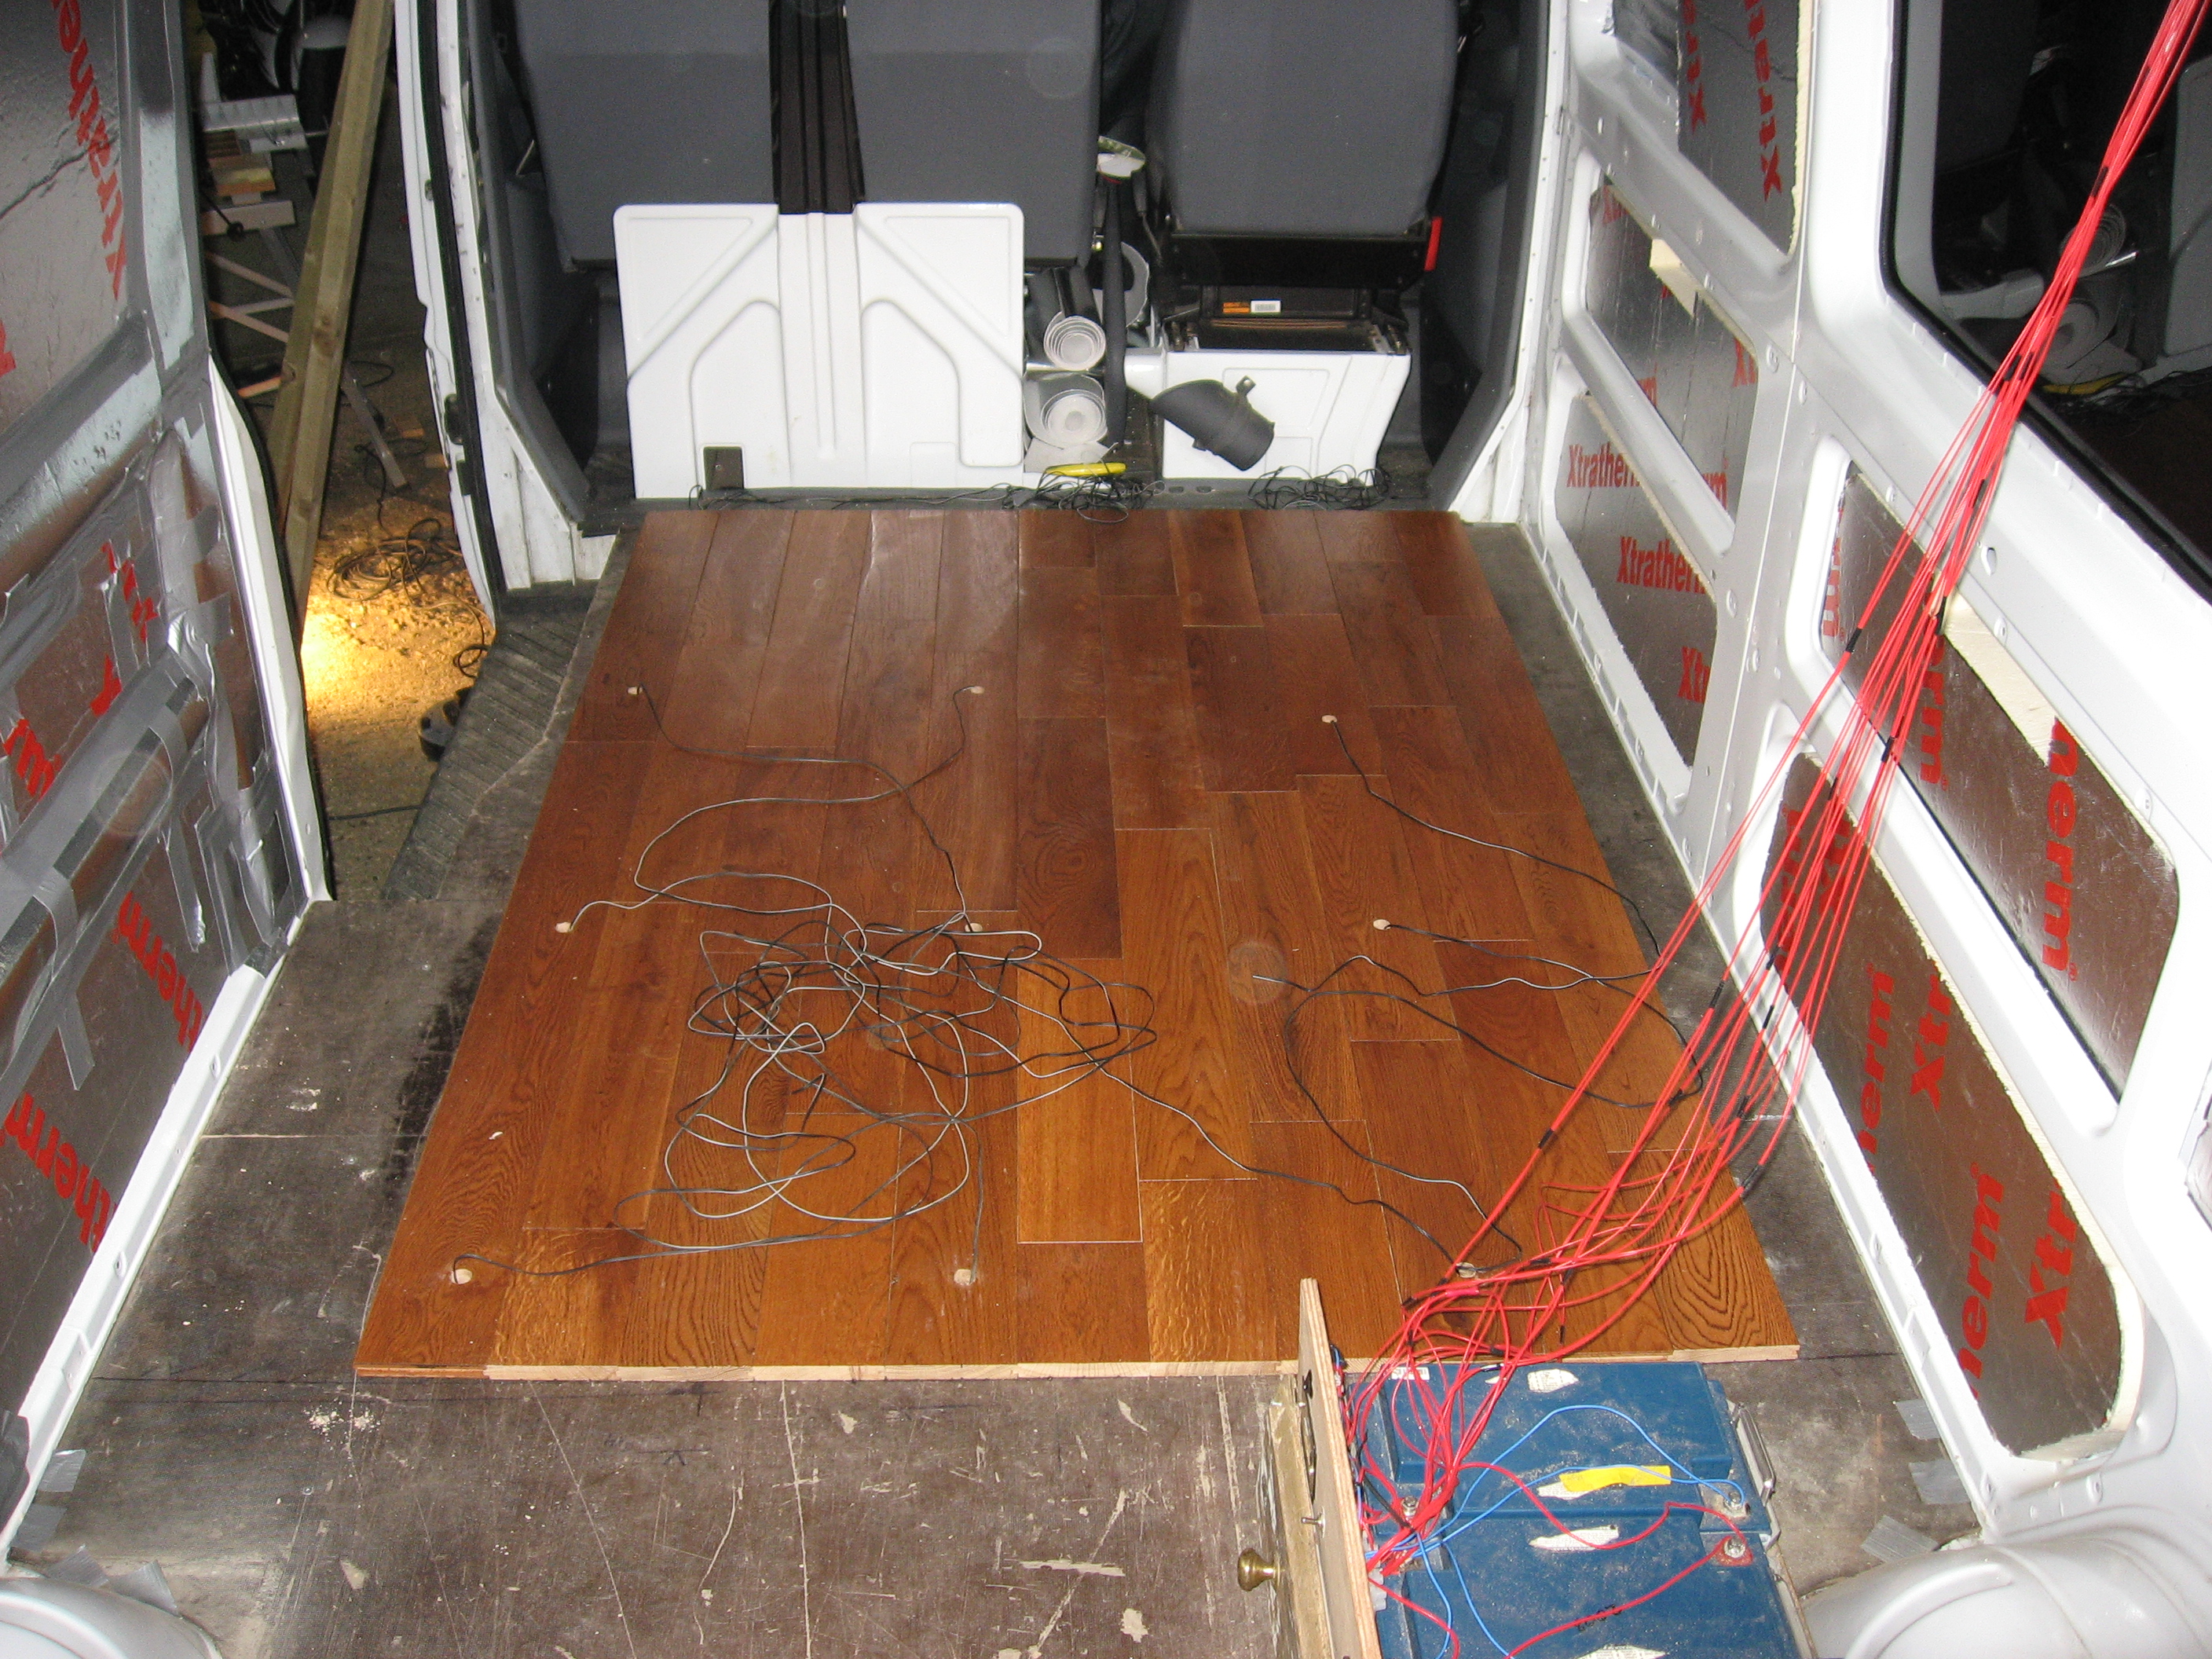
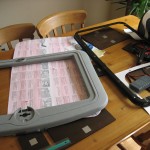
- Fitting wood flooring in Campervan
-
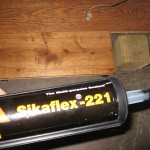
- Sikaflex is used to fix panels

-
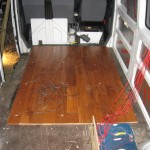
- Floor taking shape
-
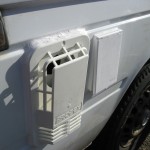
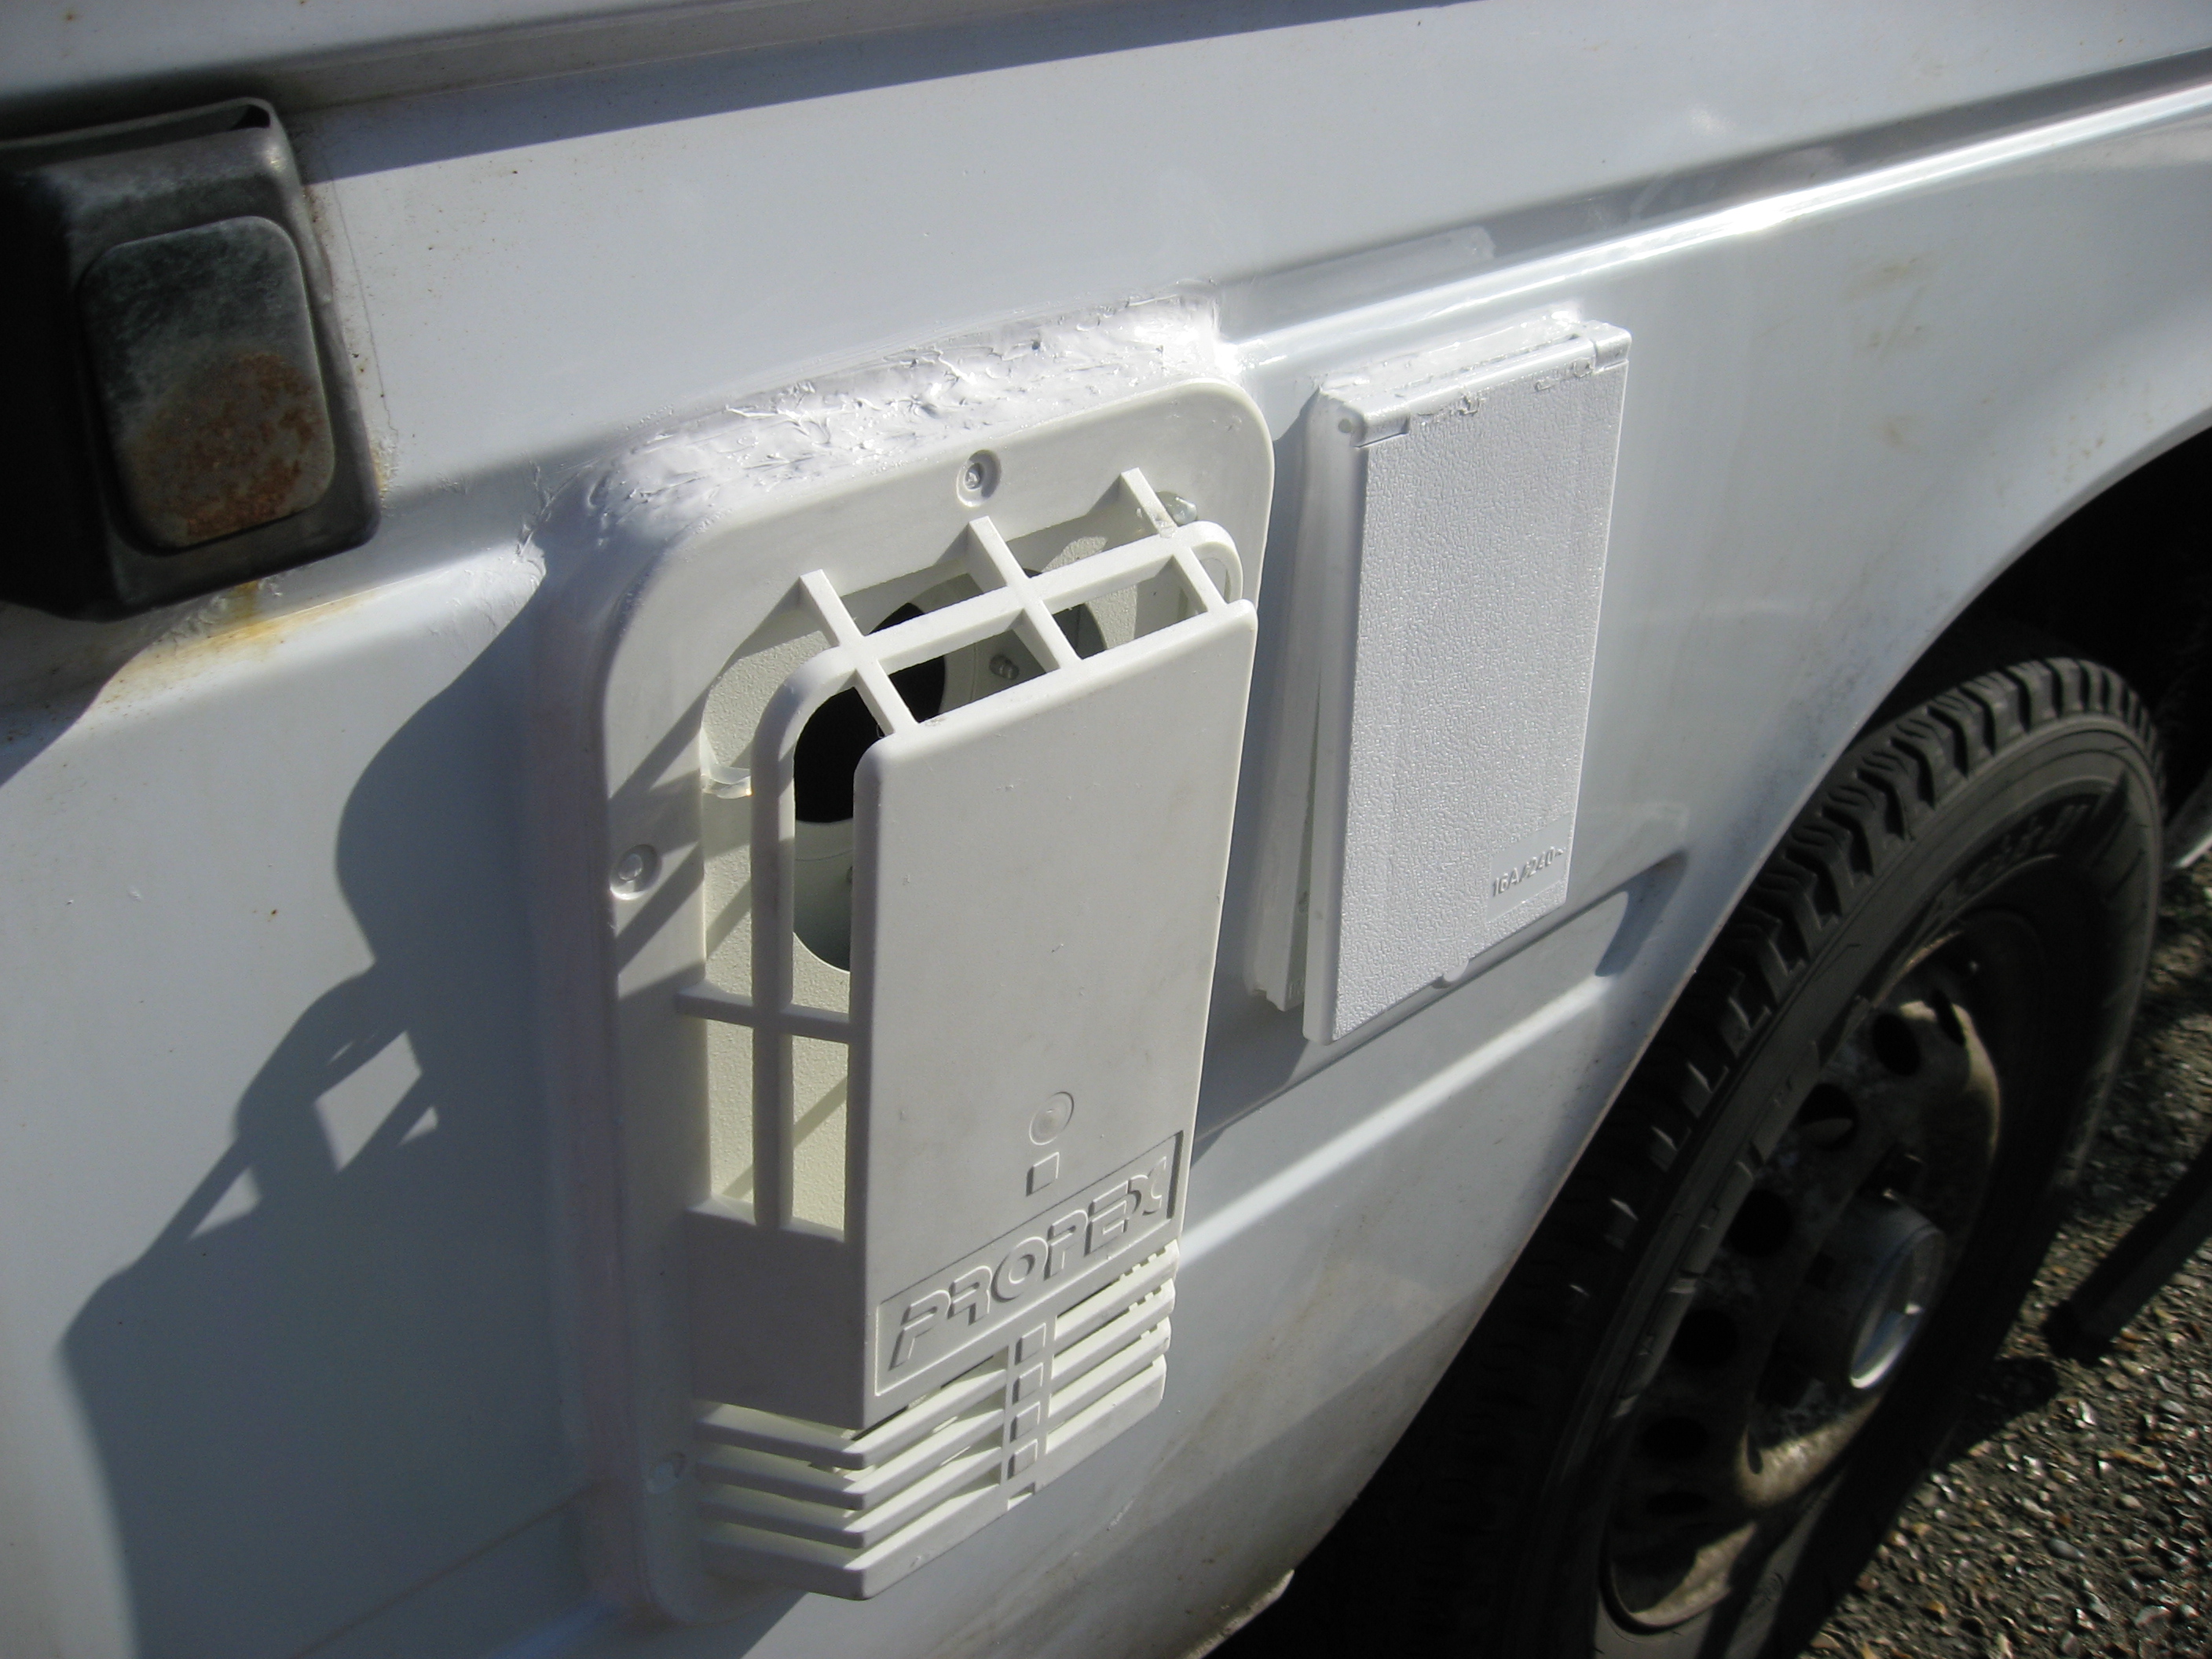
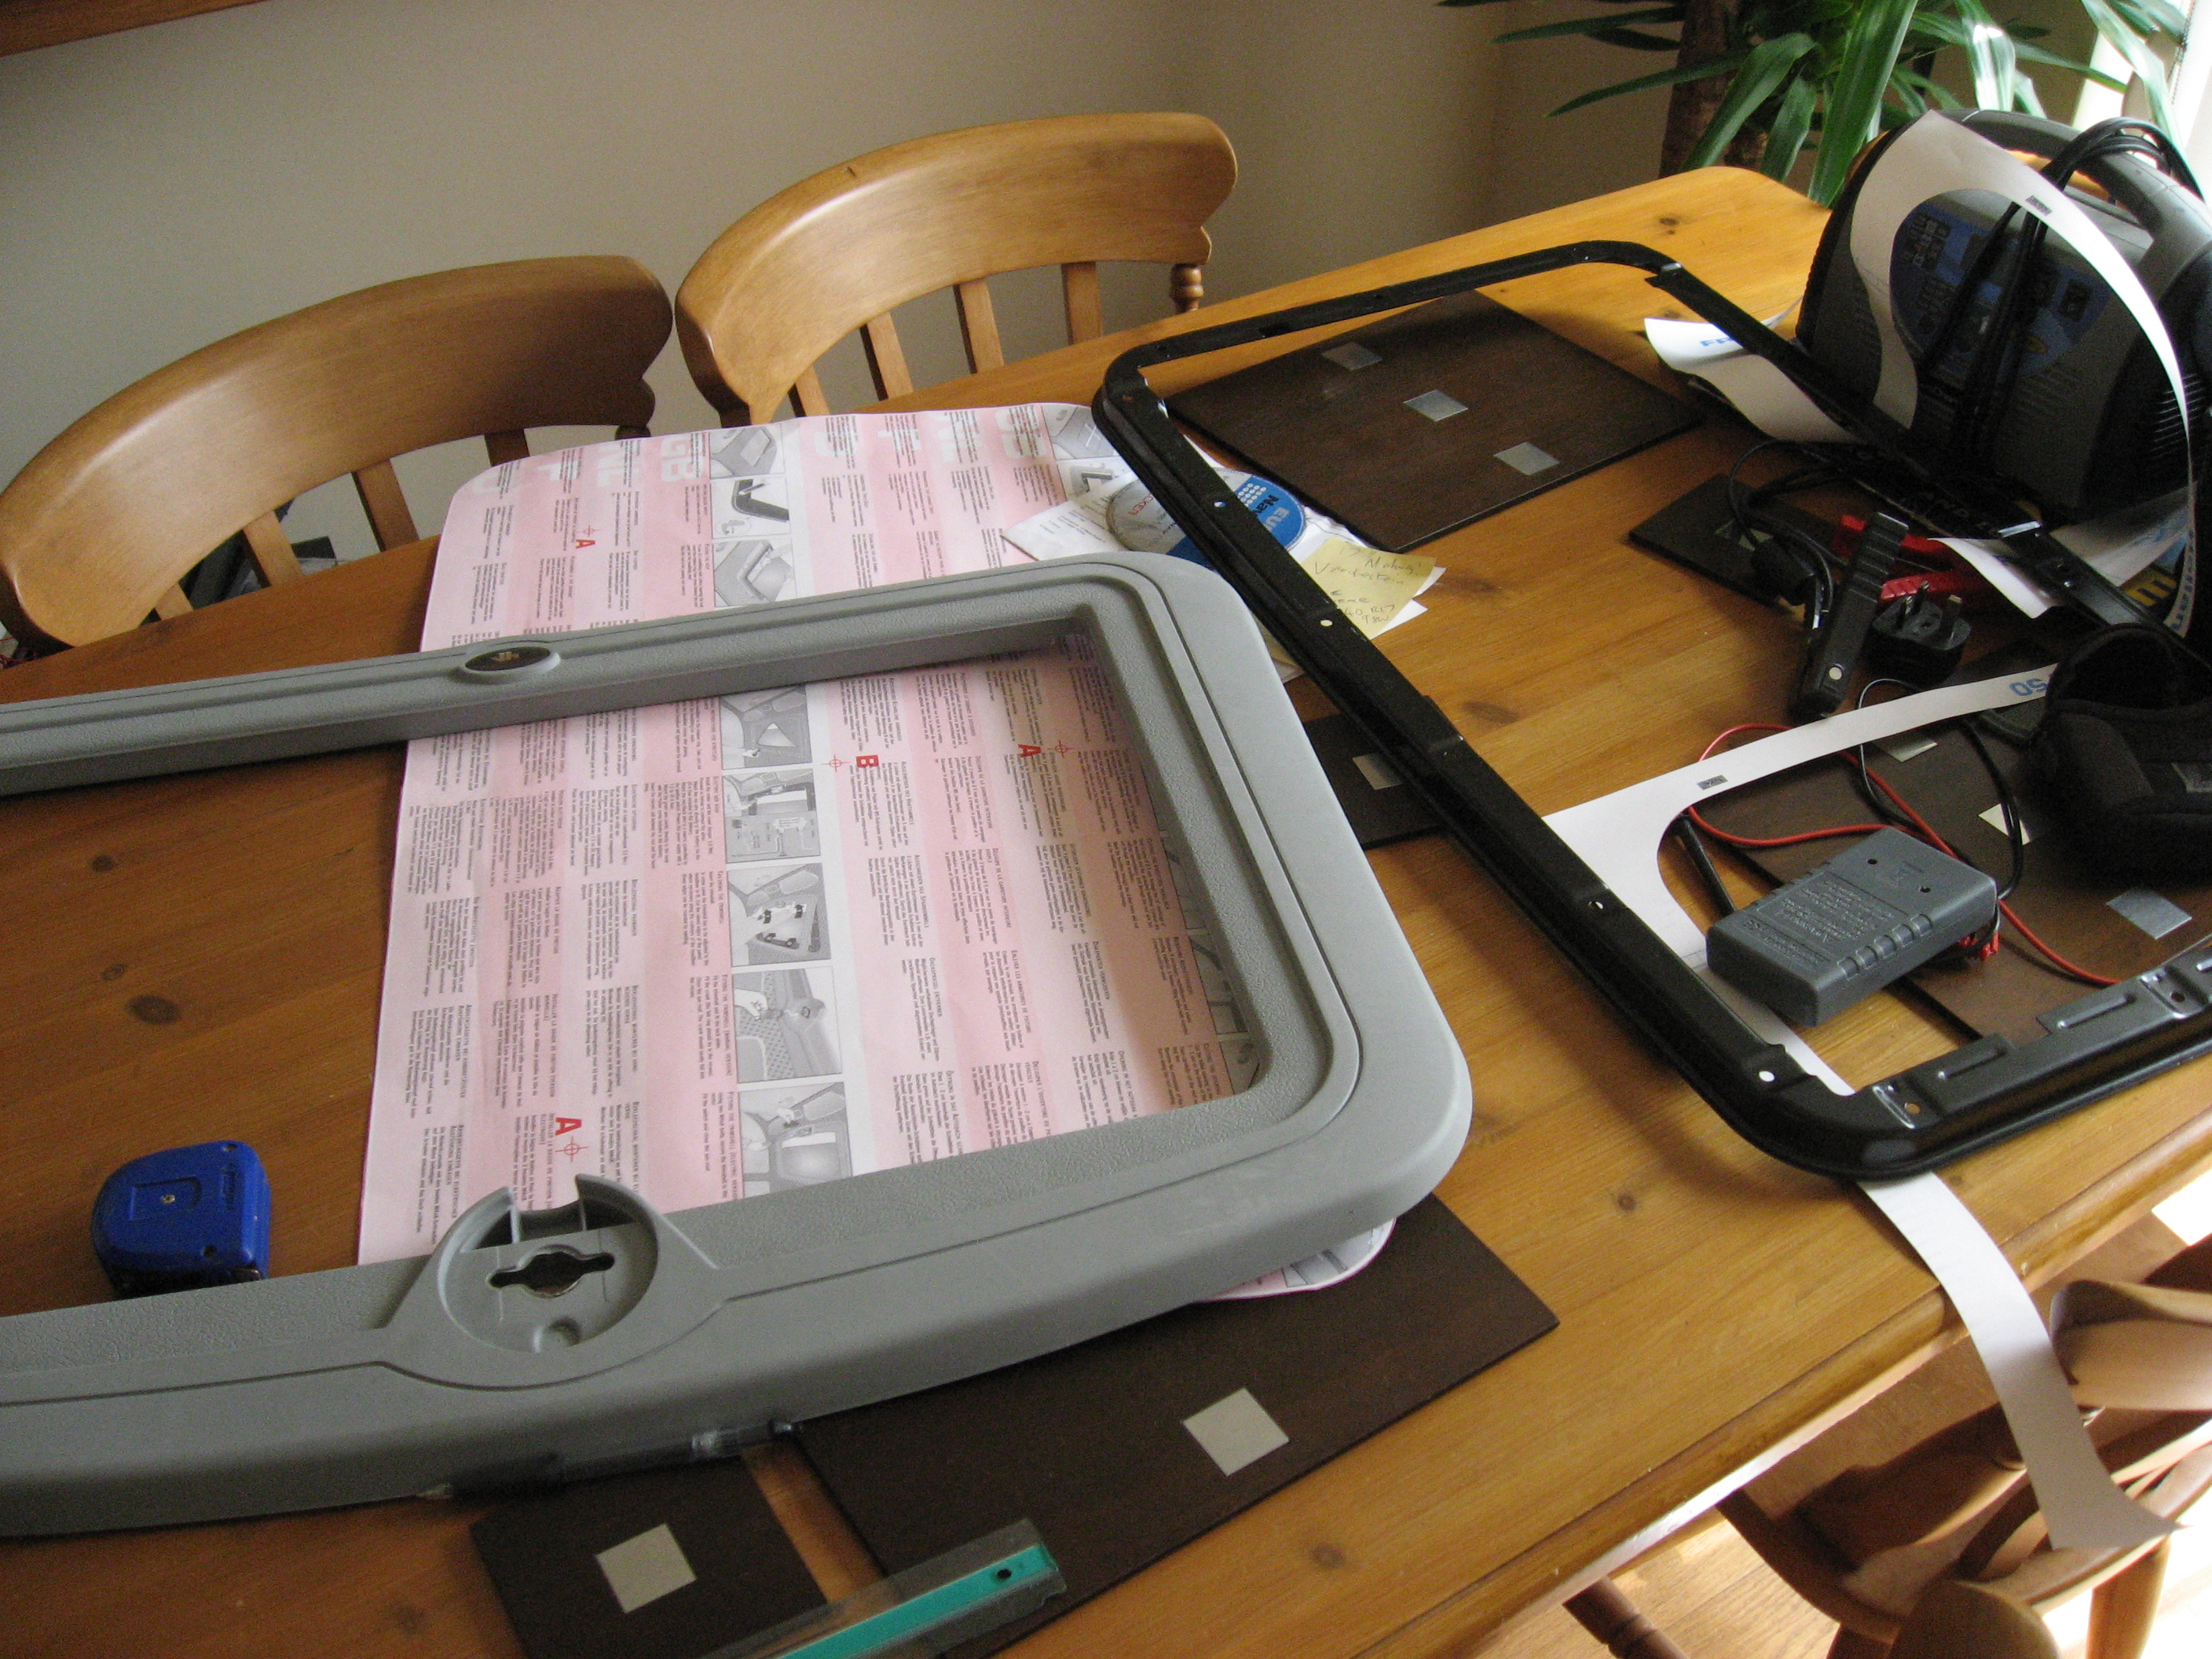
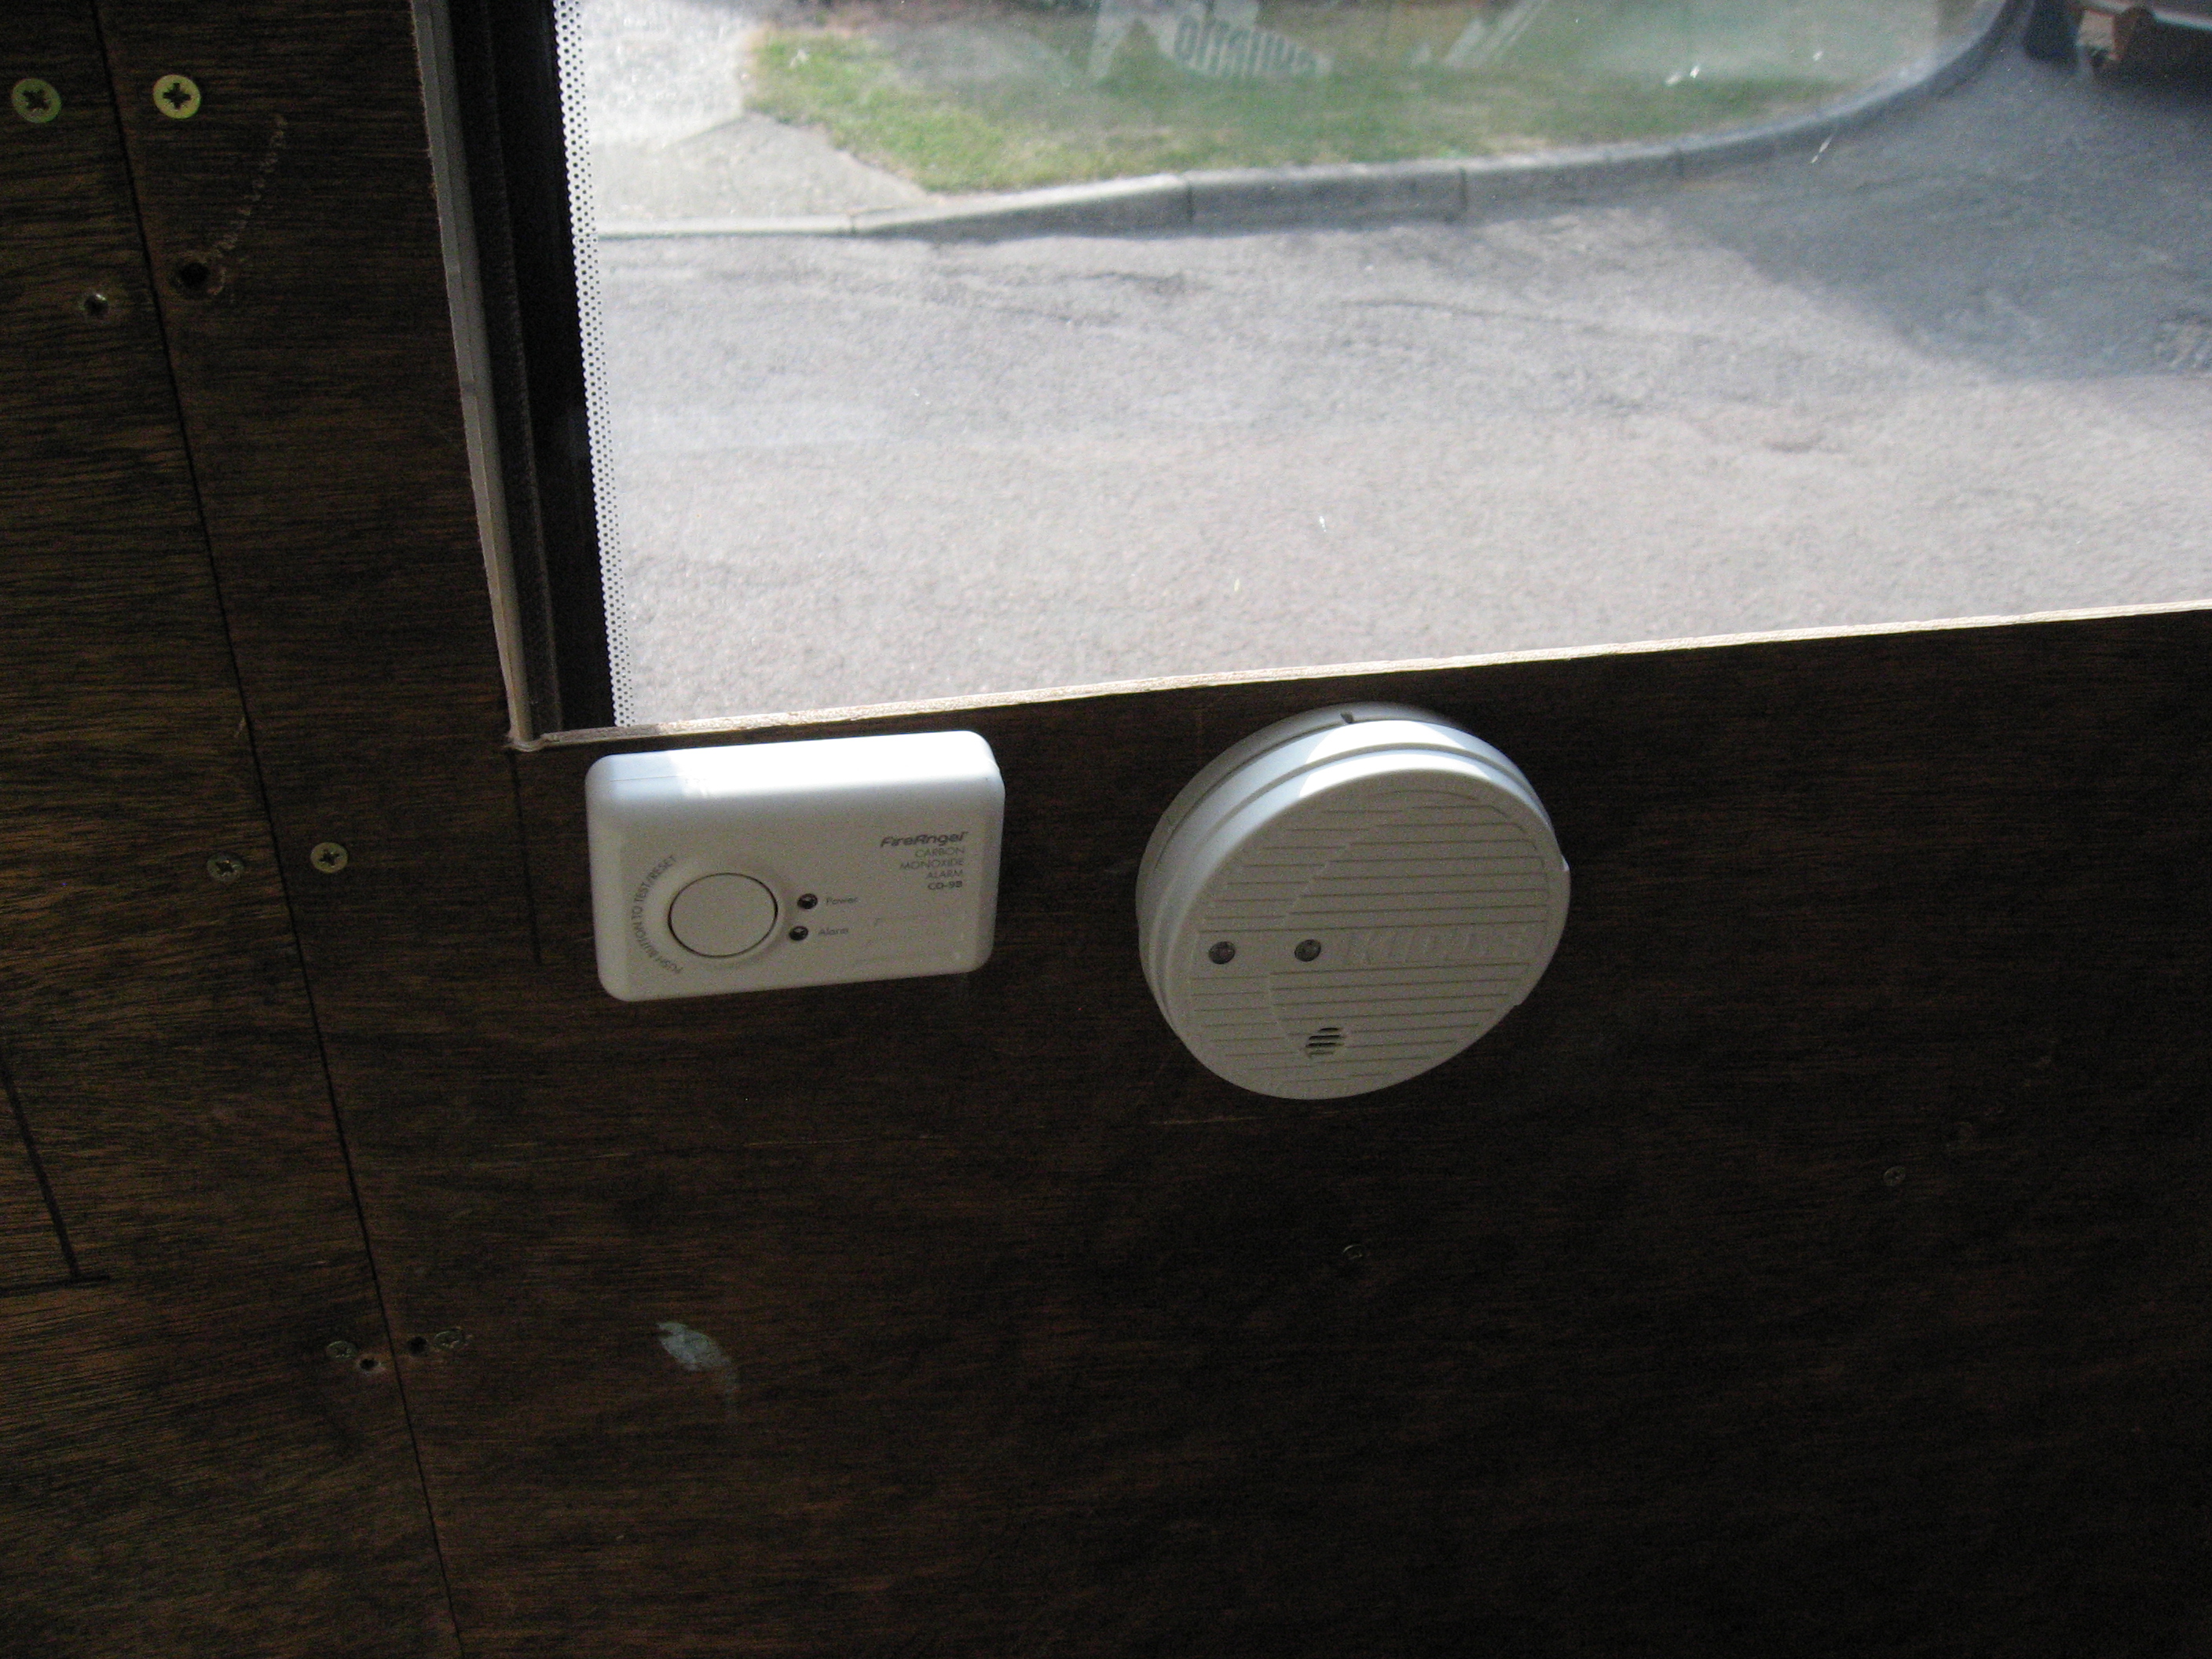
- Fitting your campervan vent covers
-
- Internal vent fitting
-
- Make sure all fittings to external are properly sealed and watertight
-
- Read instructions before fitting
-

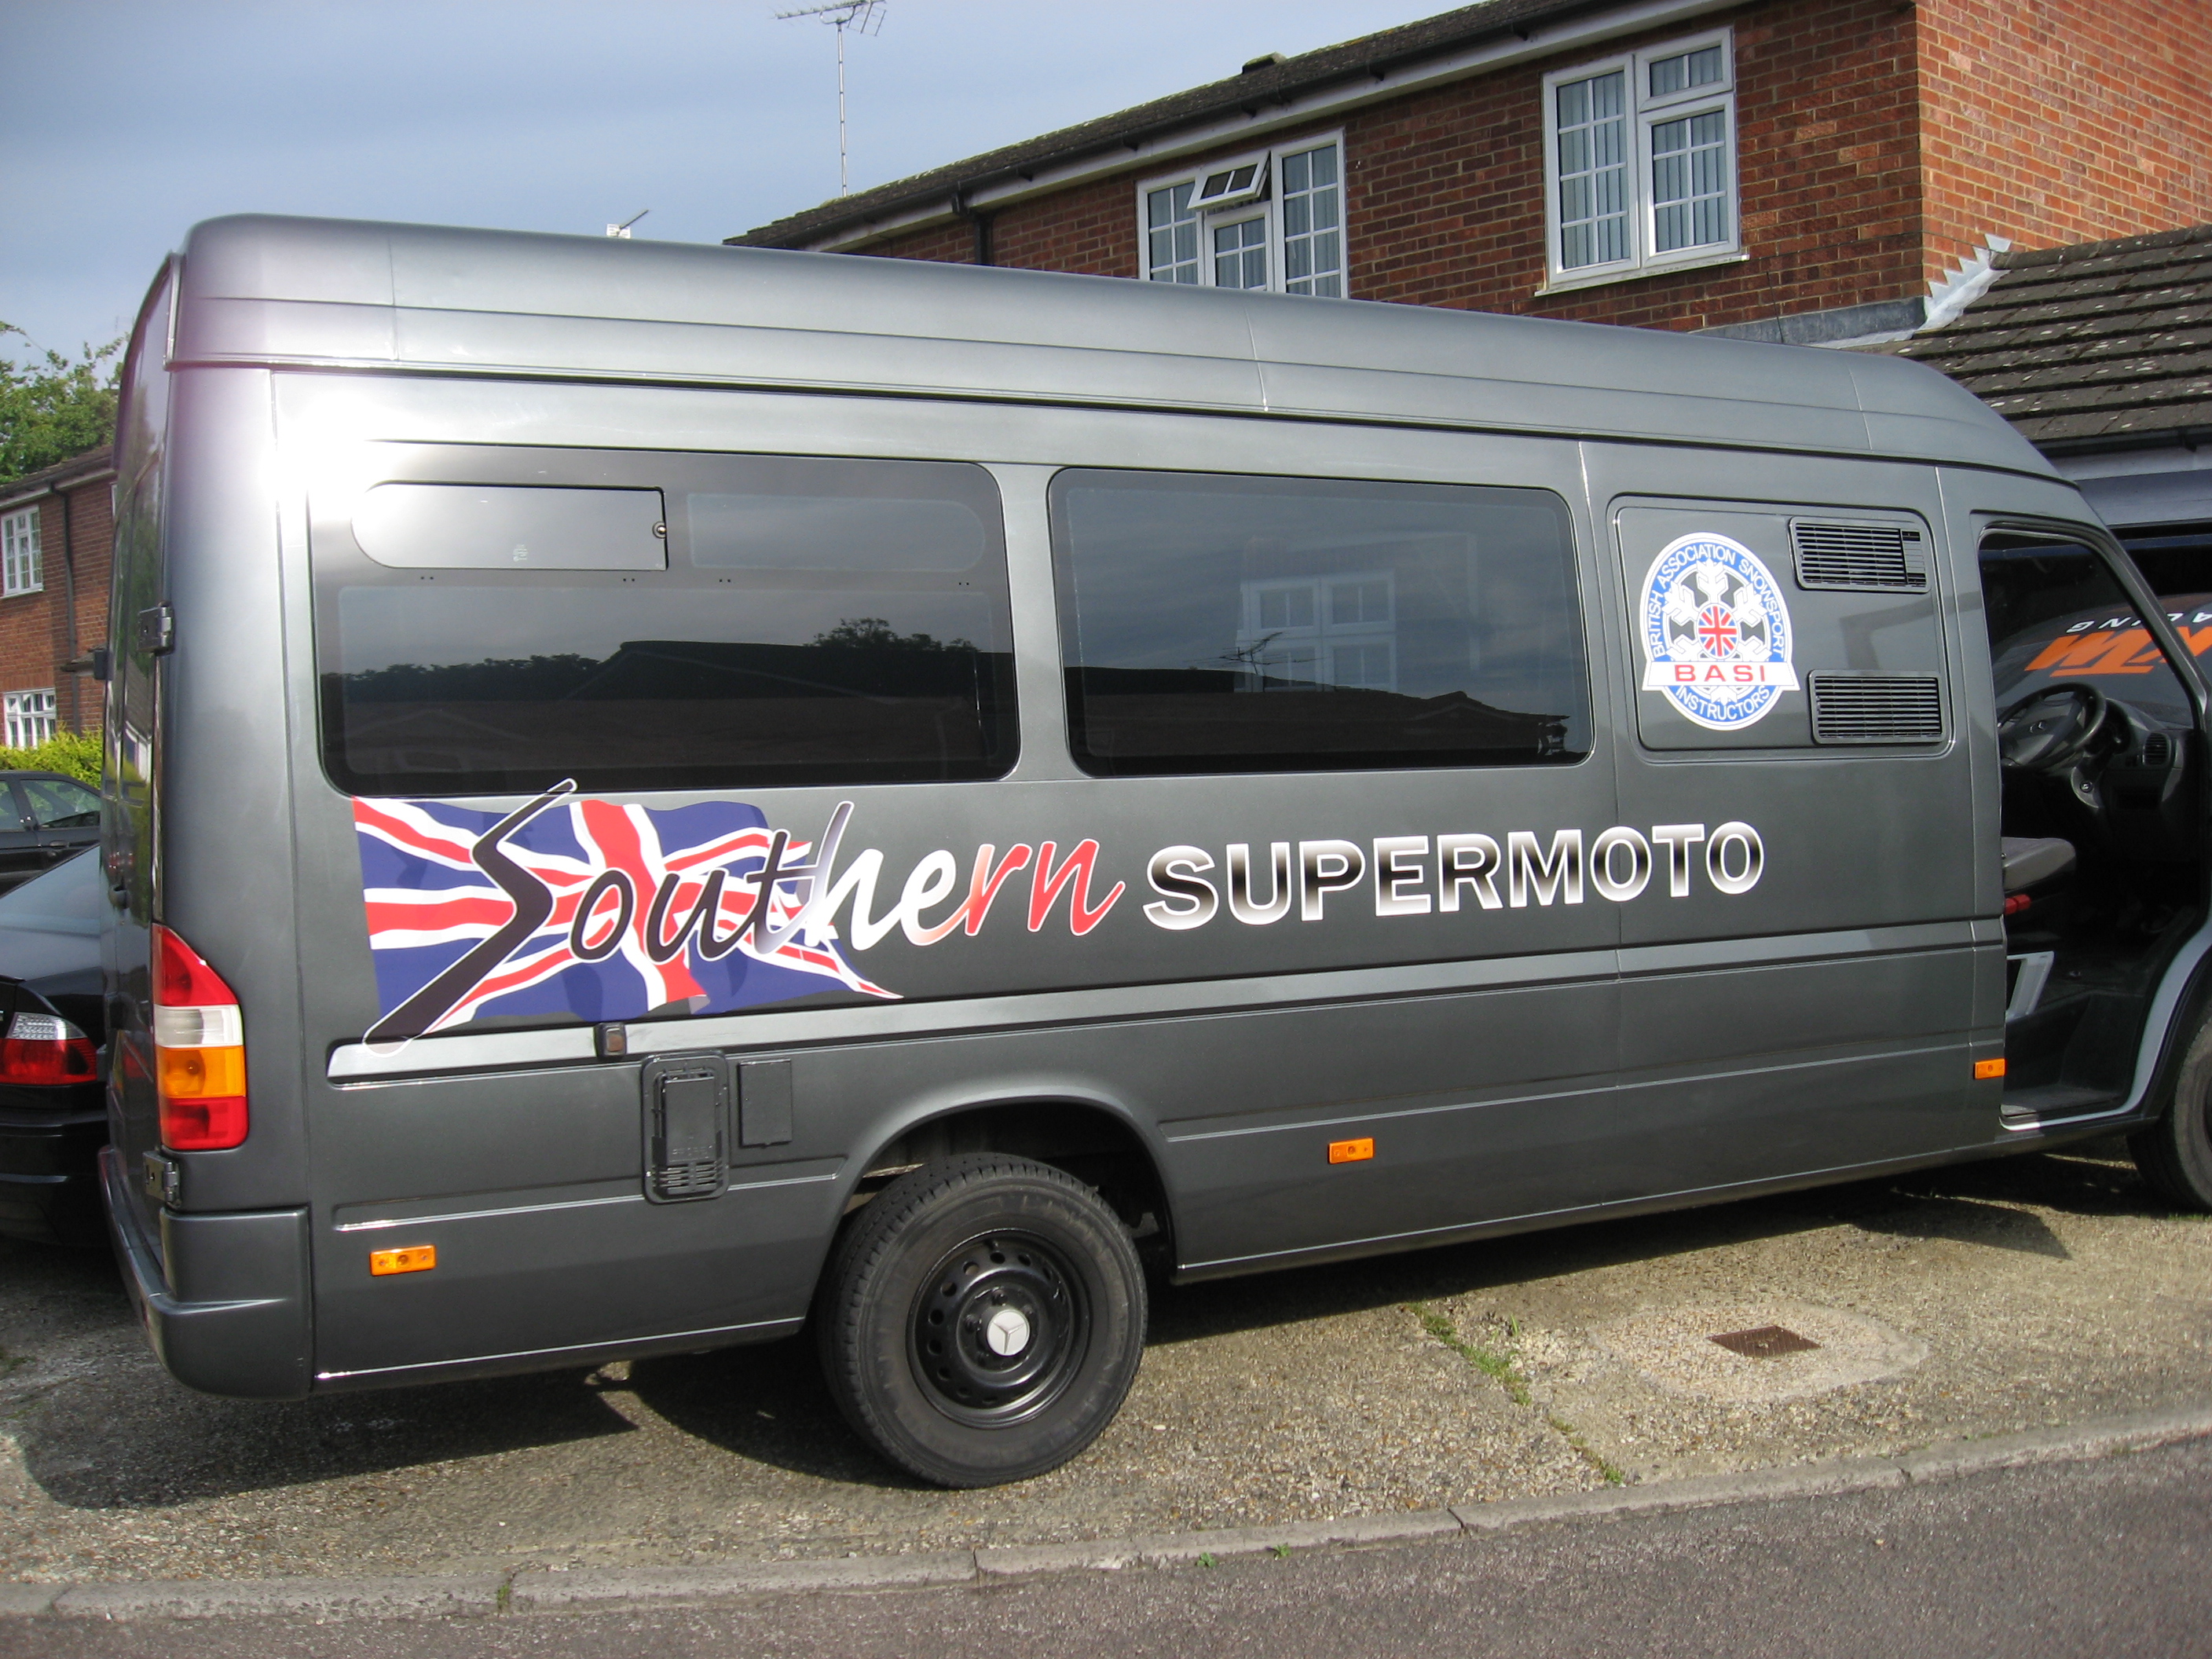
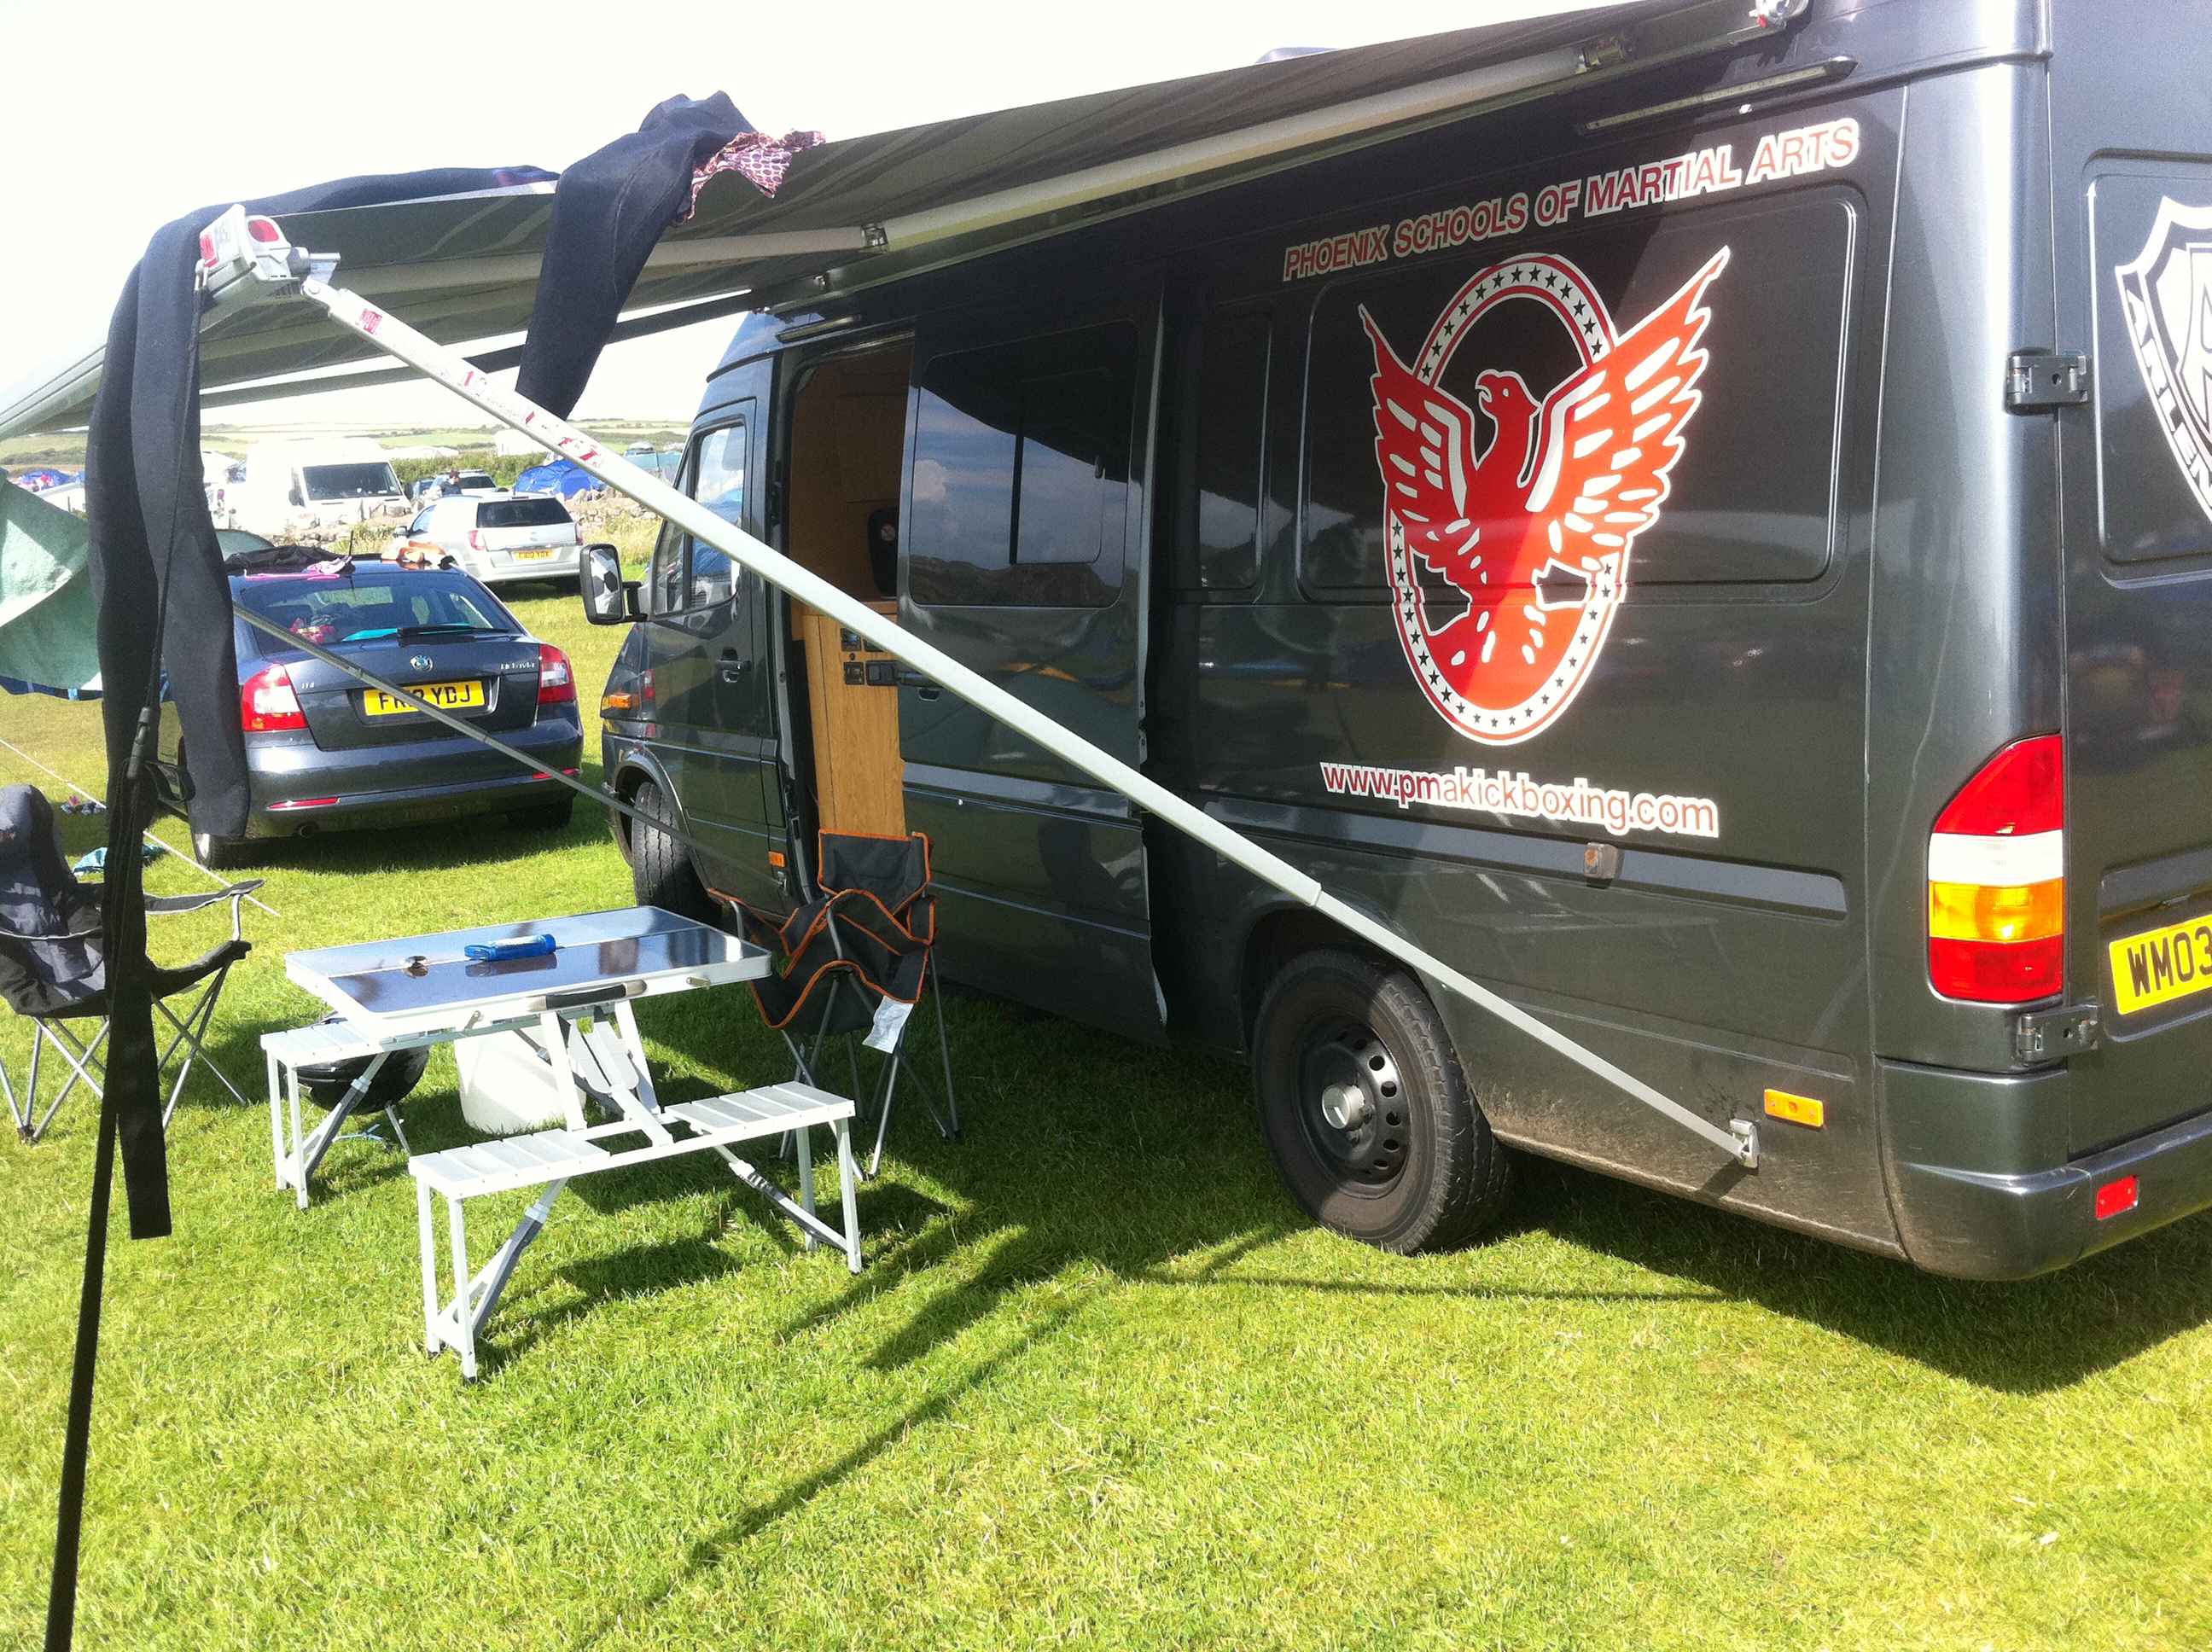
- Graphics add a nice touch
-
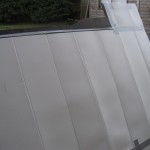
- Professional respray looks great
-
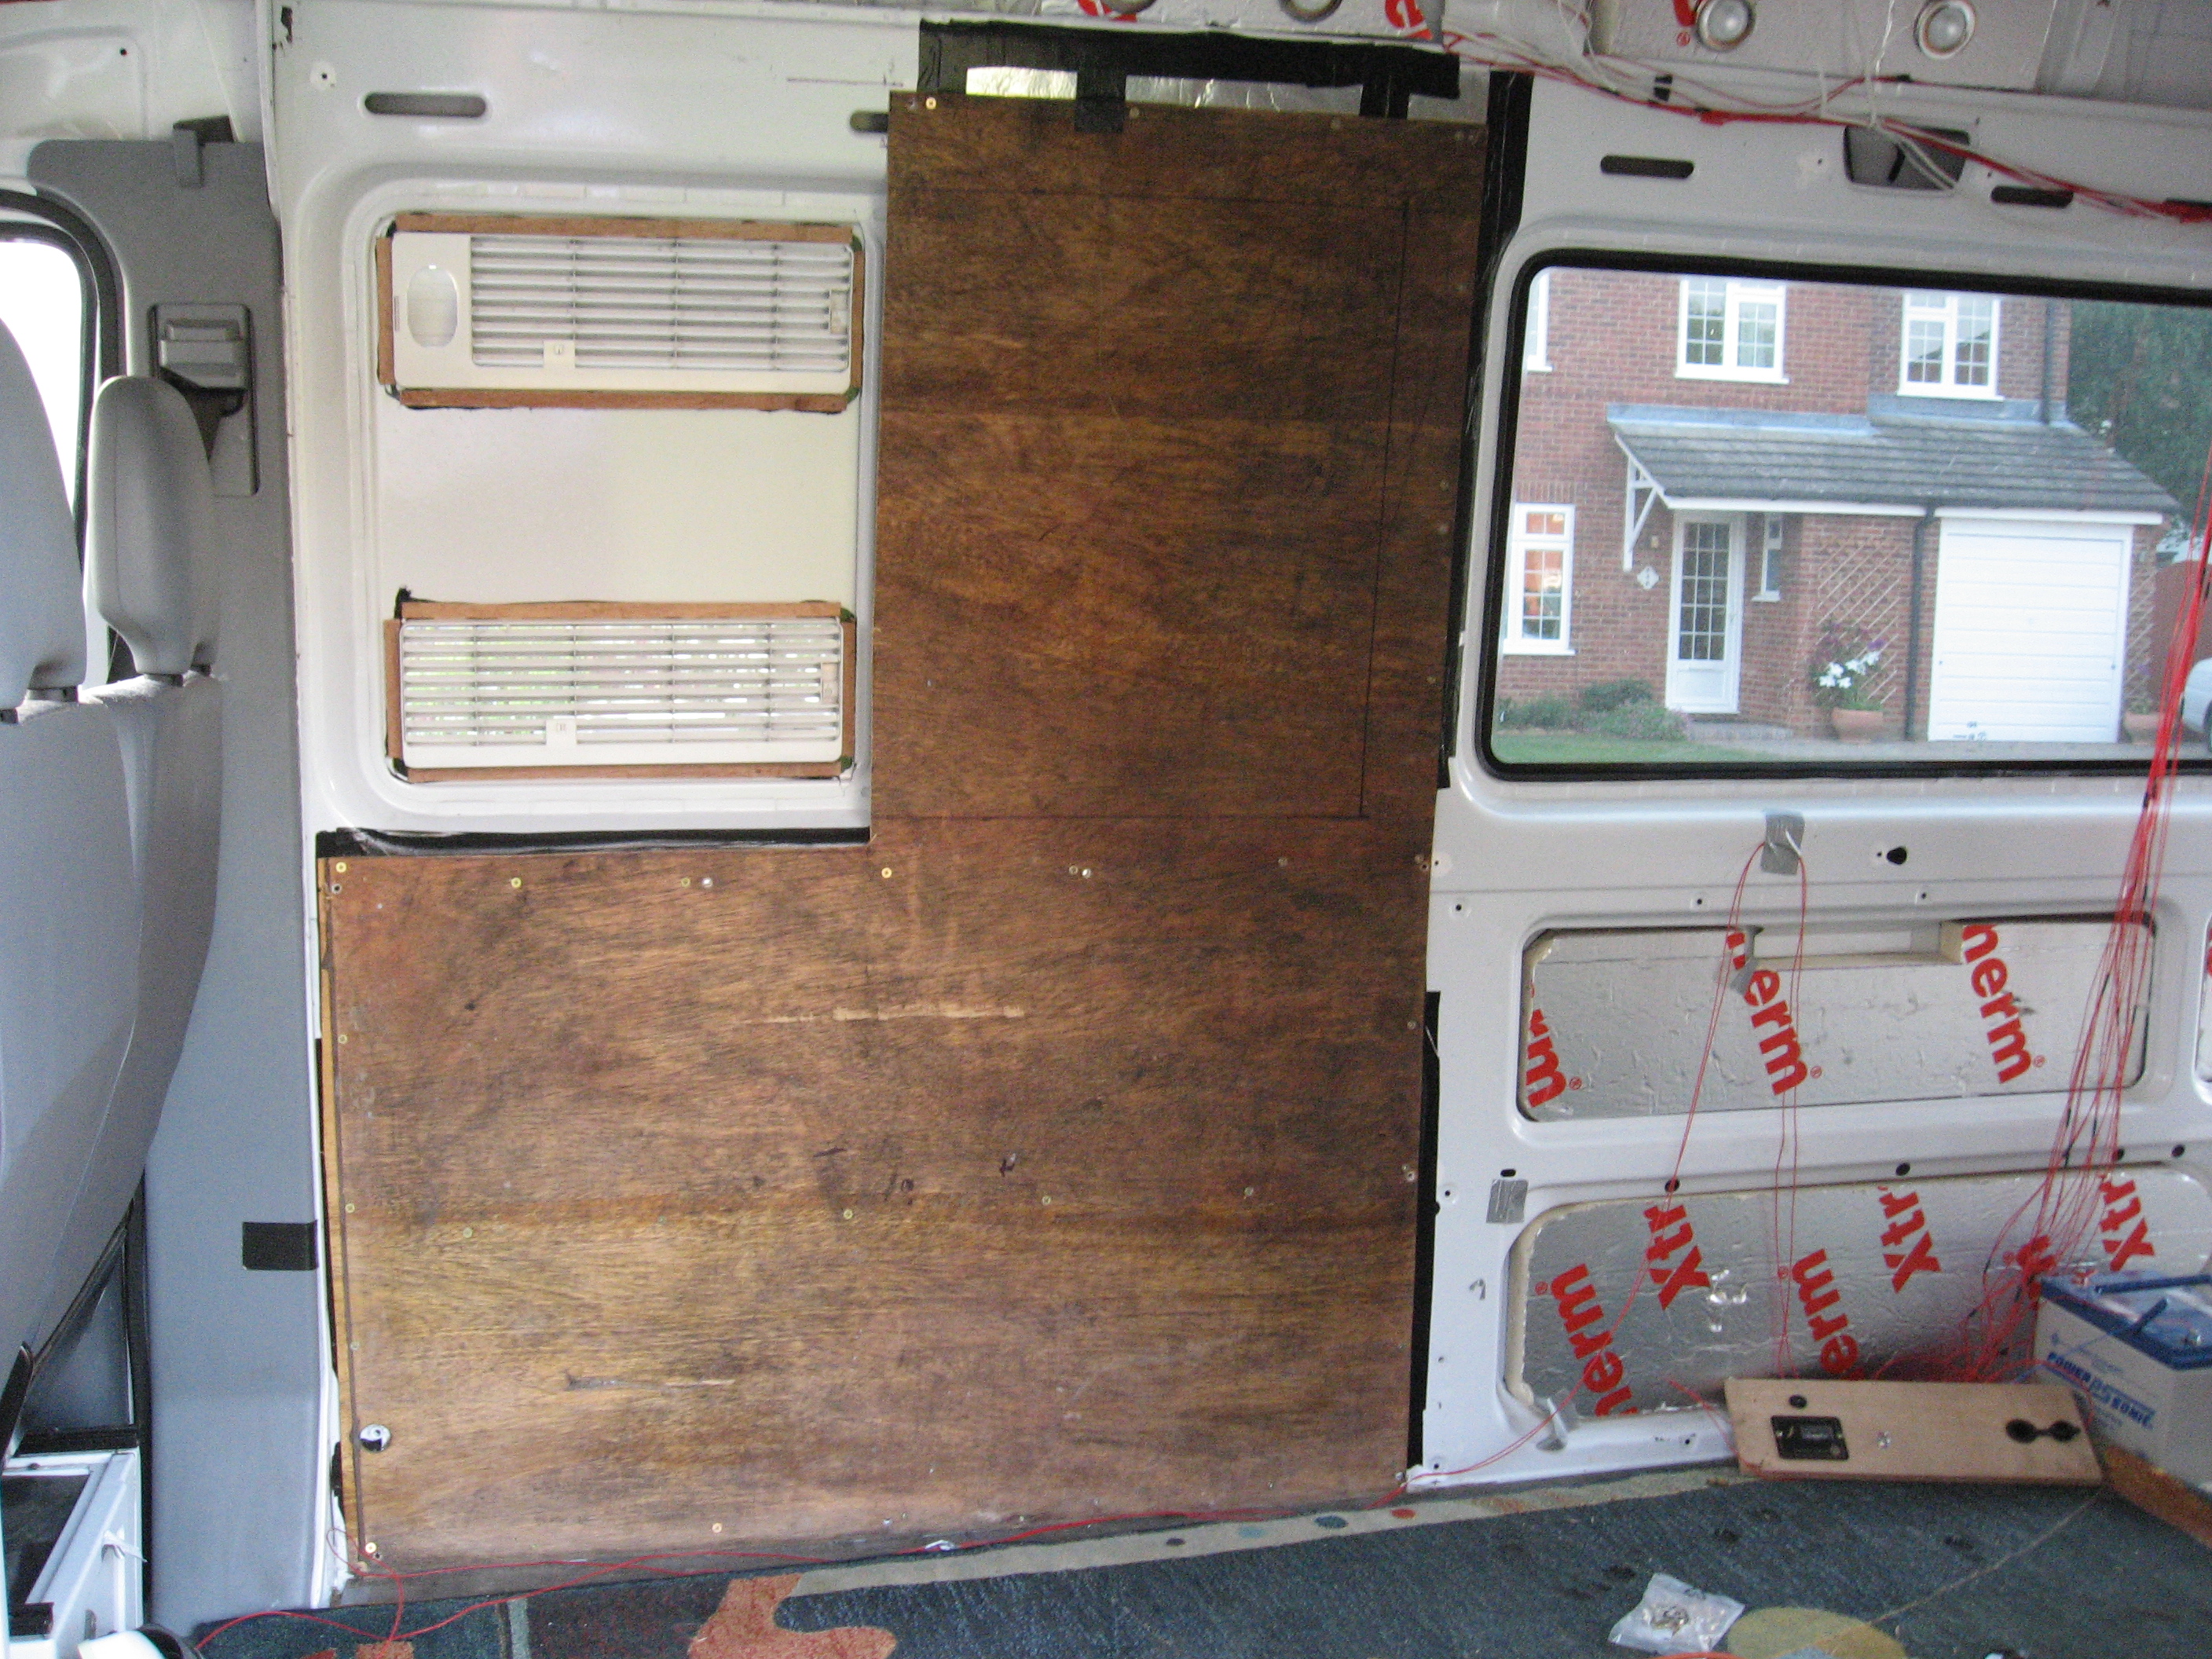
- Fully insulated panel now in place
-
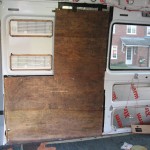
- Refitting boards back to wall over insulation
-
- Long panel fitted under window
-
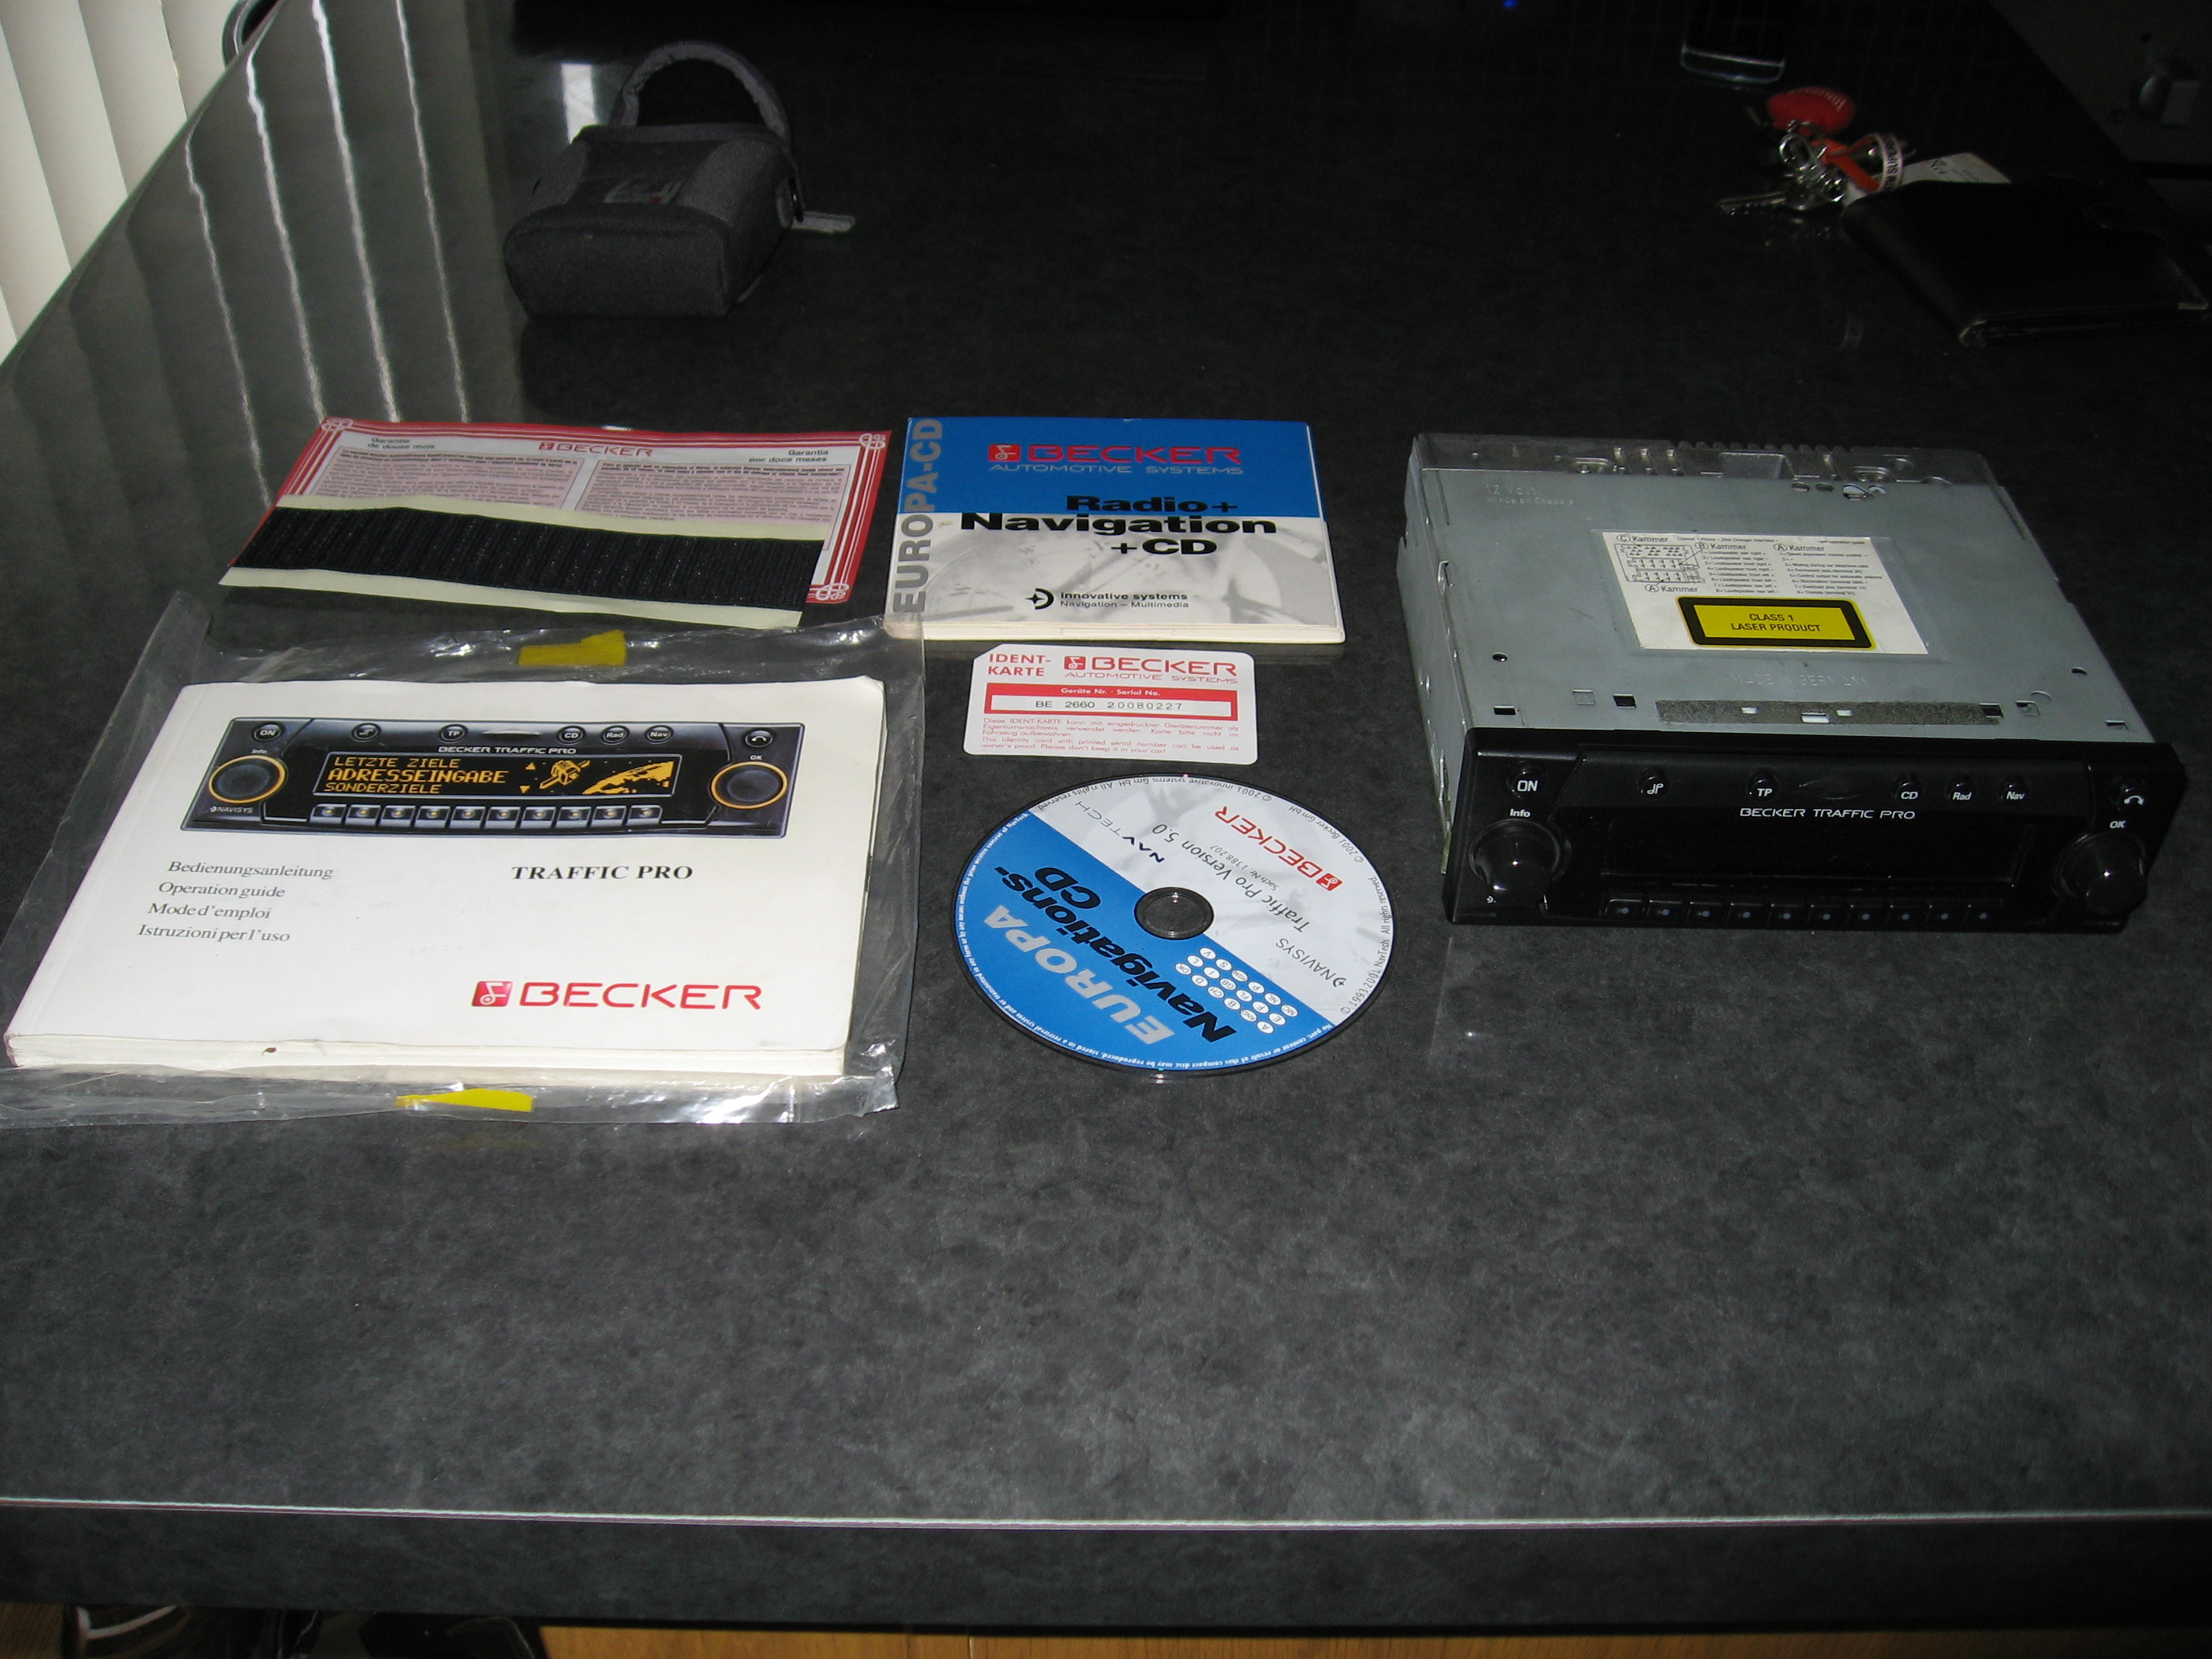
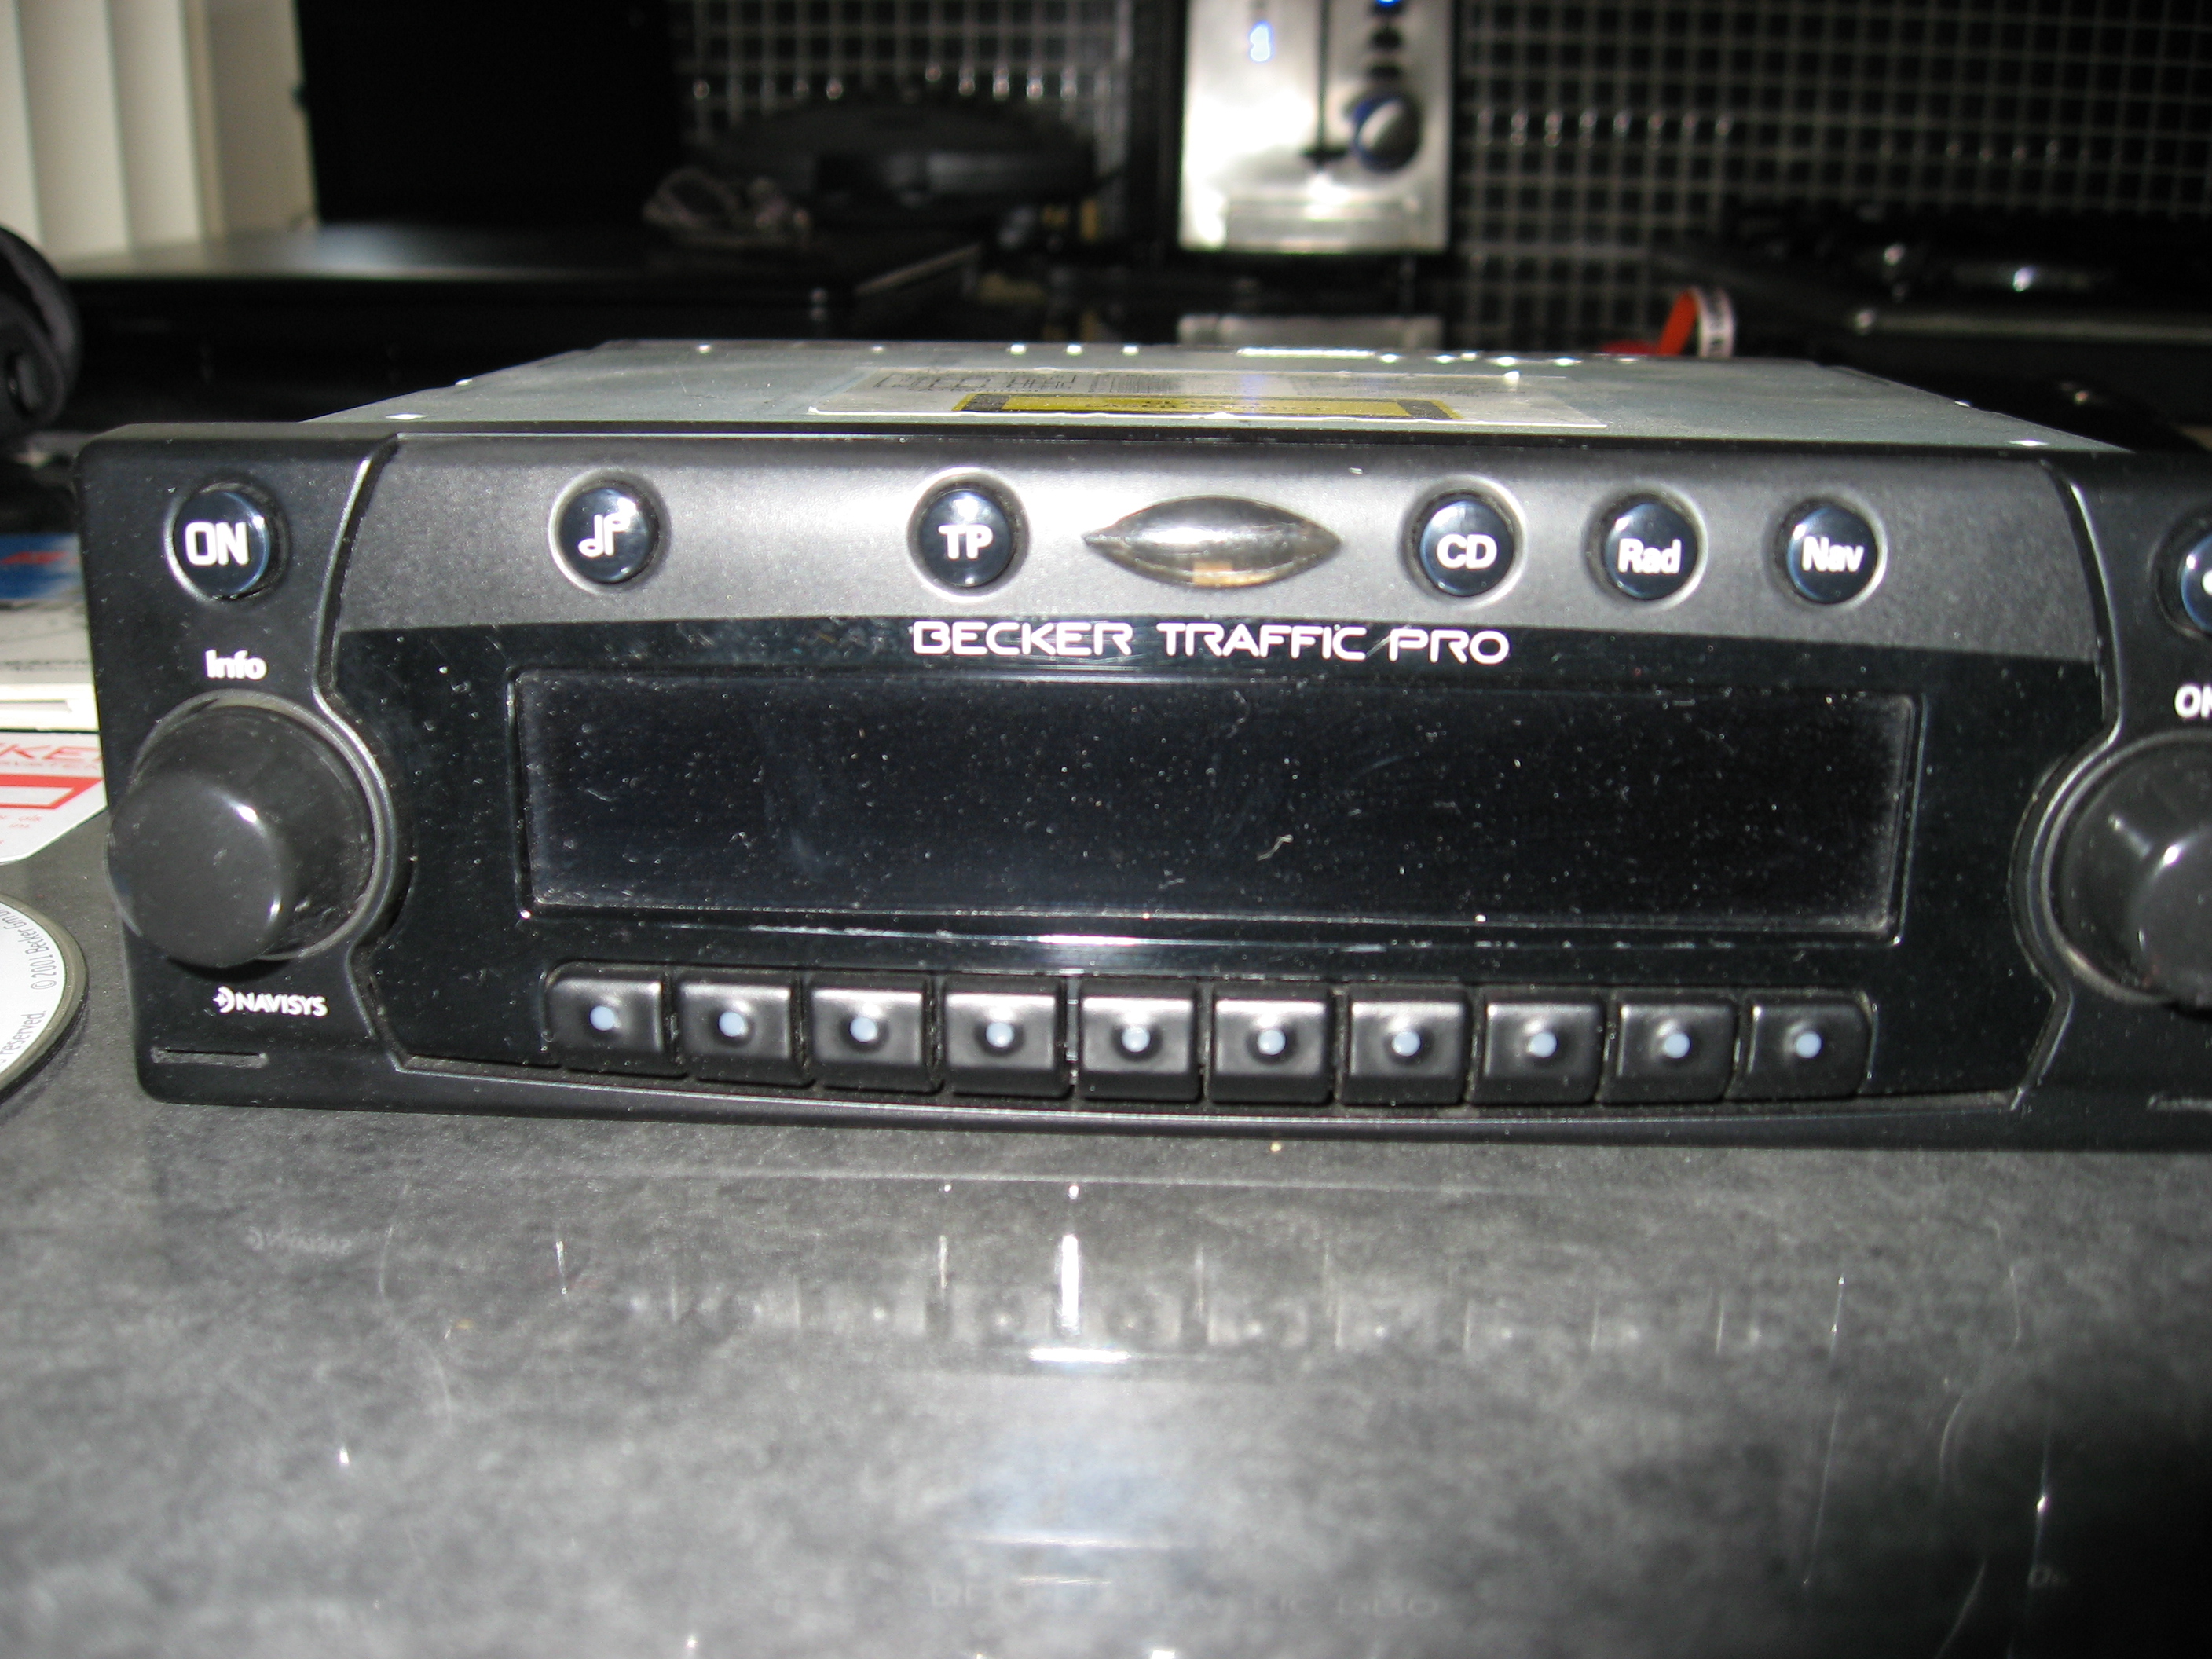
- Time for some music
-

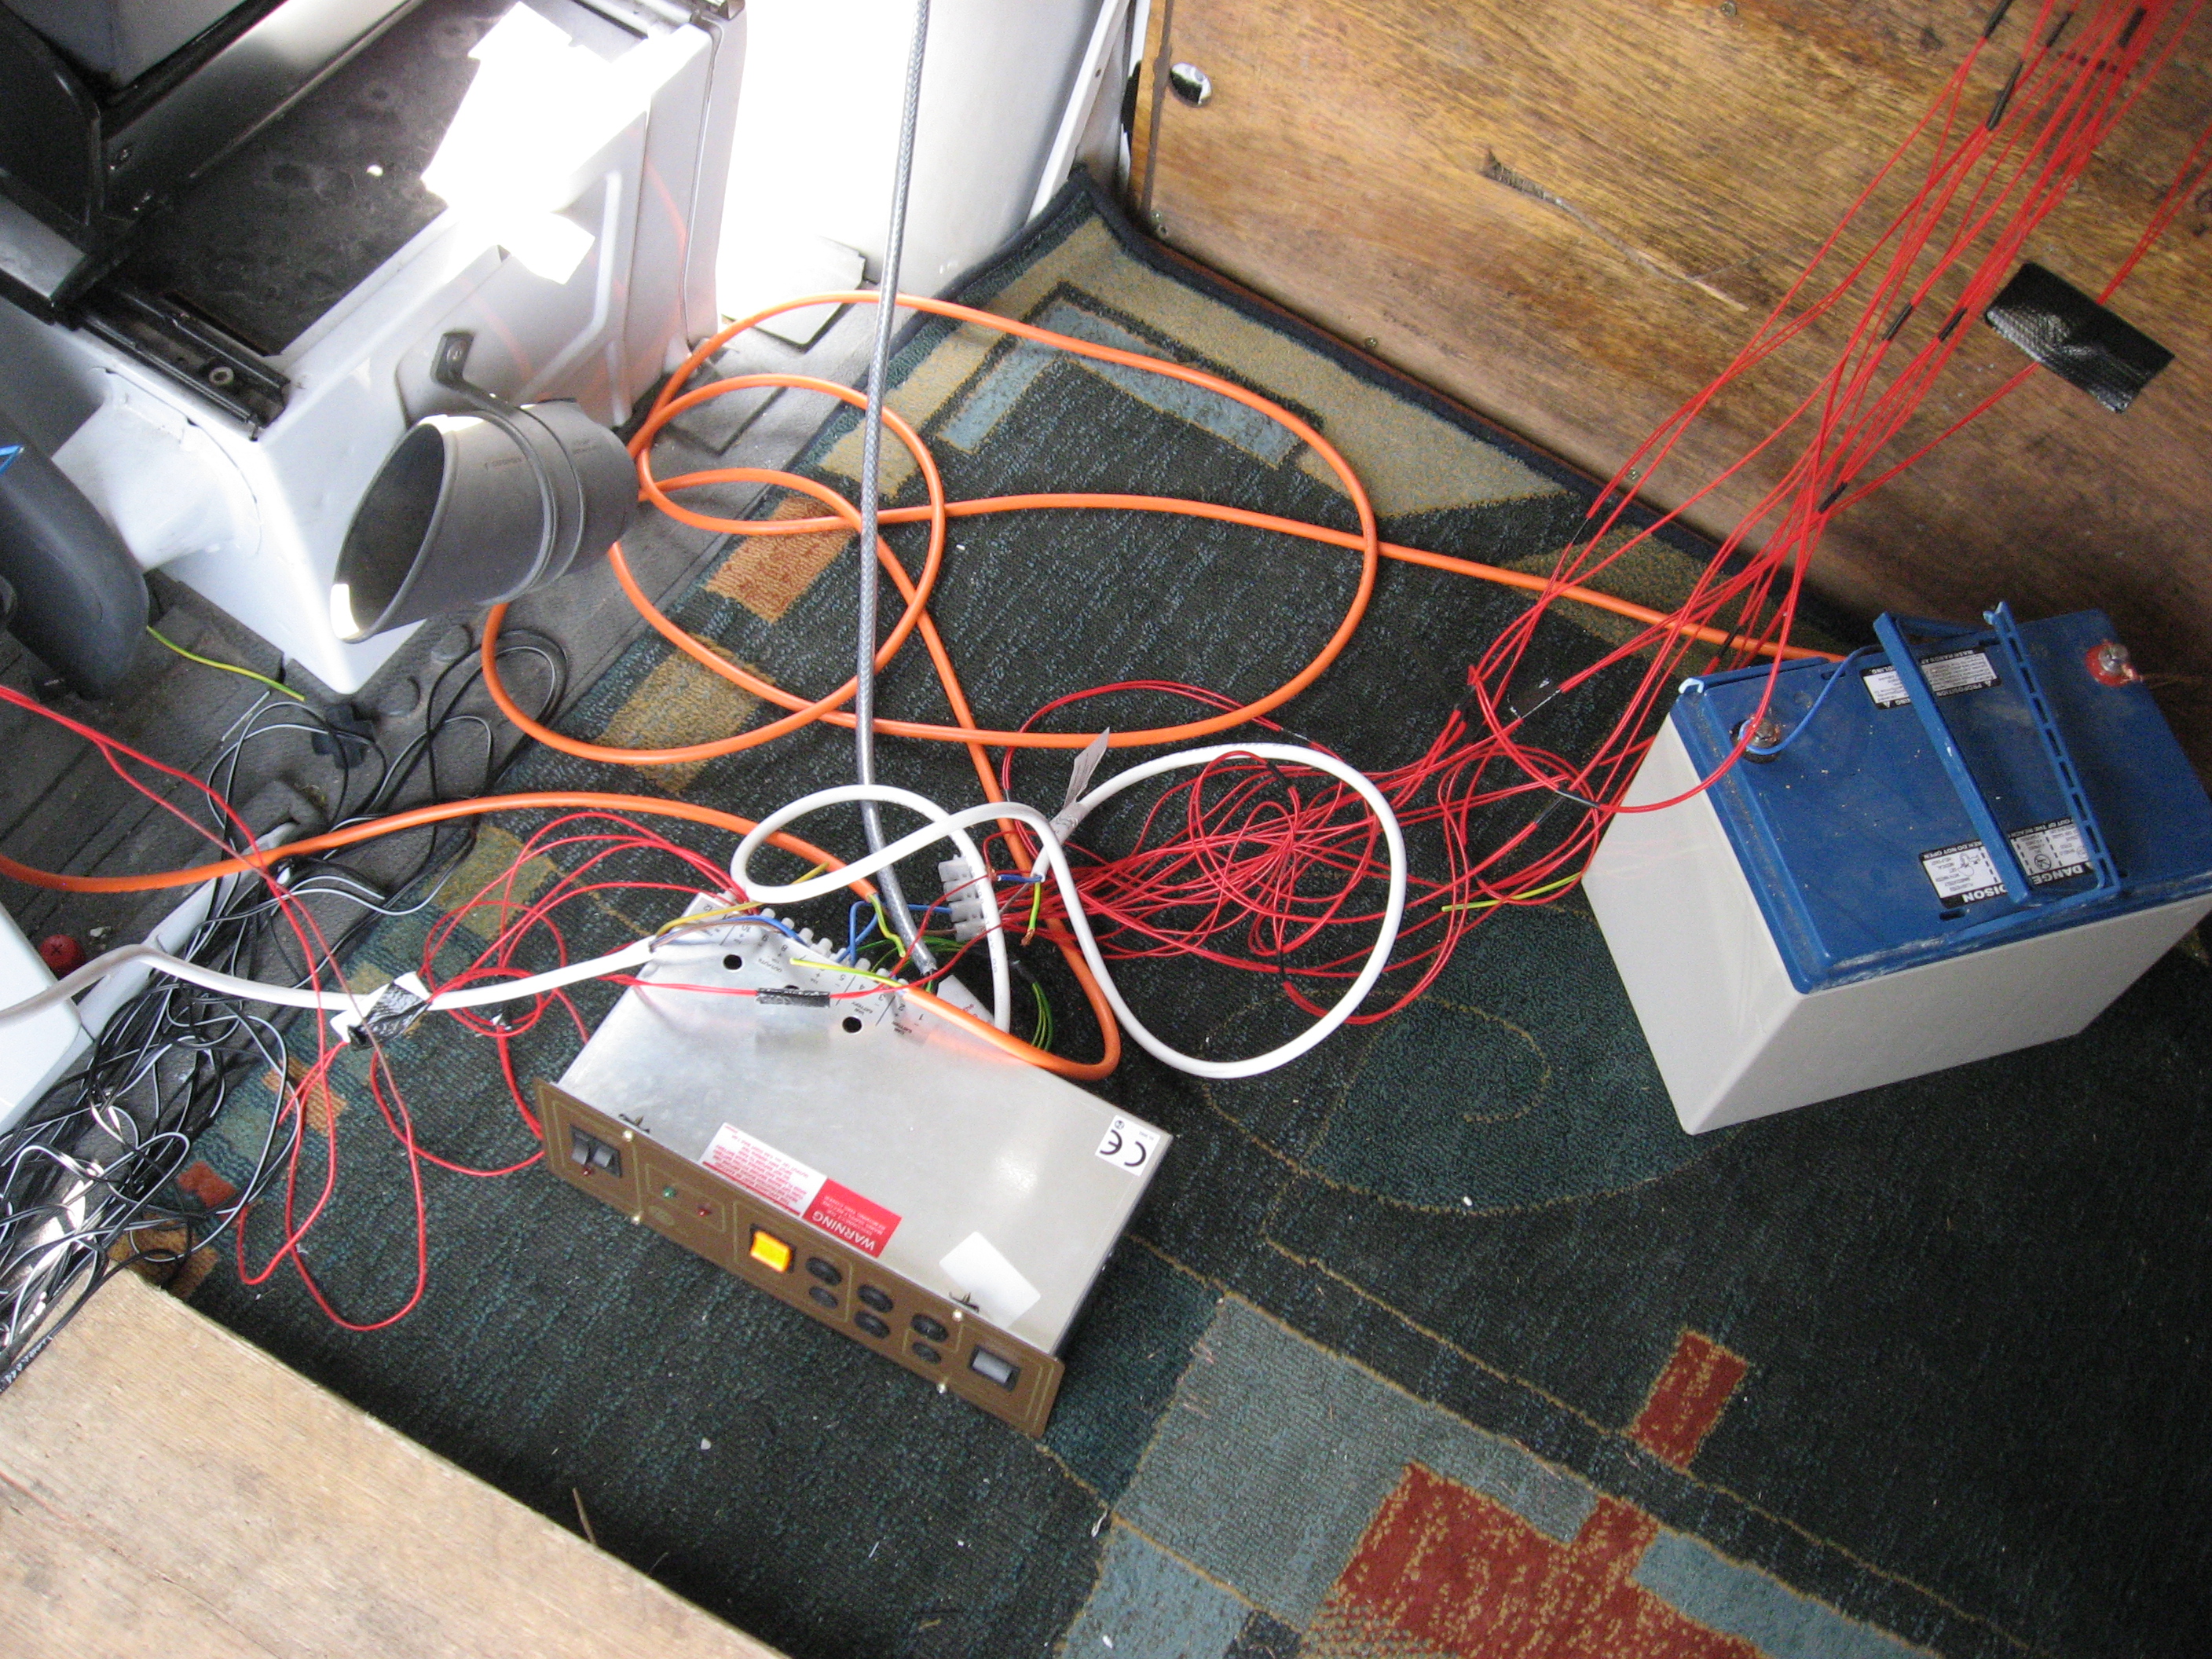
- Try not to tangle the wires
-
- Fixing the ceiling panel
-
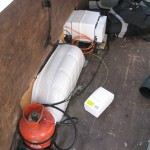
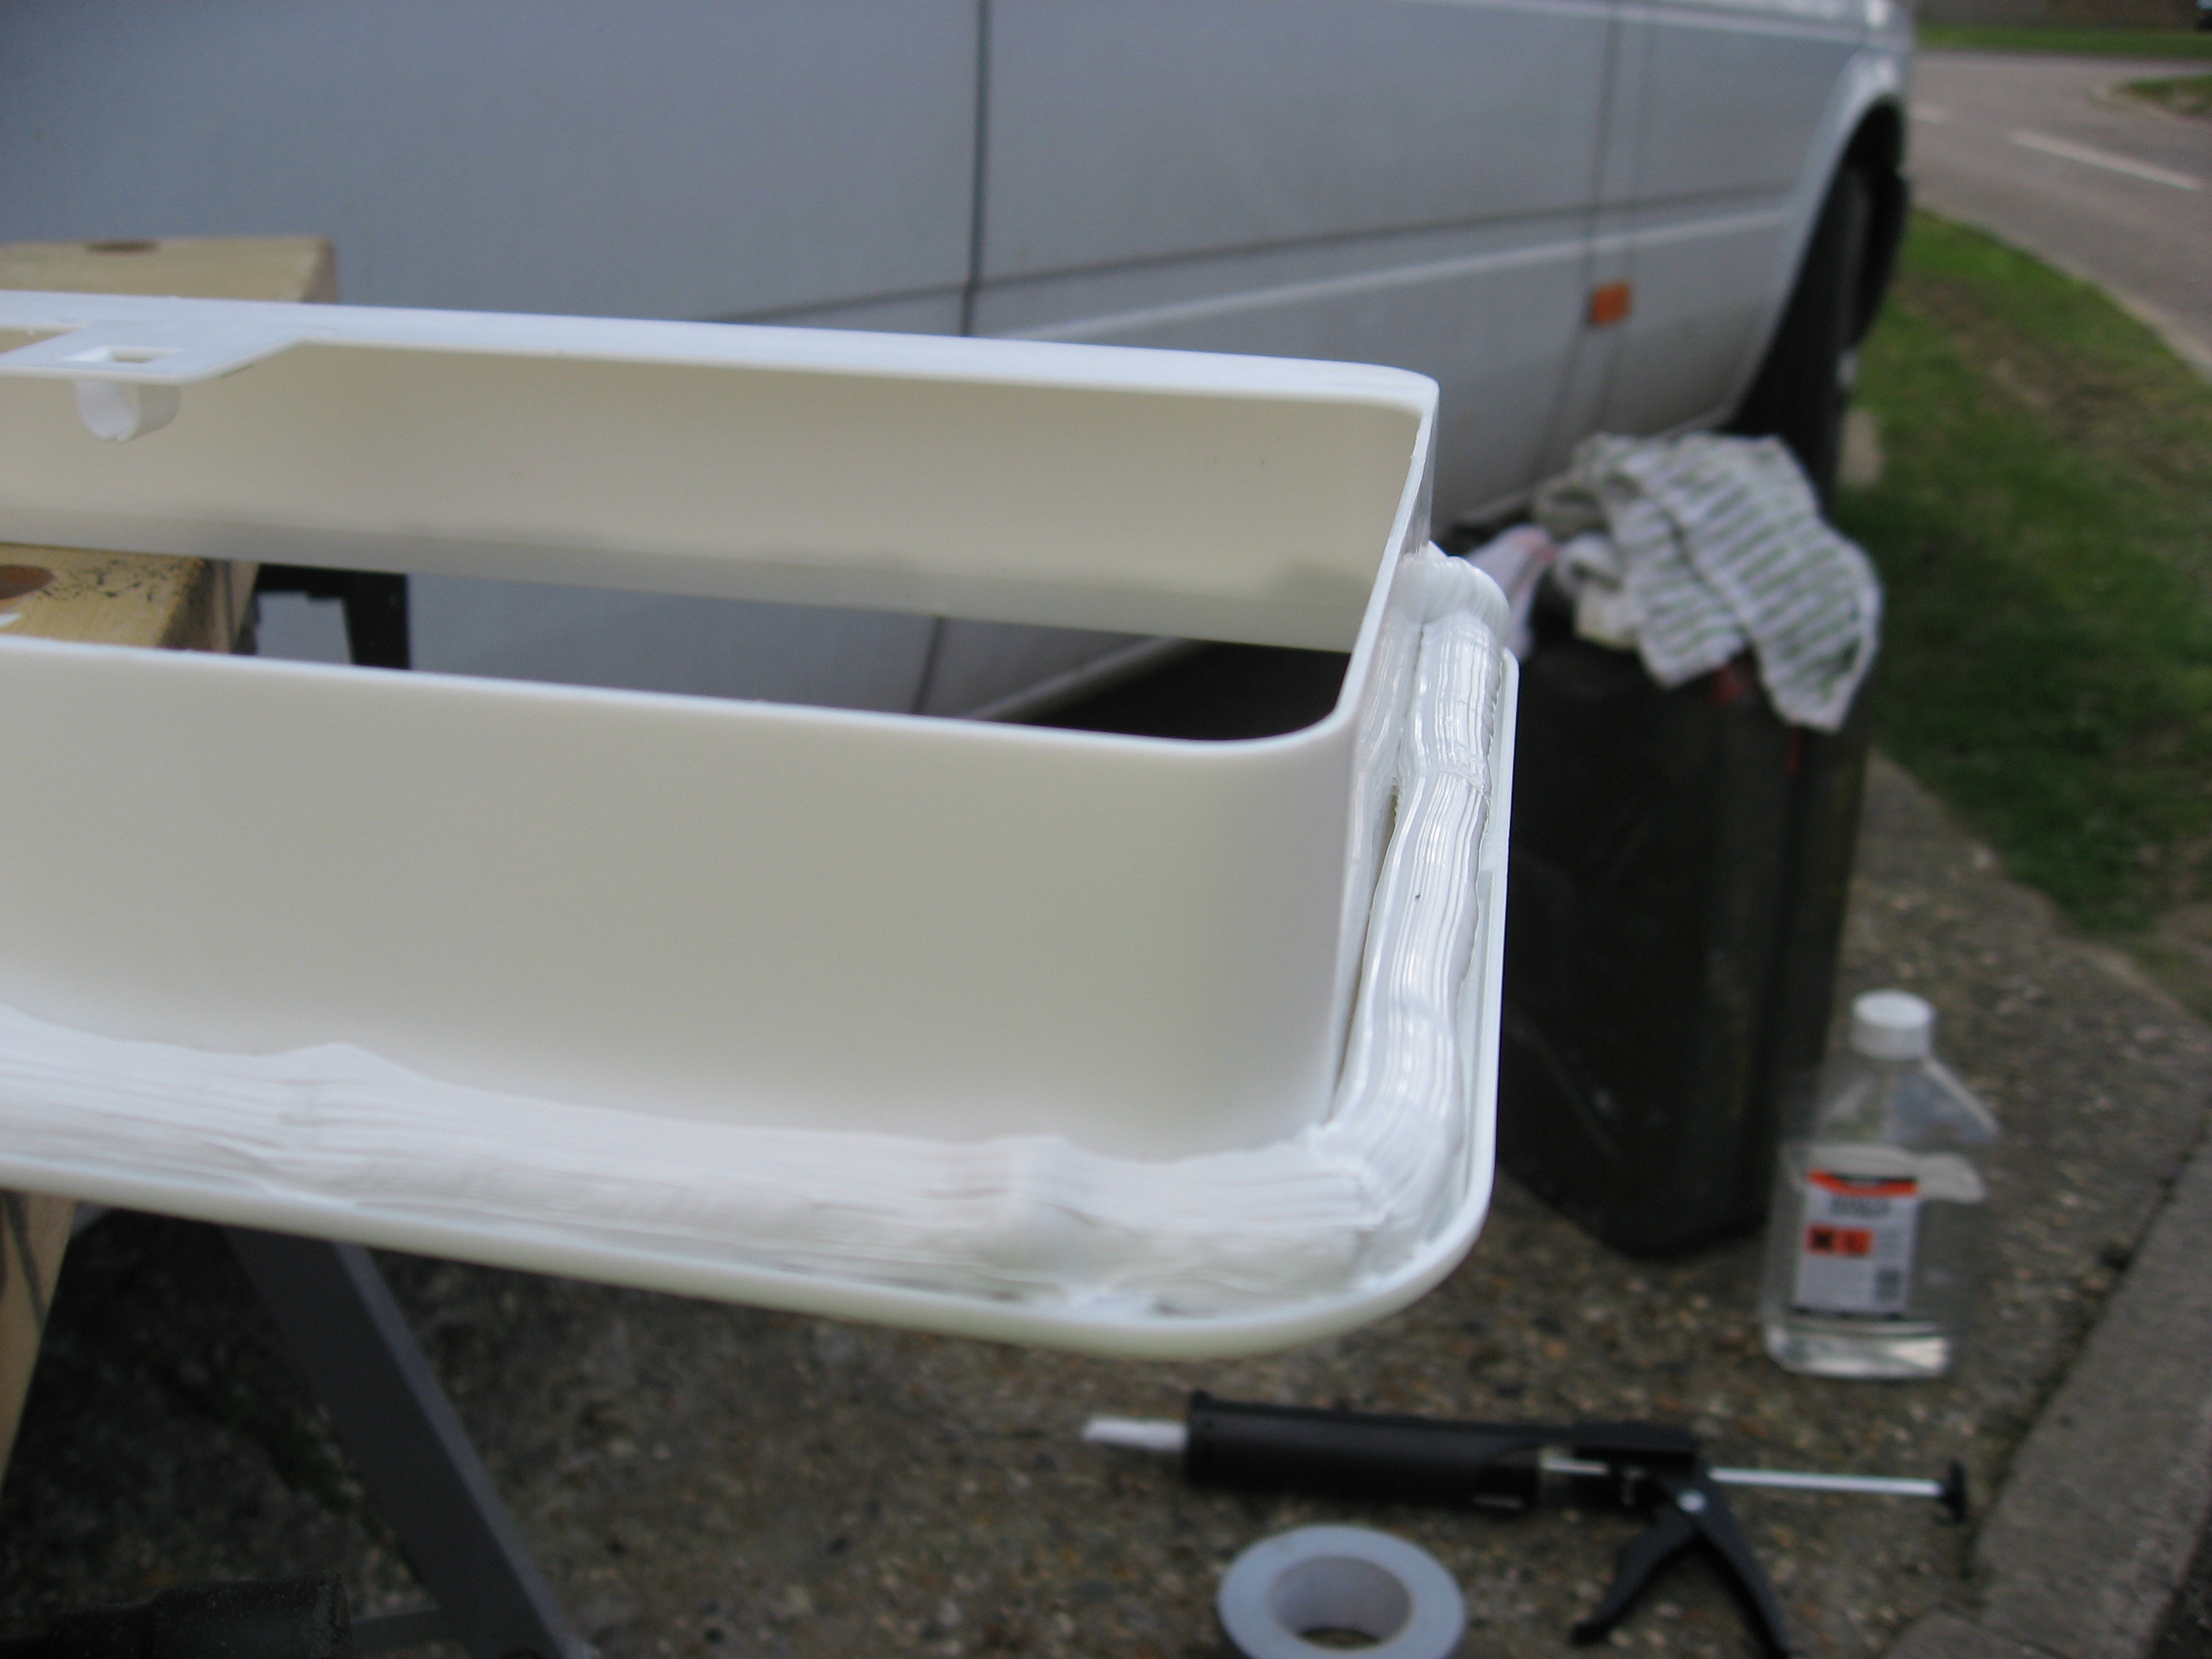
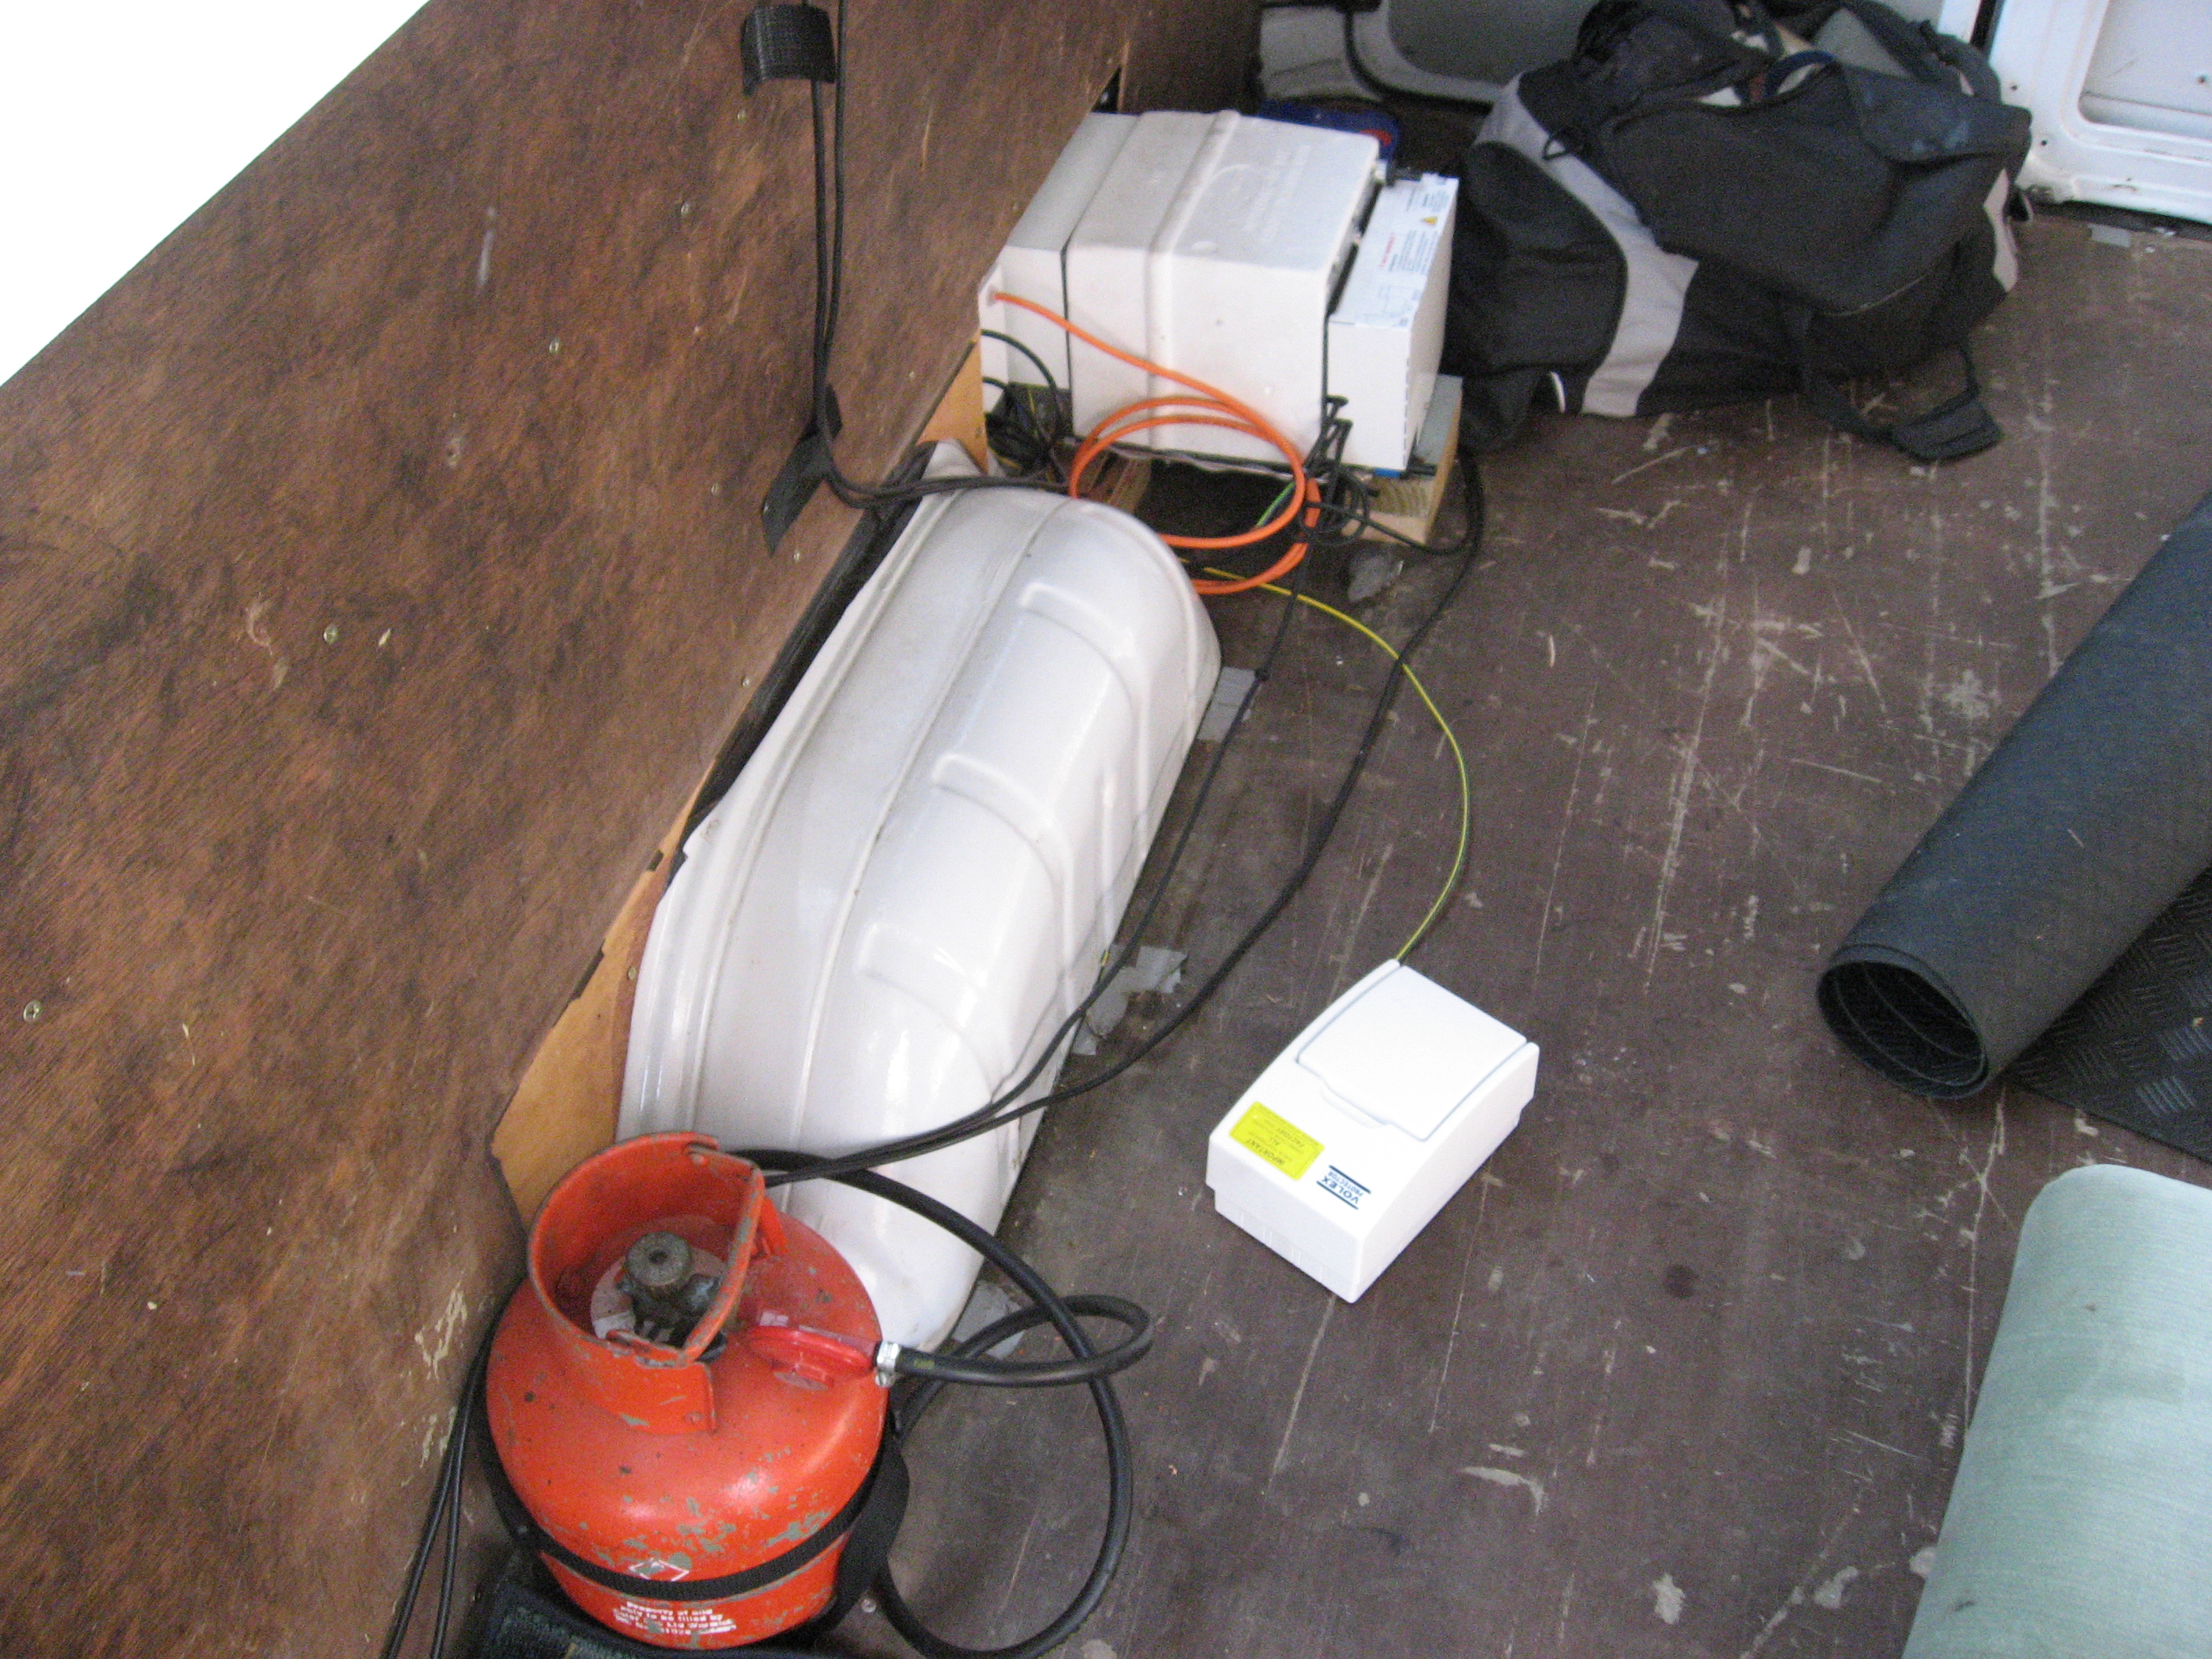
- Preparing the gas system and gas locker

-
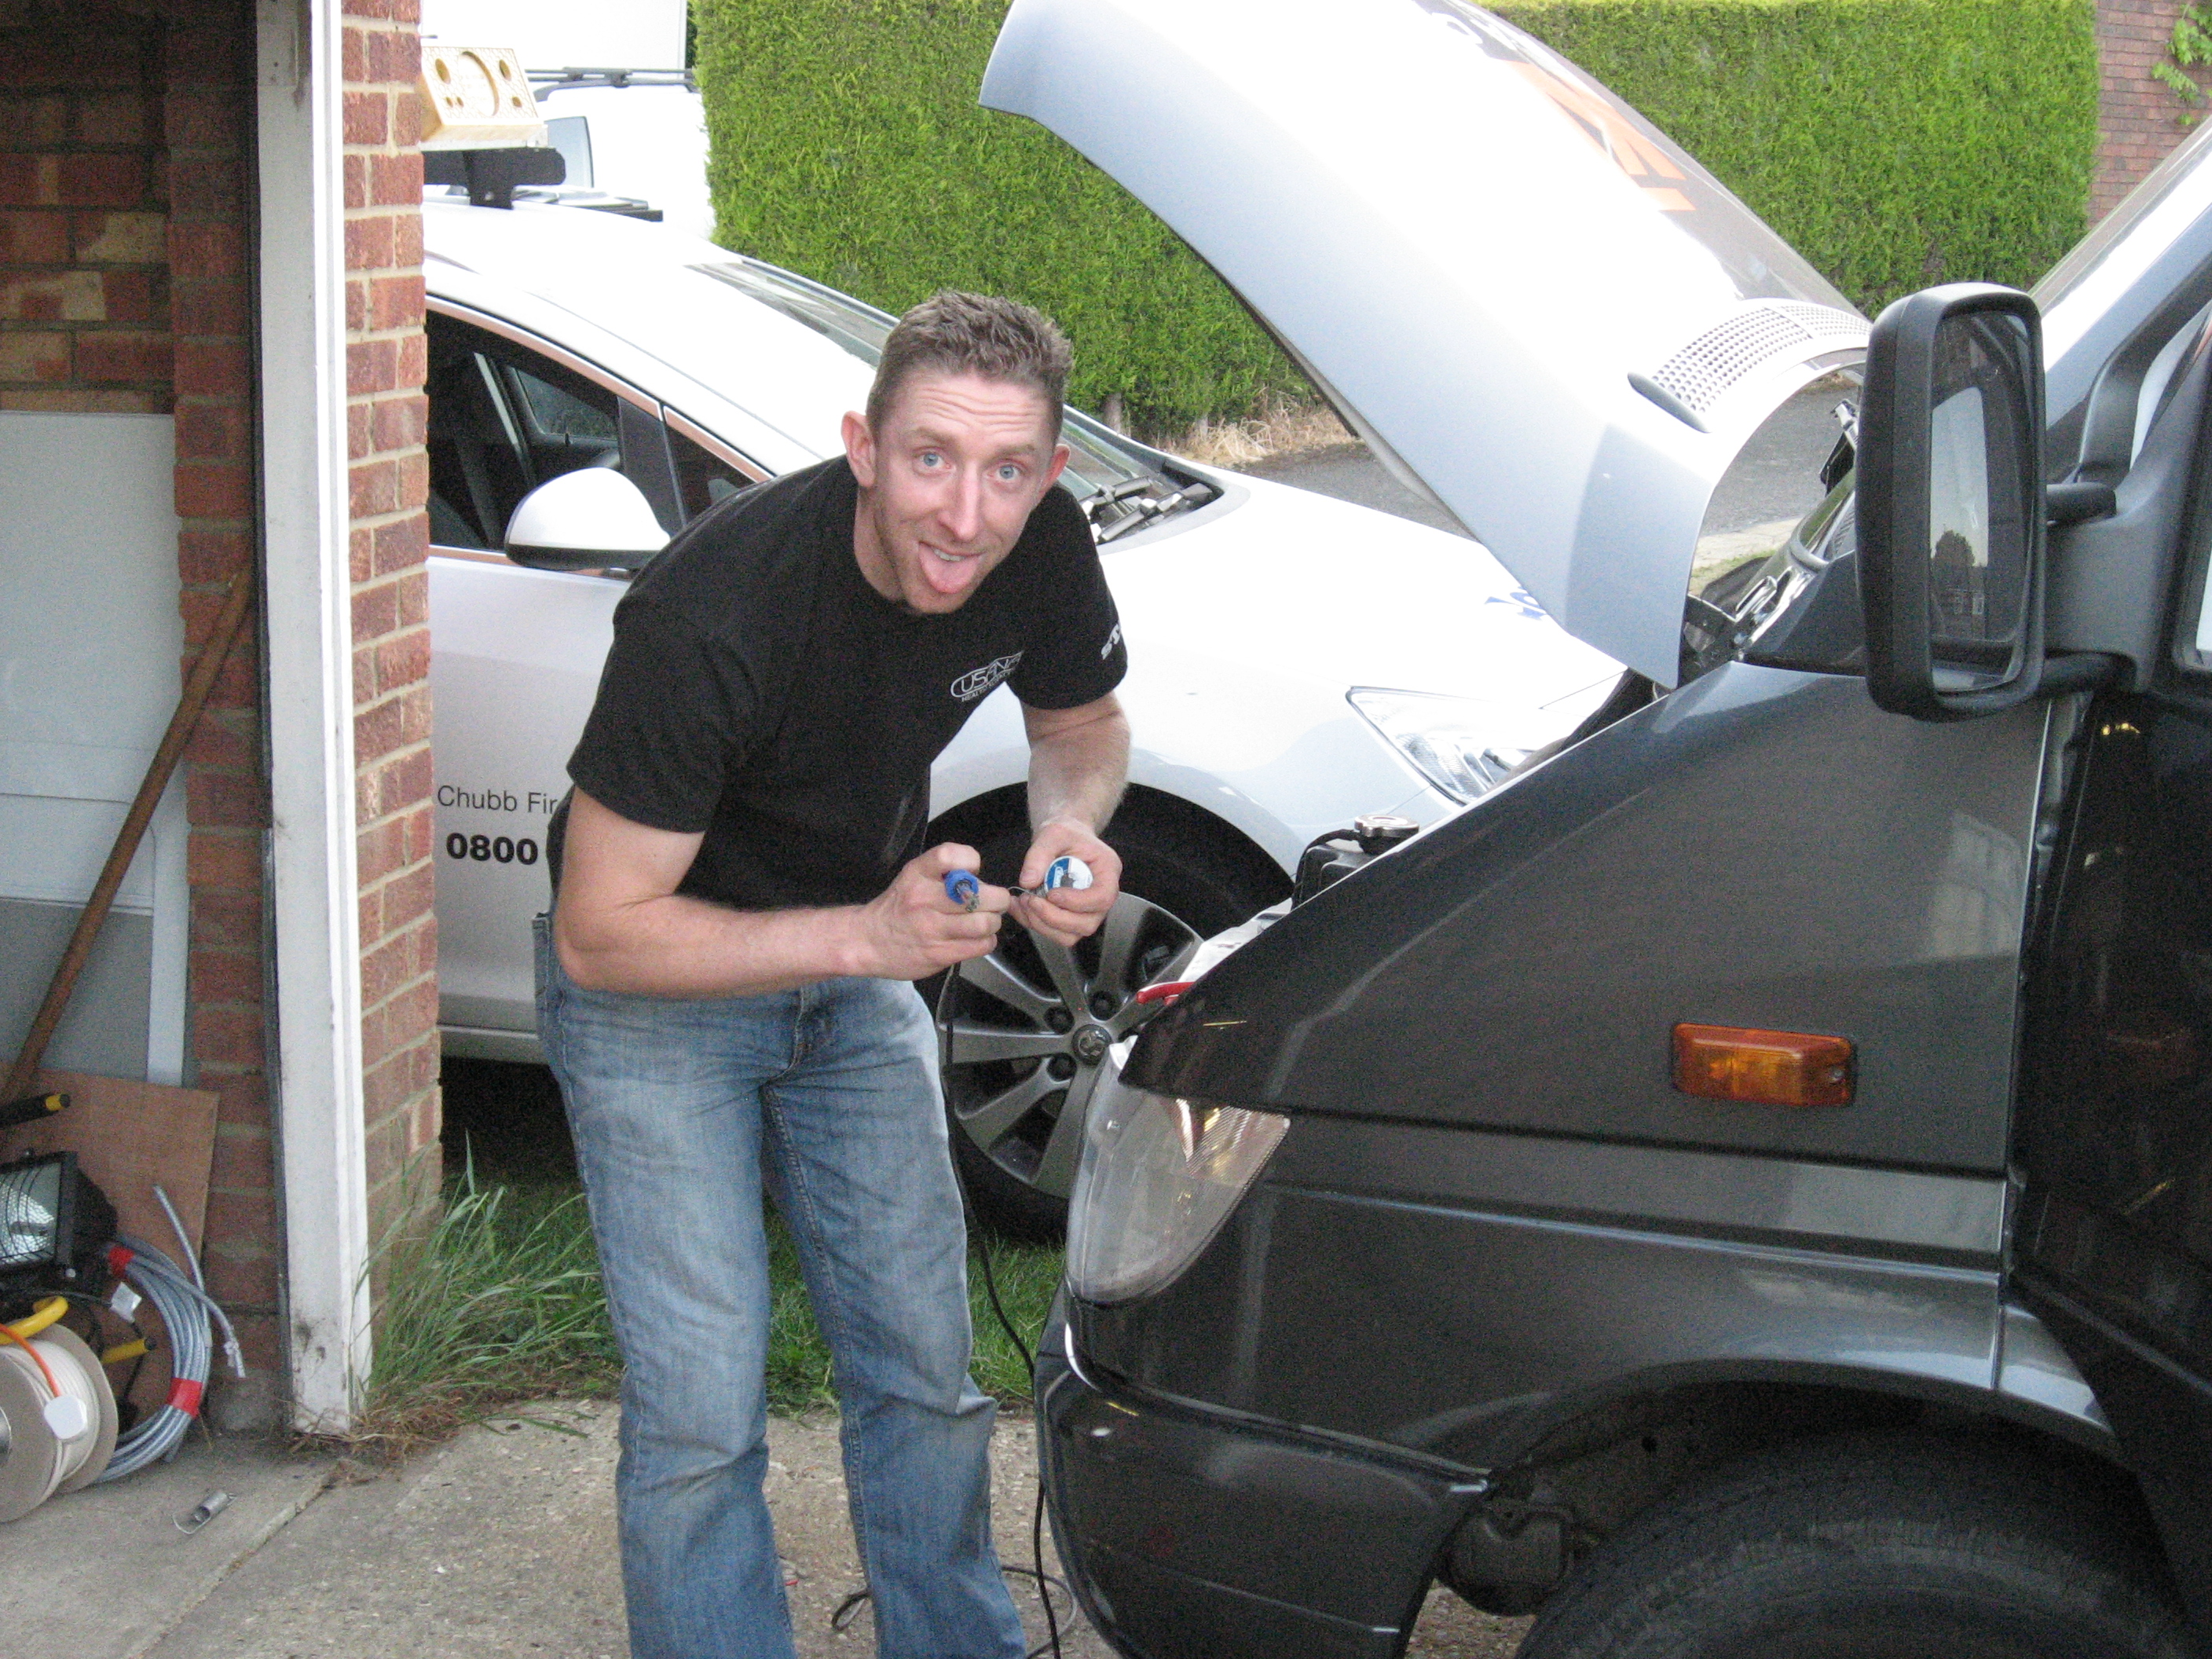
- Getting by with a little help from my friends

-
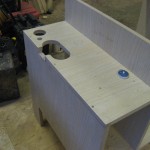
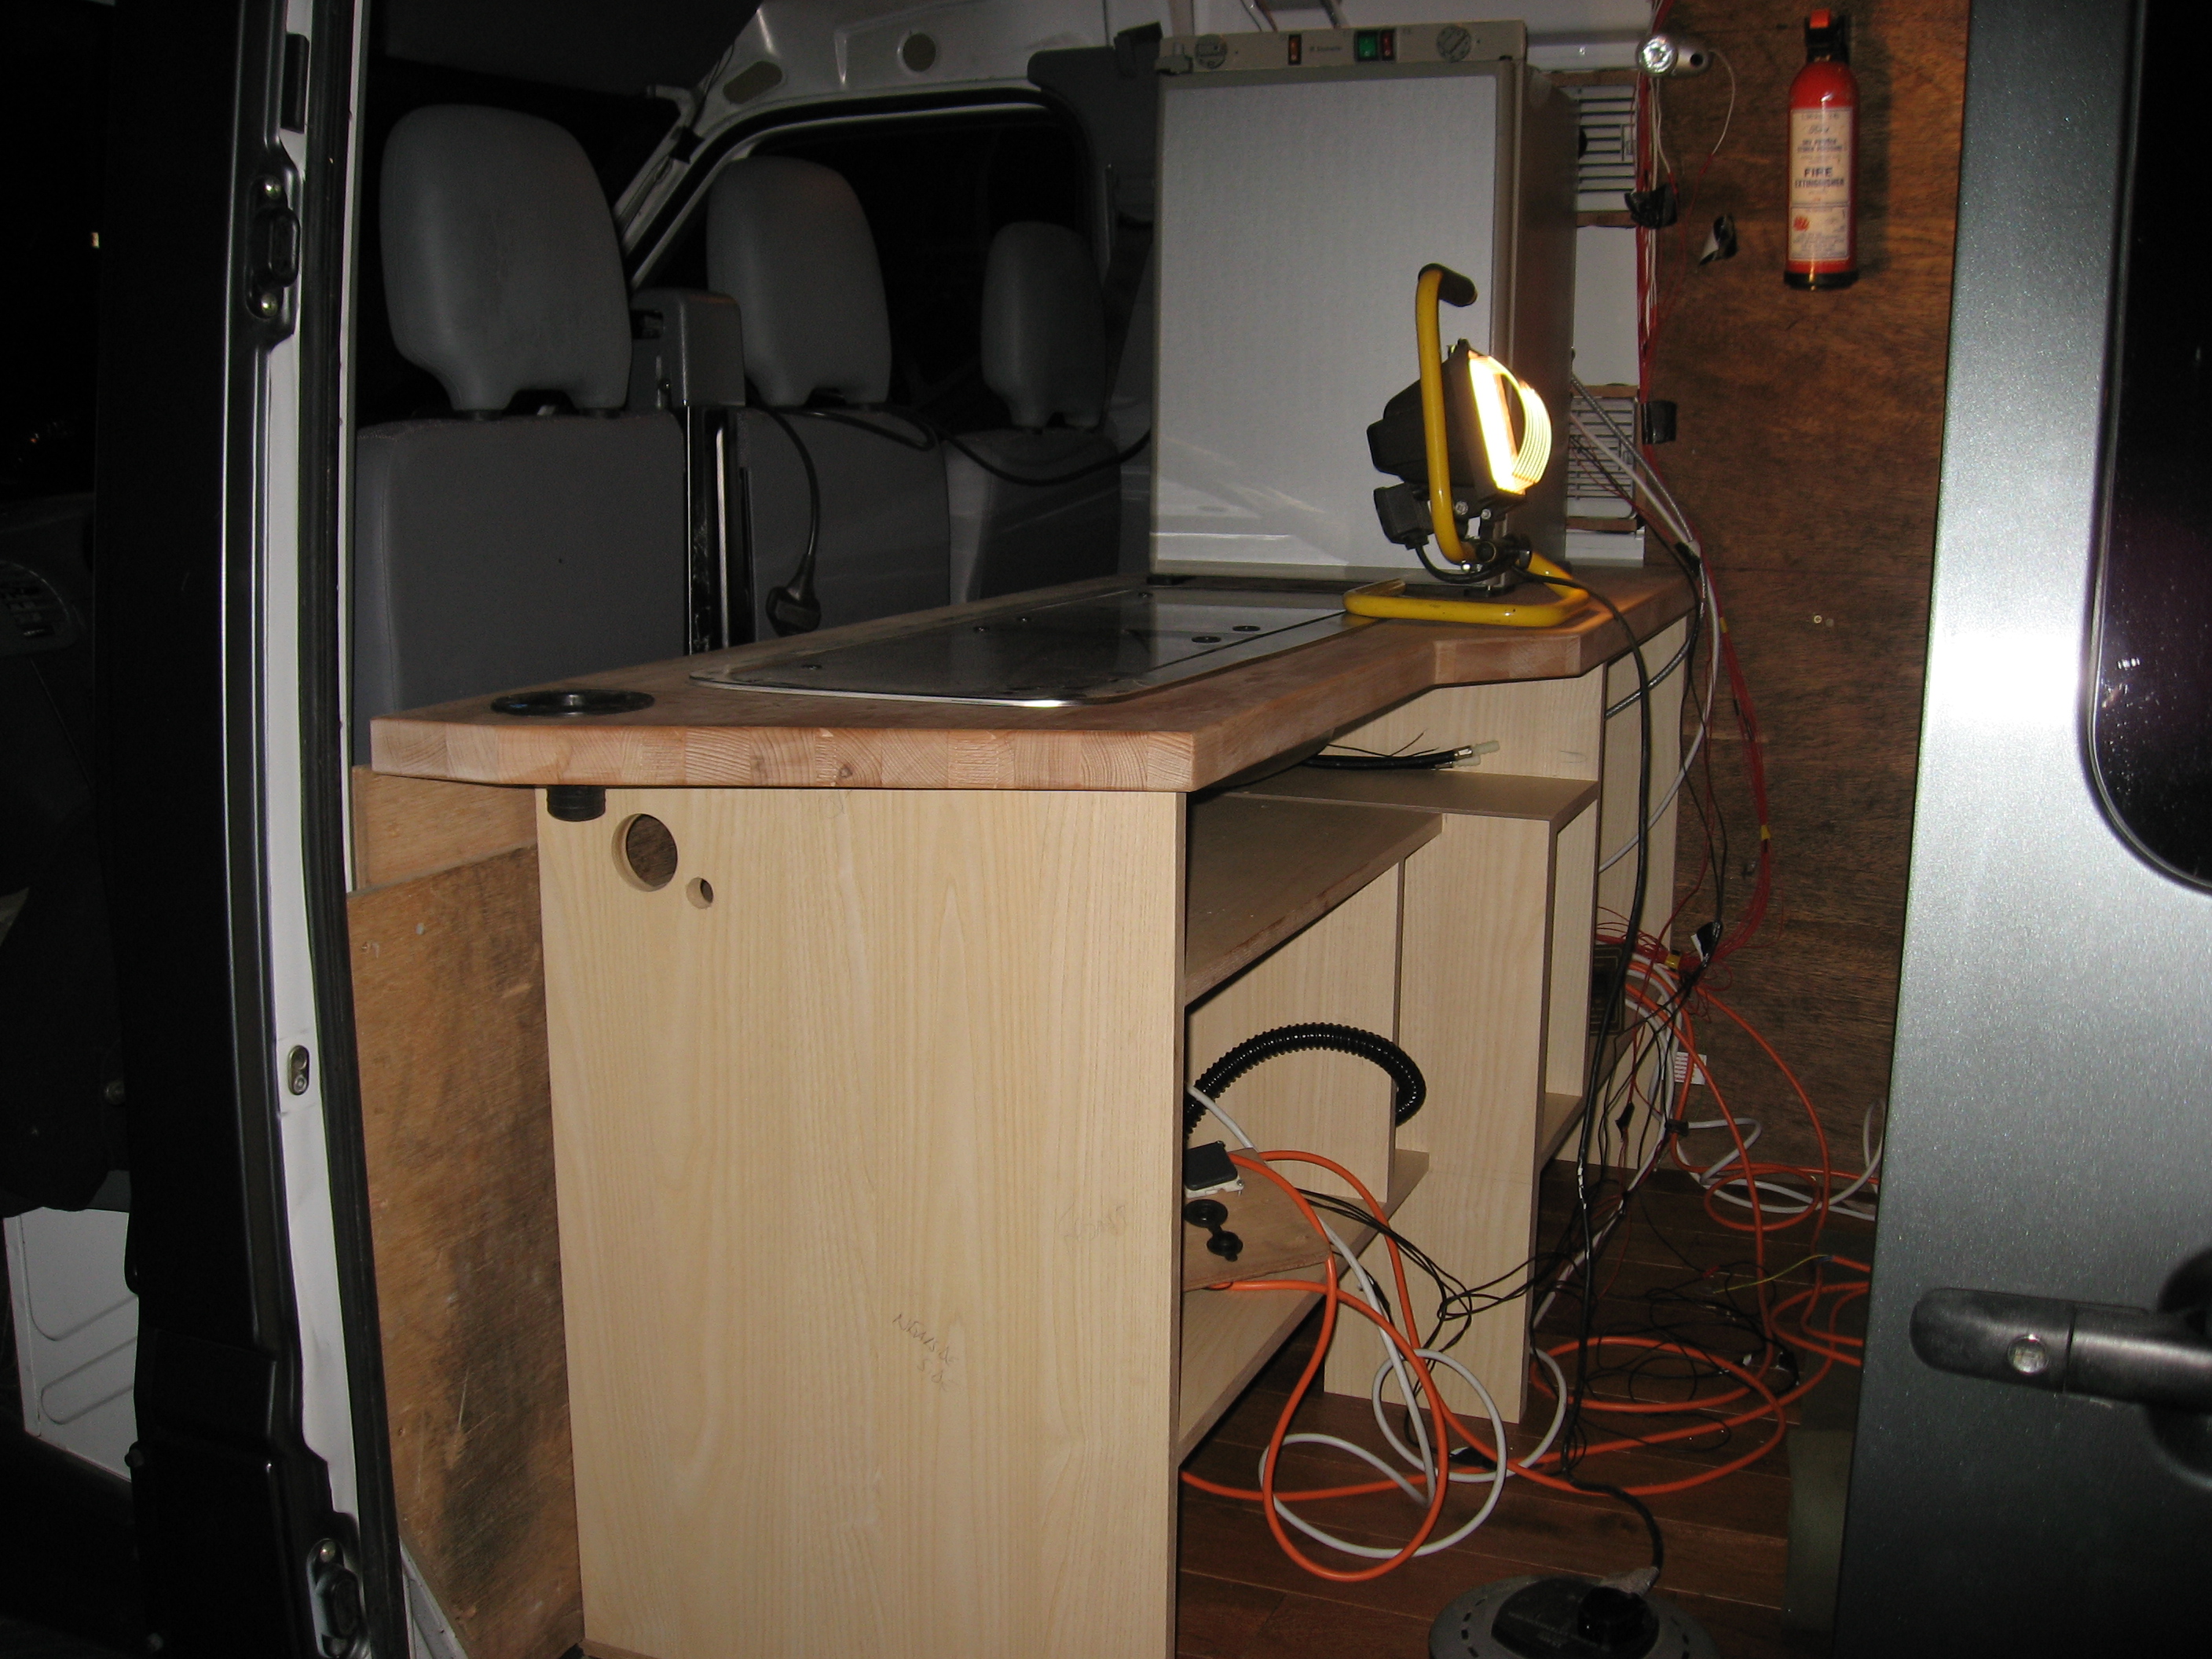
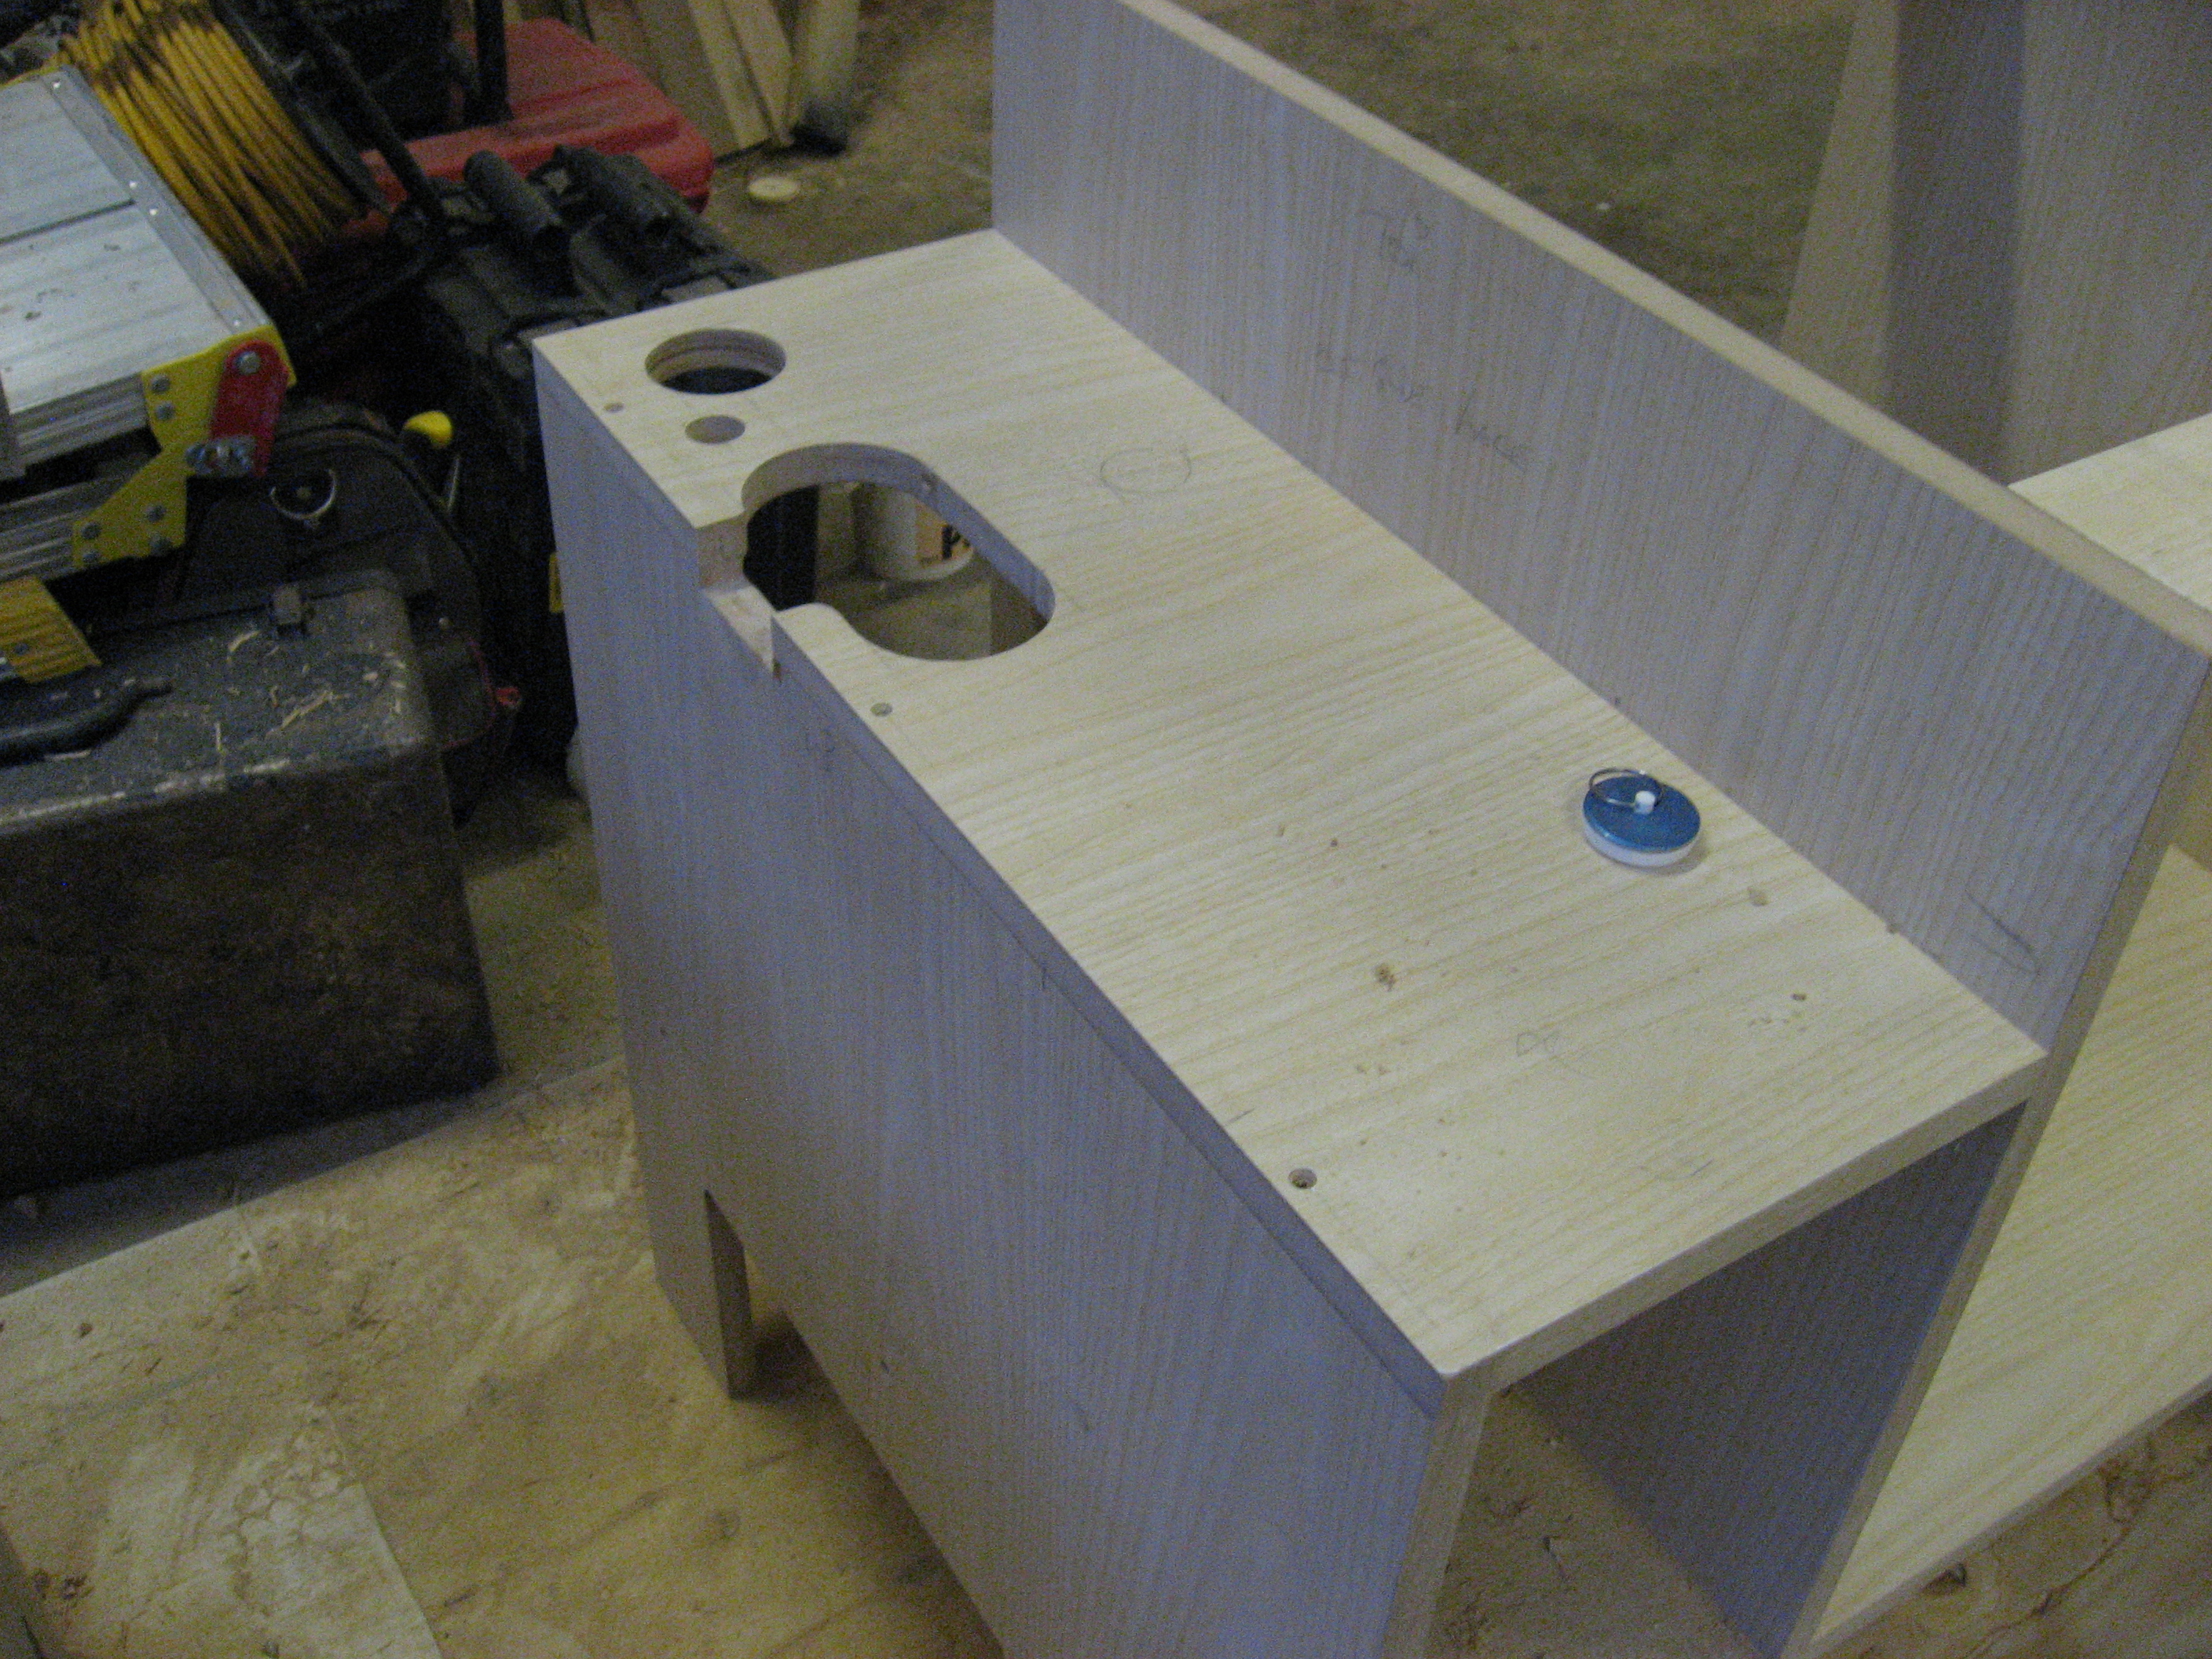
- Cabinets taking shape
-
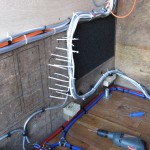
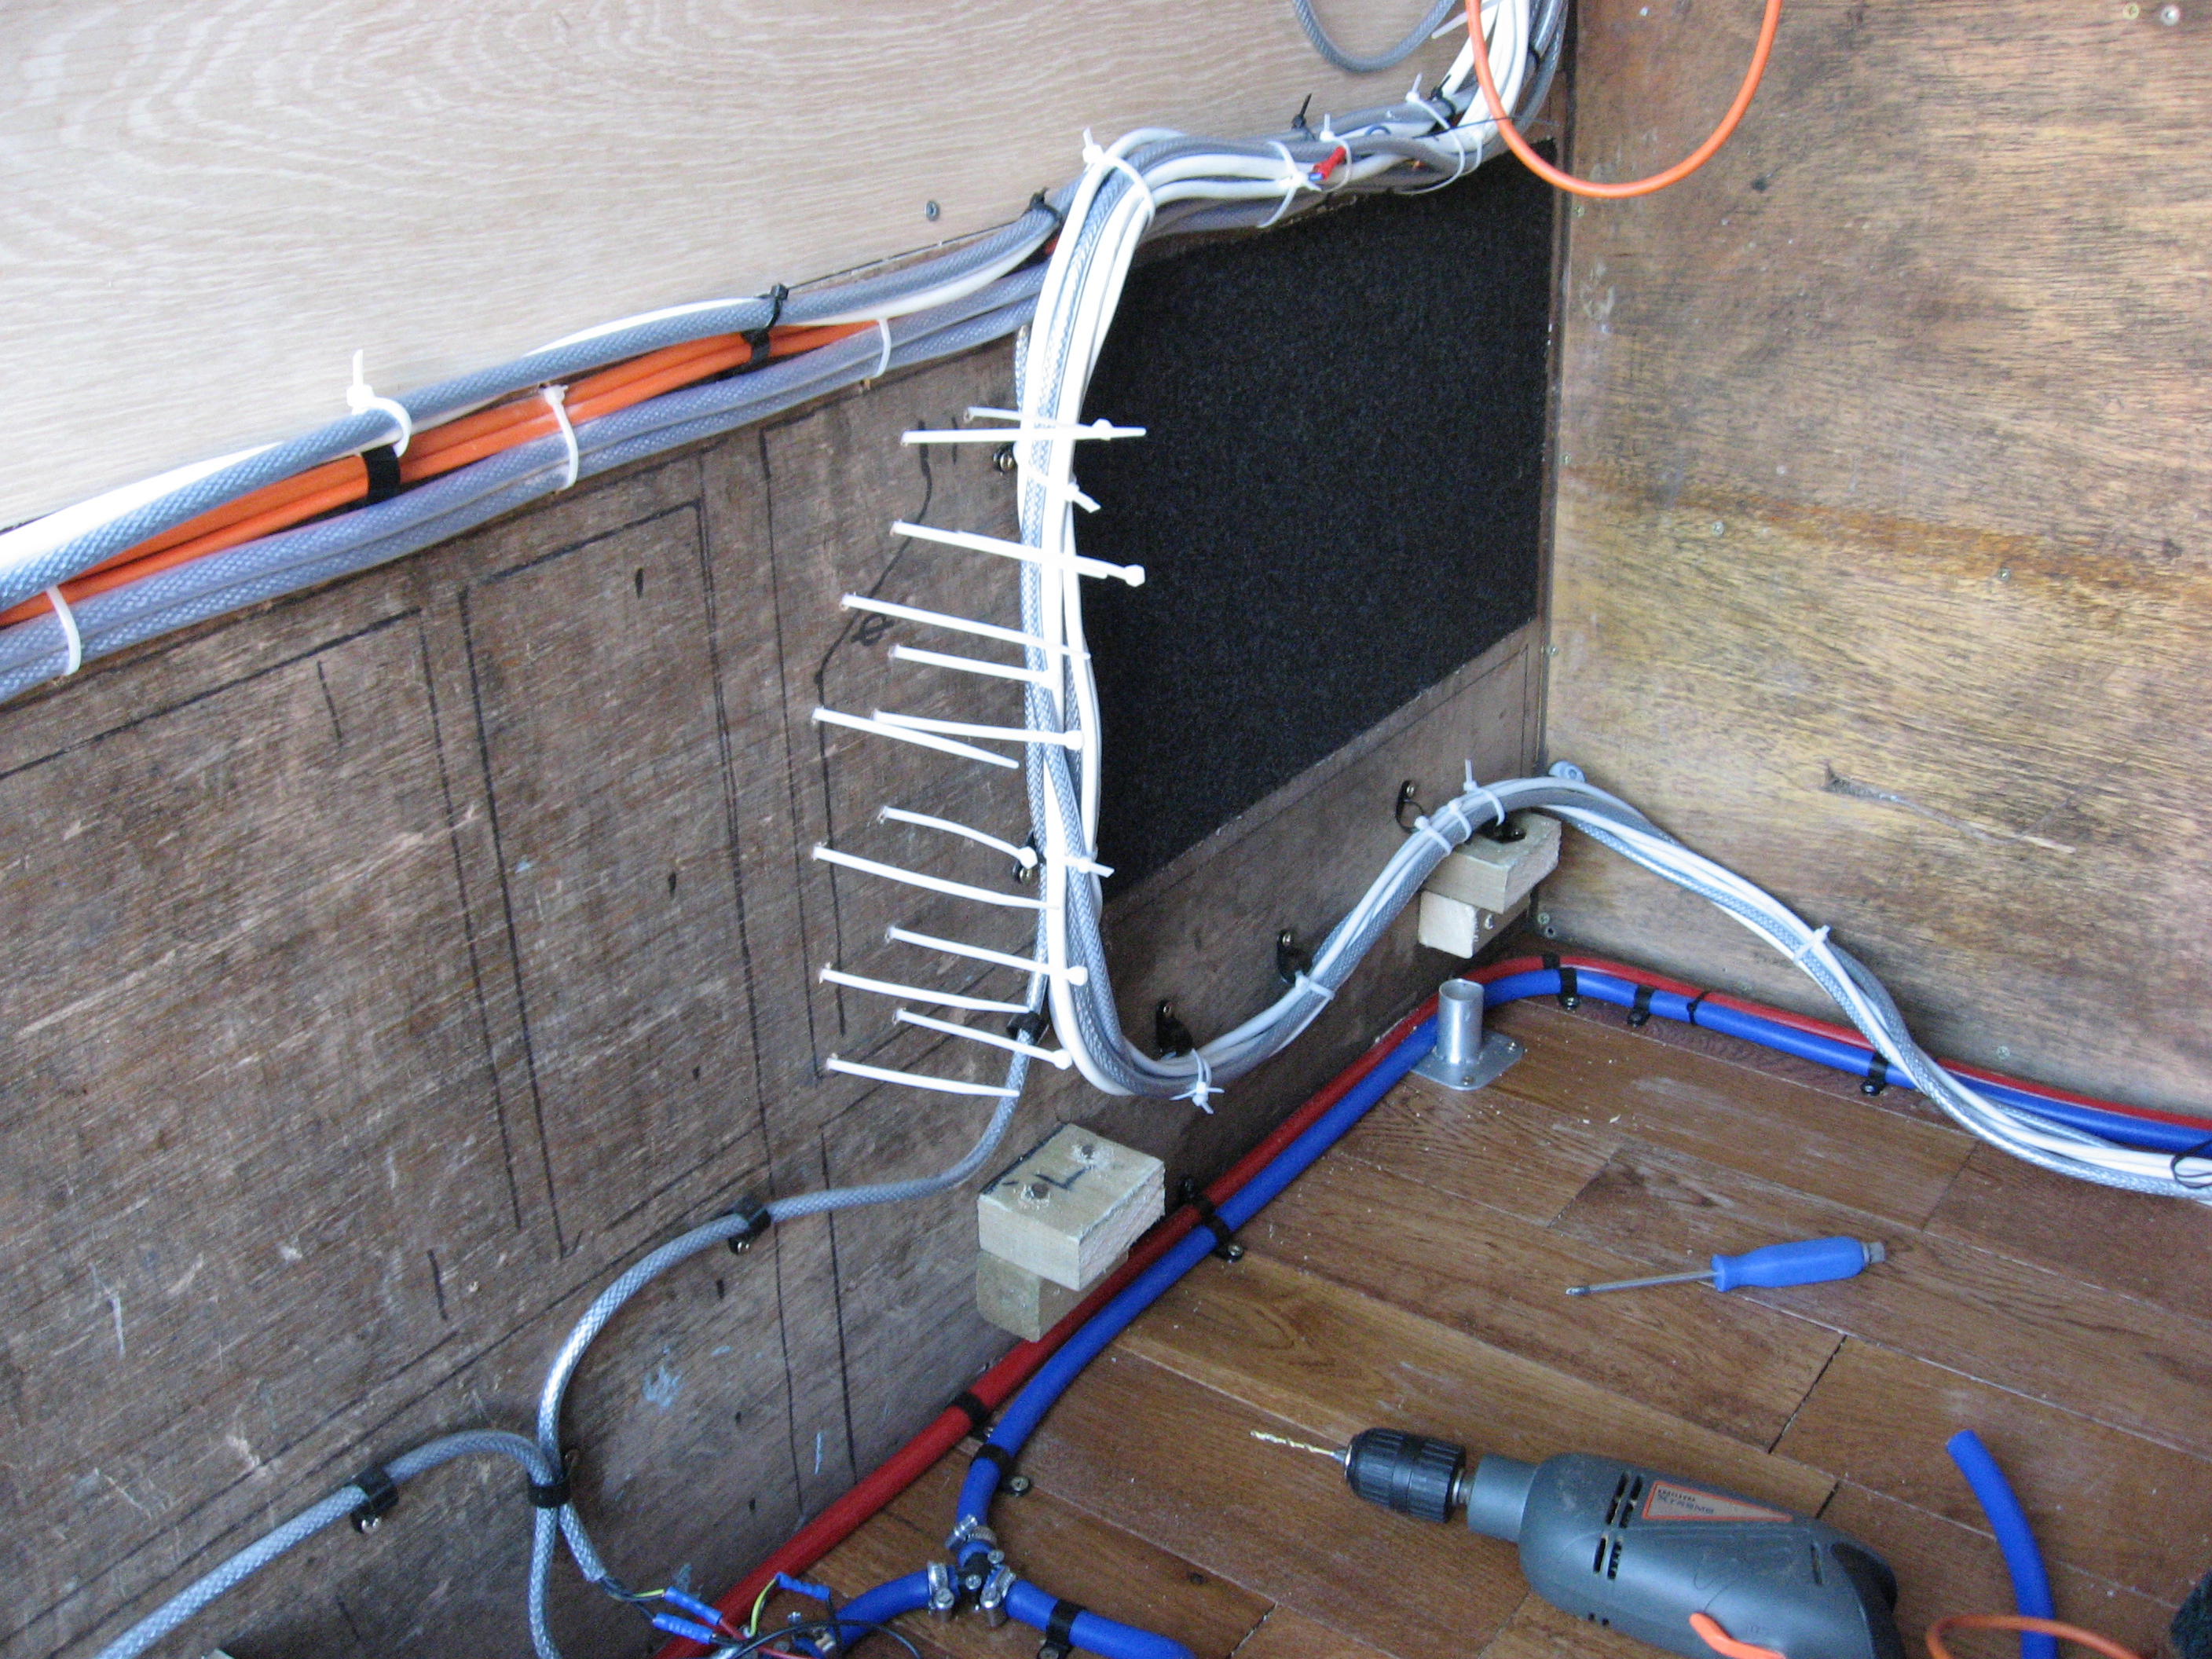
- Securing the pipes and cables with clips and cable ties
-
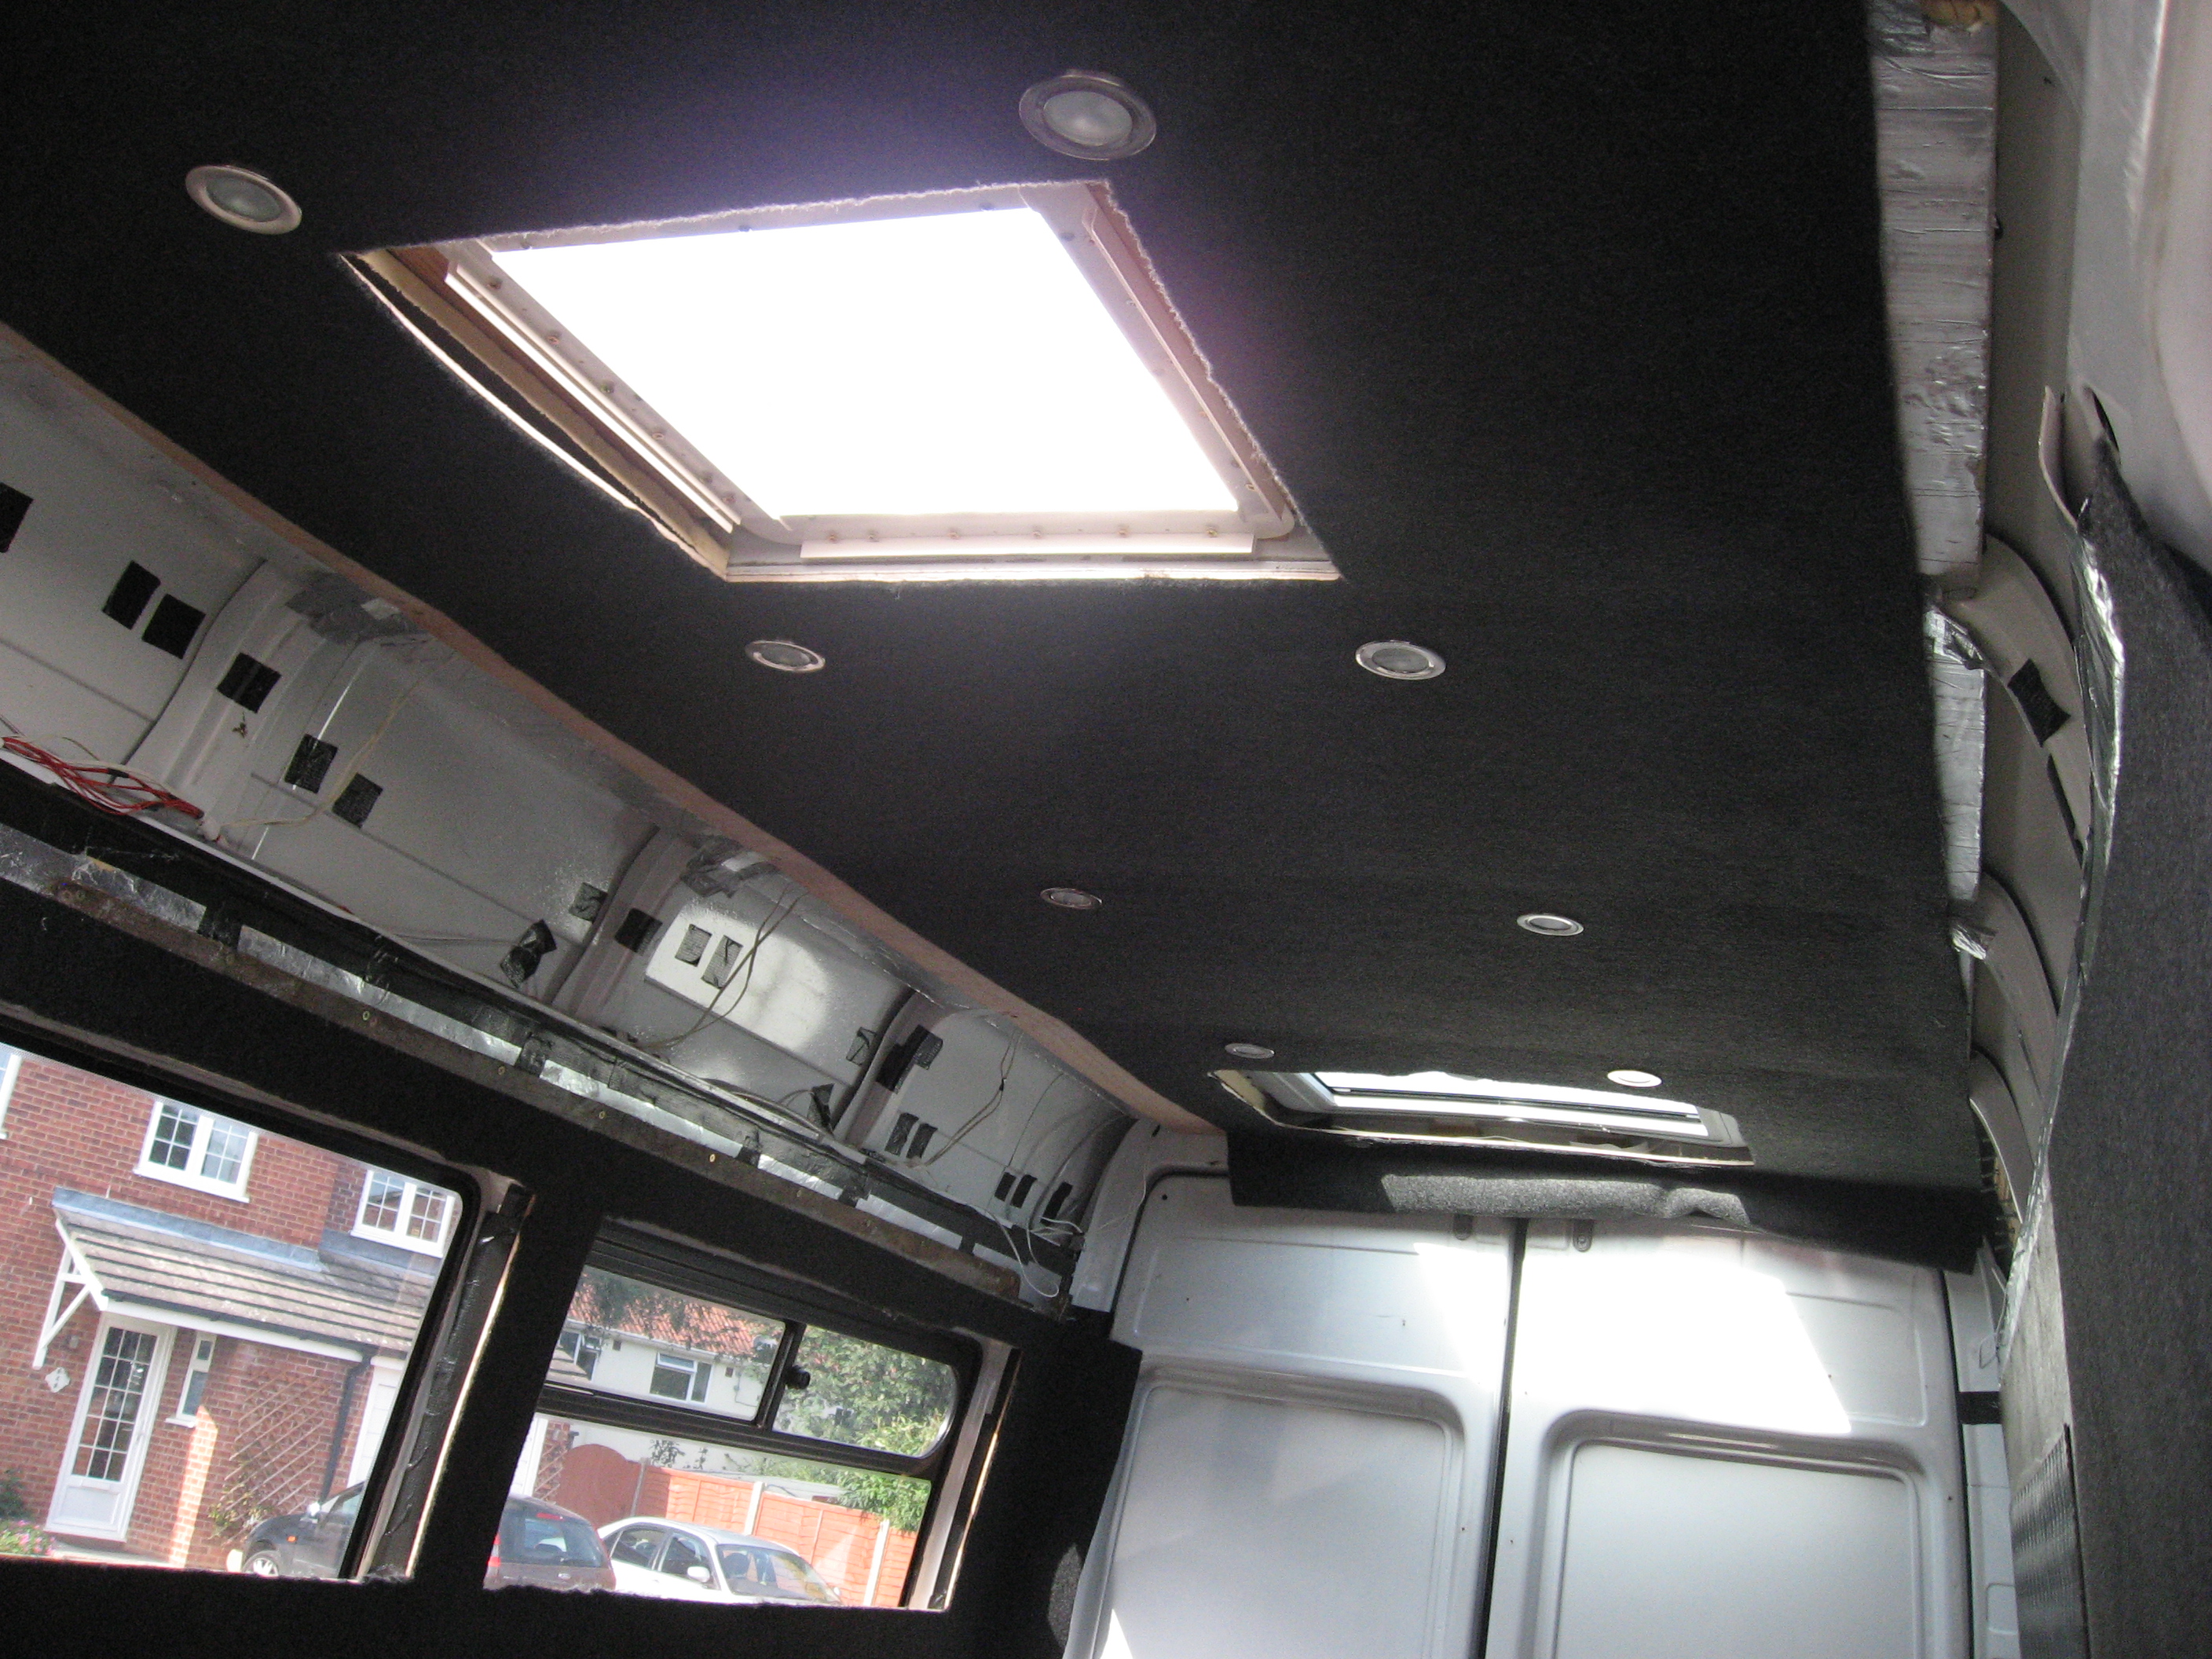
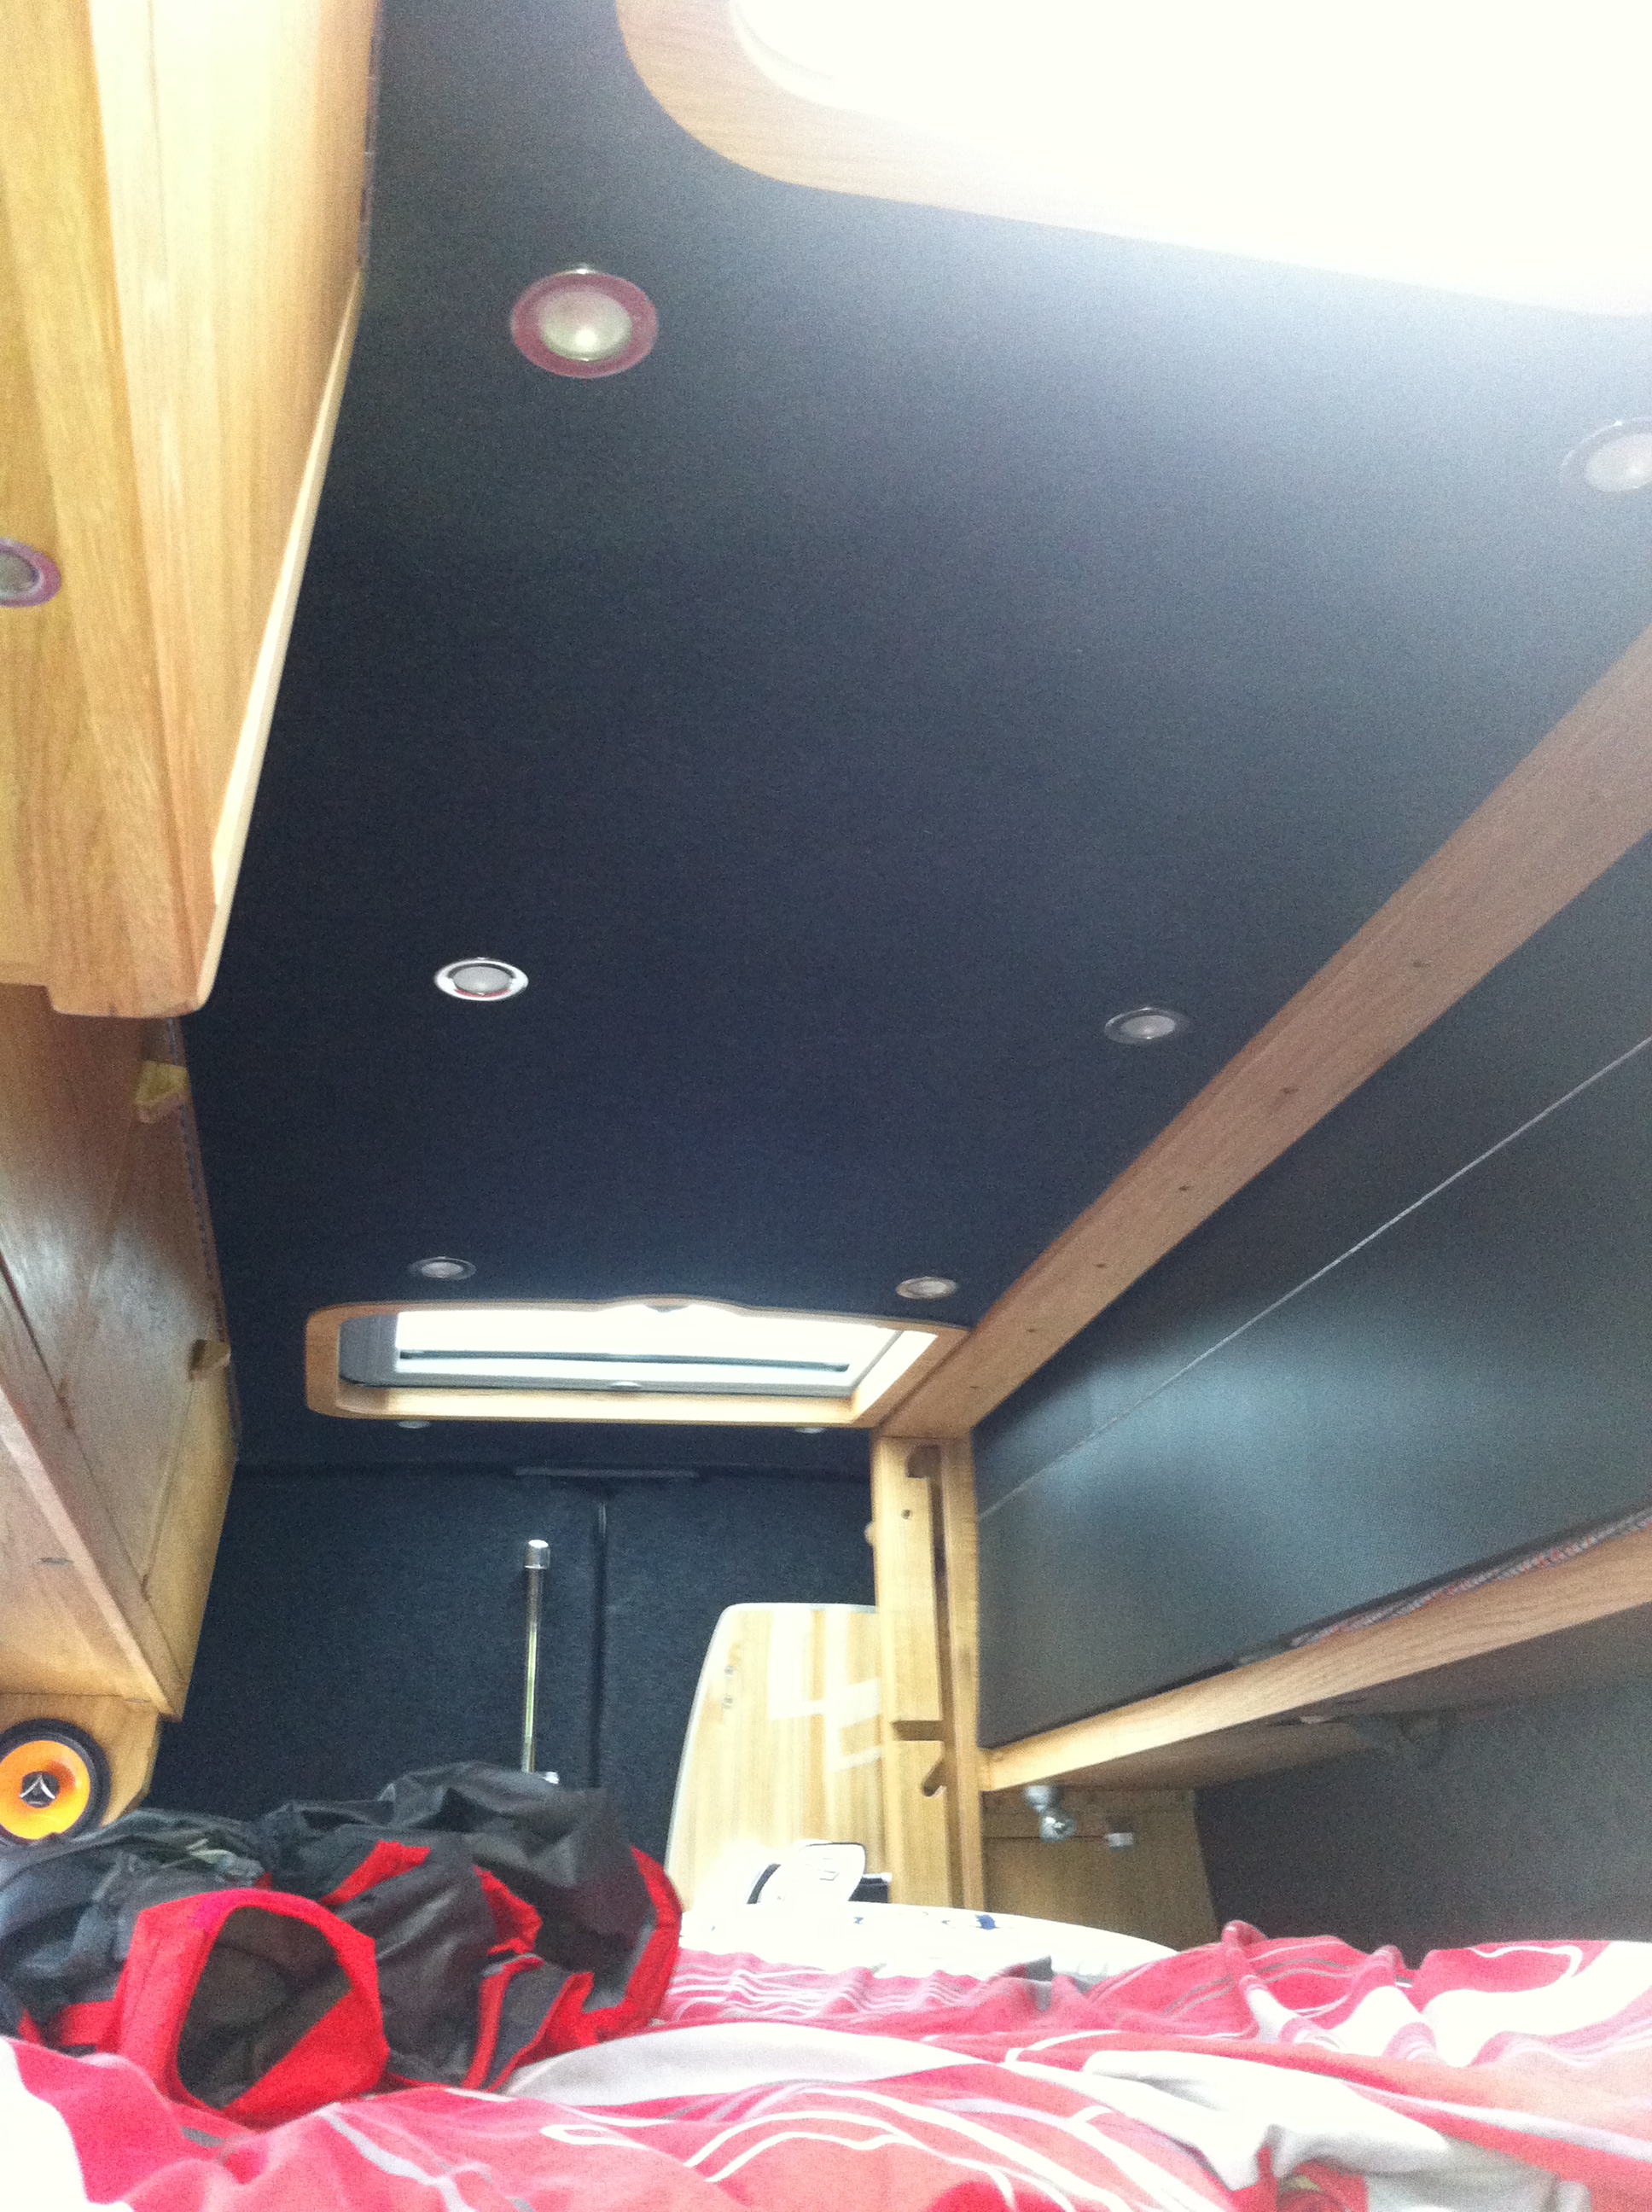
- Roof and wall lining being fitted
-
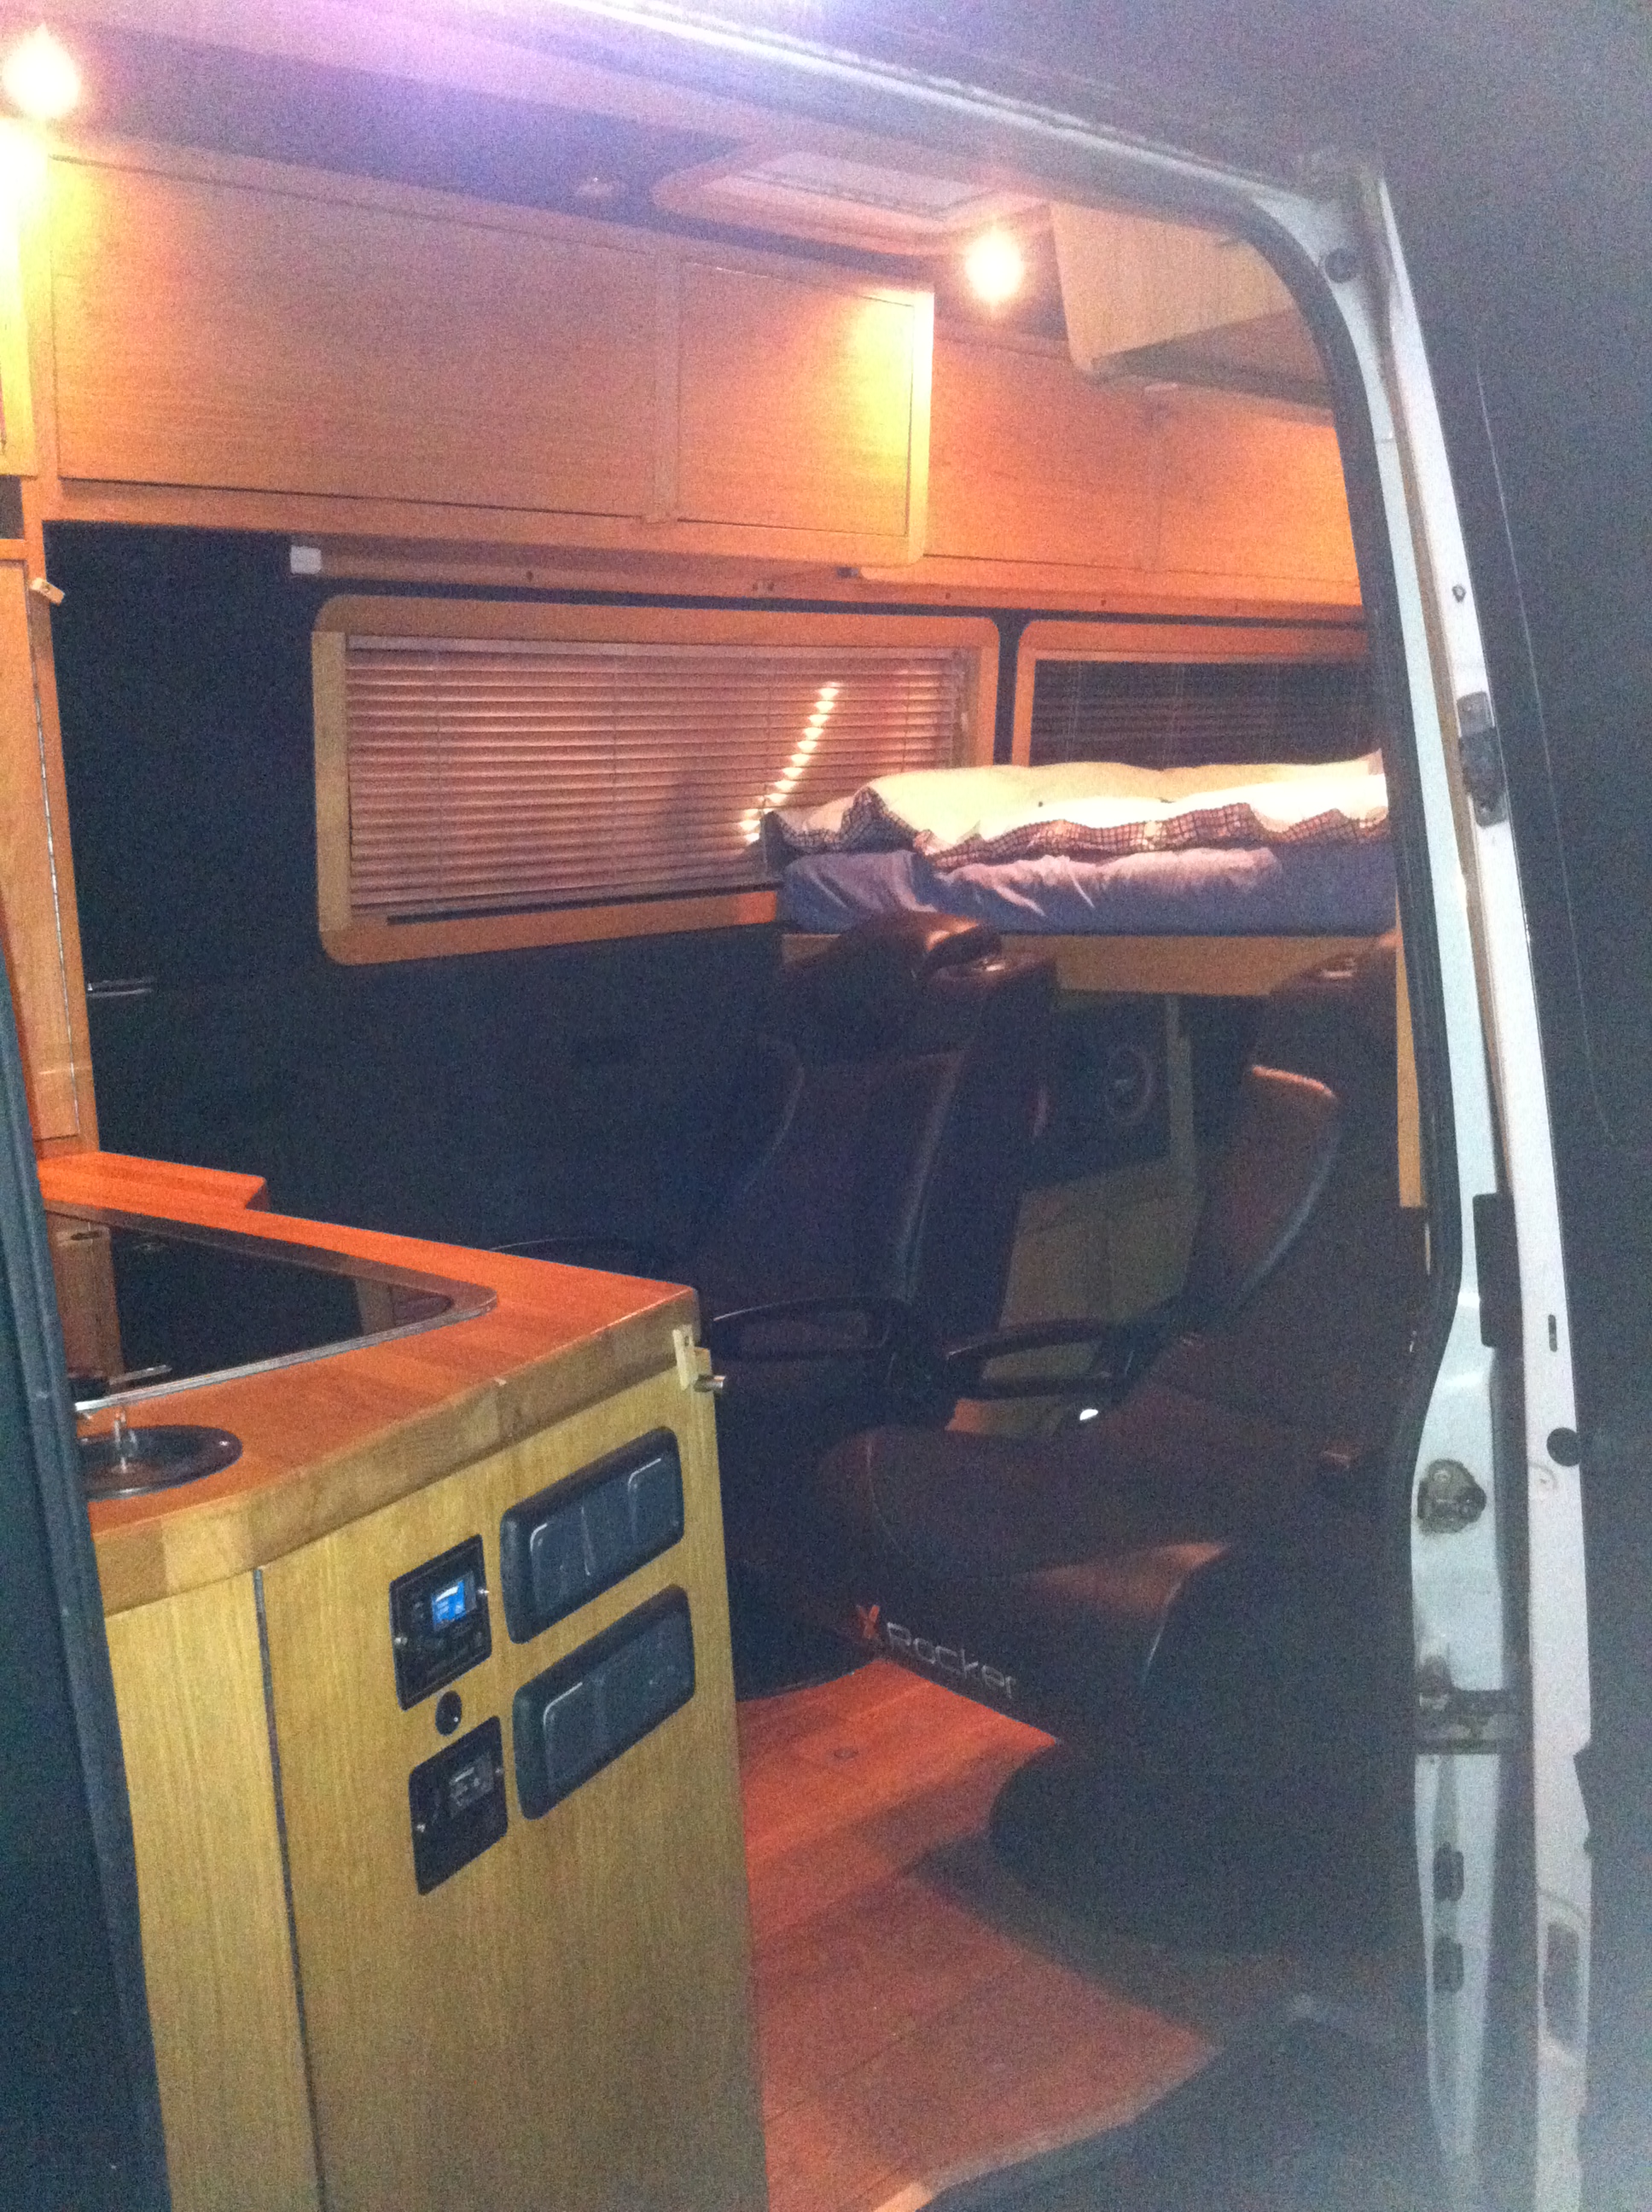
- The rear near completion with units fitted
-

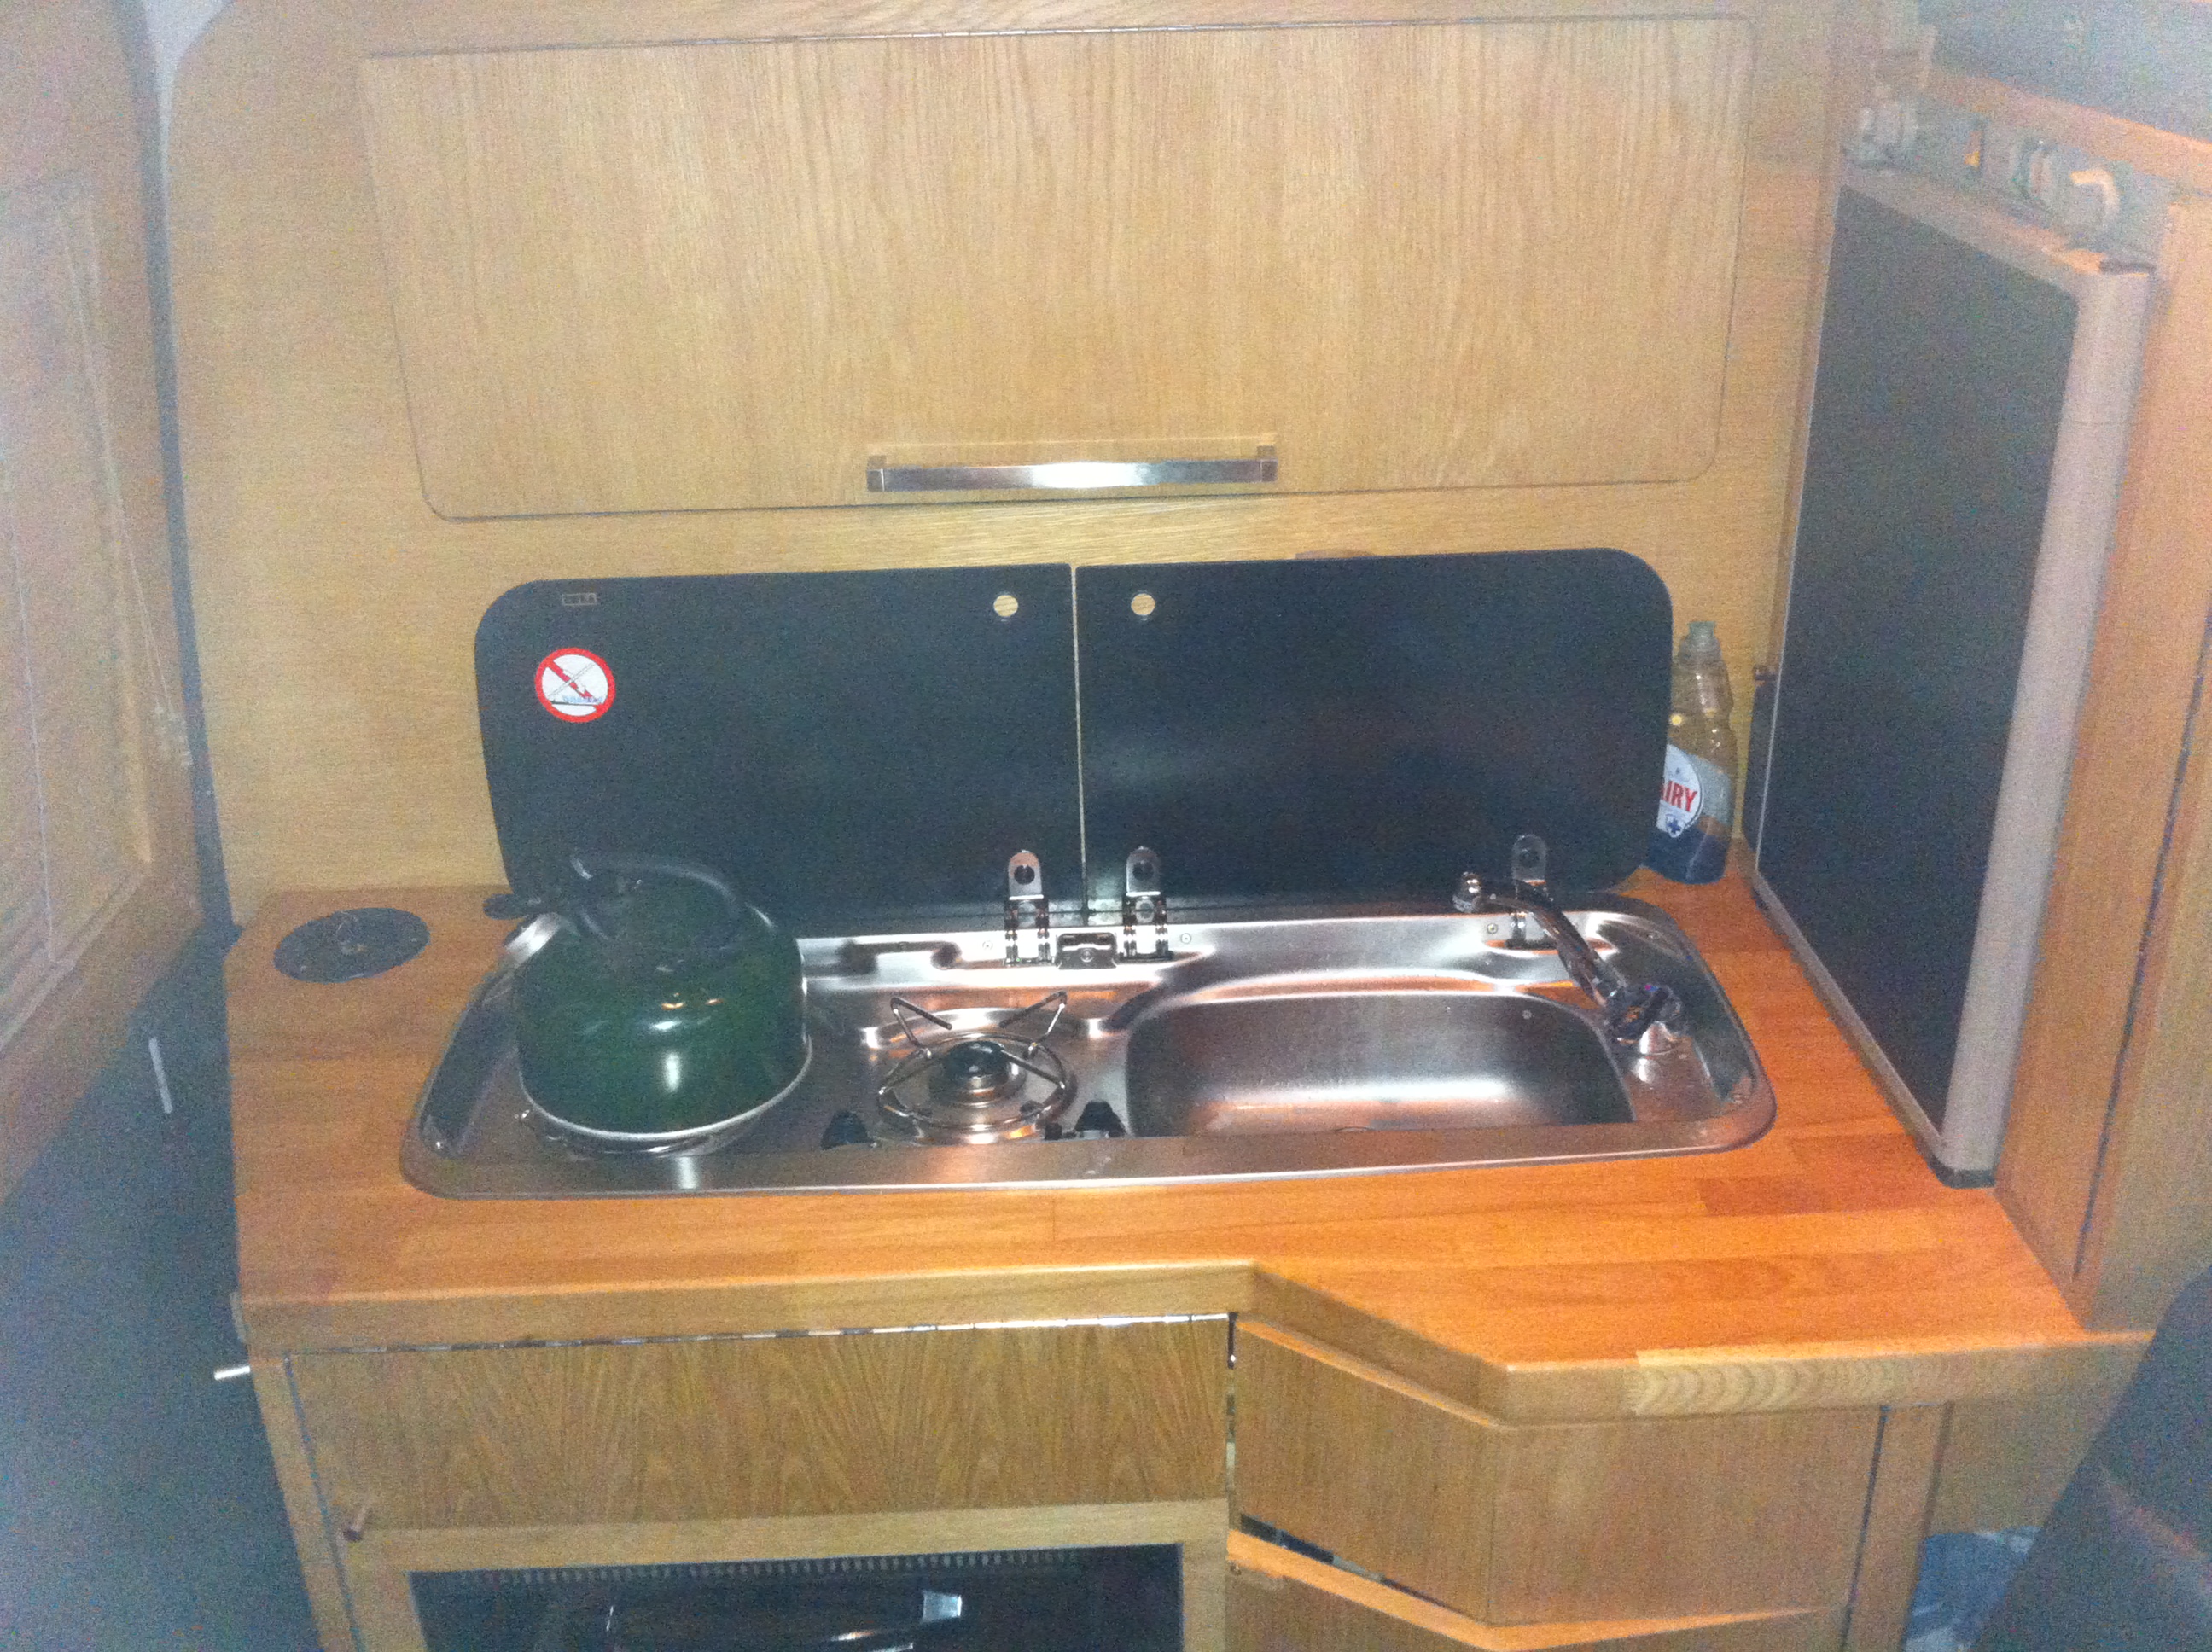
- Campervan sink/hob fitted
-
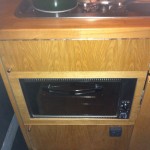
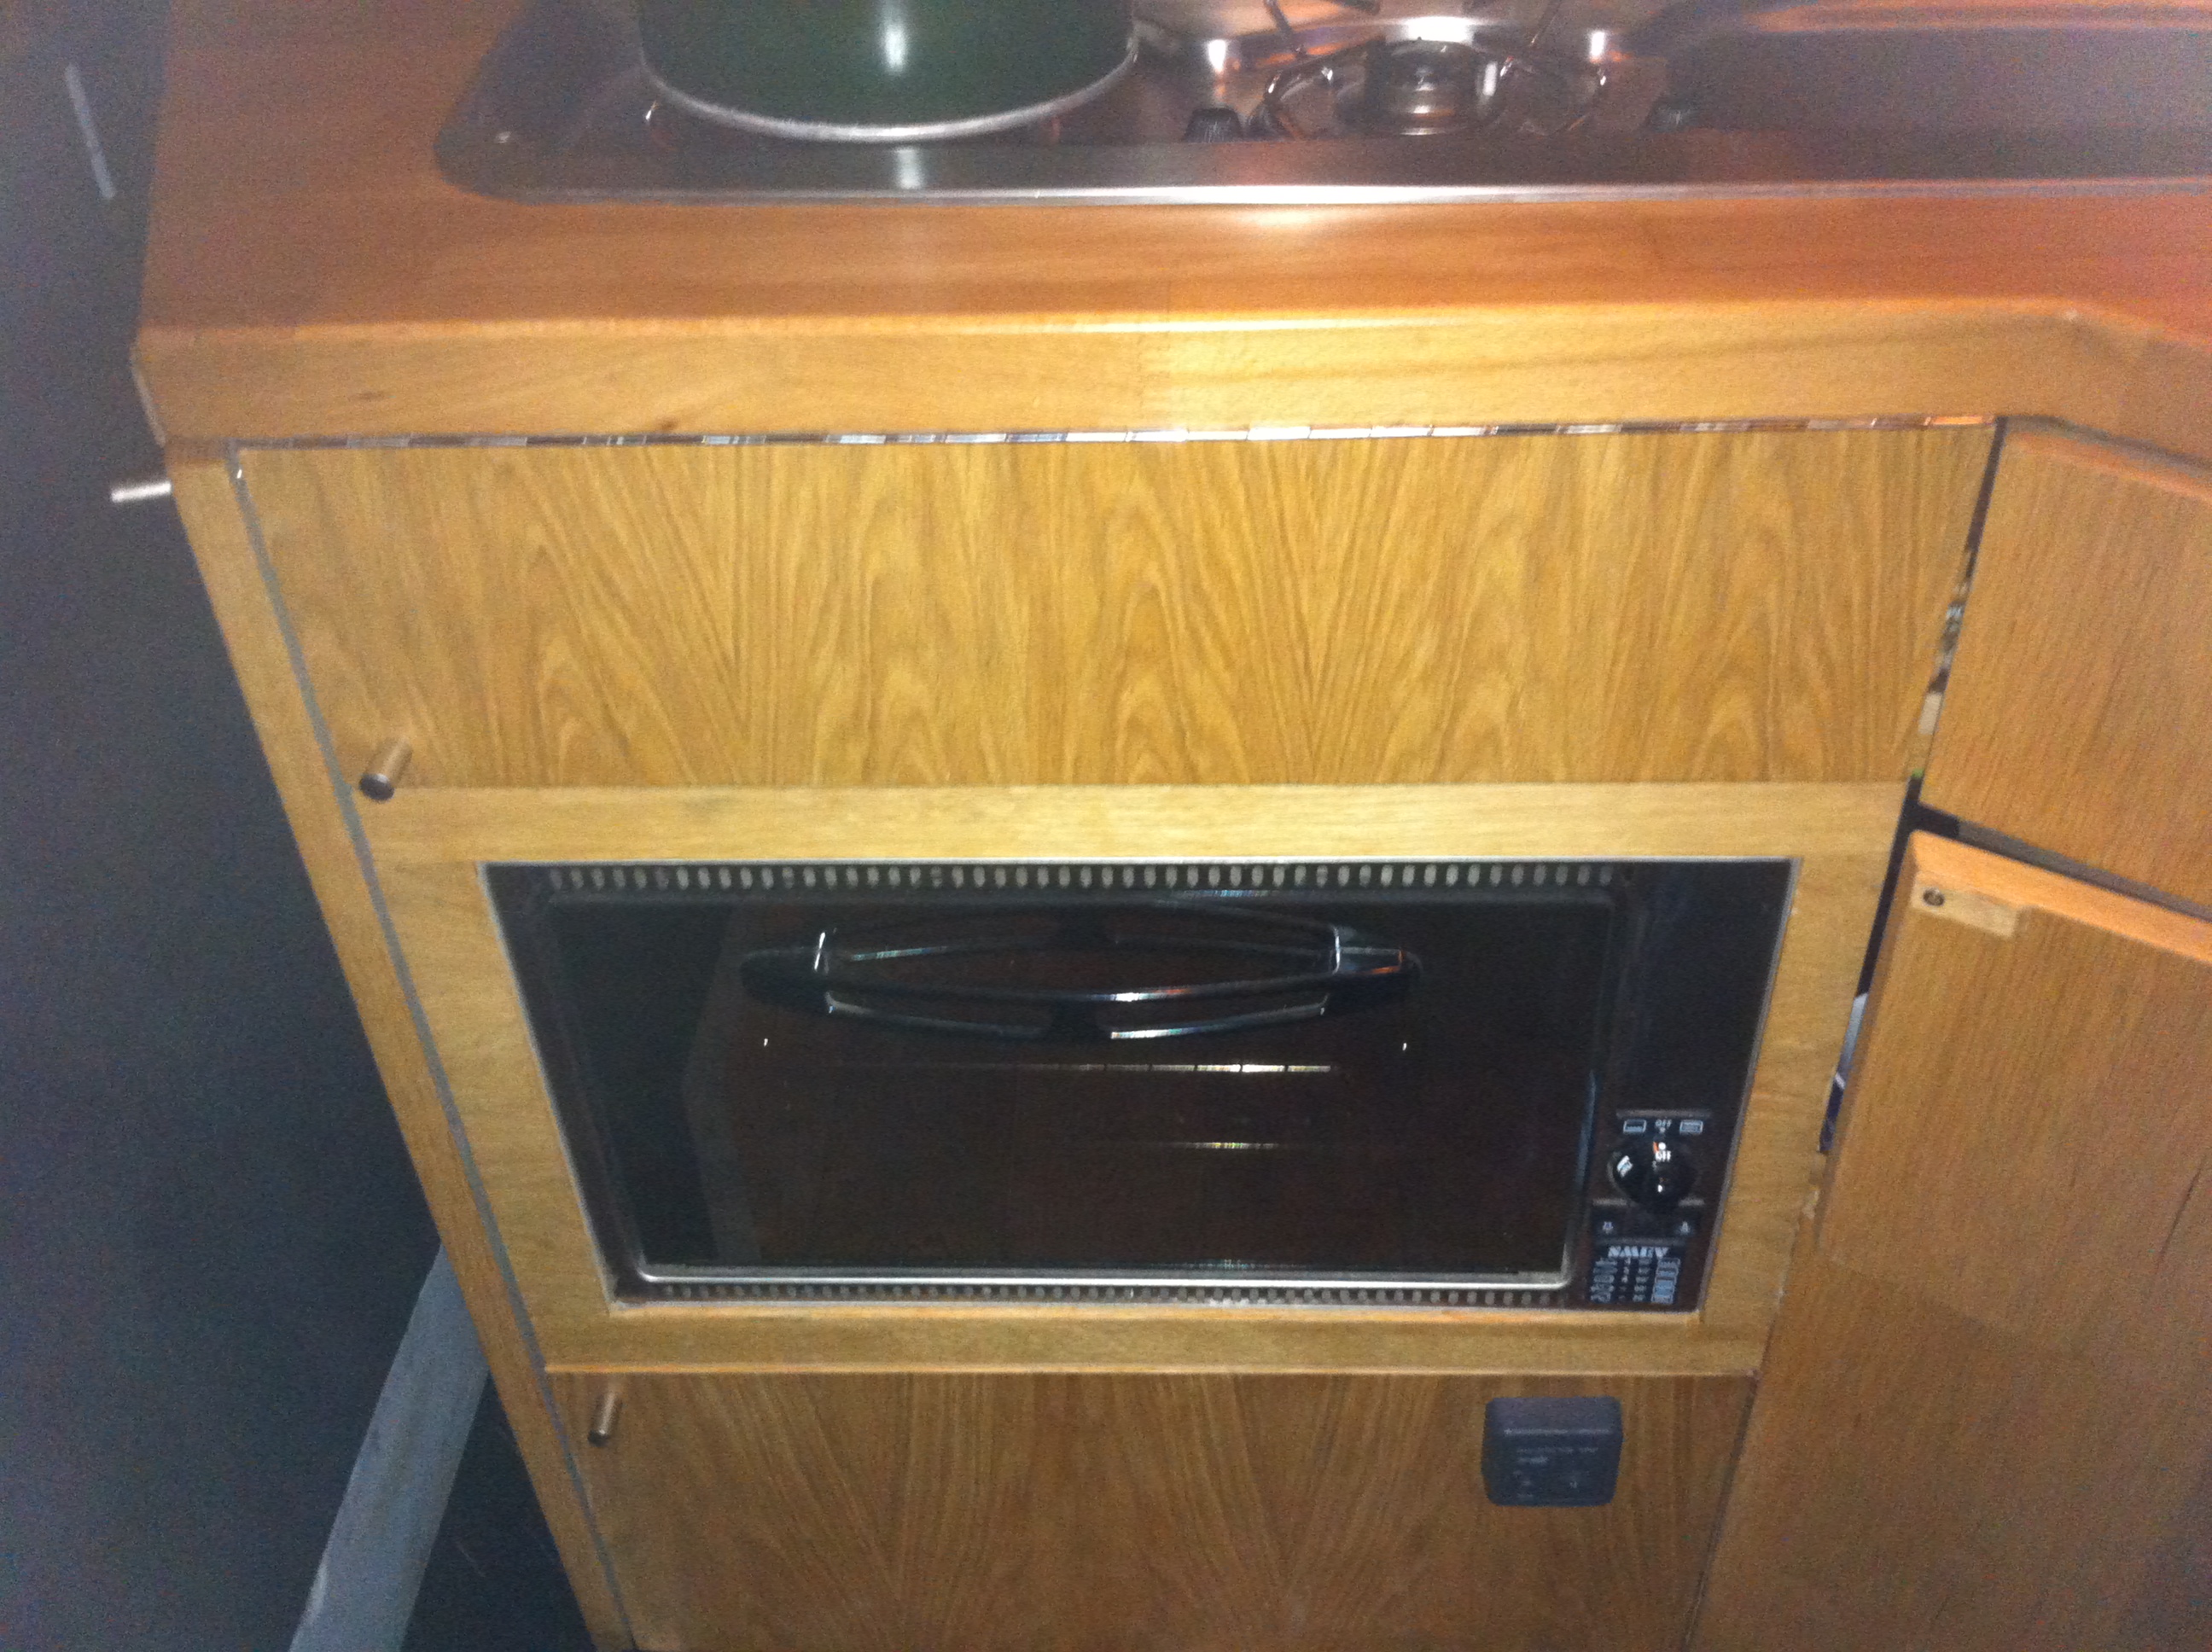
- Campervan oven ready to use
-
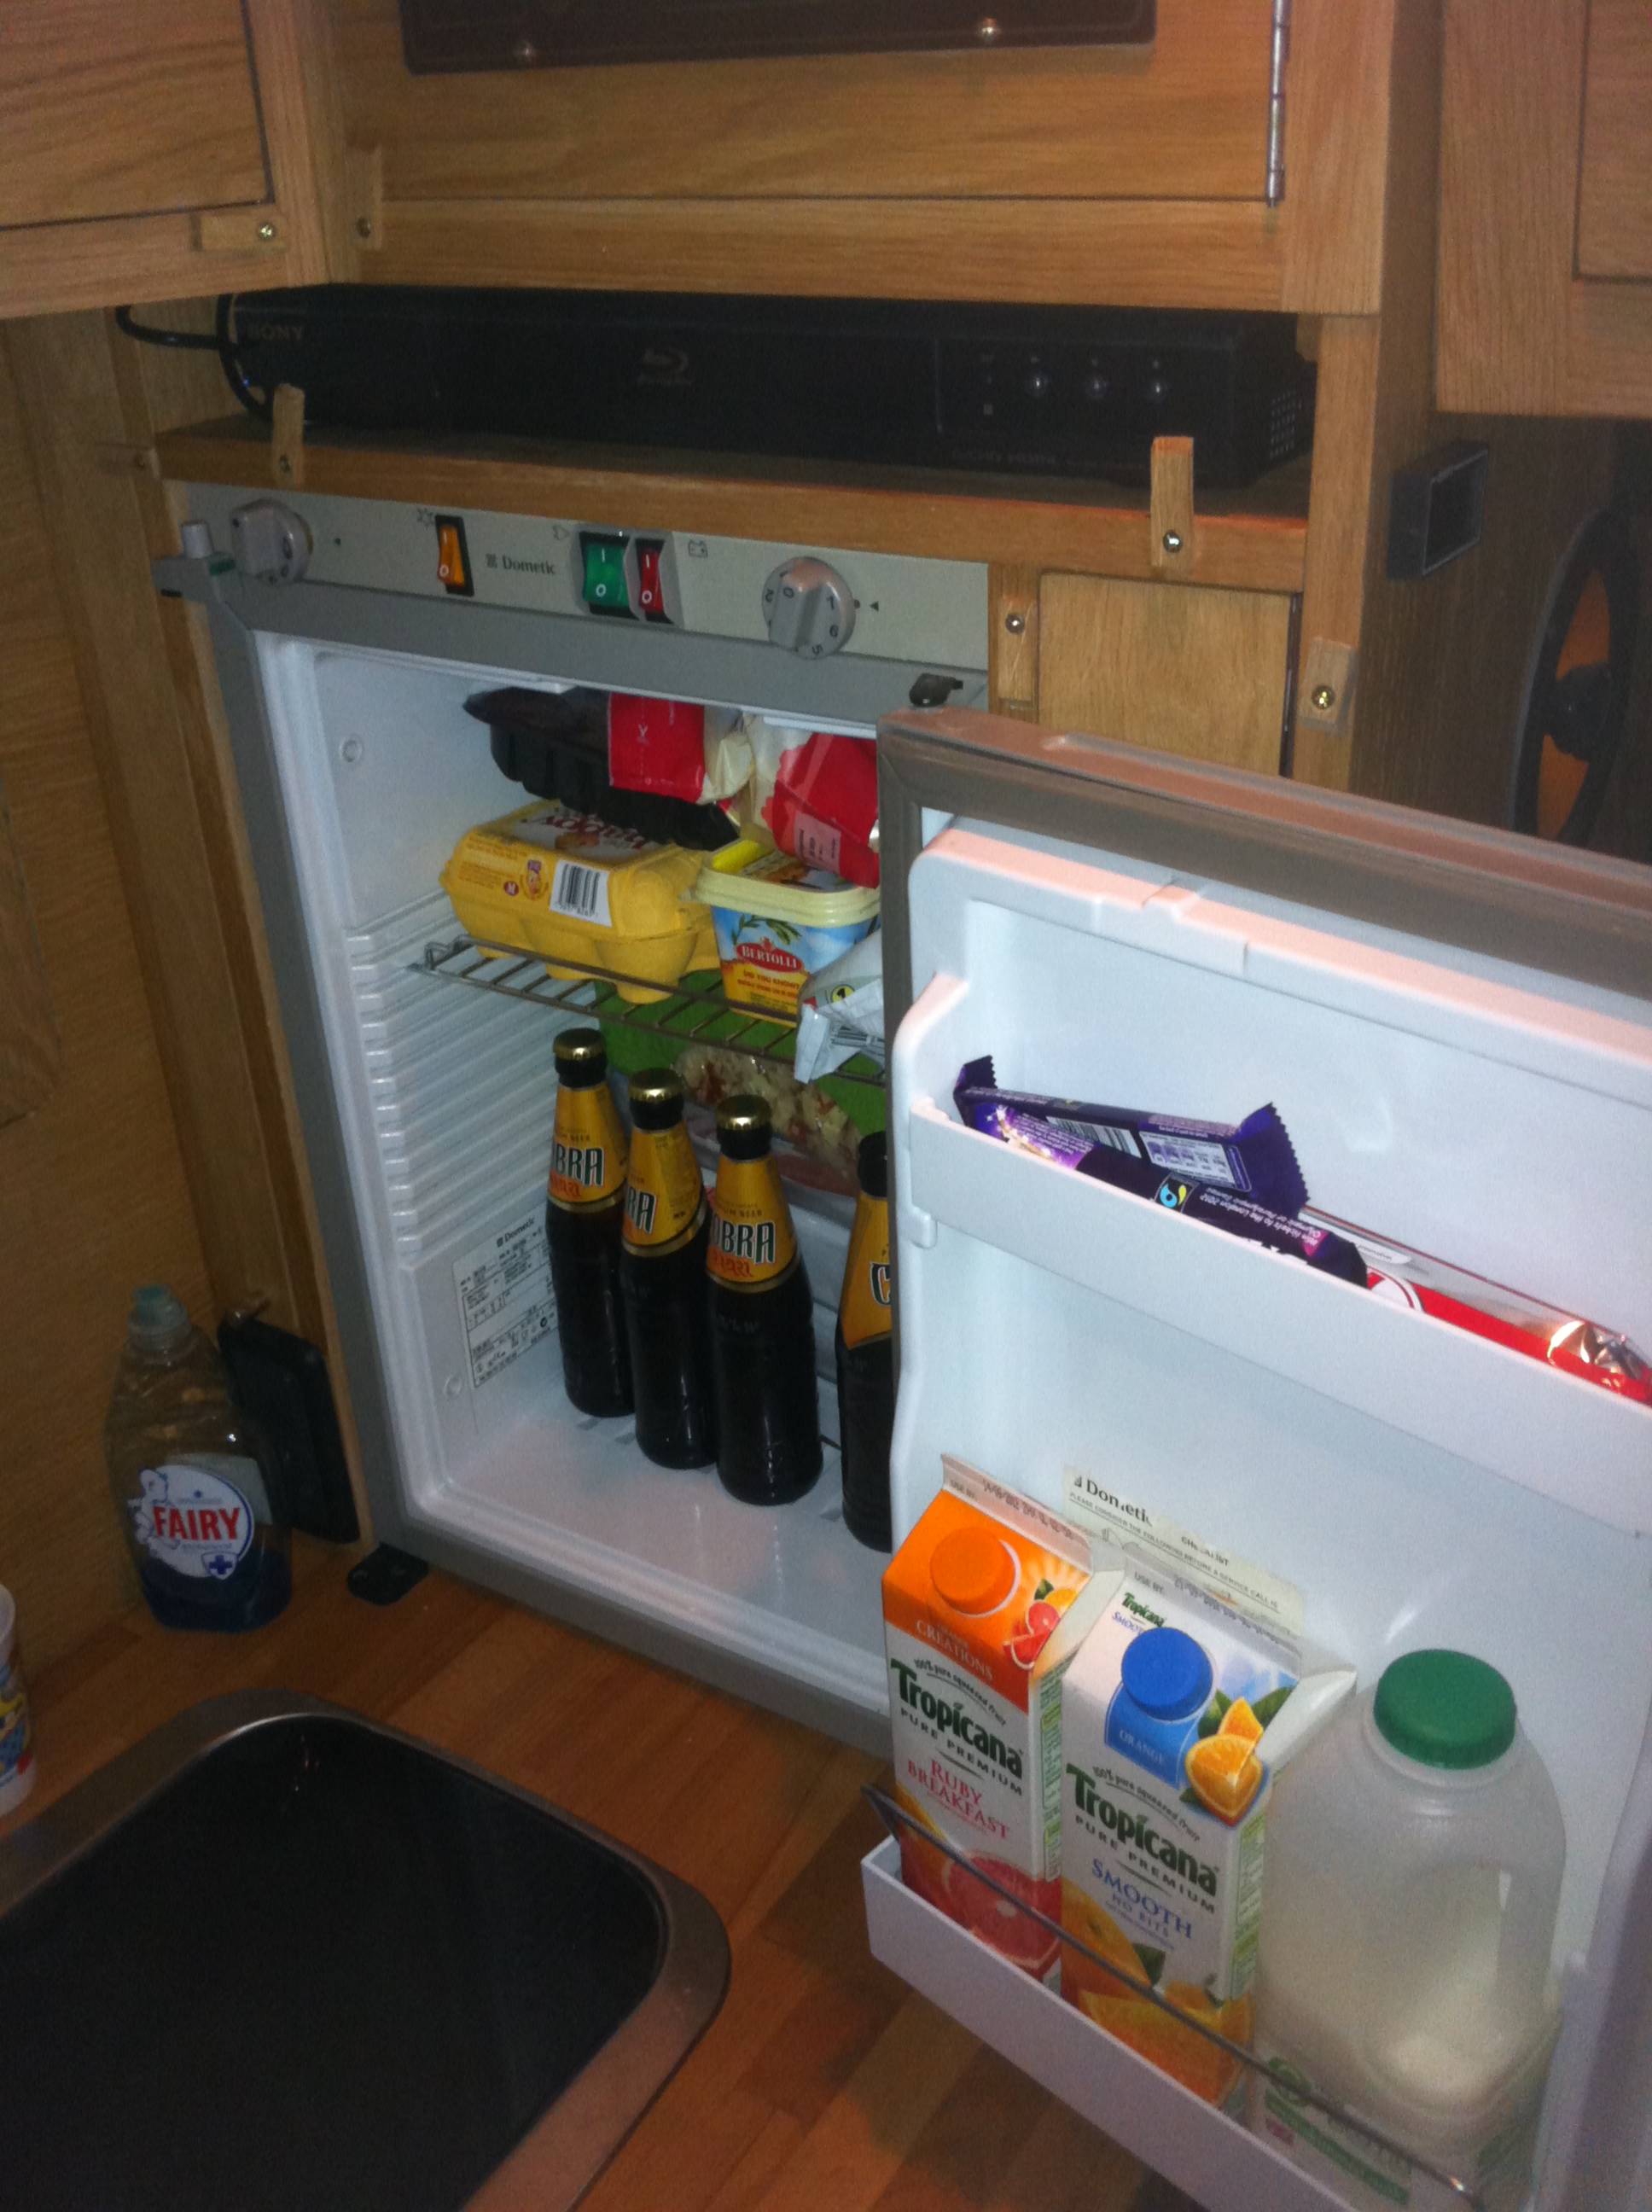
- Fridge stocked and ready
-
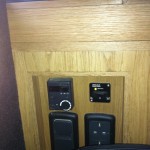
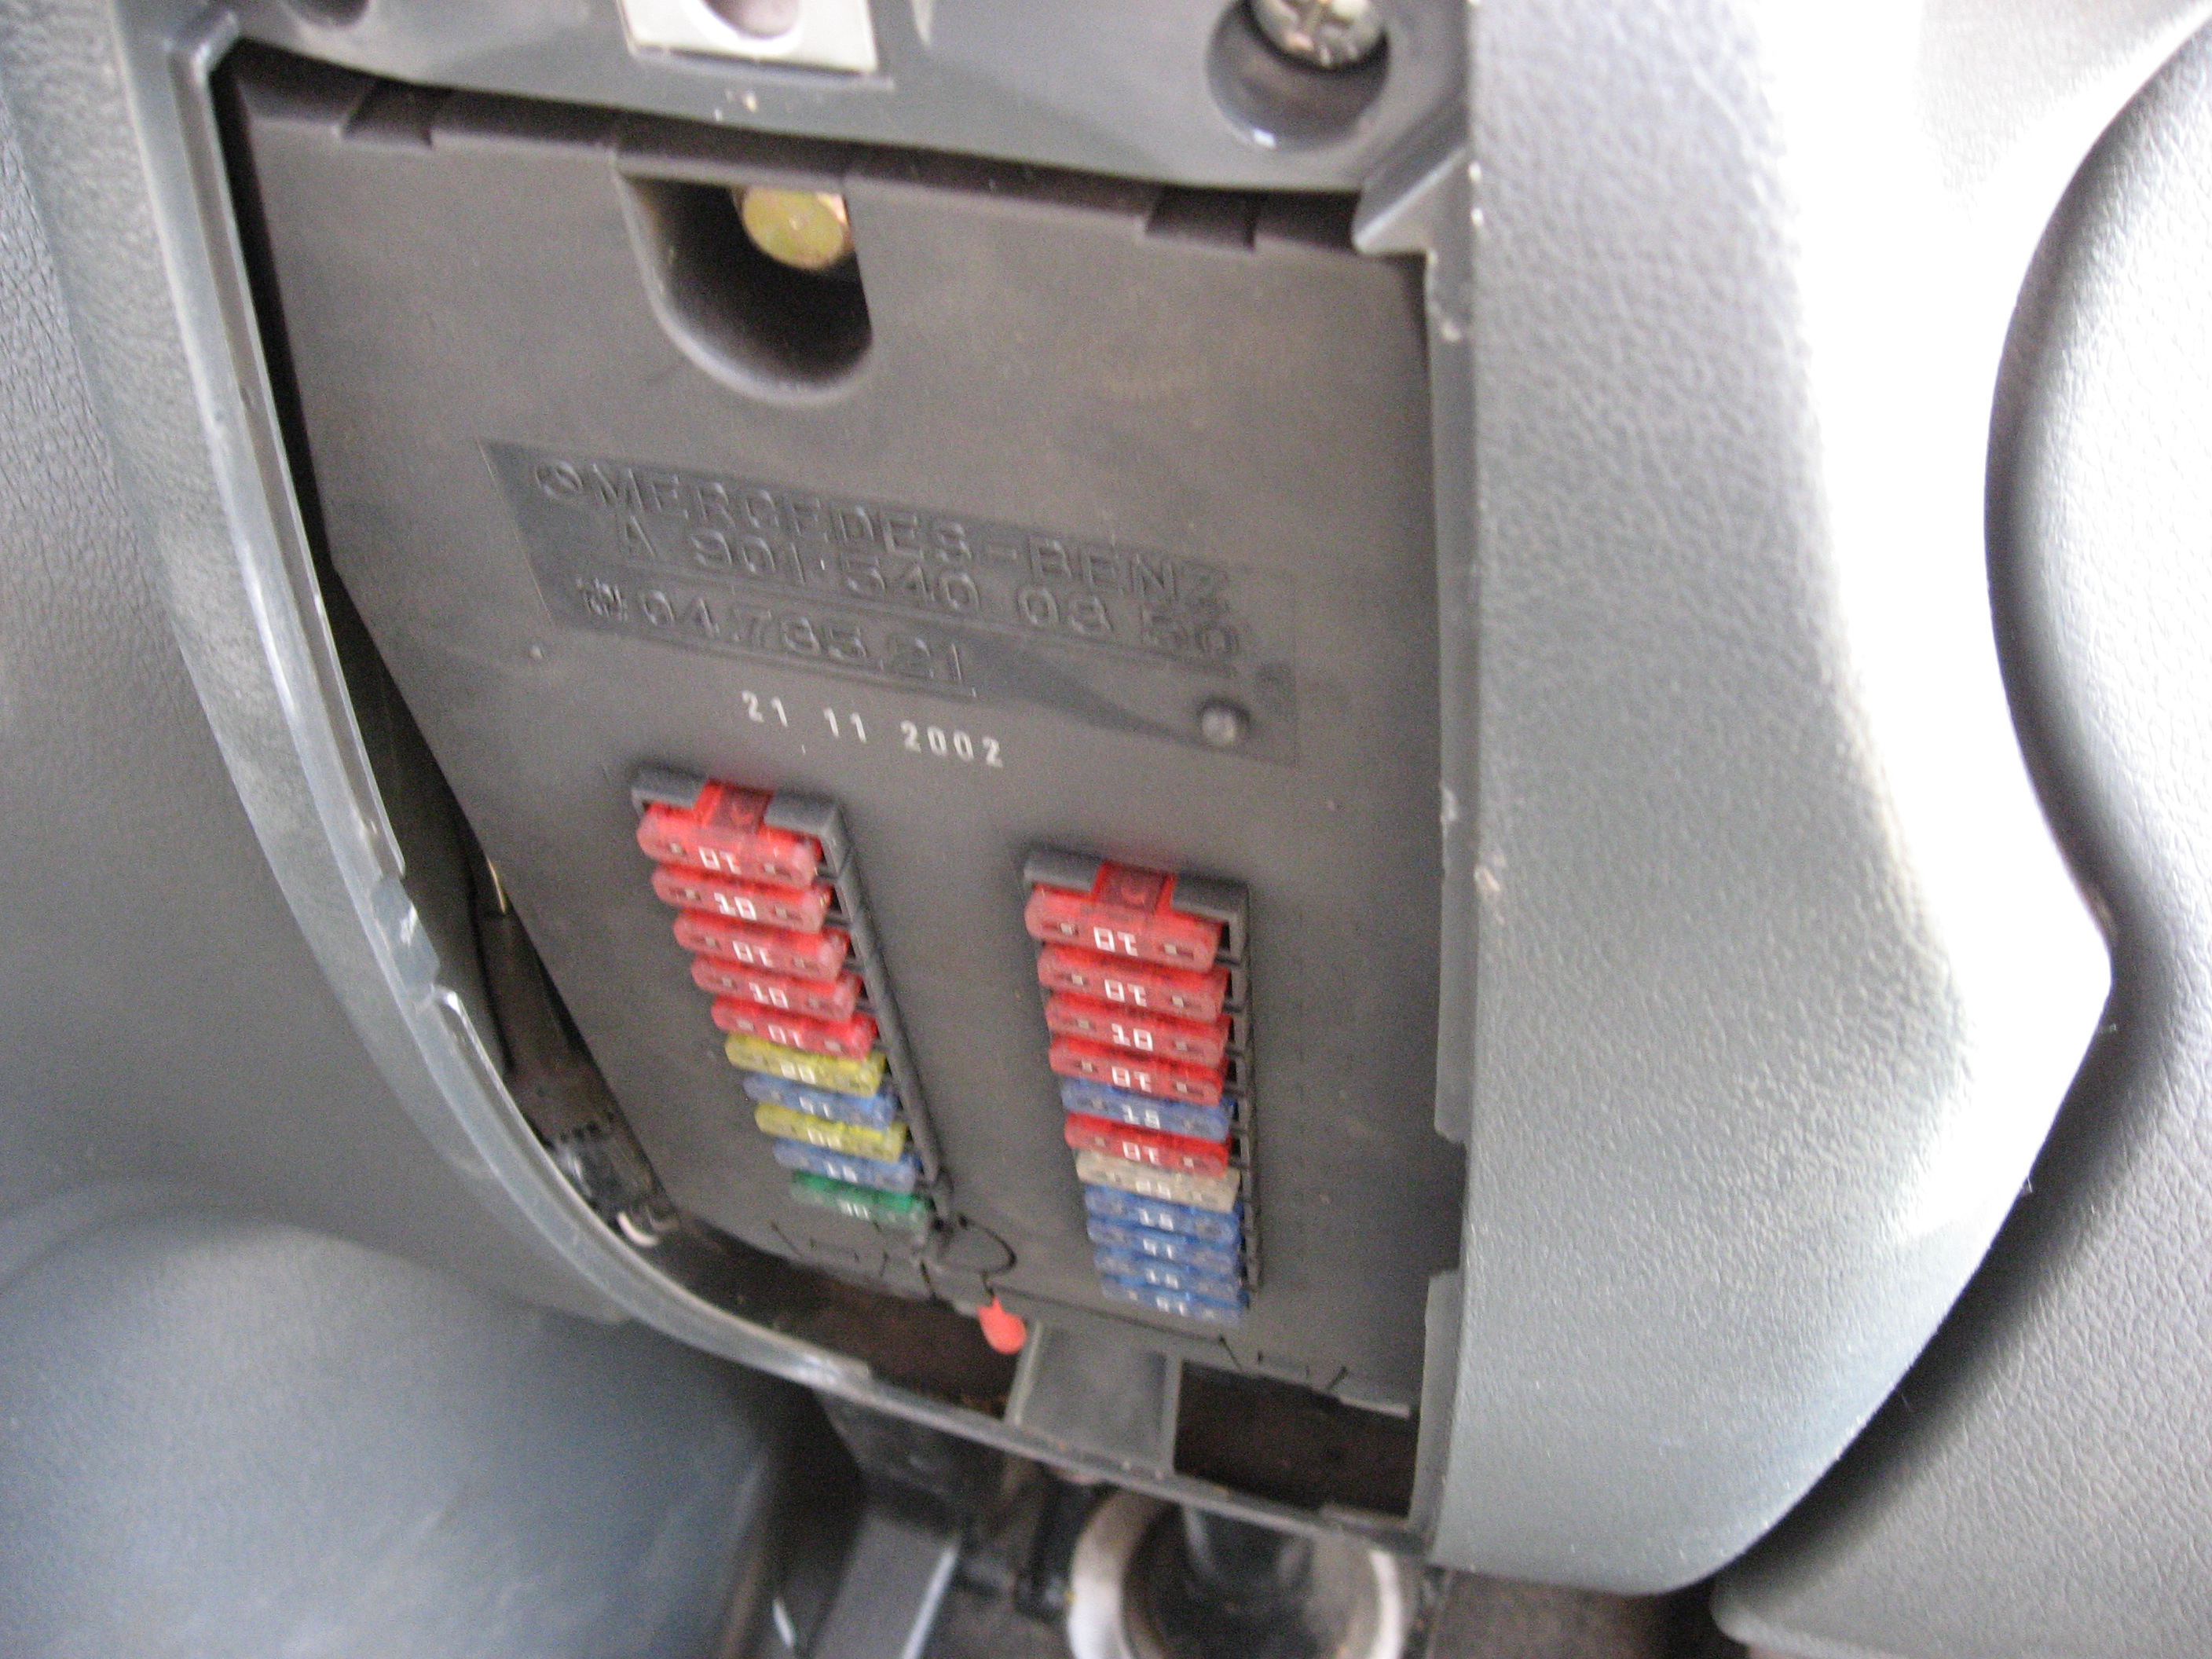
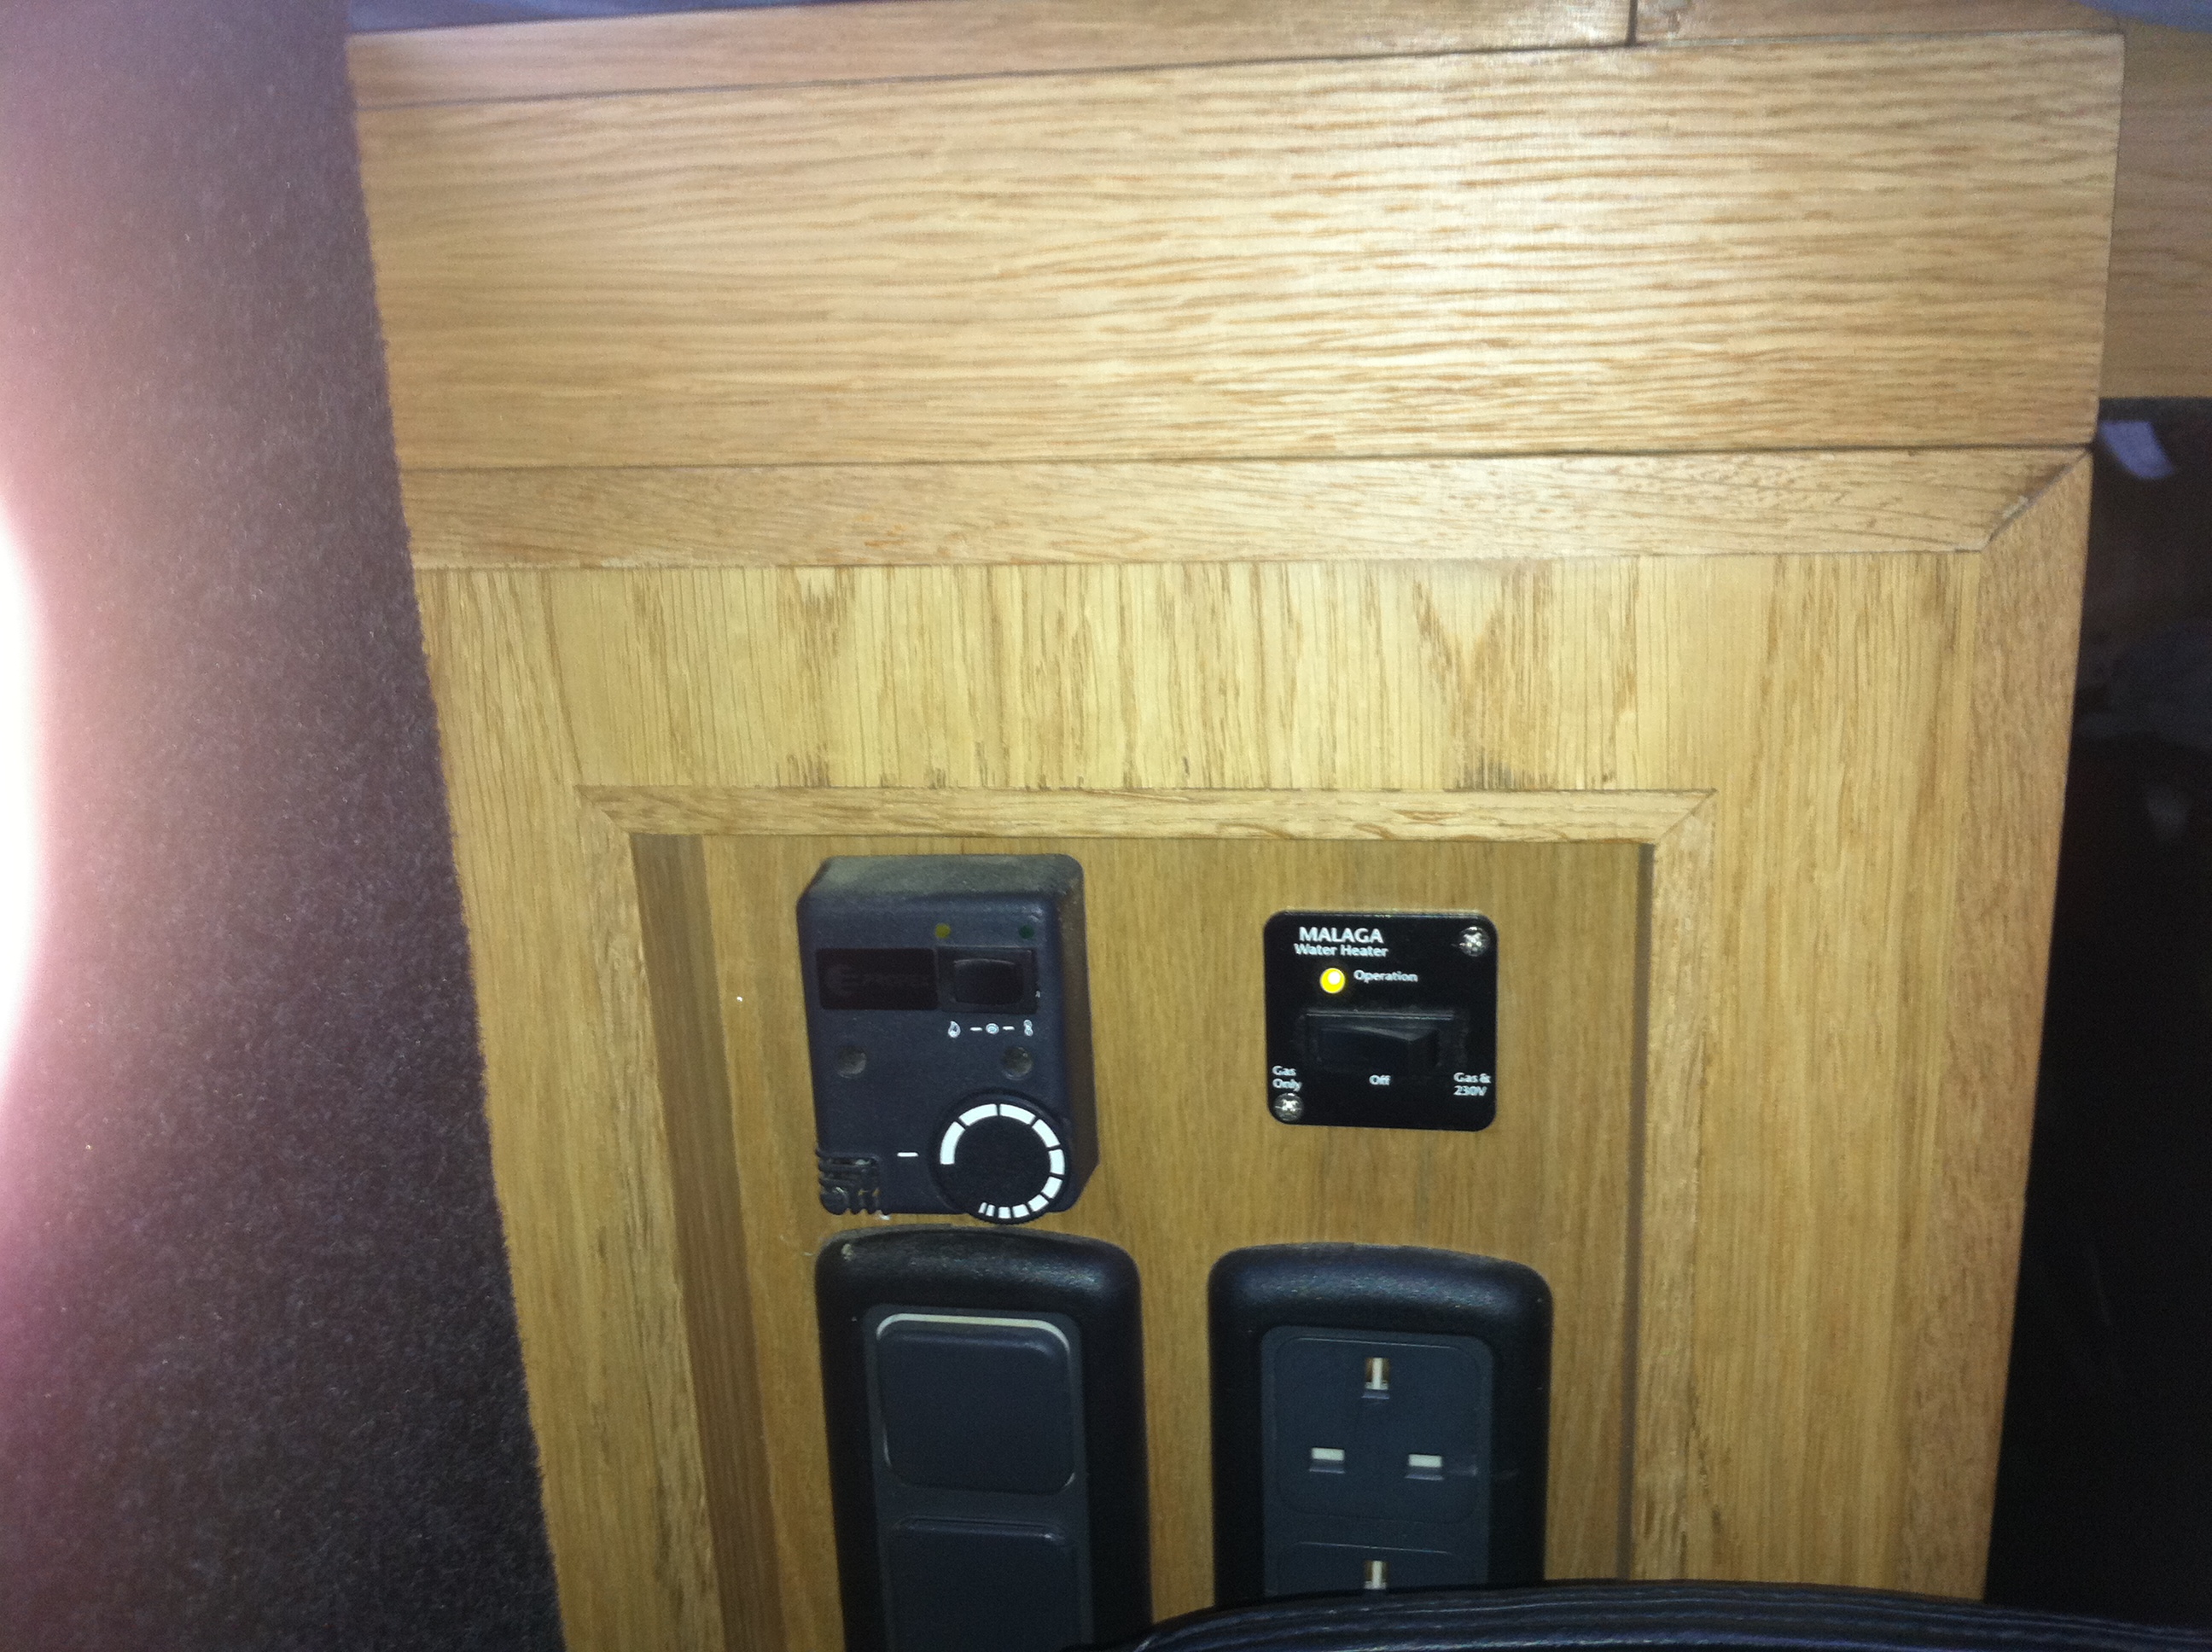
- Controls ready for testing
-

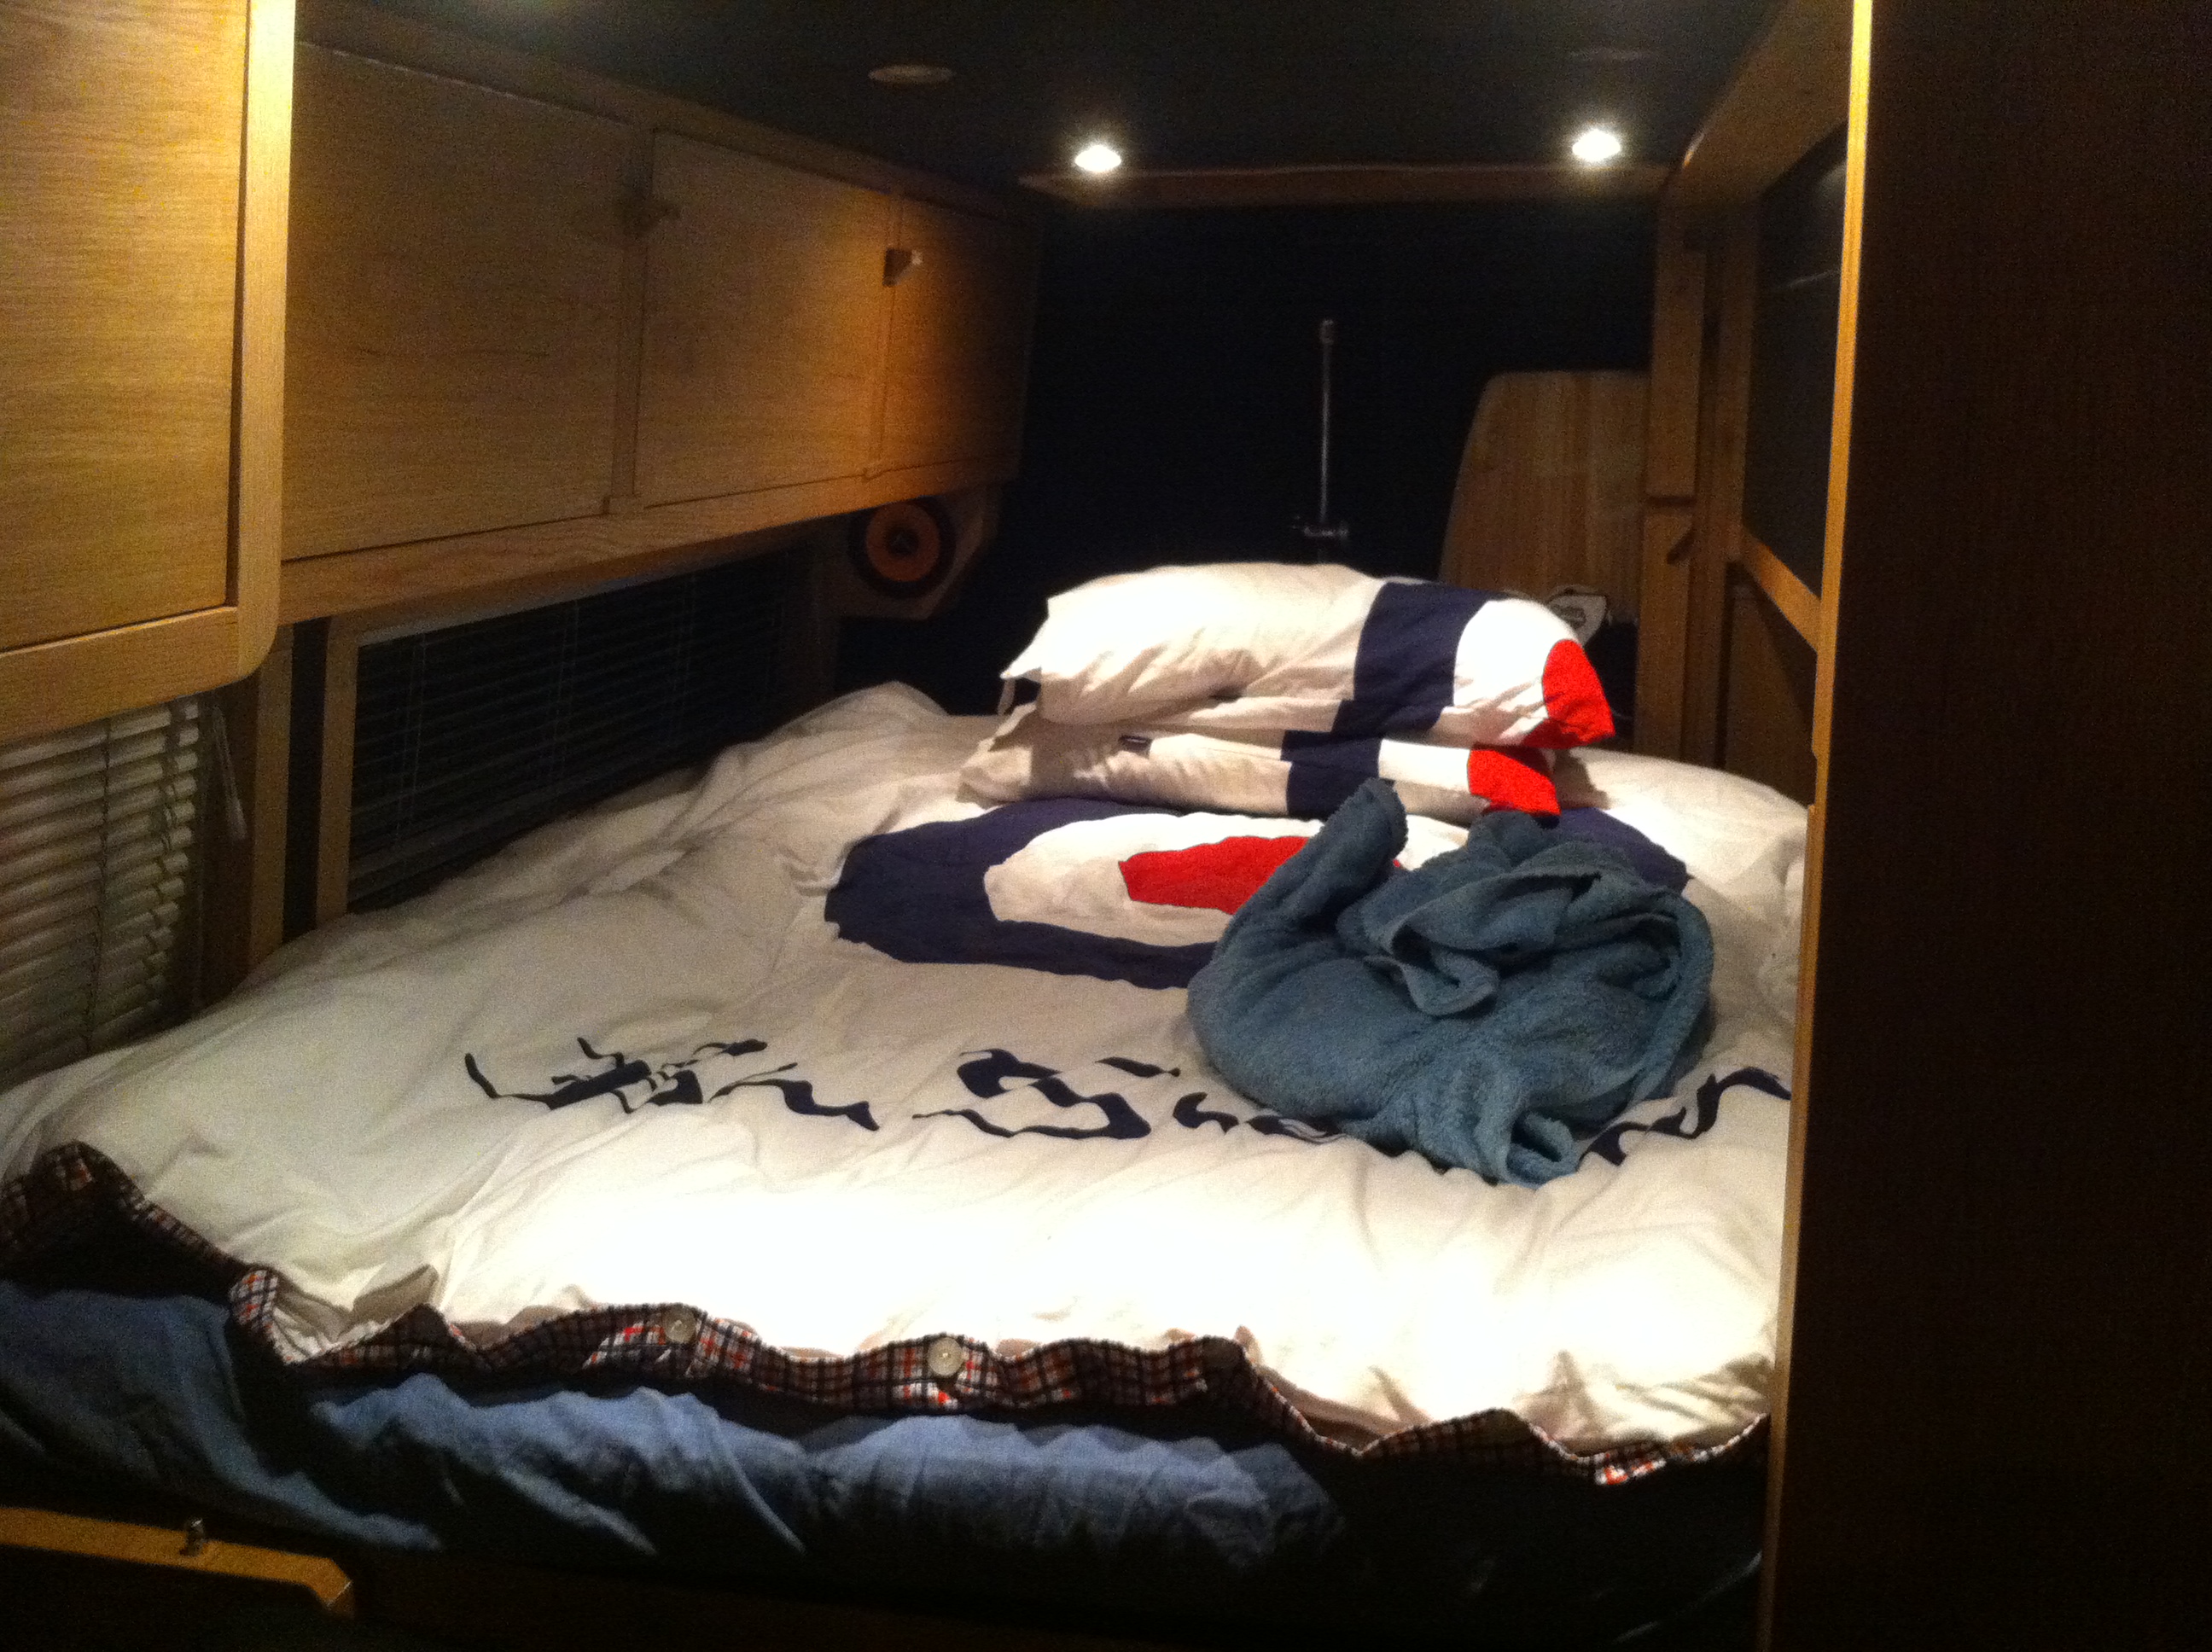
- Fold down bed installed


-
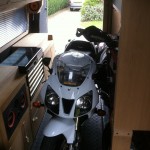
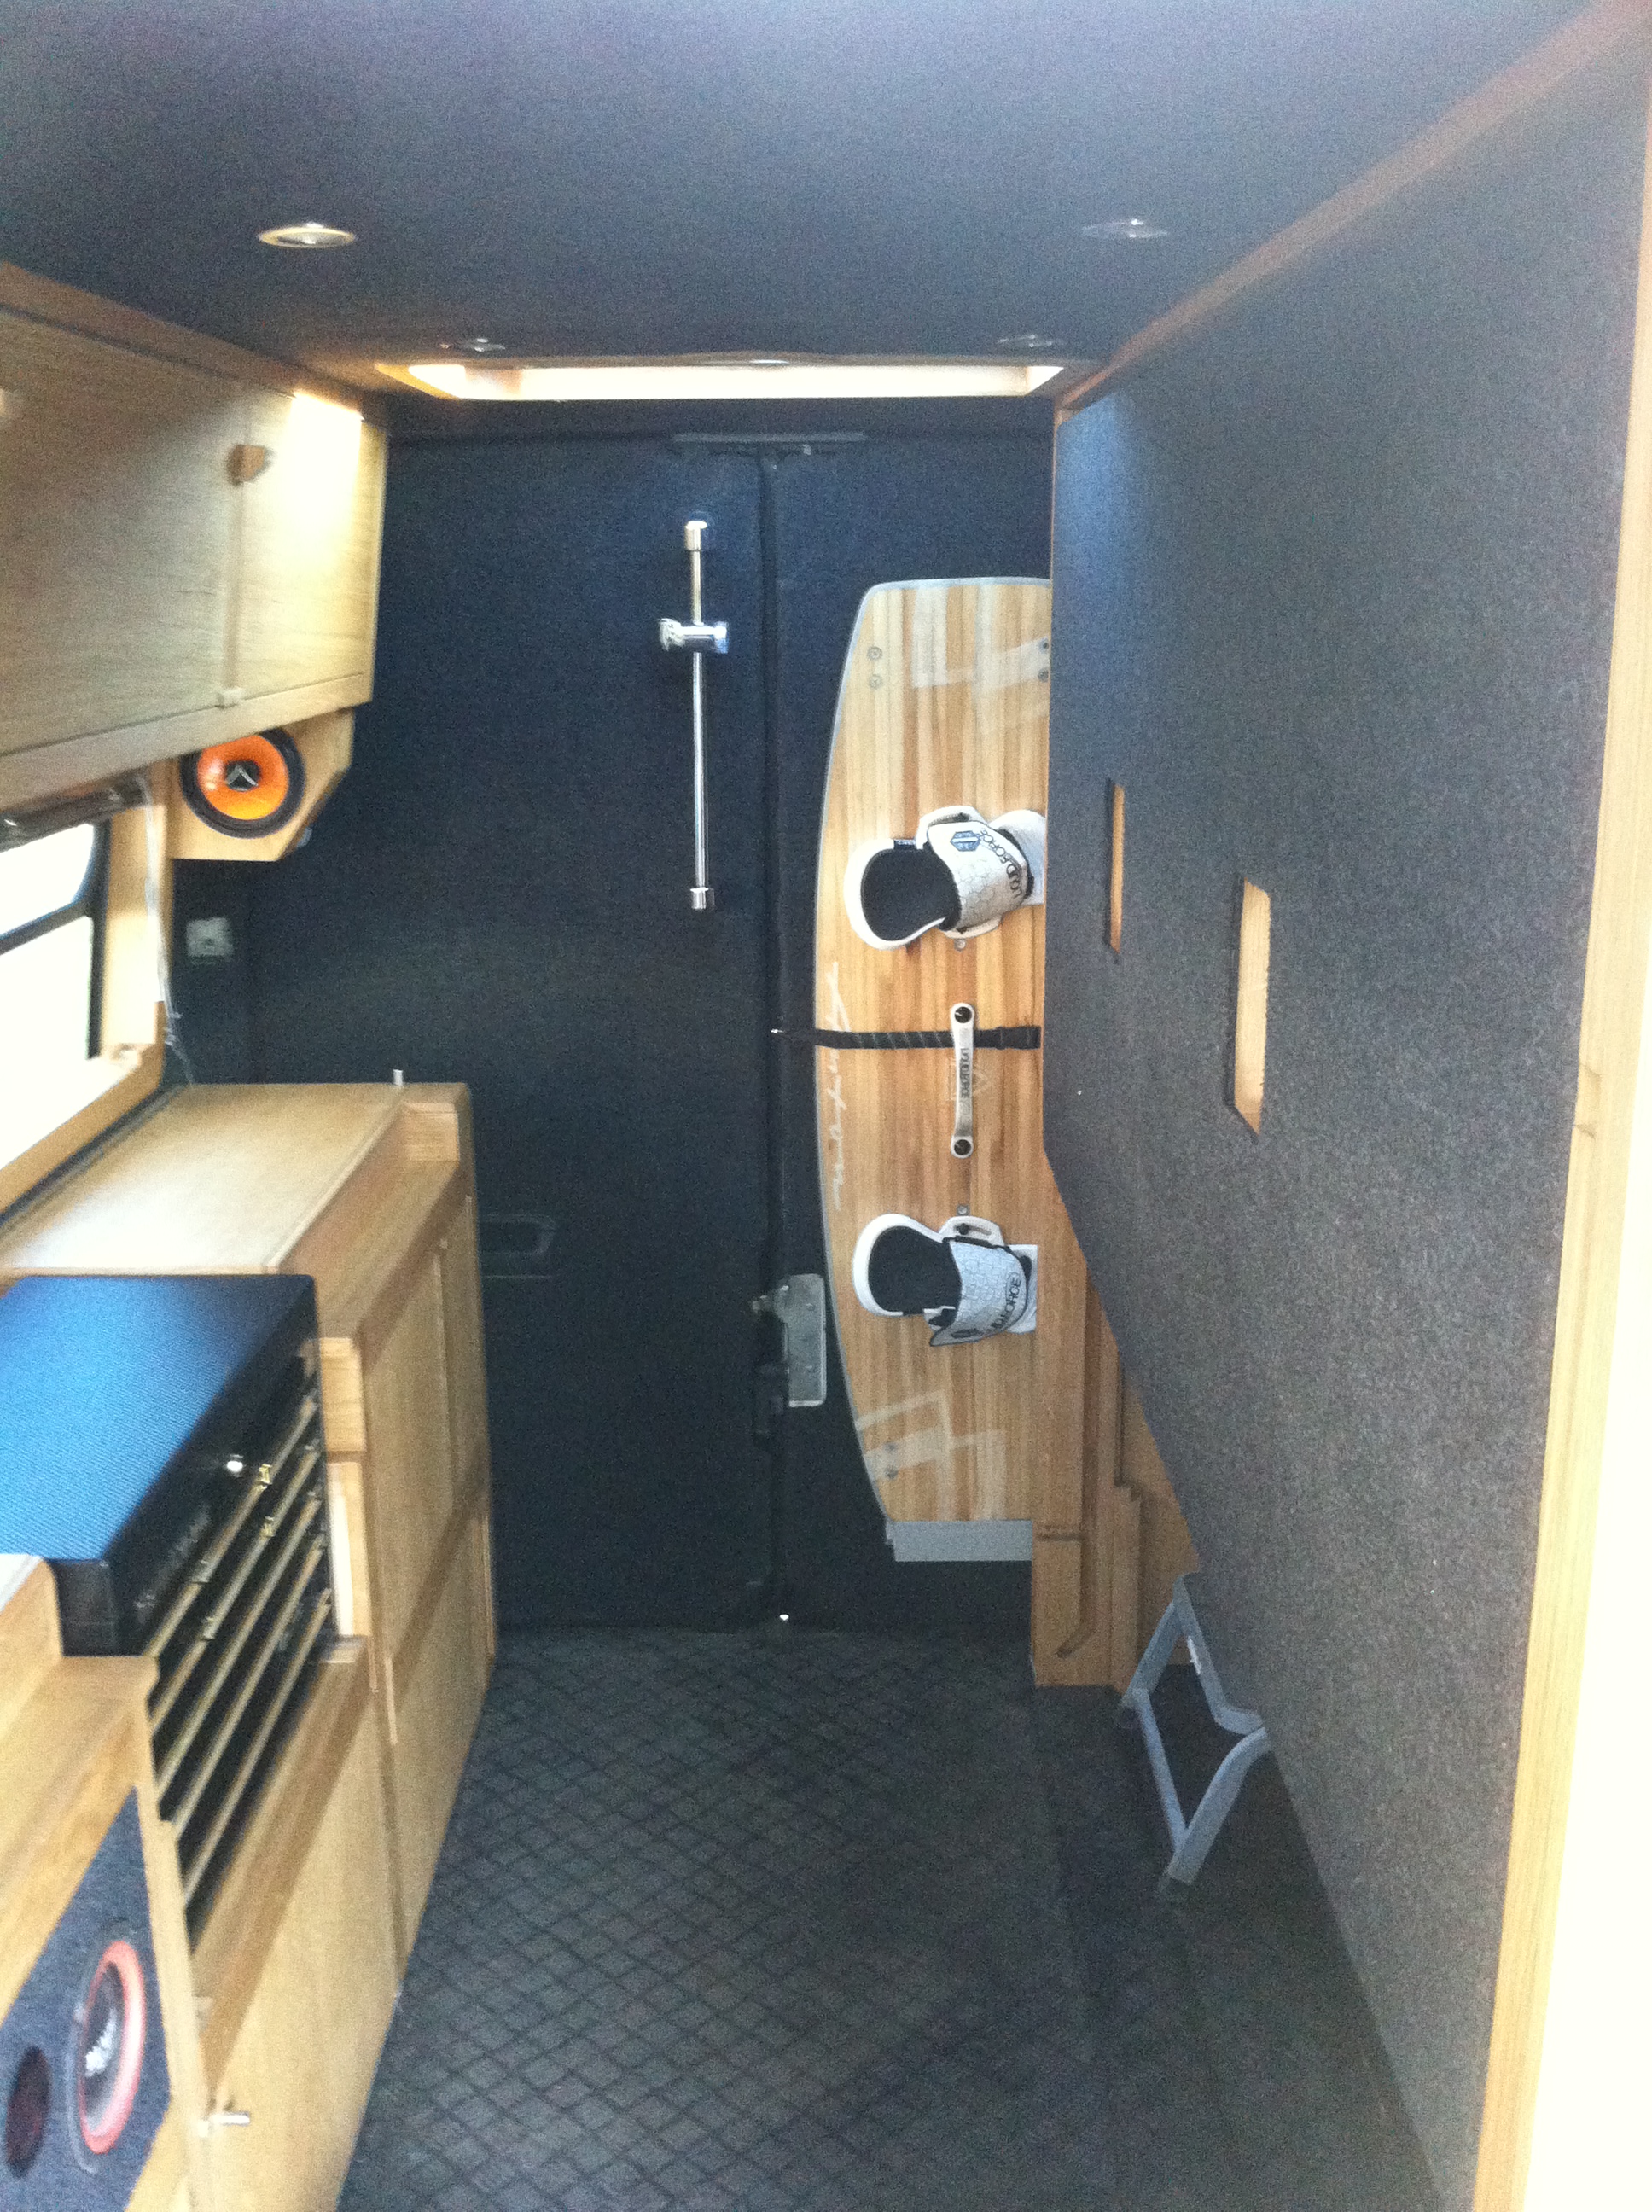
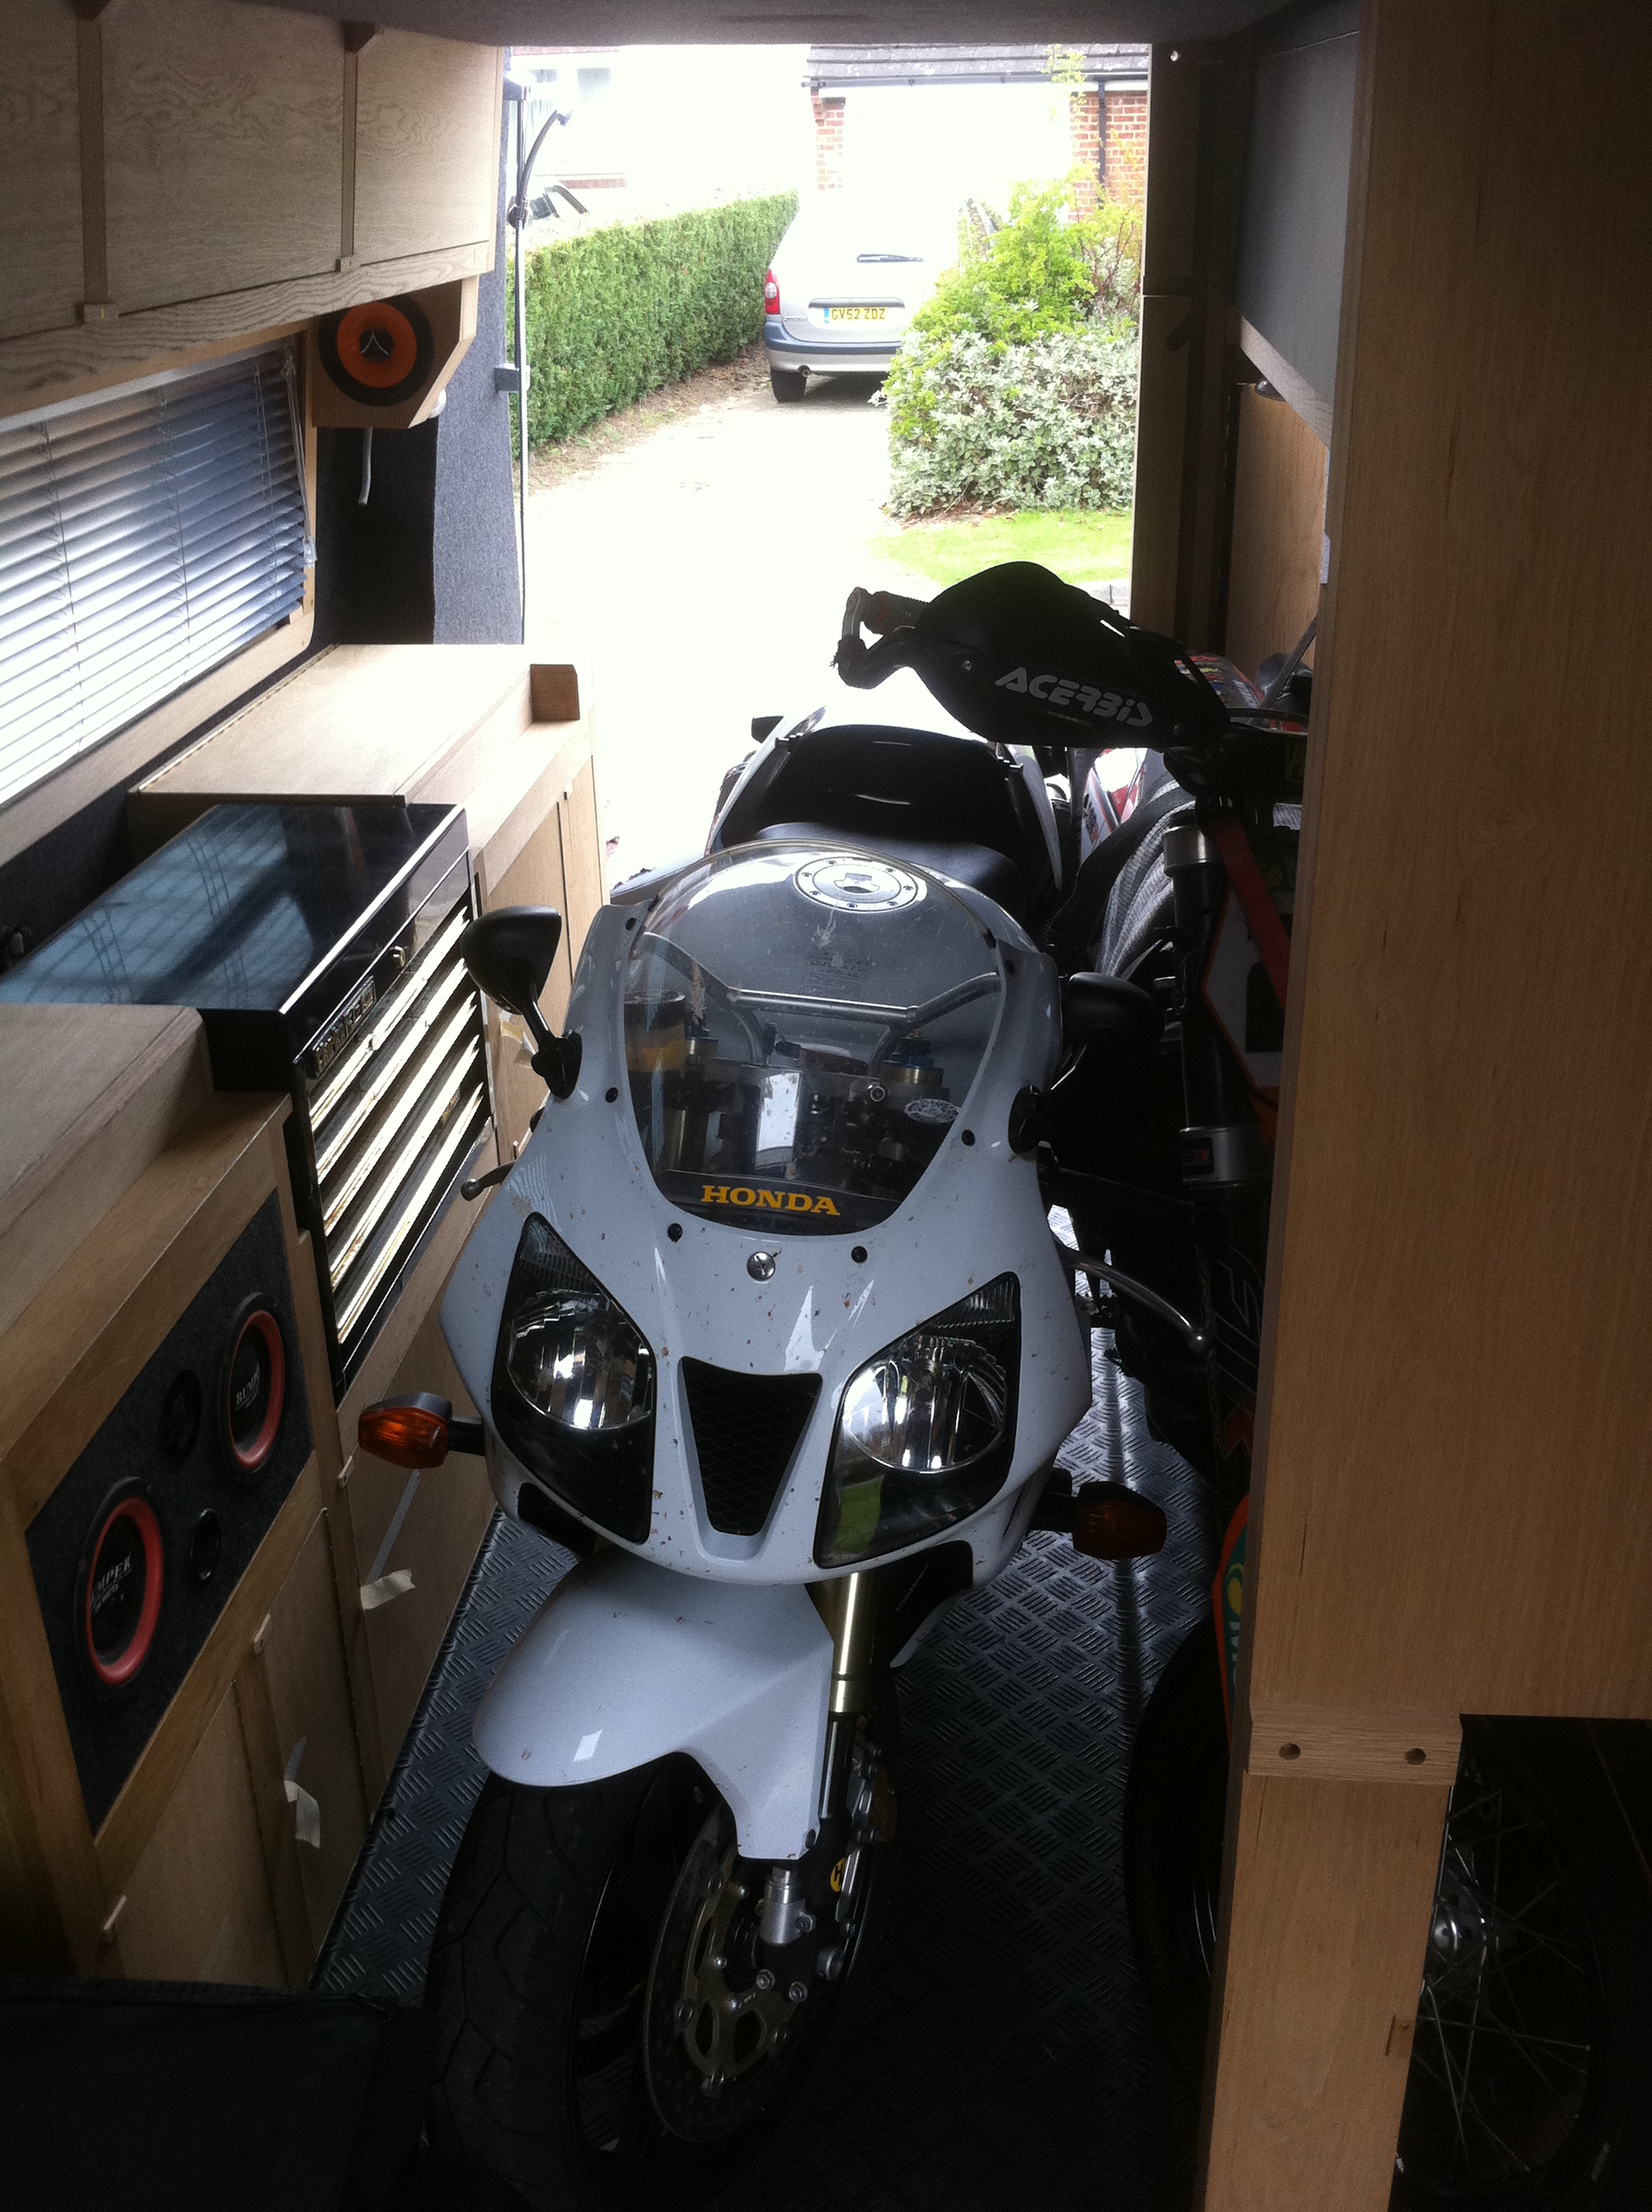
- Big enough to fit a couple of Motorcycles
-
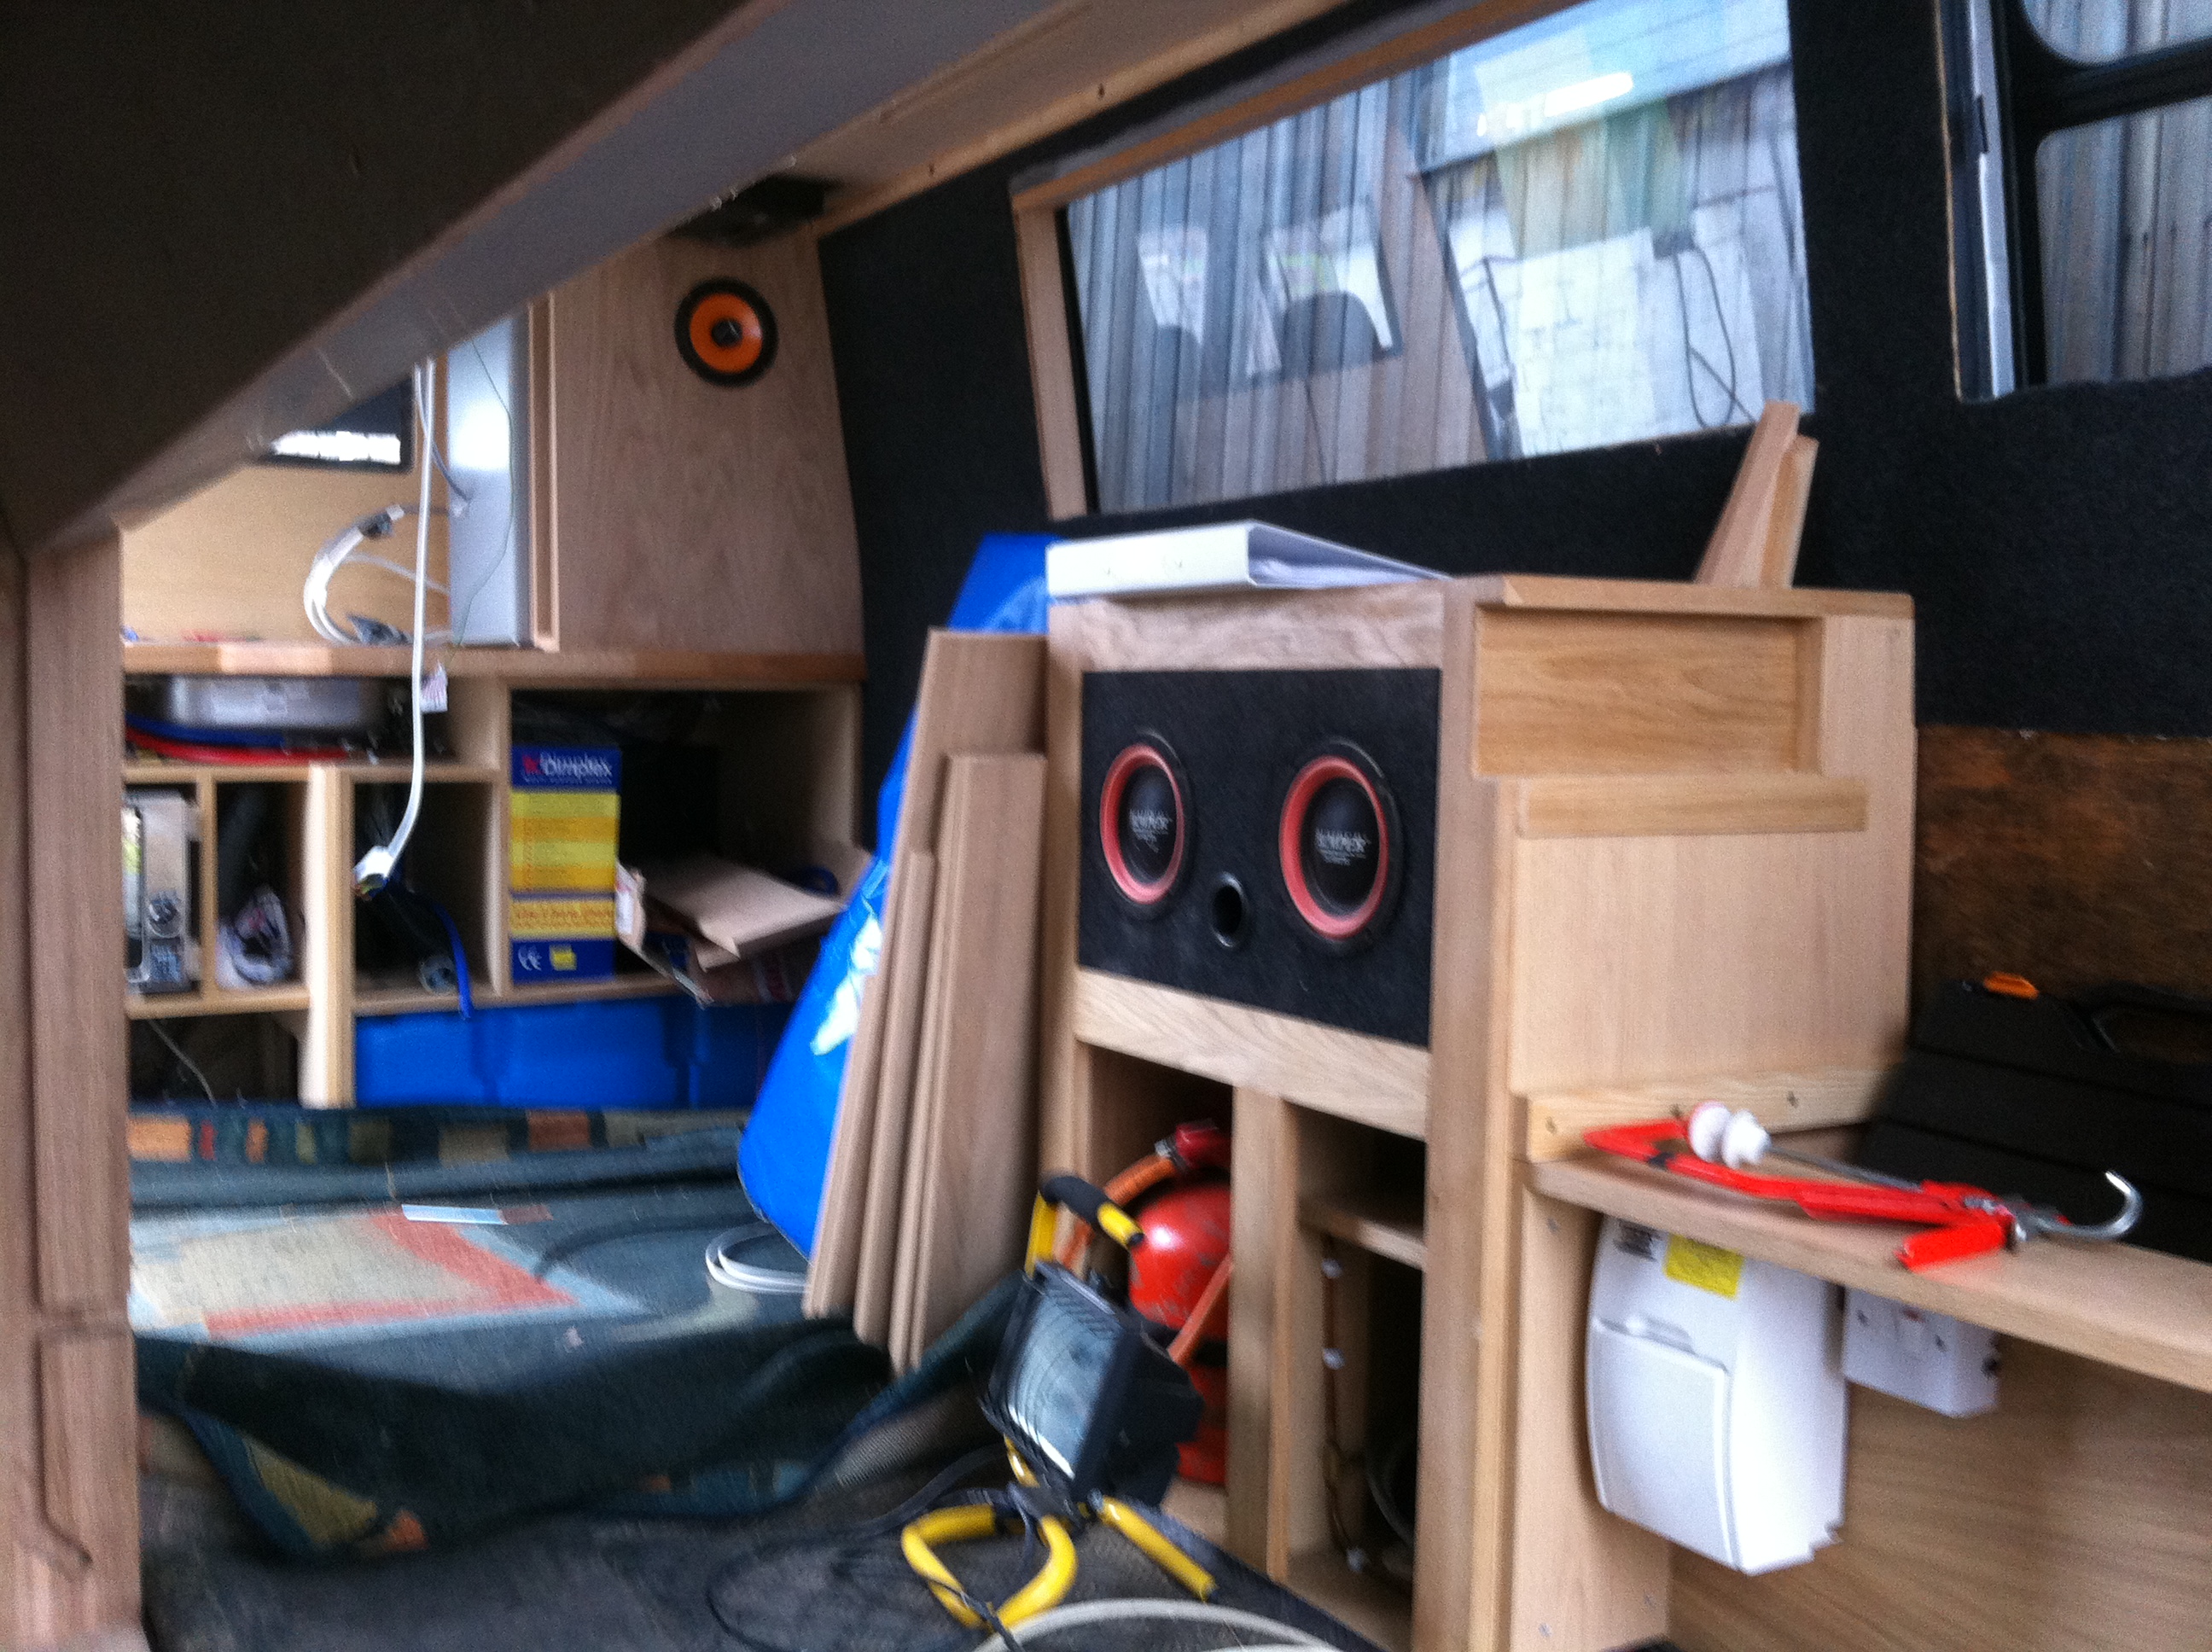
- Speaker box and gas locker completted

-
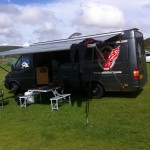
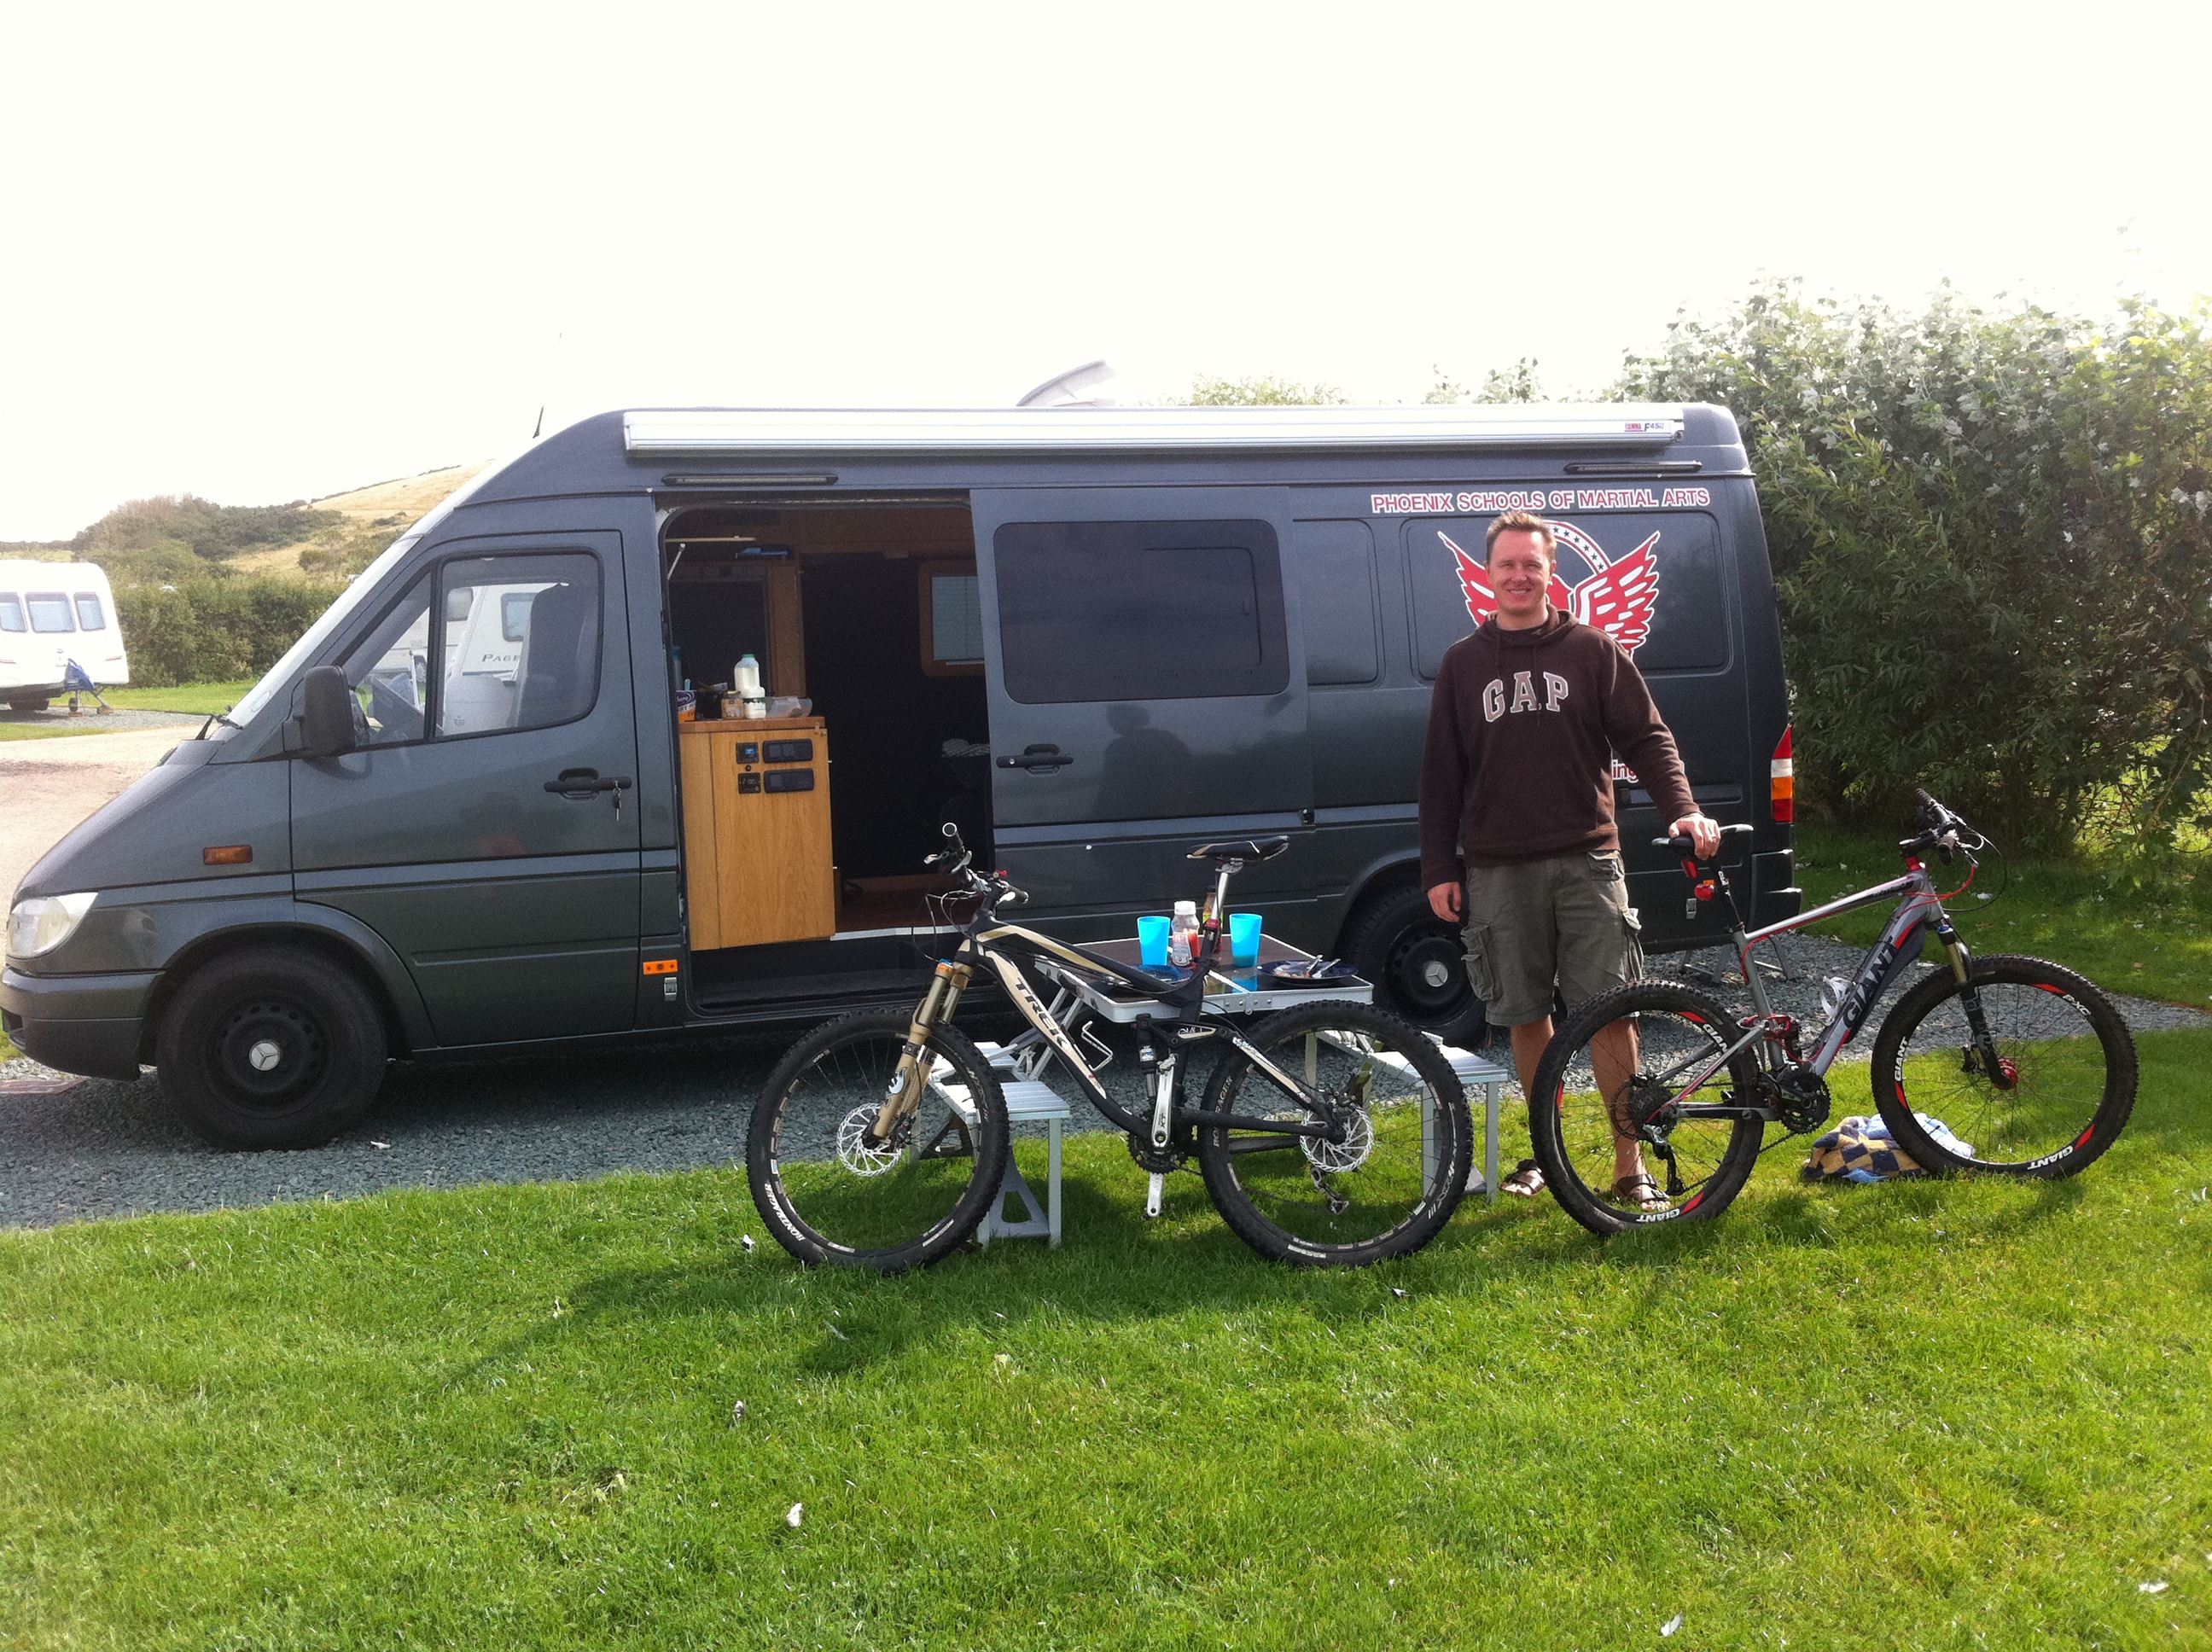
- First weekend away

-
- The bed is a great success
-
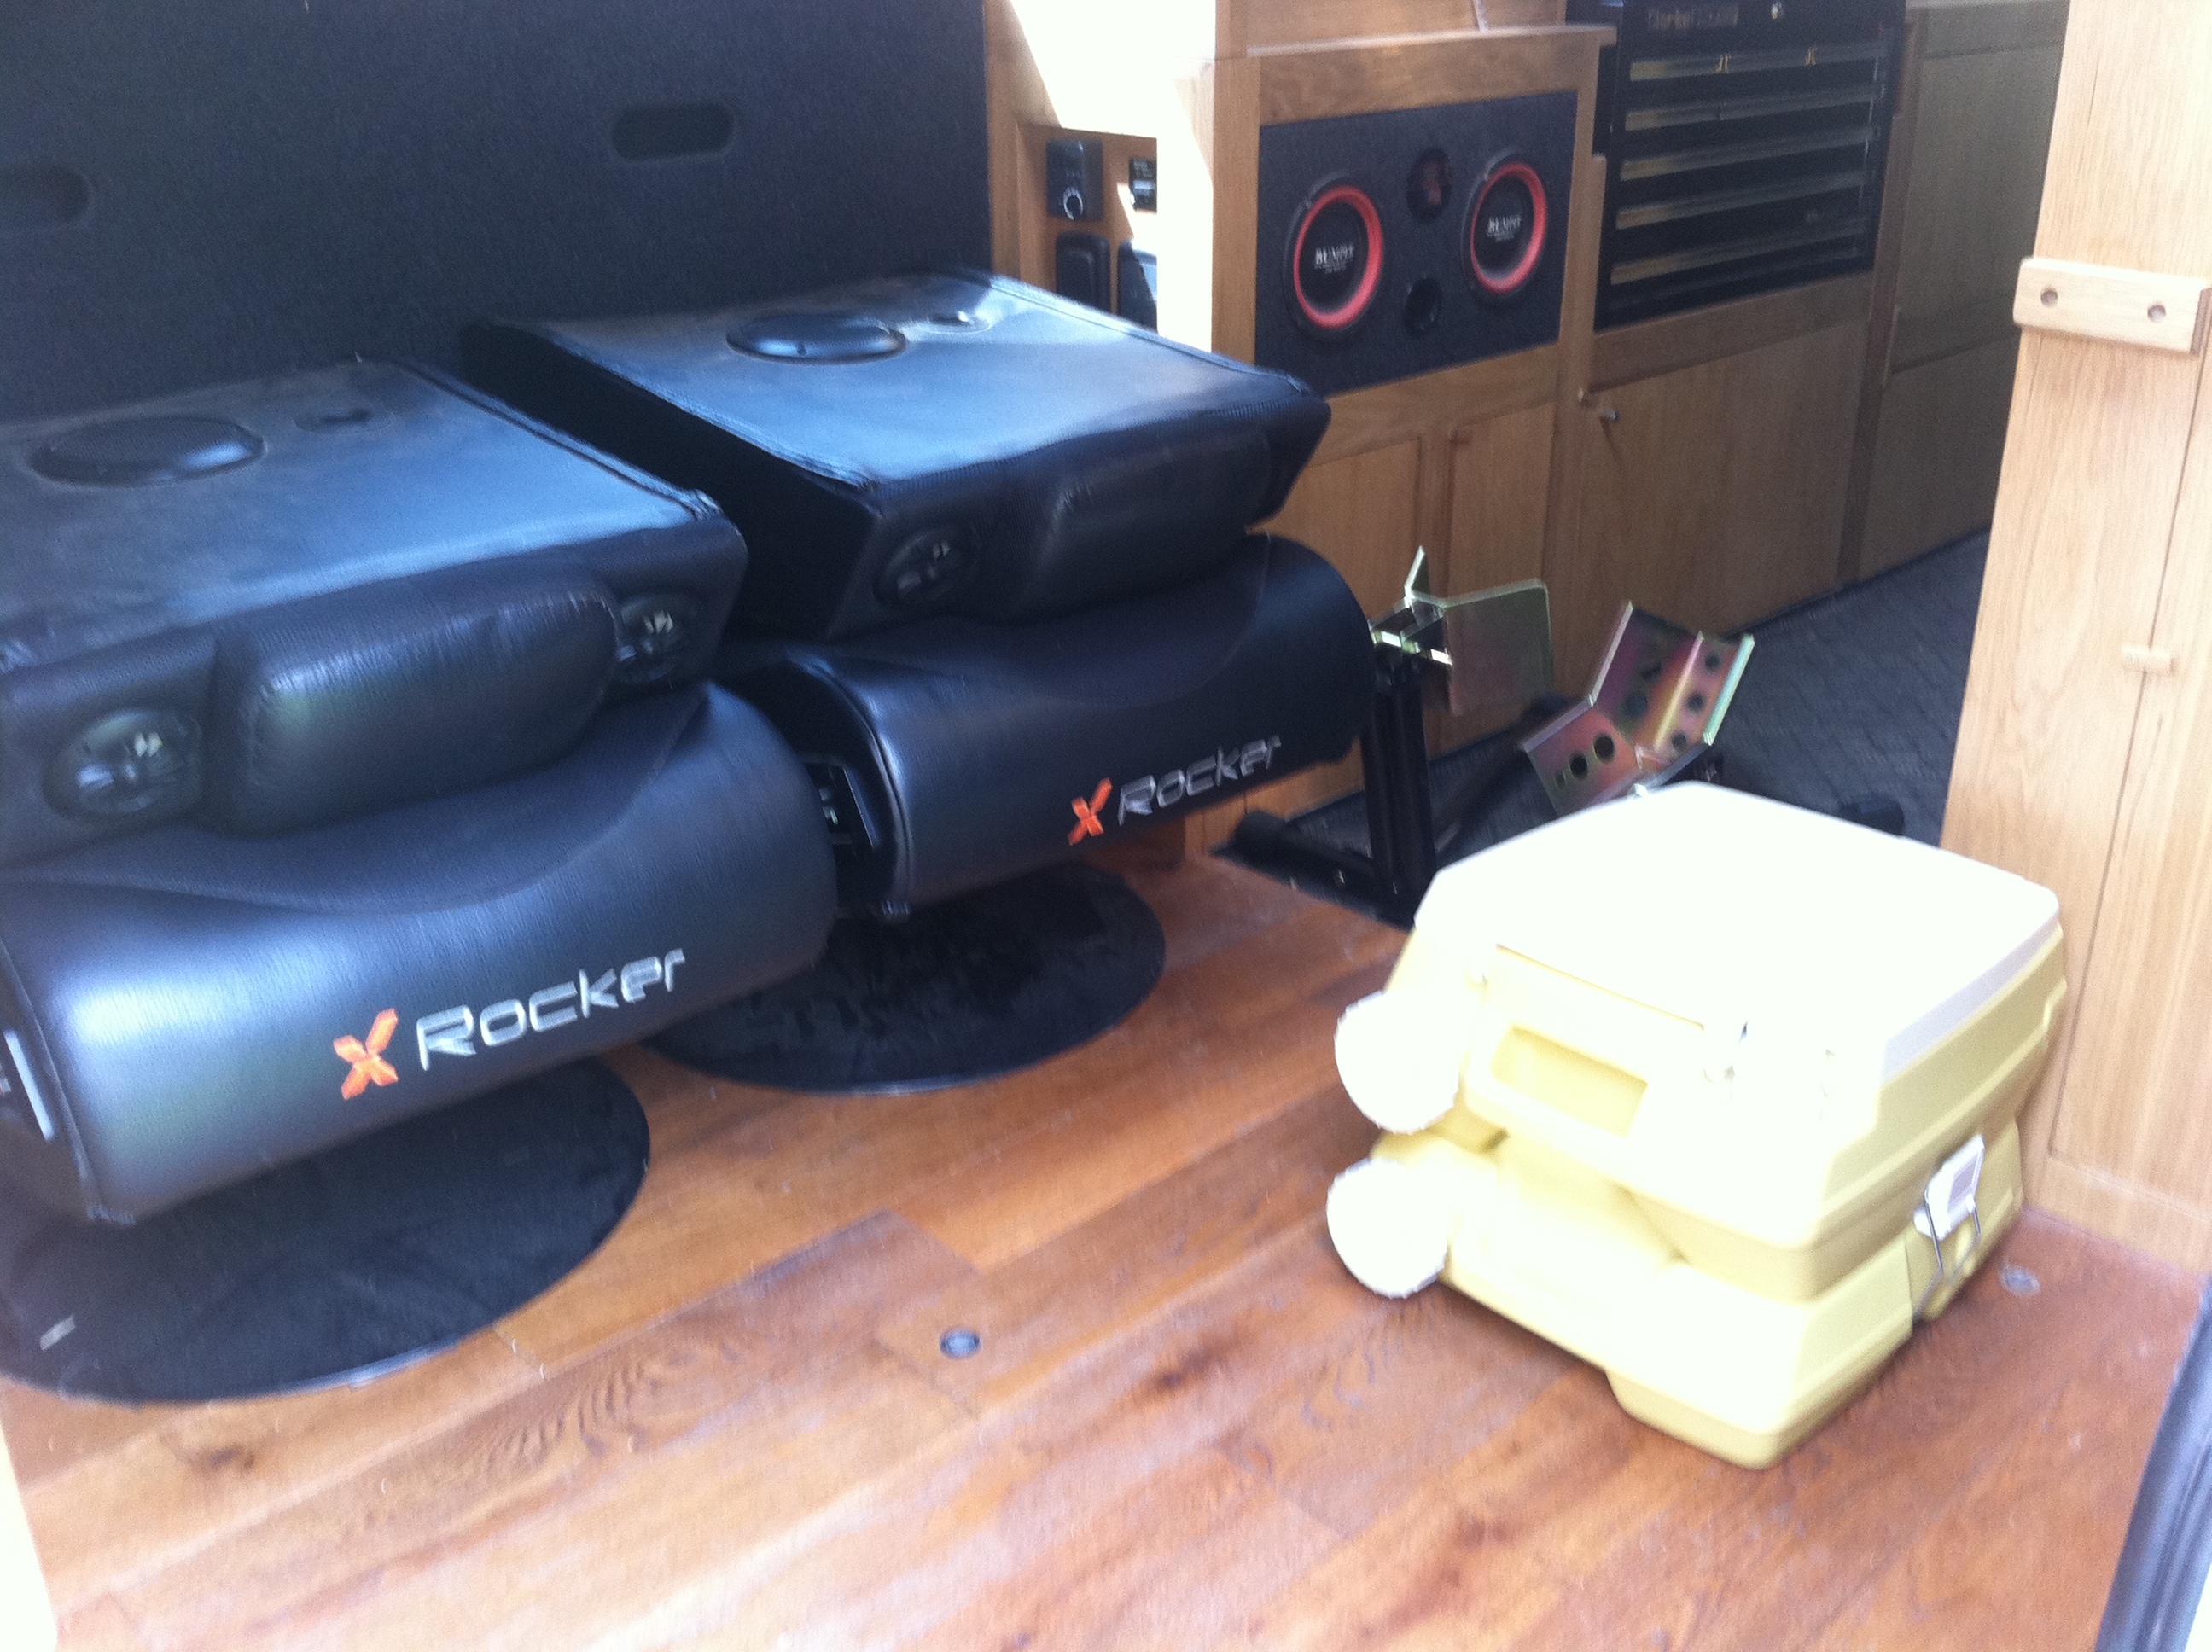
- Gaming chairs make a nice addition
-
- Fits in all the gear we need
-
- Awning works a treat!
Recommended Posts
